I have covered bridges in the context of virtual machines, LXD Containers and Docker. Most virtual machine hypervisors build in a bridge, but it is important to know how to create your own bridge. A switch is a bridge with multiple ports. So, really, a switch and a bridge are the same concept.
I have covered bridges before. In this video, I focus specifically on how to create and use a bridge.
Bridges carry traffic from one network to another just like a bridge that carries cars and trucks does.
In Linux, virbr0 is used by the libvirt library to route traffic to outside networks for QEMU virtual machines. docker0 is a bridge that allows docker containers to communicate from the container to the host network to which the docker host is connected. lxdbr0 is a bridge for LXD containers that are on their default internal NAT network to communicate to the host network to which the LXD host is connected.
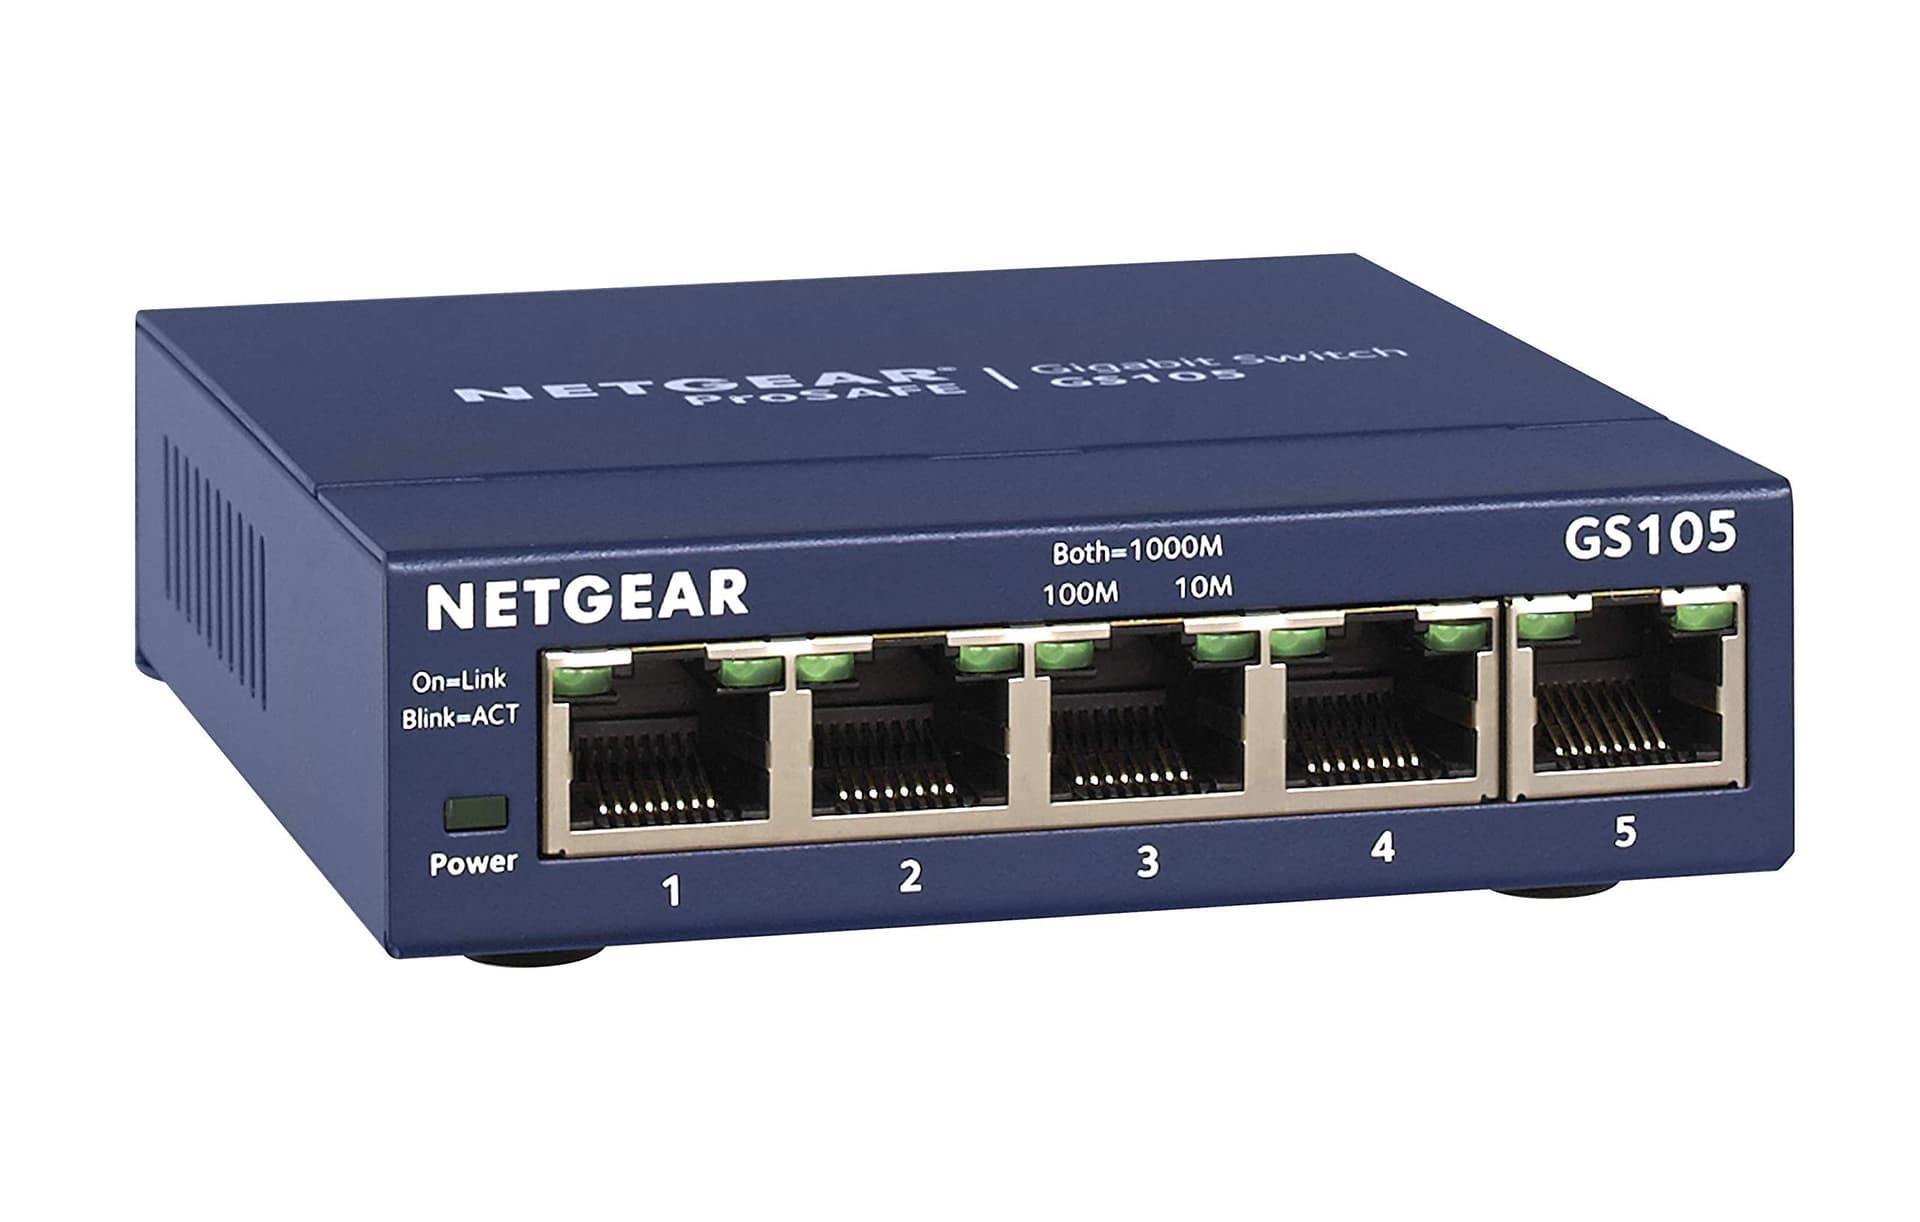
Bridges are useful in providing access for multiple devices to other networks. Again, consider that a switch is simply a multi-port bridge.
Install “net-tools” for use later:
sudo apt install net-tools
To create a bridge for your host, we use the “netplan” program to modify your network settings.
cd /etc/netplan
Edit the netplan file and make note of your physical Ethernet device name and then delete the lines in the file with CTRL K commands. The name of your file may differ.
sudo nano 00-installer-config.yml
Paste the following template into the file.
network:
  version: 2

  ethernets:
    xxxx:
      dhcp4: false
      dhcp6: false

  bridges:
    bridge0:
      interfaces: [xxxx]
      addresses: [a.b.c.d/24]
      routes:
         - to: default
           via: g.g.g.g
      nameservers:
        addresses:
          - 1.1.1.1
          - 1.0.0.1
      parameters:
        stp: true
        forward-delay: 4
      dhcp4: no
In the above file, replace xxxx with the name of your Ethernet adapter in the two places shown. Replace a.b.c.d with the TCP/IP address you want to use for your bridge. Be sure to add this address to your router as a DHCP address reservation using the MAC address of the bridge once it is running. Replace g.g.g.g with your default gateway address which will be the address of your router.
Save the file with CTRL O, hit enter and then CTRL X to exit the editor.
To apply the configuration and create your bridge as in the video:
sudo netplan apply
Again, look for the MAC address of bridge0 and be sure to add this address to your router as a DHCP address reservation.
ifconfig
In the video, I install docker at this point. If you are planning to use LXD, do not install docker at the host level because it will conflict with LXD networking. Instead, install docker inside of individual LXD containers where it is required.
To install docker (NOT ON YOUR HOST):
curl -sSL https://get.docker.com | sh
You may also want to install docker-compose:
sudo apt install docker-compose
Put your user account in the docker group so you do not have to use sudo when issuing docker commands (change to your username):
sudo usermod -aG docker scott
newgrp docker
groups
To list docker networks:
docker network list
To create a docker network to use our bridge assuming a 192.168.1.0/24 network:
docker network create -d bridge --subnet=192.168.1.0/24 --gateway=192.168.1.1 -o parent=bridge0 doc-bridge
Run a test container using the network:
docker run -it --network=doc-bridge busybox
The above docker commands are just for reference and not intended to be entered on your host as in this video. I was illustrating the fact that docker installed along side of LXD on the same host will prevent proper network operation of LXD.
To install LXD (which is my recommendation) and install docker inside of LXD containers where needed later:
sudo snap install lxd
To configure LXD:
sudo lxd init
Initializing LXD is covered on my channel in several places and is beyond the scope of this tutorial. For detail on this command, see LXD Containers 101.
Create a LXD profile to use our bridge0:
lxc profile create bridgeprofile
Edit the profile:
lxc profile edit bridgeprofile
Replace the content with the following:
config: {}
description: Bridge to Main LAN
devices:
  eth0:
    nictype: bridged
    parent: bridge0
    type: nic
name: bridgeprofile
CTRL O and press enter to write the file and CTRL X to exit the editor.
Create a LXD container that uses the bridge and gets an address from the DHCP server on your MAIN LAN:
lxc launch ubuntu:22.04 test --profile default --profile bridgeprofile -c boot.autostart=true -c security.nesting=true
In the above command “-c security.nesting=true” is only needed if you are planning on installing docker inside of this LXD container.
To list your container:
lxc list