All LXD Containers and LXD Virtual Machines are created from images. A year and a half ago I did a video entitled “LXD Custom Images”. This tutorial expands on that subject and focuses on how you can use LXD Custom Images.
LXD Containers and LXD VM’s are faster to launch because they come from images and do not have to go through an Operating System installation. The LXD repository for the majority of LXD images is located here. Images can also come from LXD servers on your network. These images can be customized and used as a starting point to create other containers.
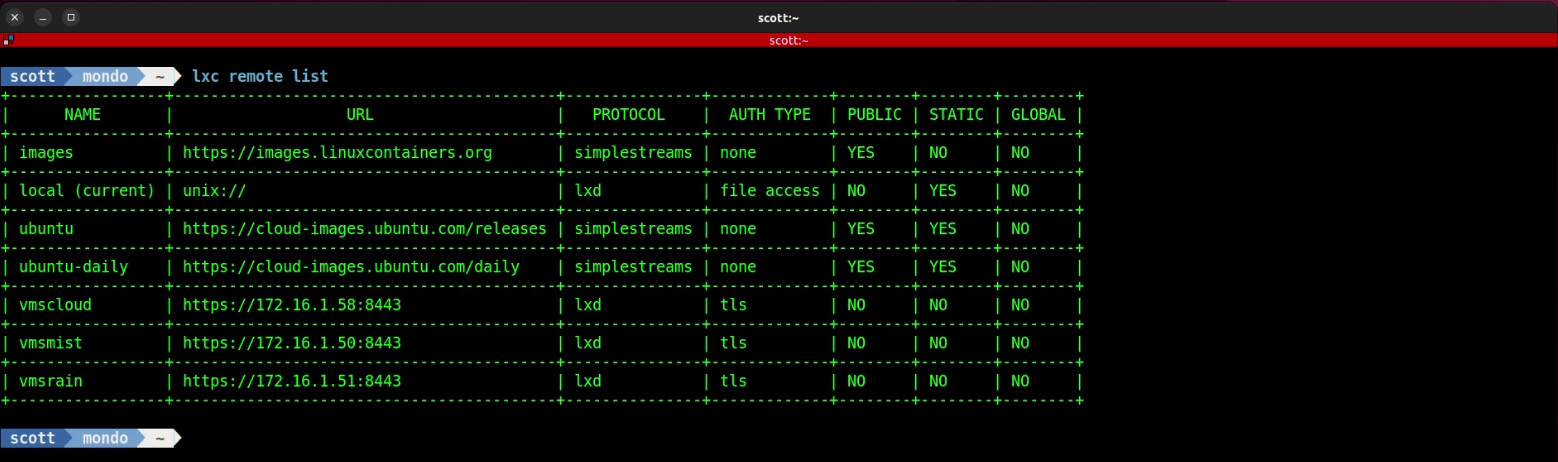
If you have more than one LXD server on your network that you have authorized, you can list the available servers:
lxc remote list
To authorize another LXD server to be added to your list of manageable servers:
lxc remote add vmsfog 172.16.1.57

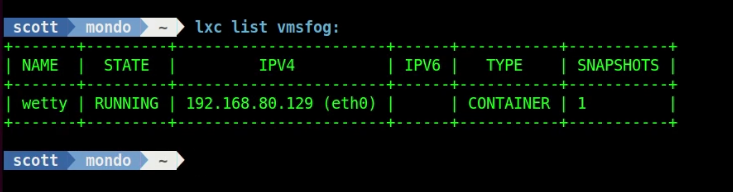
Once you have a LXD server added to your remote list, you can interact with the remote server:
lxc list vmsfog:
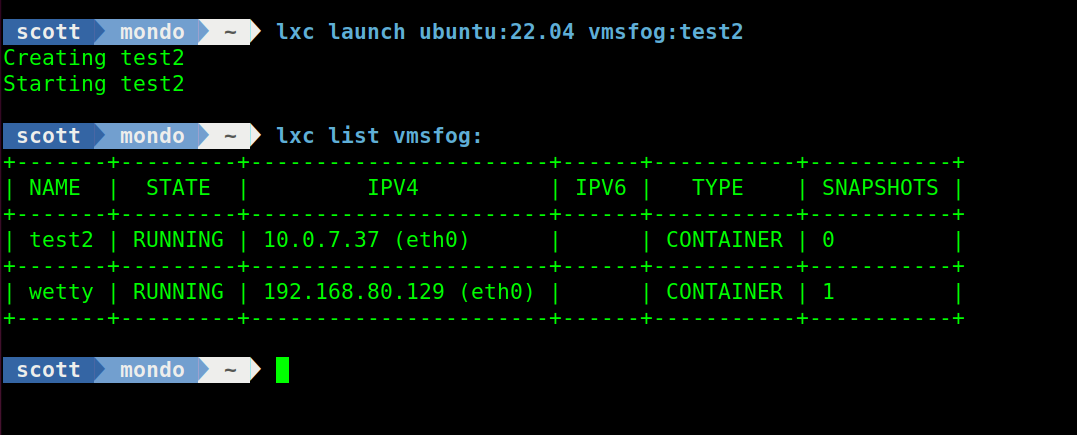
Another example:
lxc launch ubuntu:22.04 vmsfog:test2
You can also authorize access to a remote LXD server by adding a trust in the form of a certificate. We did that on the tutorial “LXDWare LXD Dashboard” by obtaining a certificate from the LXD Dashboard Server and adding it to the LXD Server we wanted to manage:
lxc config trust add lxdware.crt
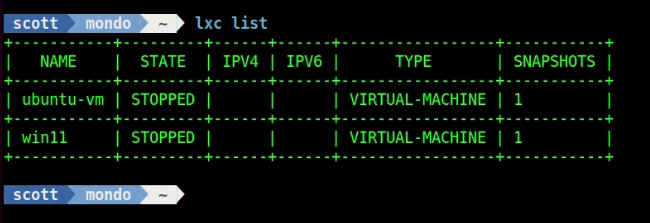
Recall that you can list containers on your local LXD Server:
lxc list
You can also display a list of the images on your server that can be used to create LXD containers and LXD Virtual machines:
lxc image list
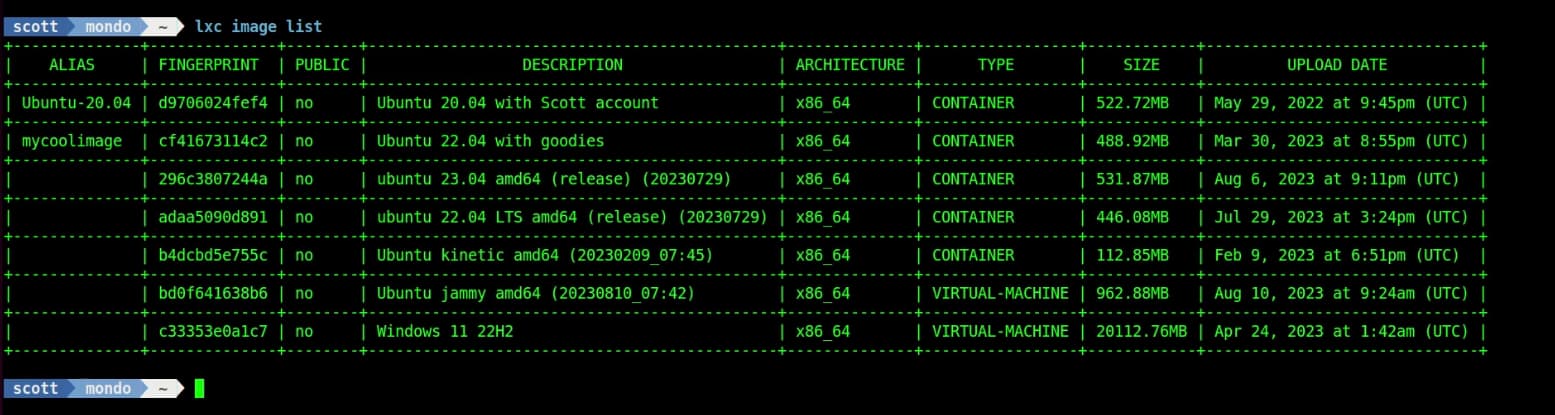
An example of creating a container using an image from the list above:
lxc launch mycoolimage test
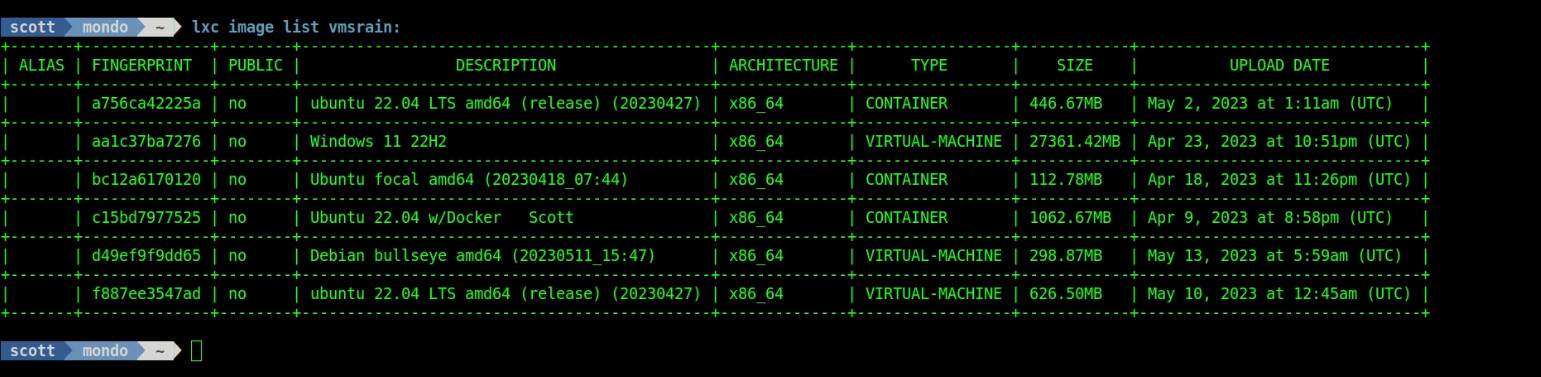
You can also list images on another server on your network assuming you have authorized access:
lxc image list vmsrain:
To list all of the images on the public LXD Image repository:
lxc image list images:
You can make that easier to read:
lxc image list images: | more
You can also list images from just one distro:
lxc image list images: | grep -i 'debian'
A much neater display of all images can be displayed by listing images by “alias” name:
lxc image alias list images:

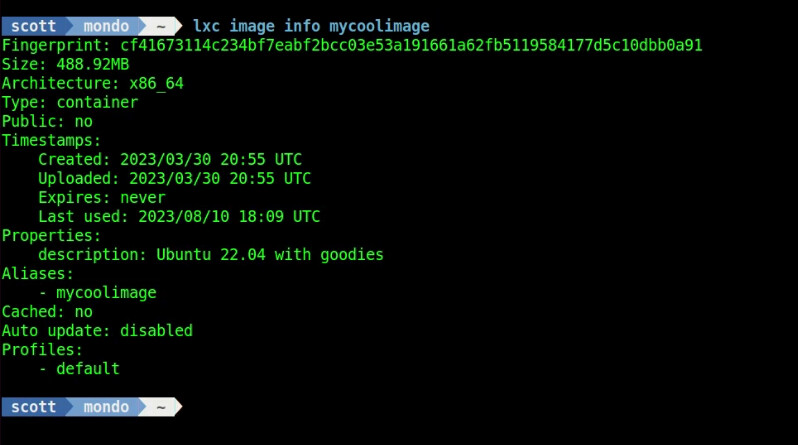
You can also list information about a particular image on your LXD Server:
lxc image info mycoolimage
To export a copy of a custom image that you can import on another LXD server later:
lxc image export mycoolimage mycoolimage

You can delete an image that you no longer need:
lxc image delete mycoolimage
To import the saved image that we exported (Image alias names cannot have spaces in the name):
lxc image import mycoolimage.tar.gz --alias=mycoolimage
To create a custom image, you start by just creating a normal container:
lxc launch ubuntu:22.04 mytest
Move inside of the container:
lxc shell mytest
At this point, you can create user accounts, install programs and create data files. The actual modifications to a given container can be the basis for a LXD Image.
As an example, I have a LXD image with the “scott” account and with Docker installed as a starting point (image).
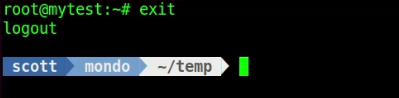
To create a custom image, you exit out of the shell in the container back to your LXD host prompt:
exit
Stop the container that you want to image:
lxc stop mytest
Create an image of your container (I named mine “custom-image”):
lxc publish mytest --alias custom-image
You can now create a new container based on this customized image:
lxc launch custom-image new-container
You will recall that you can make “point-in-time” snapshots of a container with the snapshot command (I called my snapshot “snapshot”):
lxc snapshot new-container snapshot
Let’s now assume that I made several changes to “new-container” and I wanted to make an image of the container before the changes when I did the snapshot:
lxc publish new-container/snapshot --alias my-image-from-a-snapshot
In summary, images can be created from containers or from container snapshots. Then, images can be used to create containers. Images are used as a starting point to create containers and are a very powerful configuration control tool.