QNAP Container Station includes support for LXD v5.0 and Docker v20.10. Incus cannot be natively installed on QTS as of March 2024 and it is unknown whether QNAP will provide incus support. In this video, I demonstrated the installation of Incus on a Virtualization Station Virtual Machine.
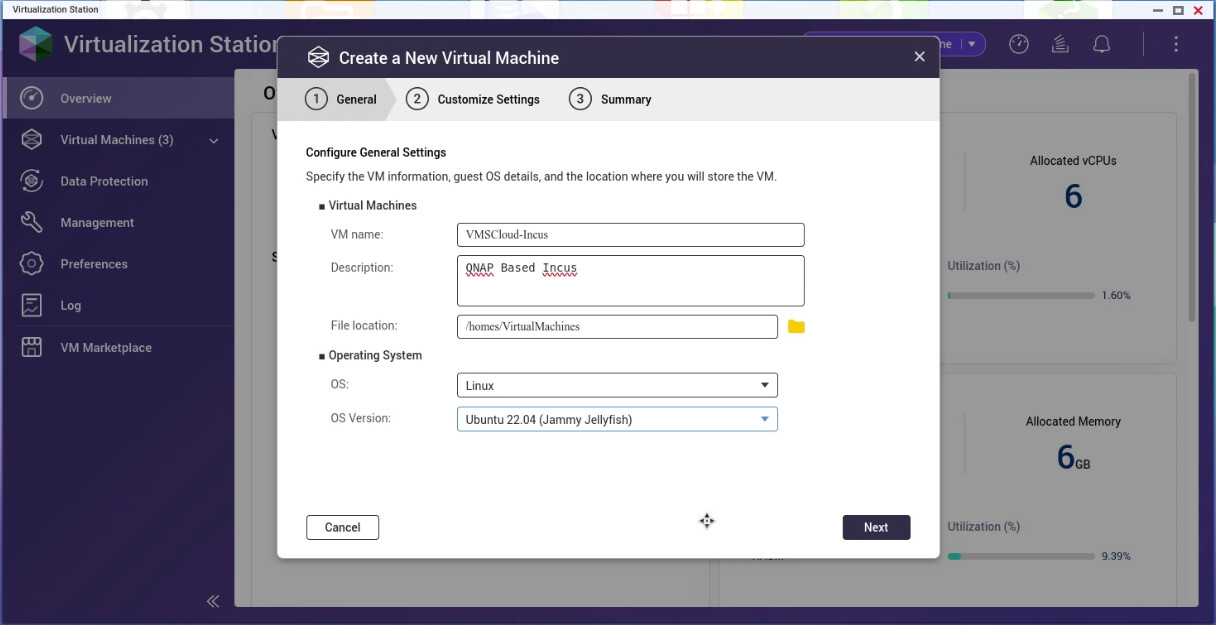
To begin with, launch the QNAP Virtualization Station and create a new Virtual Machine.
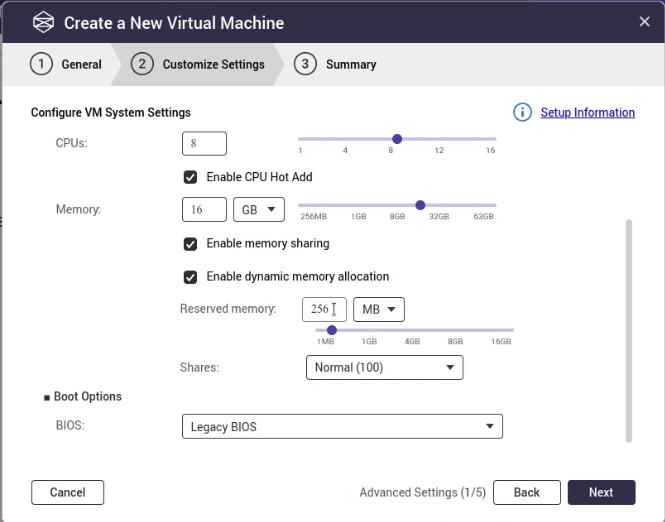
Click “next” to proceed to the next screen where you select things like the number of CPU cores and desired memory. My recommendation is a minimum of 4 cores and at least 8GB of memory since your incus containers will have to reside in this space. More is better. With 8GB of memory, expect to host maybe 4 incus containers. If you have a small amount of memory on your QNAP, this may not be a viable project. I allocated 8 cores and 16GB of memory and I can probably run 10-15 containers in that space.
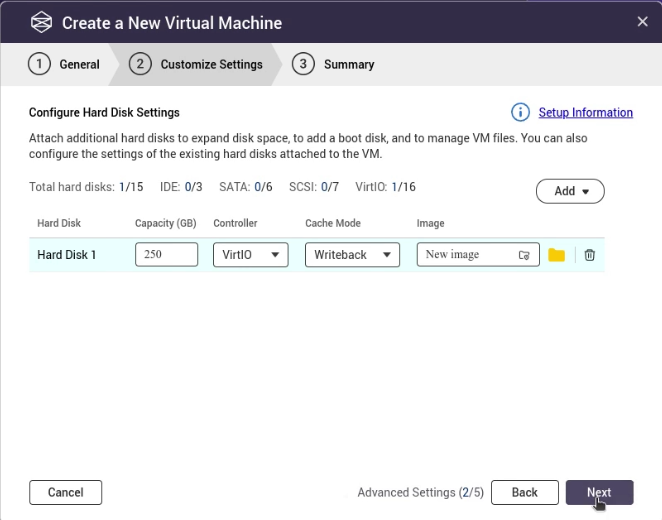
On the next page, the default disk size of the virtual machine is 250GB. If you want and have the resources, make it larger. Keep in mind that the incus storage pool will reside inside of the virtual machine. The storage pool contains all of the incus containers, images and other data structures as I have discussed before on the channel.
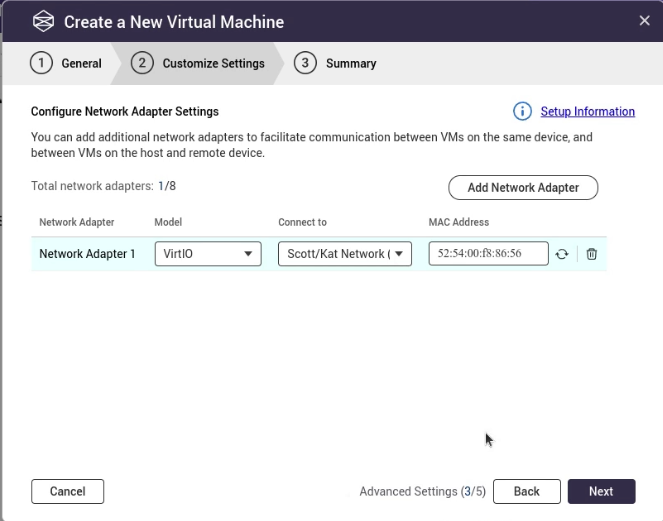
On the next screen you can select your network device. I have several network adapters on my QNAP and so I pick the one for my main LAN.
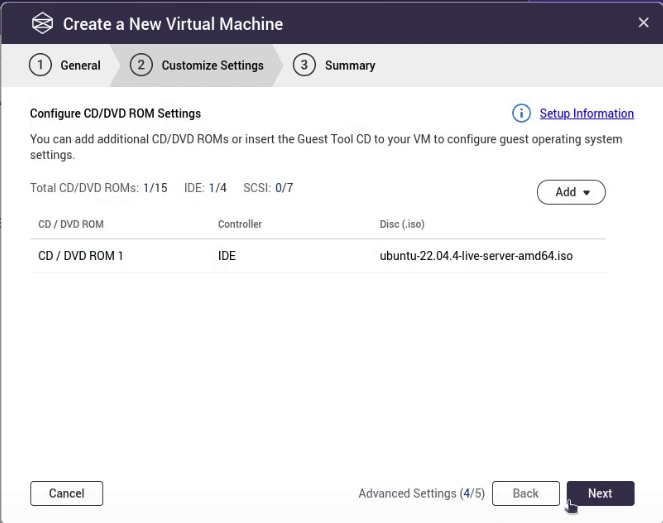
On the next screen you will navigate to the location of the Ubuntu 22.04 ISO image. You can go out to the Ubuntu Server download and download a copy that you will place somewhere on your QNAP by dragging and dropping the ISO to QNAP File Station.
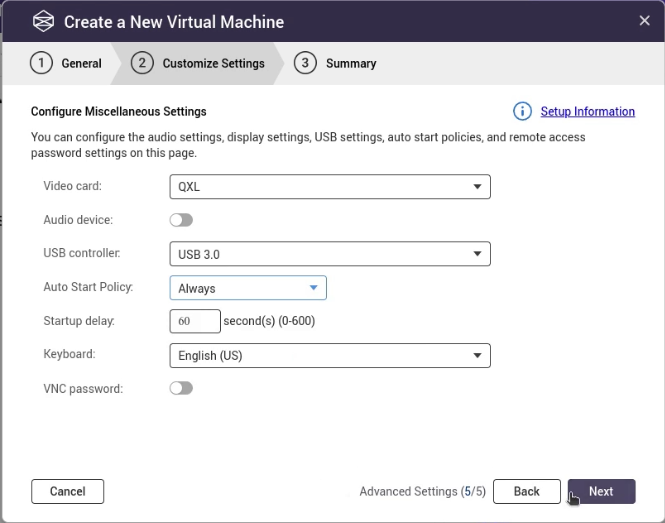
On the next screen, set the options as shown:
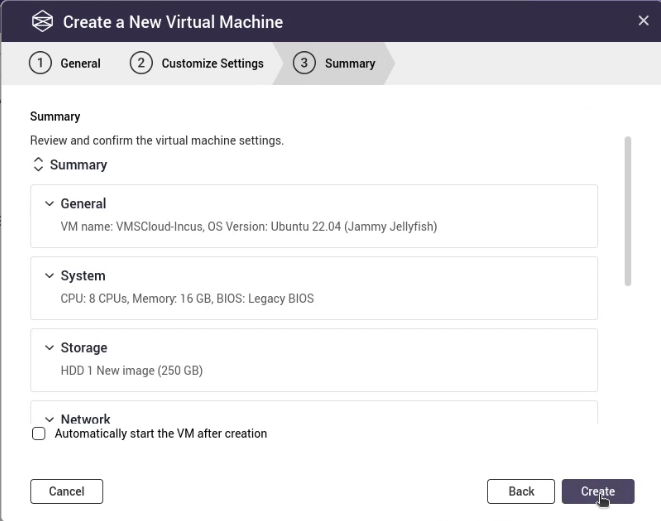
The next screen is a summary of the configuration that you have selected.
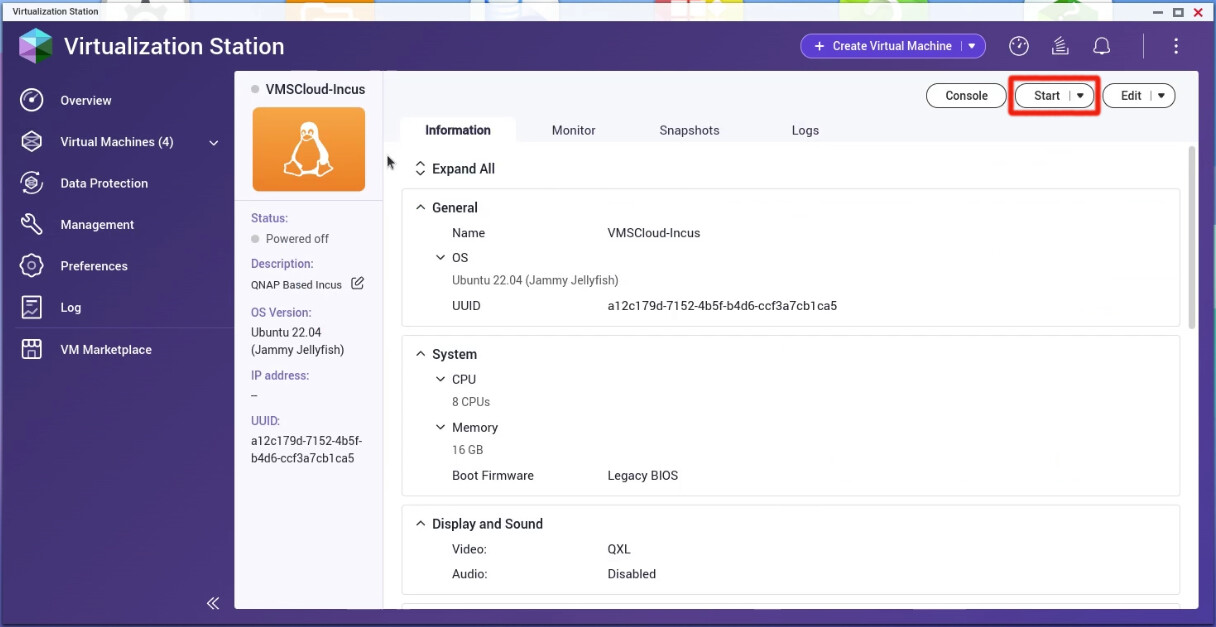
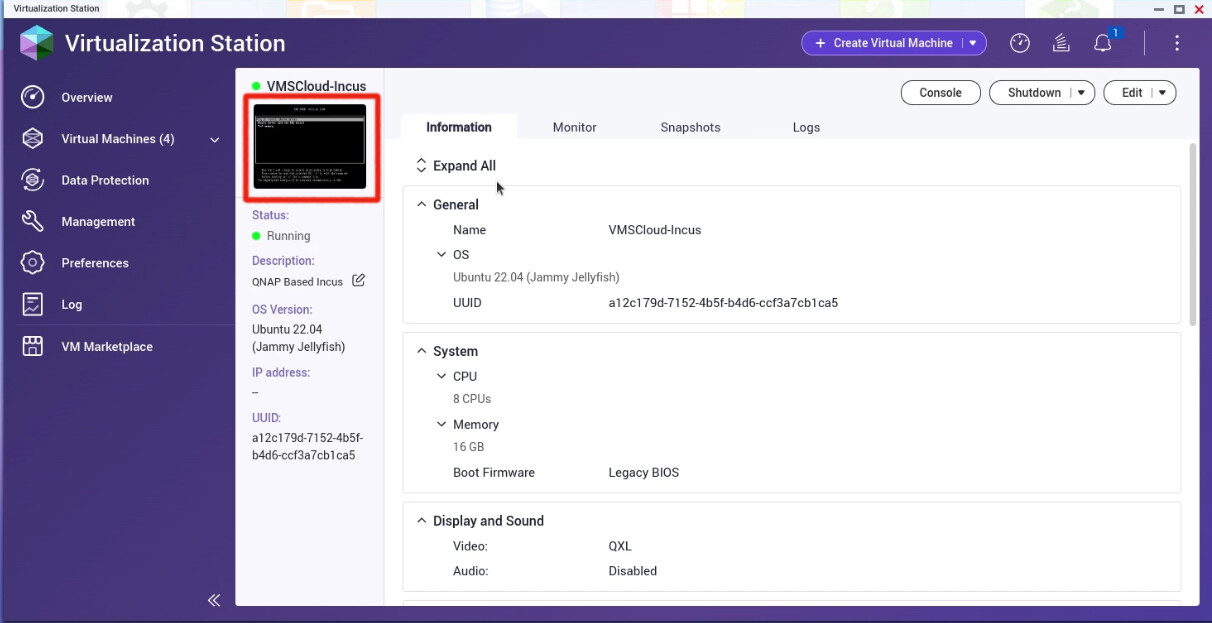
Navigate to the Virtual machine you just created and click the start button.
Click on the thumbnail Window in the upper left as the VM is starting ang another web browser tab to the virtual machine will be opened.
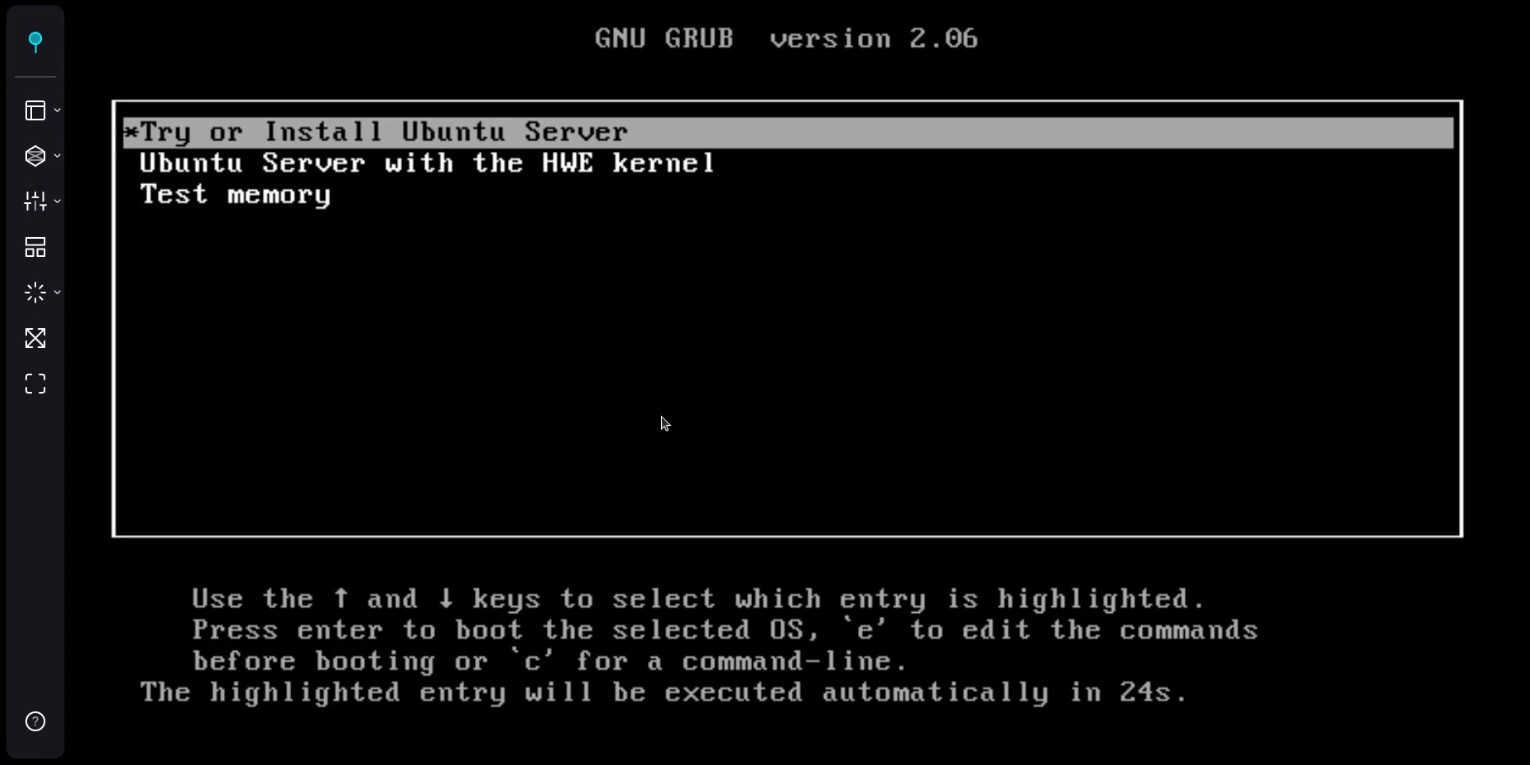
It should be at the installation startup screen and you have 30 seconds to select “Try or Install Ubuntu Server”. It is the default anyway, so this option will execute regardless.
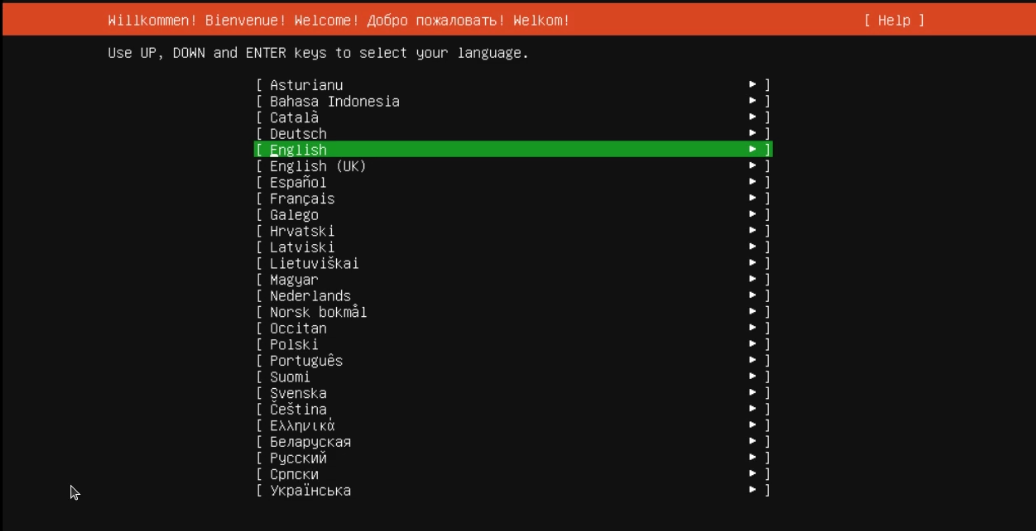
Choose your Language on the first screen that appears.
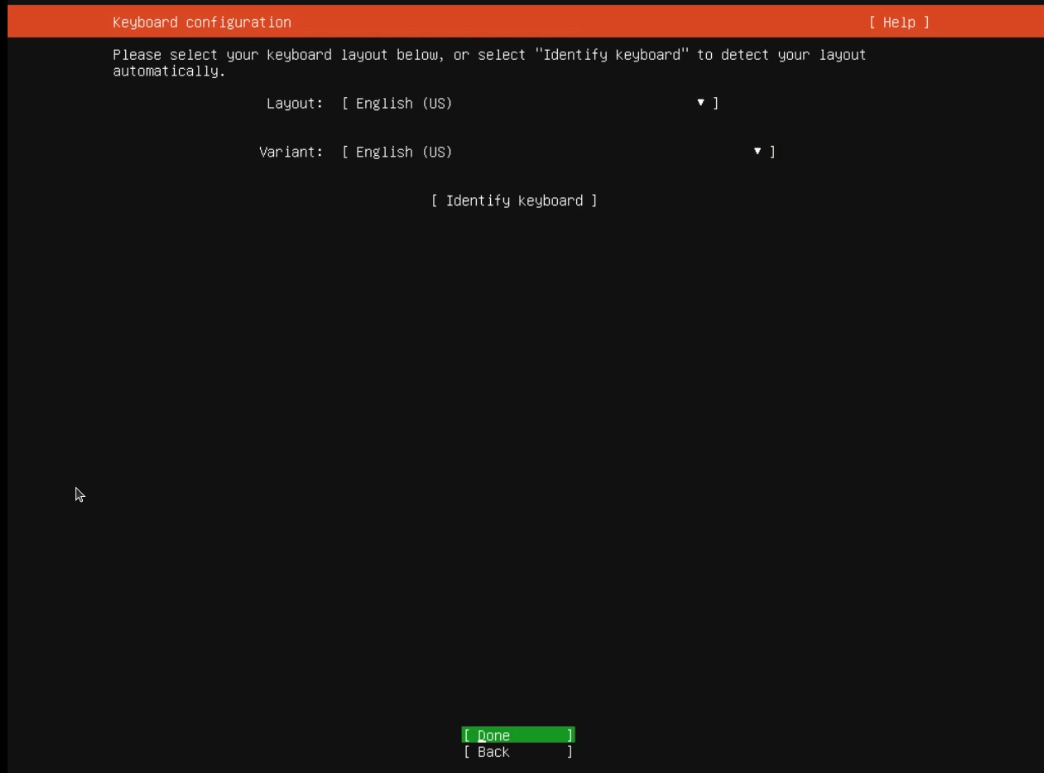
Next screen you choose your keyboard layout.
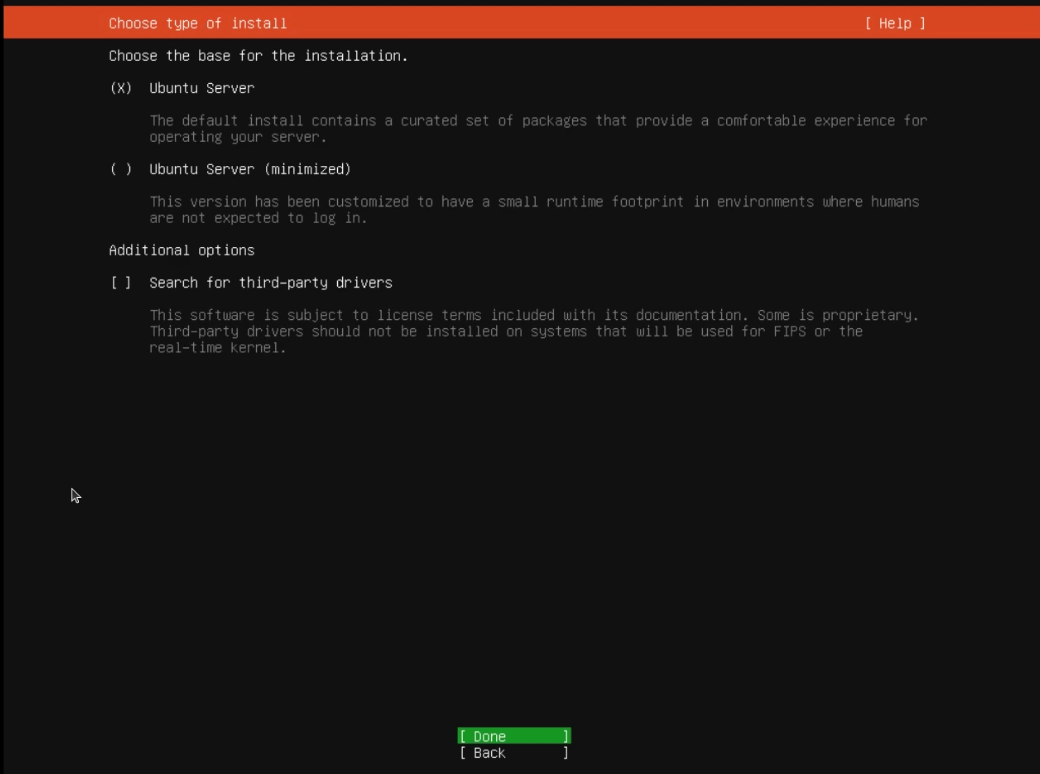
On the next screen leave the default selected.
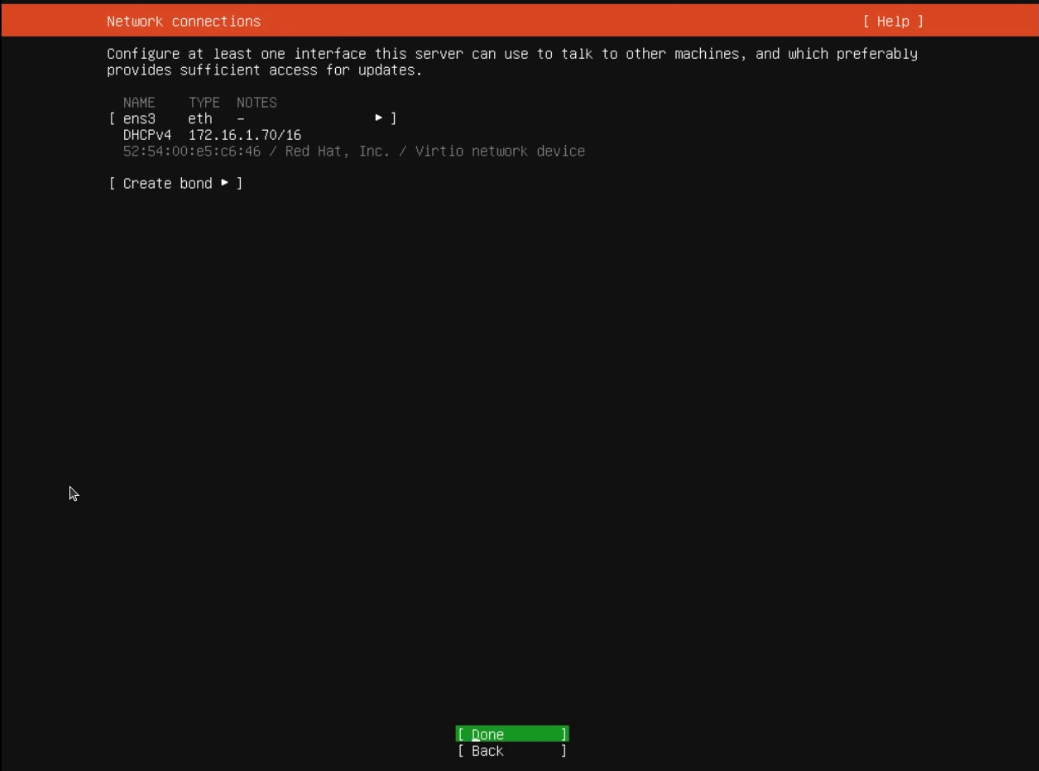
On the next screen leave your network settings the same and define a DHCP Address reservation for this server on your router rather than configuring a static address inside of the virtual machine for easier management.
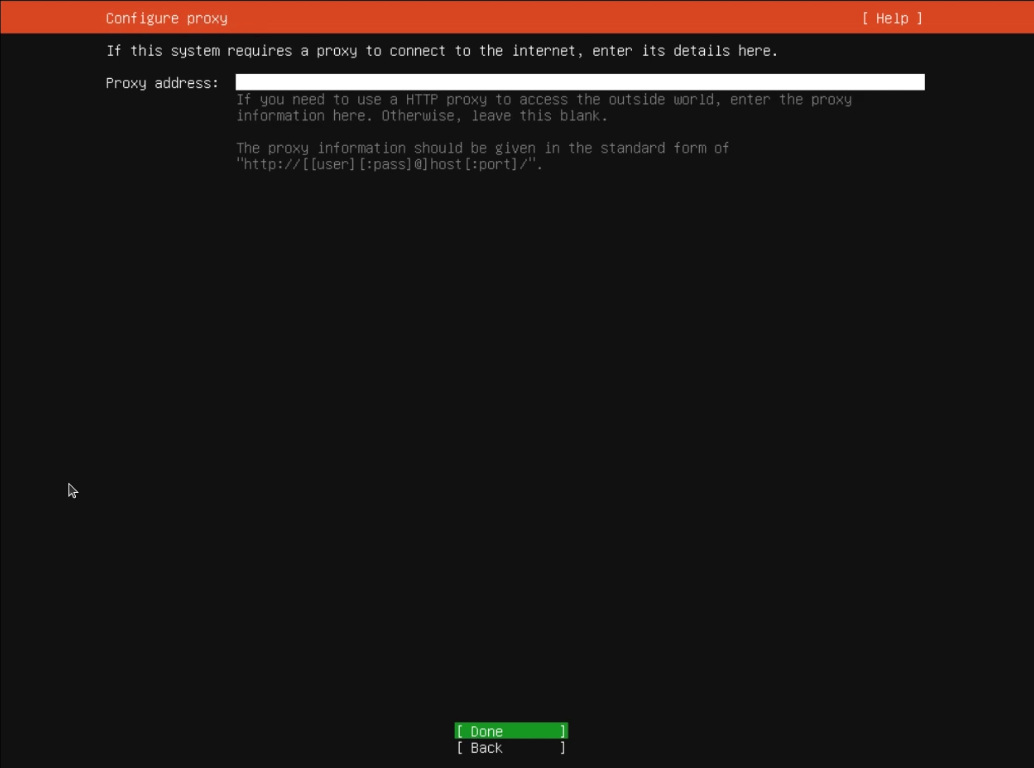
Continue on the next screen…
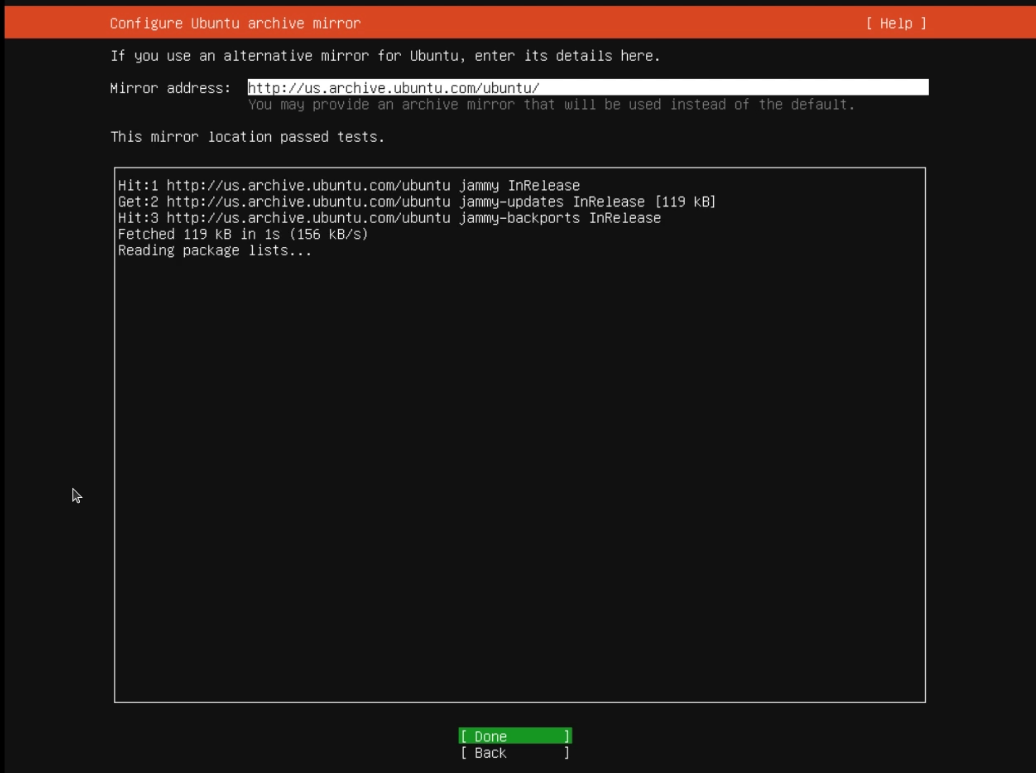
Next screen tests the archive mirror locations. Wait till it passes the tests and then continue.
On the next screen, leave the defaults.
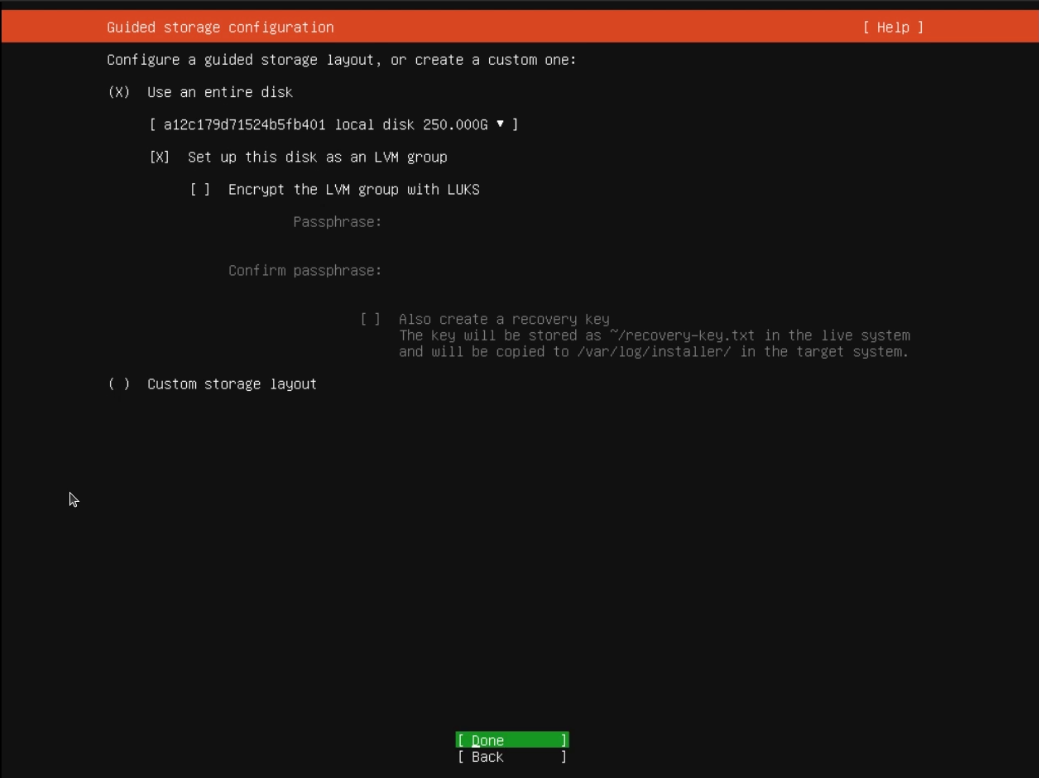
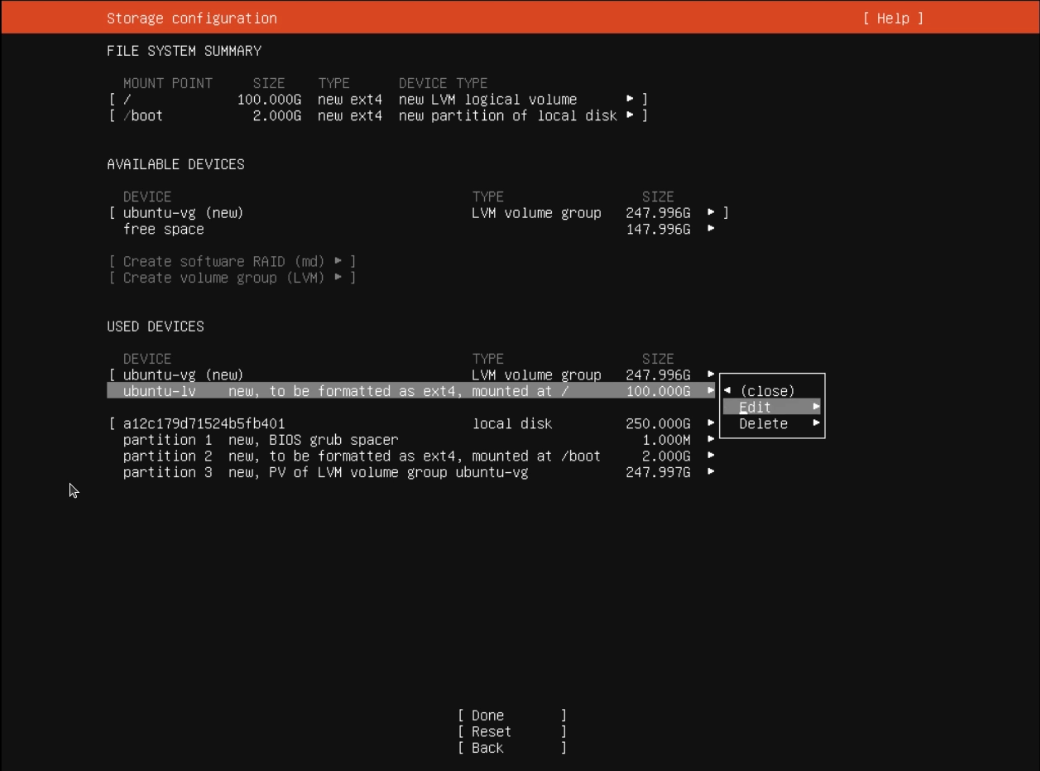
On the next screen, go to the root (/) file system setting as shown below and choose the “edit” option:
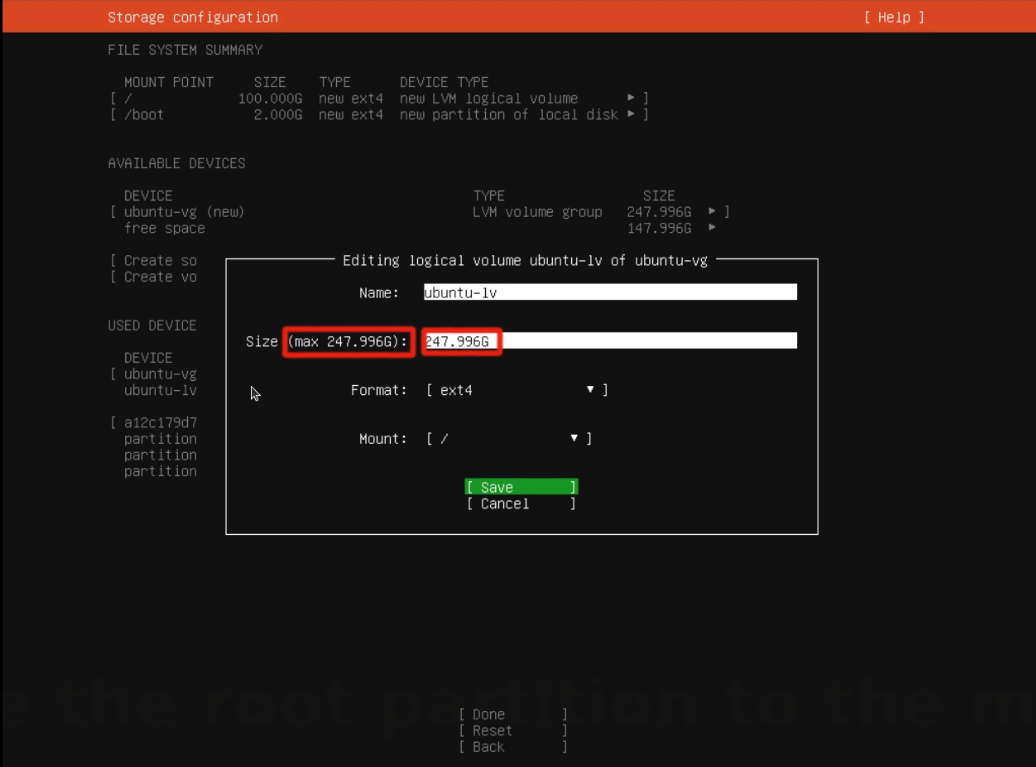
In the edit screen, match the size to the indicated max size as shown below.
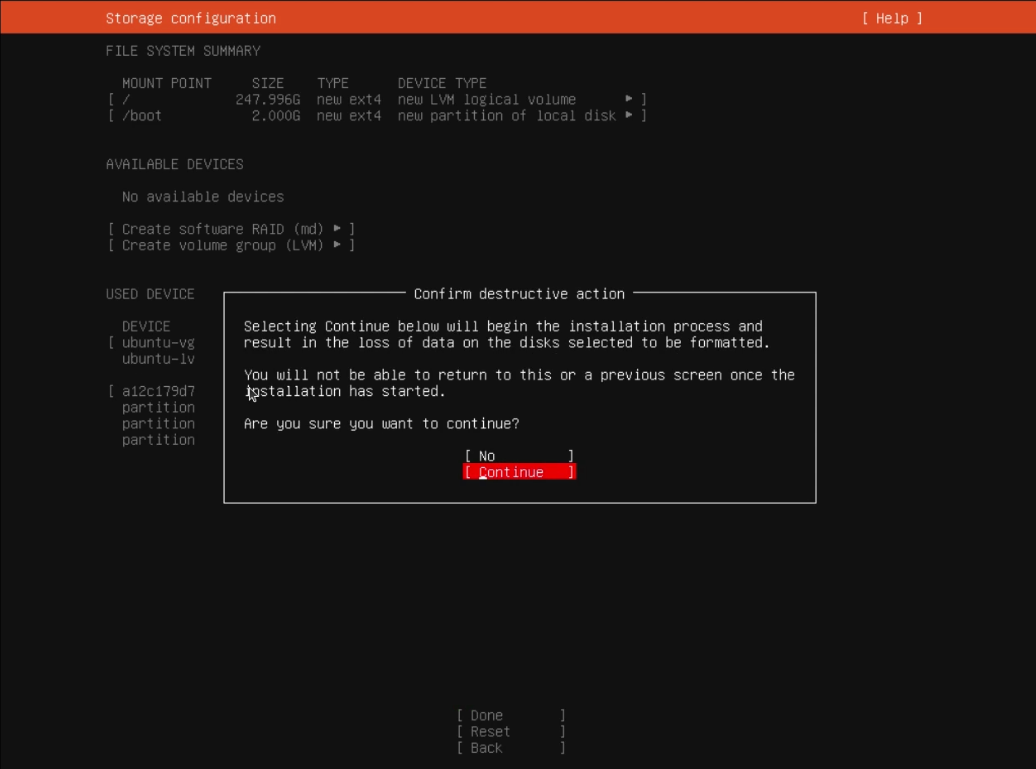
Once you finish editing storage configuration and you tab down to “done” you will be prompted if you want to erase the disk. It is talking about the virtual machine disk and you want to select continue.
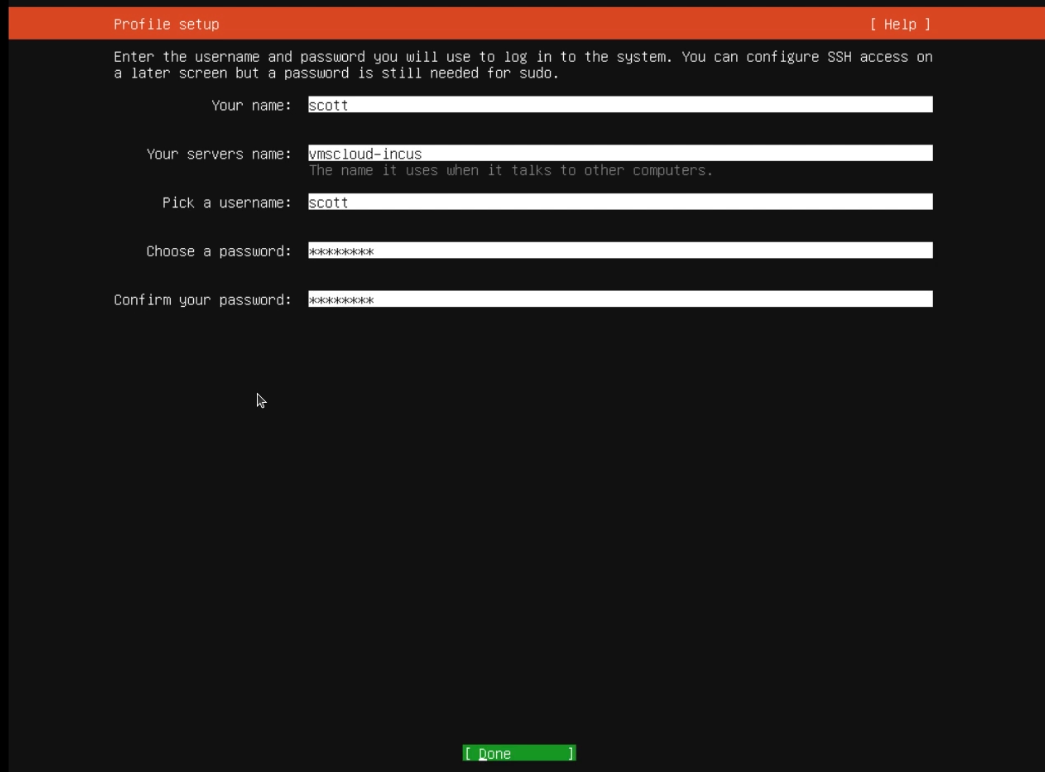
On the next screen, name your server and set up your username and password to access this server that we are creating. Don’t forget the password!
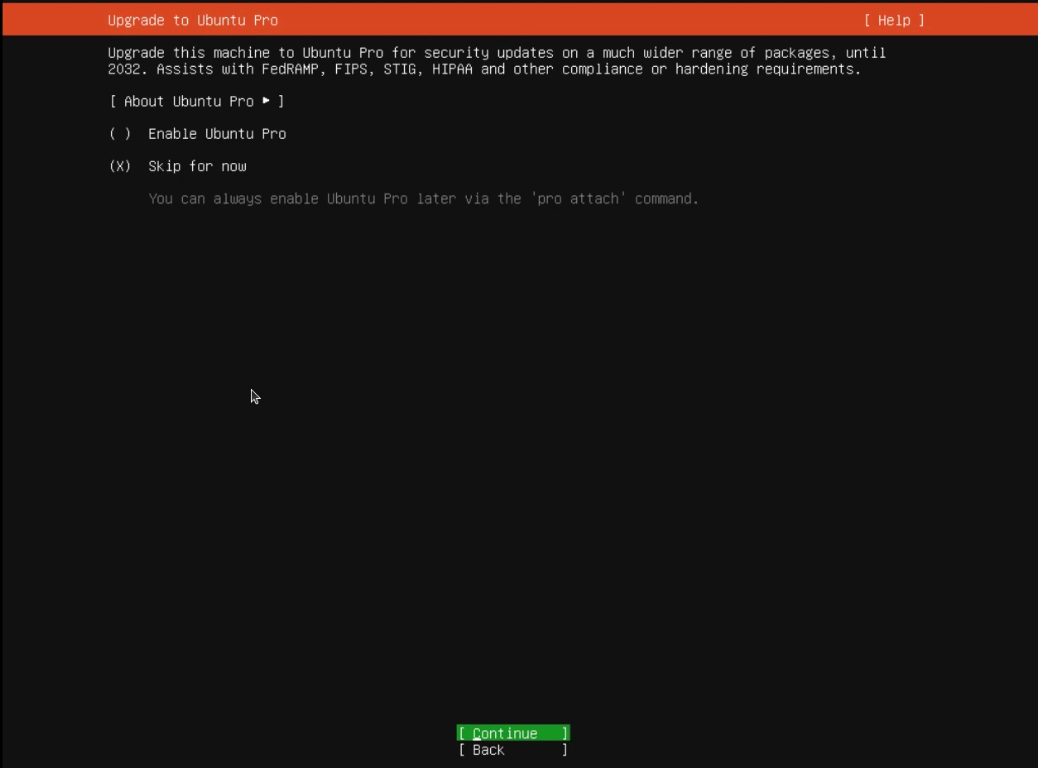
On the next screen, accept the defaults.
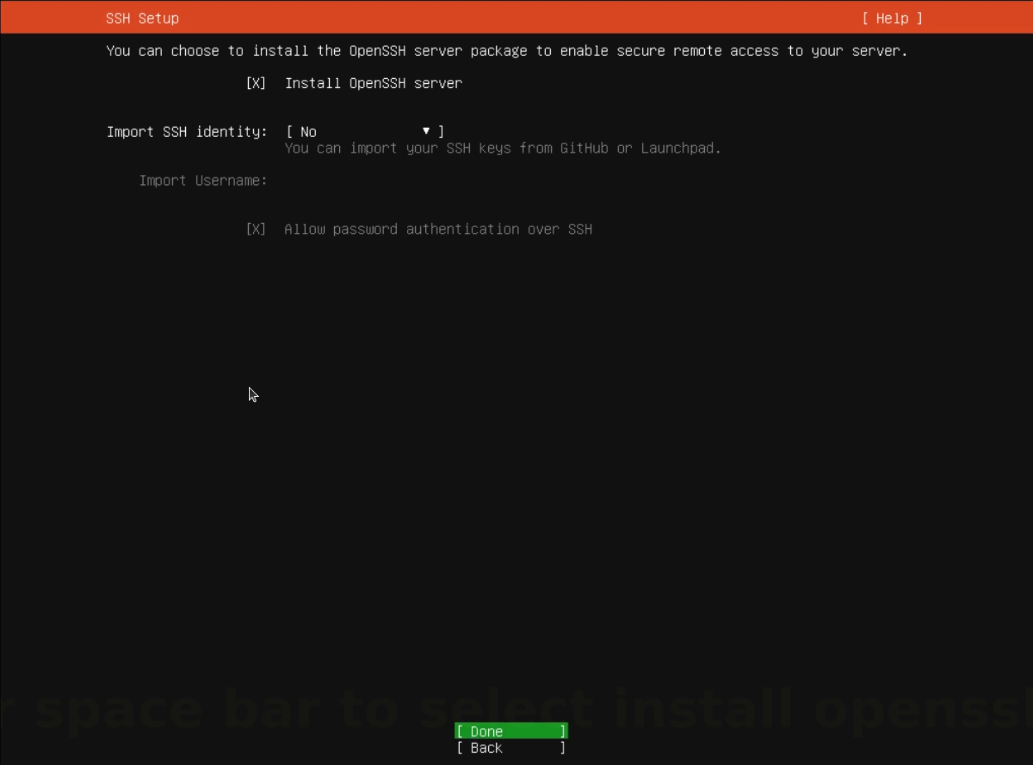
On the next screen be sure to put an “X” in the “Install OpenSSH server” selection so we can connect to the server remotely.
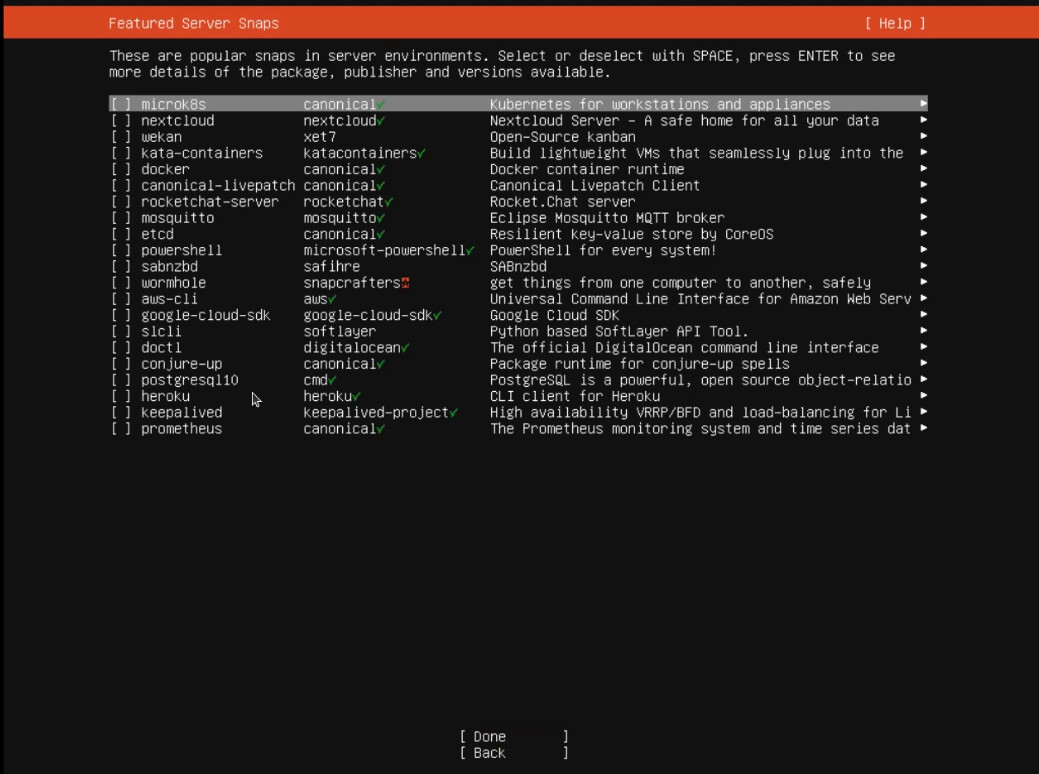
On the next screen, don’t install other software. Just accept the defaults.
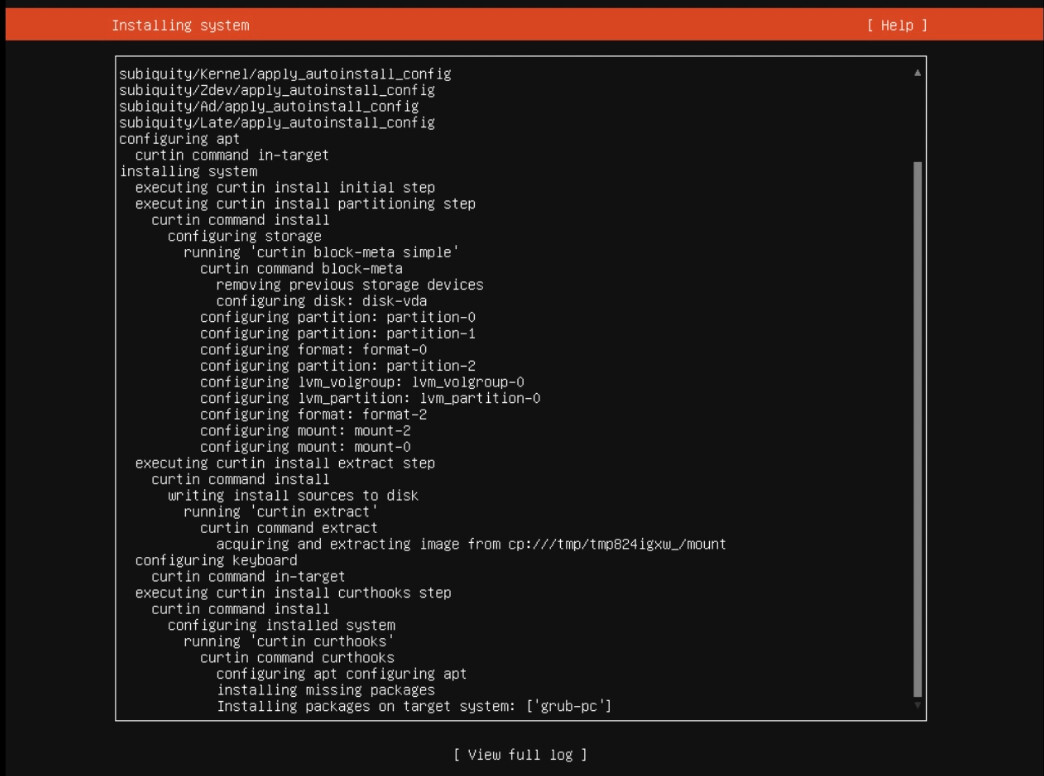
The installation will now continue.
Once it says, “Reboot Now”, your installation is completed and you can select that option.
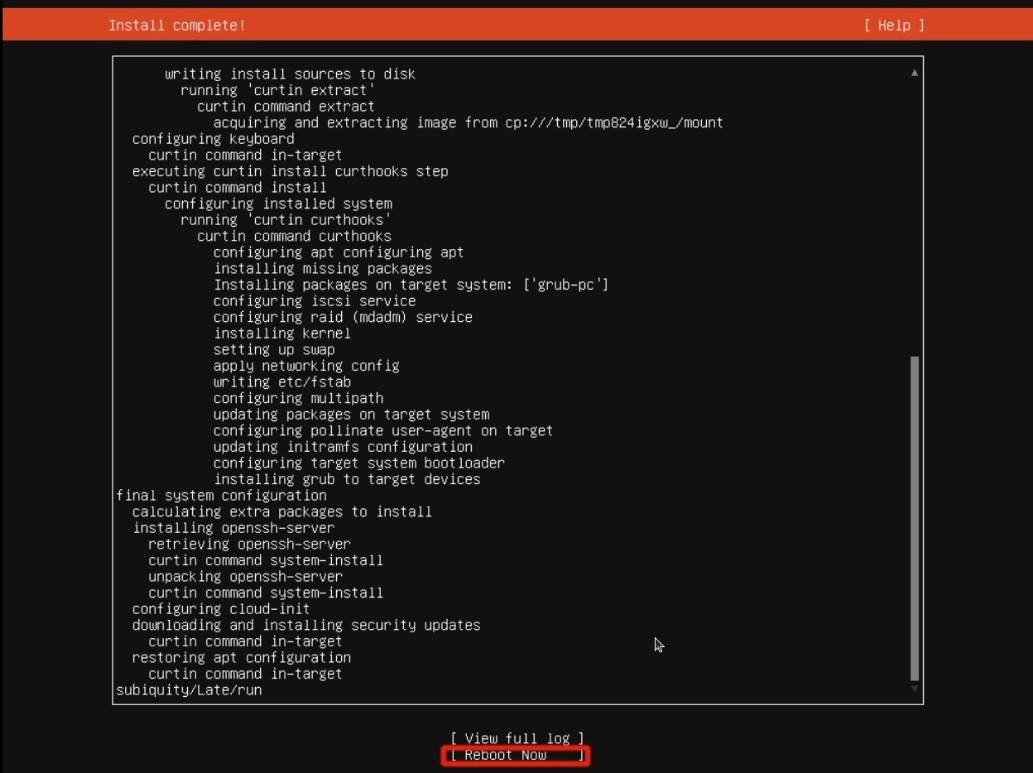
During the reboot it will ask you to hit ENTER once to unmount the CD and continue the reboot. Once the boot up process is complete, you can hit enter to provide your username and password to log in to your new Ubuntu server VM.
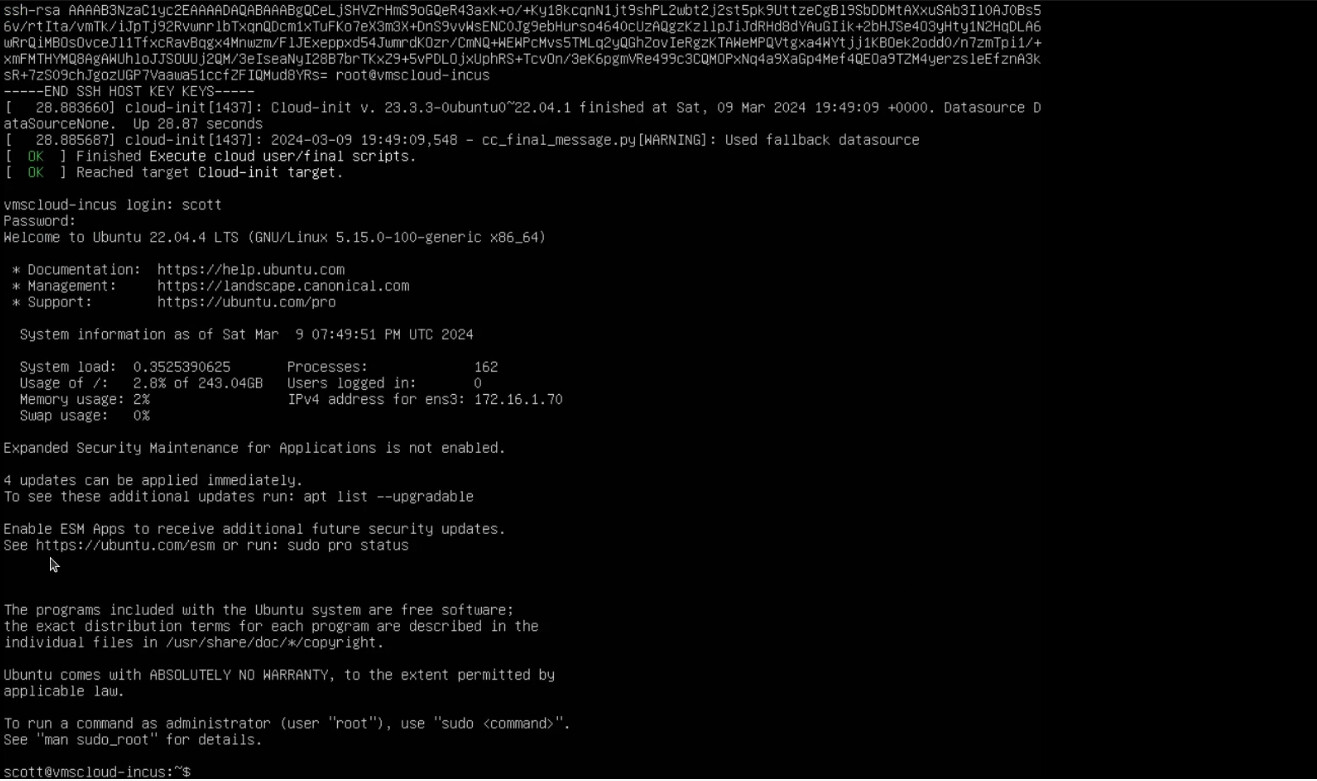
Find out the address of your Ethernet device on your LAN.
ip a
Open a terminal on your computer and use “ssh” to connect to the address of the VM that we just found.
ssh x.x.x.x
Now follow the steps in my tutorial Incus Containers Step by Step. Start at the point in that tutorial right after we “ssh” into the server.
At the conclusion of that tutorial, you will have a fully functional incus server in a virtual machine hosted on your QNAP in Virtualization Station. Be sure to set a DHCP address reservation for your Virtual Machine on your router.
You can now follow my other incus videos to learn how to use other incus features.