Beginning in Incus v6.3, there is support for the Open Container Initiative (OCI) which are Docker containers. This tutorial shows how to use the new Docker OCI containers and explains the differences between this and docker compose.
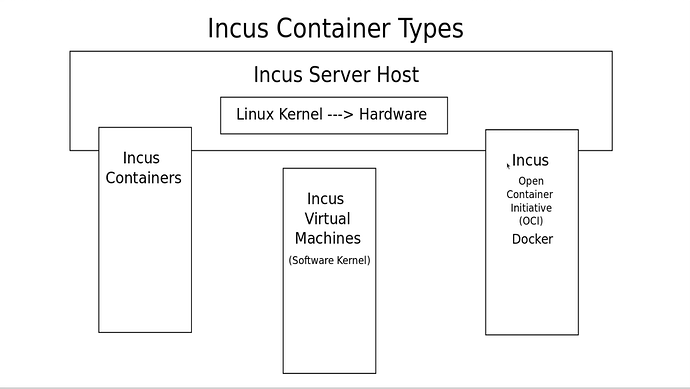
The initial release of Incus supported linux containers and QEMU Virtual Machines. Incus added a robust CLI and API front end to container management. With the release of Incus 6.3, a third container type “app” containers have been added. App containers use the OCI data type and you can define multiple docker repositories on your incus server from which to create containers.
OCI containers are only supported in V6.3 and above. Be sure you are running 6.3

Before you can create a docker container in incus you must have a docker repository defined on your incus server. To examine your currently defined repositories:
incus remote list
To add the docker hub repository to your incus server, use the following command:
incus remote add docker https://docker.io --protocol=oci
We can show the repository listing again and see the docker repository listed.
To create your first OCI container (using the bridgeprofile covered in my Incus containers Step by Step tutorial) use the following command:
incus launch docker:jgraph/drawio Draw -p default -p bridgeprofile
The equivalent “docker run” command on a docker server would have been:
docker run --name="Draw" jgraph/drawio
The difference is that in my incus command I am presenting the docker container with its own dedicated address on the main LAN.
You can see this address:
incus list
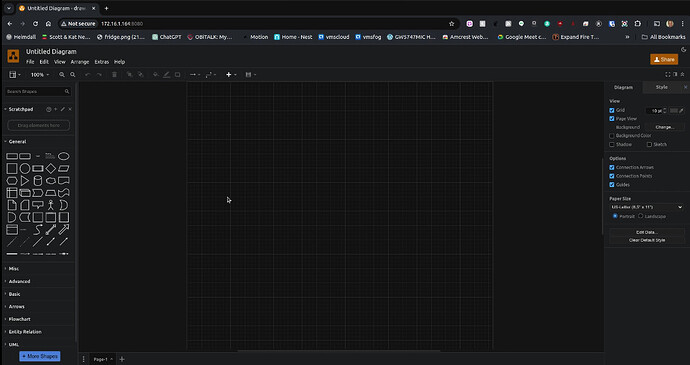
I can go to that address in my web browser at the default port number of 8080 which is the port number that the drawio developer used:
We can also launch another instance of draw.io and allow it to default to the NAT addressed network inside of the incus server.
incus launch docker:jgraph/drawio Draw-2
However, this instance is not reachable on our network from outside of the incus server and this is similar to running a docker application which places a container on the docker NAT network by default.
In docker, we use the “port” directive to map docker ports from a container to the docker host so they can be accessed by the end user. Incus uses a “device proxy” to accomplish the same thing.
incus config device add Draw-2 hostport8080 proxy connect="tcp:127.0.0.1:8080" listen="tcp:0.0.0.0:8080"
This command connects to the container at the loop back address 127.0.0.1 and “listens” for connections from any address at port 8080. Consider this command as effectively a “port forward”.
In the video, I got a permission error with this command. In my experience “some” containers have this problem and some do not. Keep in mind that Incus v6.3 is a first release of OCI container support and I expect this will improve.
One workaround would be to make this a privileged container.
incus config set Draw-2 security.privileged=true
At this point, you can stop the container, apply the proxy and restart it.
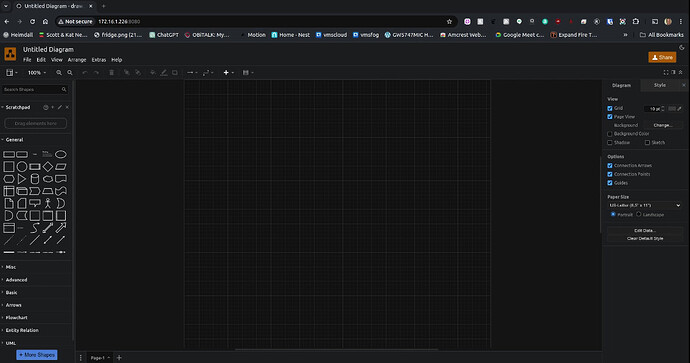
You can now go to your web browser and access the application at the IP address of your incus server with port 8080:
The downside of this approach is that different docker applications must not use duplicate port numbers. That means that another application that wanted port 8080 would have to proxy to a different port number.
Another way to bridge a container to the main LAN would be by creating a network in Incus:
incus network create OCI --type=macvlan parent=bridge0
![]()
This is really just an alternative to using the bridgeprofile.
To use this network:
incus launch docker:jgraph/drawio Draw-3 --network OCI
This creates the Draw-3 container on the main LAN just like the Draw container and the application is accessed on its dedicated LAN address on port 8080.
For the next part of the tutorial, I decided to delete all of the example draw containers:
incus stop Draw Draw-2 Draw-3
incus delete Draw Draw-2 Draw-3
In the second part of the tutorial, I installed a copy of the open source Ghost blogging software as an example of how to use OCI containers in Incus to host an application with more than one container image.
A typical docker compose file for this application might look like this:
services:
  ghost:
    image: ghost:latest
    restart: always
    ports:
      - "8080:2368"
    depends_on:
      - db
    environment:
      url: http://172.16.1.101:80
      database__client: mysql
      database__connection__host: db
      database__connection__user: ghost
      database__connection__password: ghostdbpass
      database__connection__database: ghostdb
    volumes:
      - ./content:/var/lib/ghost/content

  db:
    image: mariadb:latest
    restart: always
    environment:
      MYSQL_ROOT_PASSWORD: your_mysql_root_password
      MYSQL_USER: ghost
      MYSQL_PASSWORD: ghostdbpass
      MYSQL_DATABASE: ghostdb
    volumes:
      - ./mysql:/var/lib/mysql
Since the incus server doesn’t support docker compose for OCI containers, we need to see how this is done differently.
Below I am creating an incus OCI container for the ghost application using the “incus create” command which is the same an “incus init” command as it creates the container but does not start it.
incus create docker:ghost:latest ghost \
  -c environment.url=http://172.16.1.226: \
  -c environment.database__client=mysql \
  -c environment.database__connection__host=ghost-db.incus \
  -c environment.database__connection__user=ghost \
  -c environment.database__connection__password=ghostdbpass \
  -c environment.database__connection__database=ghostdb \
  -c environment.mail__transport=SMTP \
  -c environment.mail__options__service=SMTP \
  -c environment.mail__from=vmsman@gmail.com \
  -c environment.mail__options__host=smtp.gmail.com \
  -c environment.mail__options__port=587 \
  -c environment.mail__options__auth__user=vmsman@gmail.com \
  -c environment.mail__options__auth__pass=secretpassword
In the example above, you would change your passwords accordingly. Something key to point out here is that the ghost application uses a database.
I will also create a database container running “mariadb” and I will name it ghost-db. Incus supports a DNS on its internal NAT network and so the address of that container will be ghost-db.incus.
Also note that the command switches above are of the form "environment.{name} and that is how we can pass docker environment variables to the docker application.
In the case of the “ghost” application, the URL must be either the subdomain name that you defined on your DNS provider in conjunction with an NginX Proxy Manager record or the local address of the incus server which is what I used for simplicity.
Incus OCI containers are volatile just like they are in docker and that means when you shut a container down, all data is lost. Docker solves this problem with persistent volume mounts. We will be doing the incus equivalent of that with “disk” mappings.
First, we must create the folders on the incus server needed for the ghost and the ghost database persistent data because they must exist prior to the commands we will execute afterwards.
mkdir -p ./ghost/content ./ghost/mysql
I add a disk mapping (persistent volume) for the ghost data:
incus config device add ghost content disk source=/home/scott/ghost/content path=/var/lib/ghost/content shift=true
The name “content” is arbitrary. The paths must be absolute paths providing the complete path and the “shift=true” is what allows the container to write to the incus host folder.
Next we add a proxy like we did for the drawio application so that the end users can access the ghost web server:
incus config device add ghost hostport8080 proxy connect="tcp:127.0.0.1:2368" listen="tcp:0.0.0.0:8080"
Note above that ghost uses port 2368 in the ghost container and I remapped that to port 8080 on the incus server. You can change the 8080 port, but not the 2368 port which is an application requirement.
Next we want to create the container for the database that ghost requires.
incus create docker:mariadb:latest ghost-db \
  -c environment.MYSQL_ROOT_PASSWORD=rootpass \
  -c environment.MYSQL_USER=ghost \
  -c environment.MYSQL_PASSWORD=ghostdbpass \
  -c environment.MYSQL_DATABASE=ghostdb
Adjust your passwords accordingly.
We must add persistent storage for the database with another disk mapping.
incus config device add ghost-db ghostdb disk source=/home/scott/ghost/mysql path=/var/lib/mysql shift=true
Start the database container first:
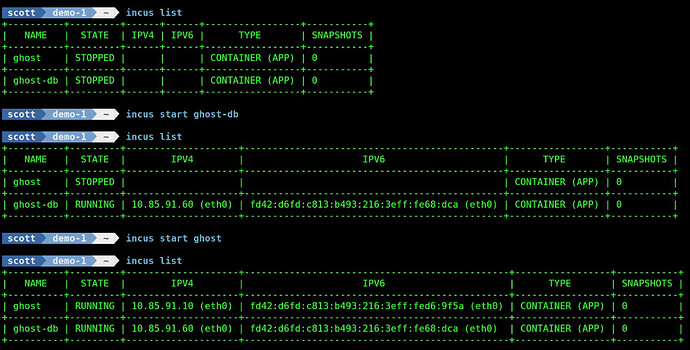
incus start ghost-db
Wait a minute of so and start the ghost application.
incus start ghost
The database is securely isolated on the incus NAT network since there is no proxy allowing LAN users access to the database. That’s because only the ghost application container needs access to the database.
The Incus OCI container support is brand new in Incus 6.3. As of this release, there is yet no support for the docker container restart policies or support for the “depends-on” option for one container to be up before another.
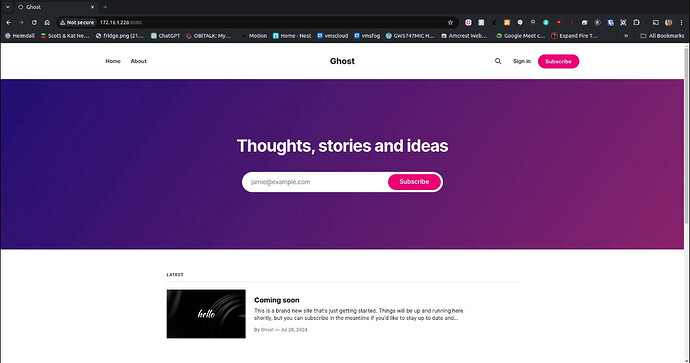
At this point, I can access ghost in my web browser by going to the address of my incus server at port 8080 since that is where I defined the proxy.
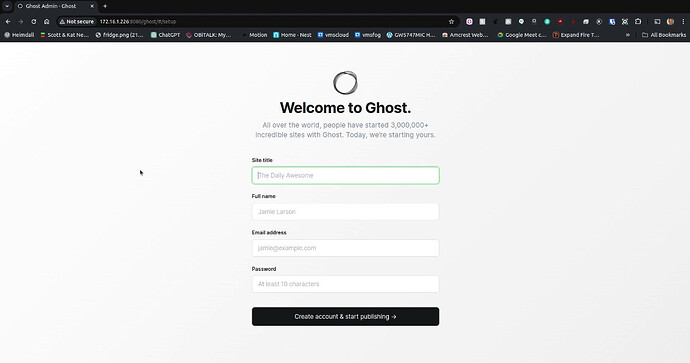
Although this is not a tutorial on ghost, you can access the configuration screen by appending “/ghost” on the end of the URL for initial setup.
So, now incus has support for linux containers, virtual machines and OCI containers. I created a linux OS container and an incus virtual machine in addition to our ghost application containers and note the container differences in the “type” field.
As a footnote, in docker compose you can do a “docker compose pull” to update a container image and a “docker compose up -d” to execute the new image. In incus, this is done more easily:
incus rebuild docker:ghost:latest ghost
I look forward to seeing additional features with Incus OCI container support.
