If you use the Echo Speaks smart application in Hubitat Elevation to drive your Alexa devices for customized speech, be aware that the Heroku cloud application server will begin charging per month for their service on November 28th, 2022. Echo Speaks uses a Heroku routine in order to maintain a valid login cookie to the Alexa service.
Tony Fleisher, the author of Echo Speaks has developed a local Echo Speaks authorization server that removes this need for Heroku and runs on your local network.
There are two ways to install this local authorization server. Both methods require a Linux server that can be a Raspberry Pi, a Virtual Machine, or a LXC/LXD container.
The first way to install the container is in Docker.
To install Docker if it is not installed:
curl -sSL https://get.docker.com | sh
Create a folder, move into it and edit a compose file:
mkdir echo-speaks
cd echo-speaks
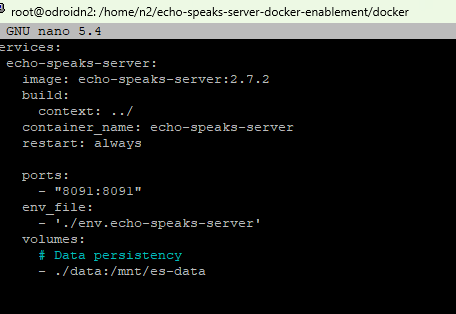
nano compose.yml
Insert the following into the file and adjust your IP address, Amazon domain, and region as required.
services:
  echo-speaks-server:
    container_name: echo-speaks-server
    image: tonesto7/echo-speaks-server
    restart: unless-stopped
    # Network mode host allows IP to be automatically detected
    # Windows MUST change from host to bridge mode and set IP in settings below
    # network_mode: host
    #ports:
    #  - 8091:8091   # WebUI must match PORT below
    network_mode: host
    environment:
      - useHeroku=false
      - hubPlatform=Hubitat

      #### UNCOMMENT Options to use them (remove the # and keep the -) ####
      ## Host IP Address Override if needed
      ## MUST Uncomment next line and set IP when using network_mode: bridge
      - ipAddress=192.168.1.176

      ## Change WebUI Port if needed
      - PORT=8091

      ## Set callback URL here if you want
      #- appCallbackUrl=

      ## Set amazon domain and locale if need to change from default
      - amazonDomain=amazon.com
      - regionLocale=en-US

    # Keeps login and session if re-deployed
    volumes:
      - ./data:/root
Save the file with CTRL O and Enter and CTRL X to exit the nano editor. Then start the application.
docker compose up -d
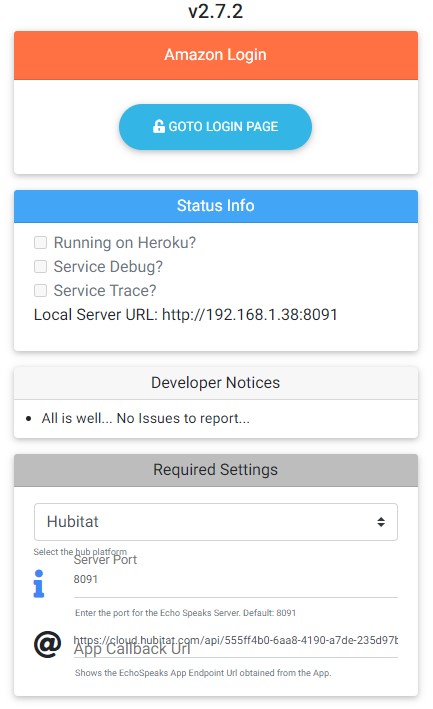
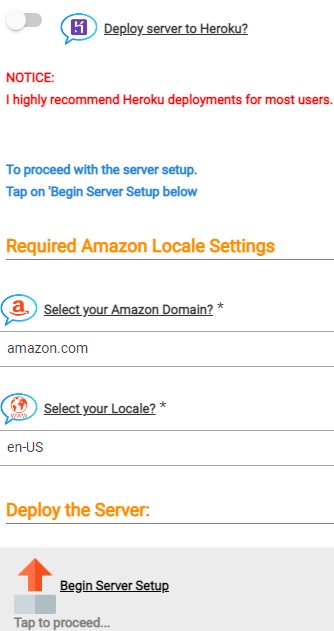
Go back to the Echo-speaks app in the Hubitat and clear your server setup. Then initiate the setup being sure to turn off the “Deploy to Heroku” switch. That’s it!
ALTERNATE INSTALLATION OF ECHO SPEAKS AUTHORIZATION SERVER WITHOUT DOCKER
On your target server, install the dependencies:
sudo apt install nodejs
sudo apt install npm
Now get and install the Echo Speaks Server application.
npm i https://github.com/tonesto7/echo-speaks-server
sudo npm install -g pm2
cd node_modules/echo-speaks-server
sudo pm2 start index.js
sudo pm2 list
sudo pm2 save
sudo pm2 startup
sudo pm2 save
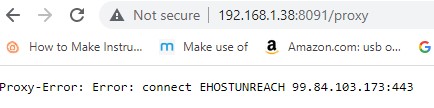
Test to see that it is running by visiting the Web page (with the address of your server at port 8091)
In my case: http://172.16.1.78:8091
That’s it!