About nine months ago I created a tutorial on how to create a “Windows 11 LXD Virtual Machine”. This time, I create a Windows 11 Virtual Machine in an Incus Virtual Machine container.
Normally, all Incus containers are created from images. In the case of a Windows 11 Incus Virtual Machine, there is no pre-built image and for that reason, we have to build an installation image and install the operating system manually.
Go over to the follwing URL in your browser to download a copy of the Windows ISO image:
https://microsoft.com/software-download/windows11
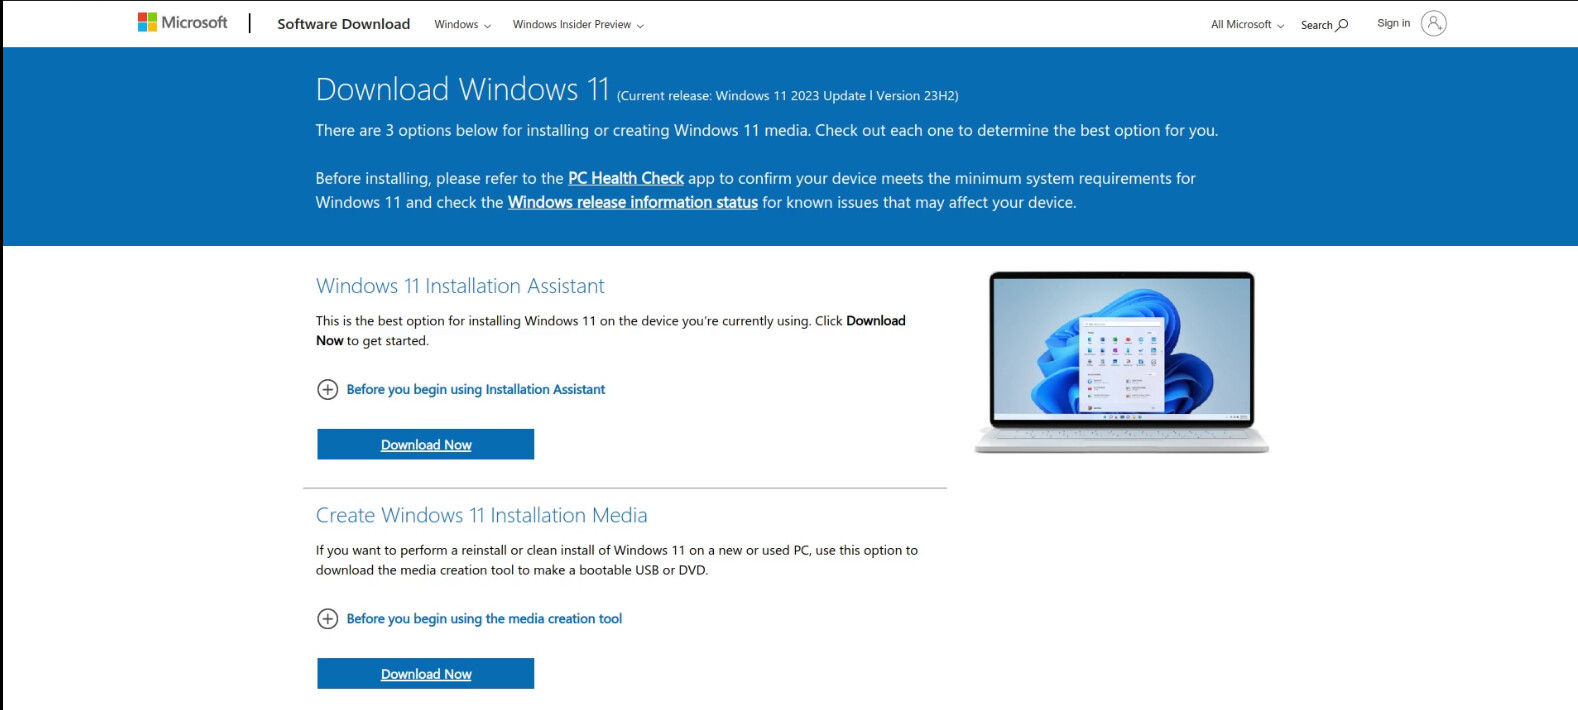
Scroll down to where it says "Download Windows 11 Disk Image (ISO) for x64 devices and select “Windows 11 (multi-edition ISO for x64 devices)” in the drop down menu.
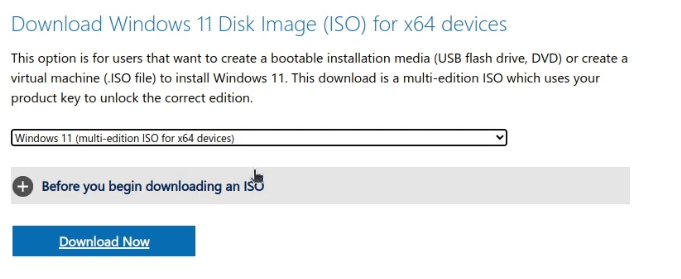
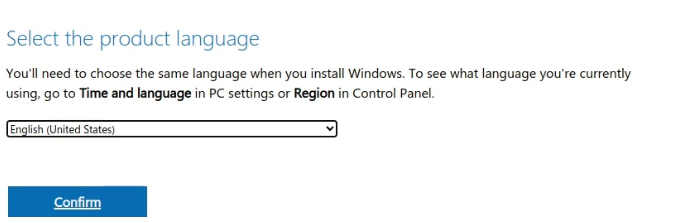
Press the “Download Now” button above. Next, choose your product language and then click “Confirm”.
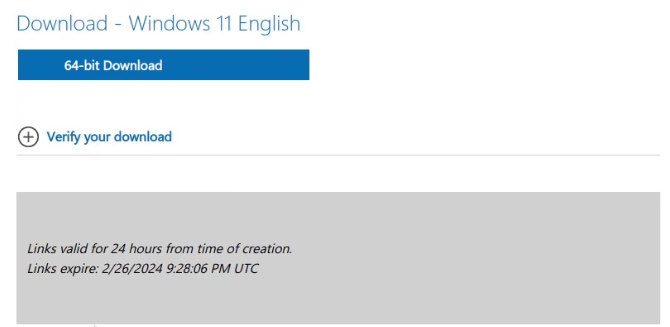
Finally, click the “64-bit Download”.
Log into your Incus Server where you want to host your Incus Windows 11 Virtual Machine. If you do not yet have an Incus Server, watch my video “Incus Containers Step by Step”.
Install “Distobuilder” which is a tool we need to re-package the Windows ISO.
sudo snap install distrobuilder --classic
Also install the following tools:
sudo apt install -y libguestfs-tools wimtools rsync
Copy the Windows download ISO to the folder that you are in and check its name. Then execute the following command to re-package the distribution, adjusting the file names accordingly.
sudo distrobuilder repack-windows Win11_23H2_English_x64.iso Win11_23H2_English_x64.incus.iso
Create an empy Incus VM.
incus init win11vm --empty --vm
Set the size of your Windows installation disk accordingly. Note: this disk size comes out of the Incus default storage pool disk space.
incus config device override win11vm root size=85GiB
Set the number of virtual CPU cores and memory for your VM depending on available resources and your requirements.
incus config set win11vm limits.cpu=4 limits.memory=8GiB
Create a virtual Trusted Platform Module (TPM) for Windows.
incus config device add win11vm vtpm tpm path=/dev/tpm0
Define where the installation media ISO that we created with Distrobuilder is located and give it boot priority. Be sure to provide the complete pathway to where that file is located.
incus config device add win11vm install disk source=/home/scott/Win11_23H2_English_x64.incus.iso boot.priority=10
Set up the Windows sound device to use the Spice driver for Virt-Viewer.
incus config set win11vm raw.qemu -- "-device intel-hda -device hda-duplex -audio spice"
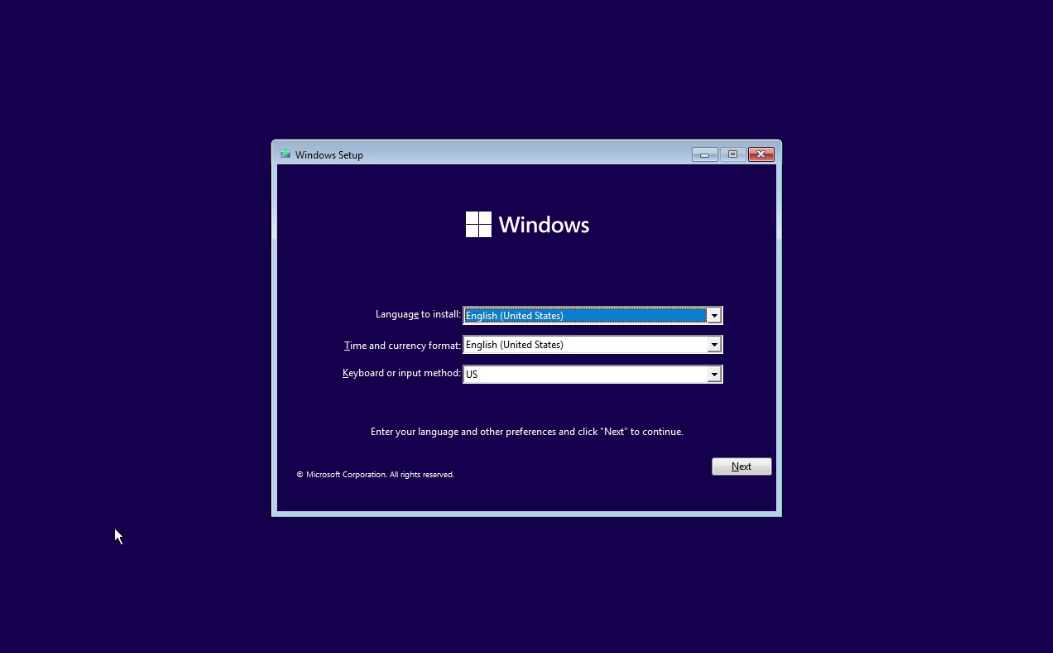
Boot the Windows 11 Incus VM to begin the installation process. Note that the splash screen will indicate “Zabbly” which is the Incus project creators and not “LXD”.
incus start win11vm --console=vga
During the process of Windows installation there will be several reboots which is normal. Each time a reboot occurs, the “Remote Viewer” will exit. In order to restart it and continue the installation execute the following command:
incus console win11vm --type=vga
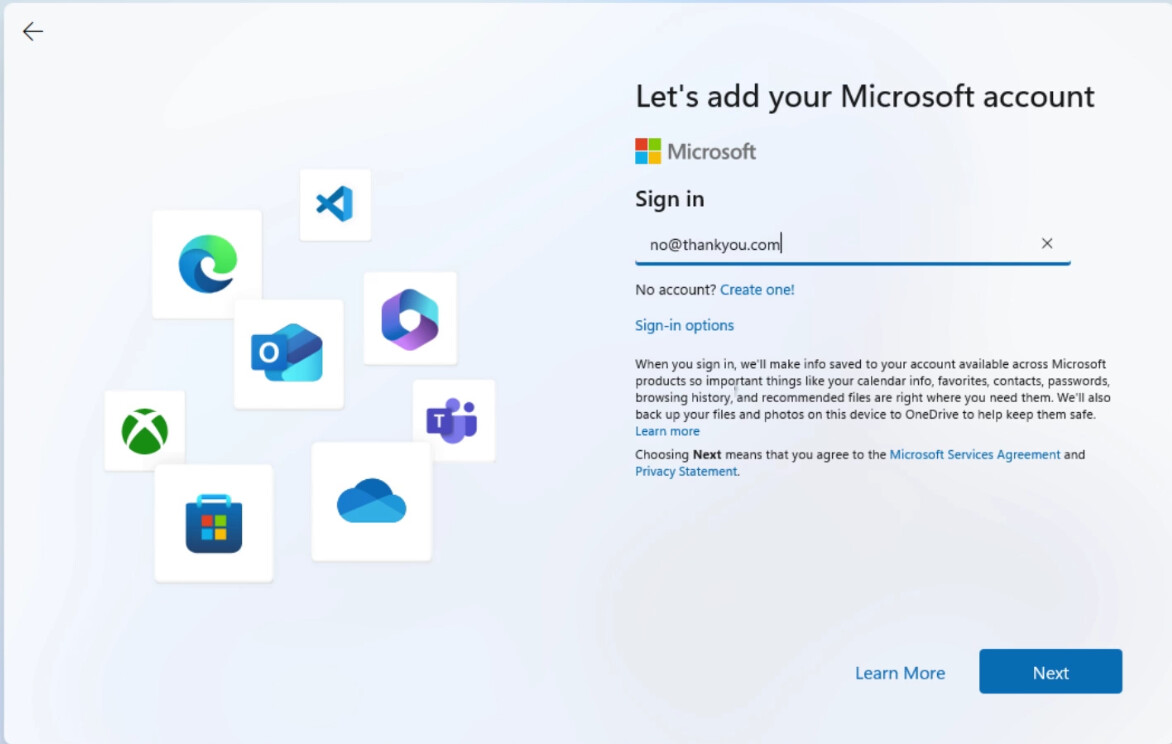
When you get to the point that you are asked to create or connect to a Microsoft Account, I like to bypass that and have a local sign-on account for my Windows 11. To achieve this, use “no@thankyou.com” as your Microsoft account name and when it asks for a password, enter anything at all.
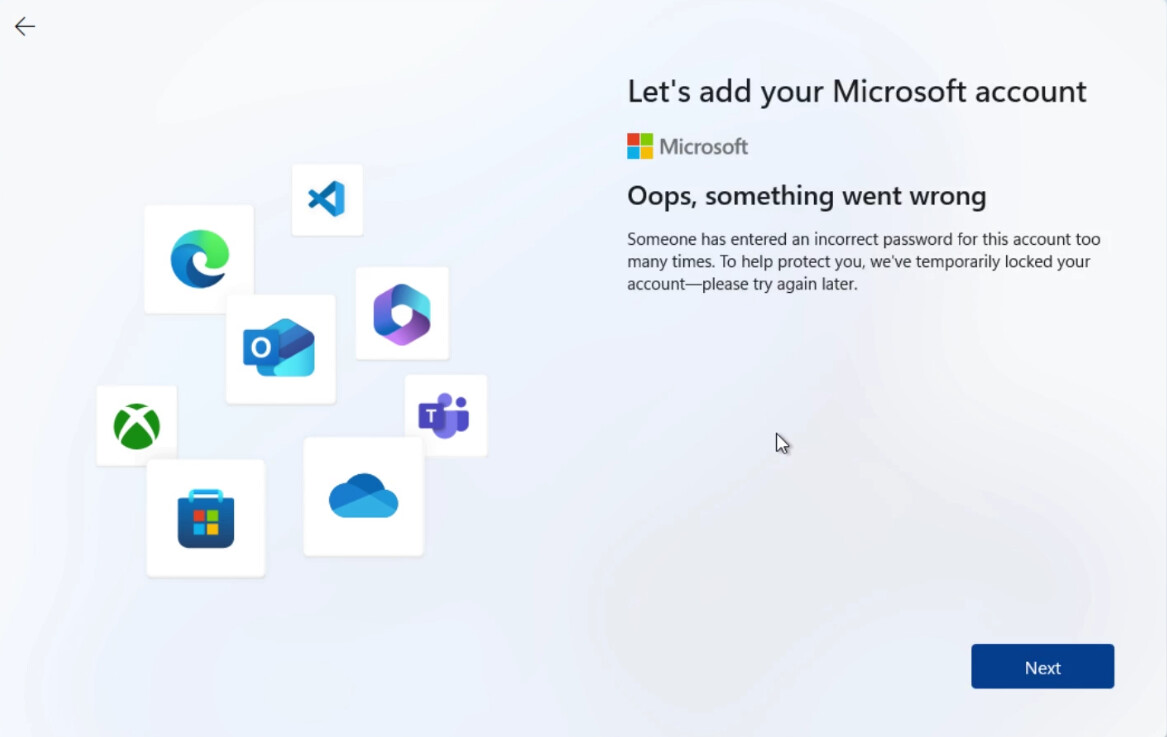
Once you do this, you will get the following screen and you want to click “next”.
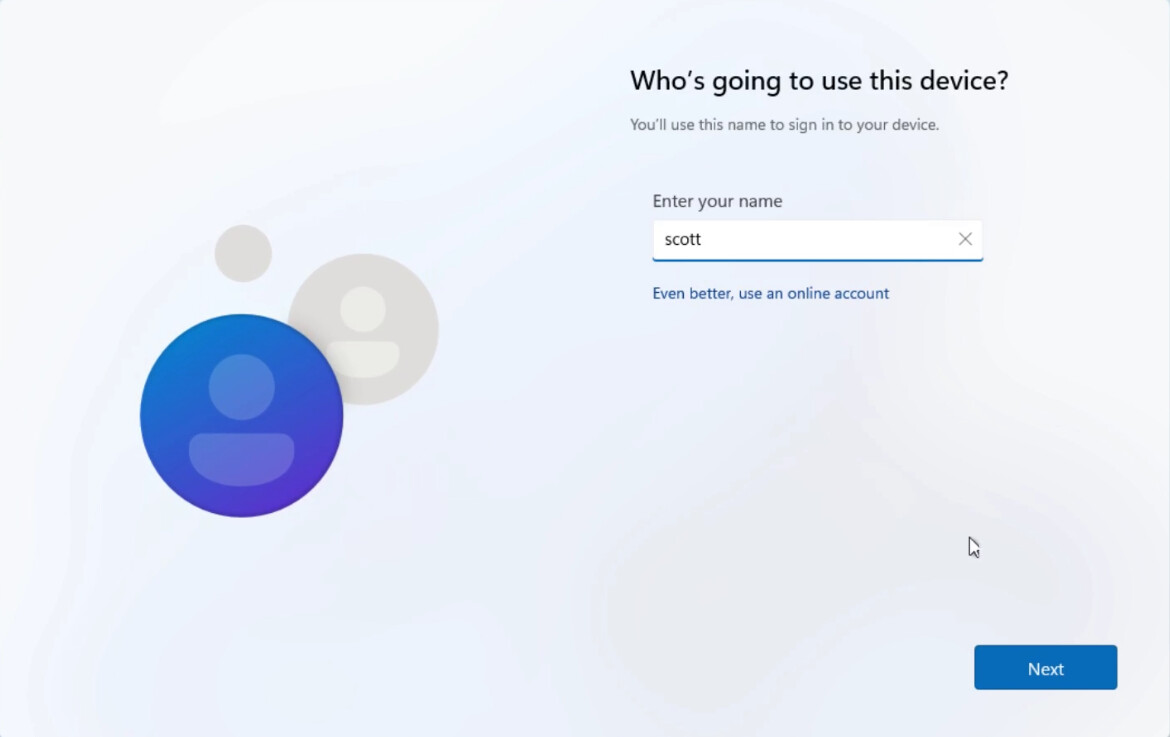
At this point, you can create a local account.
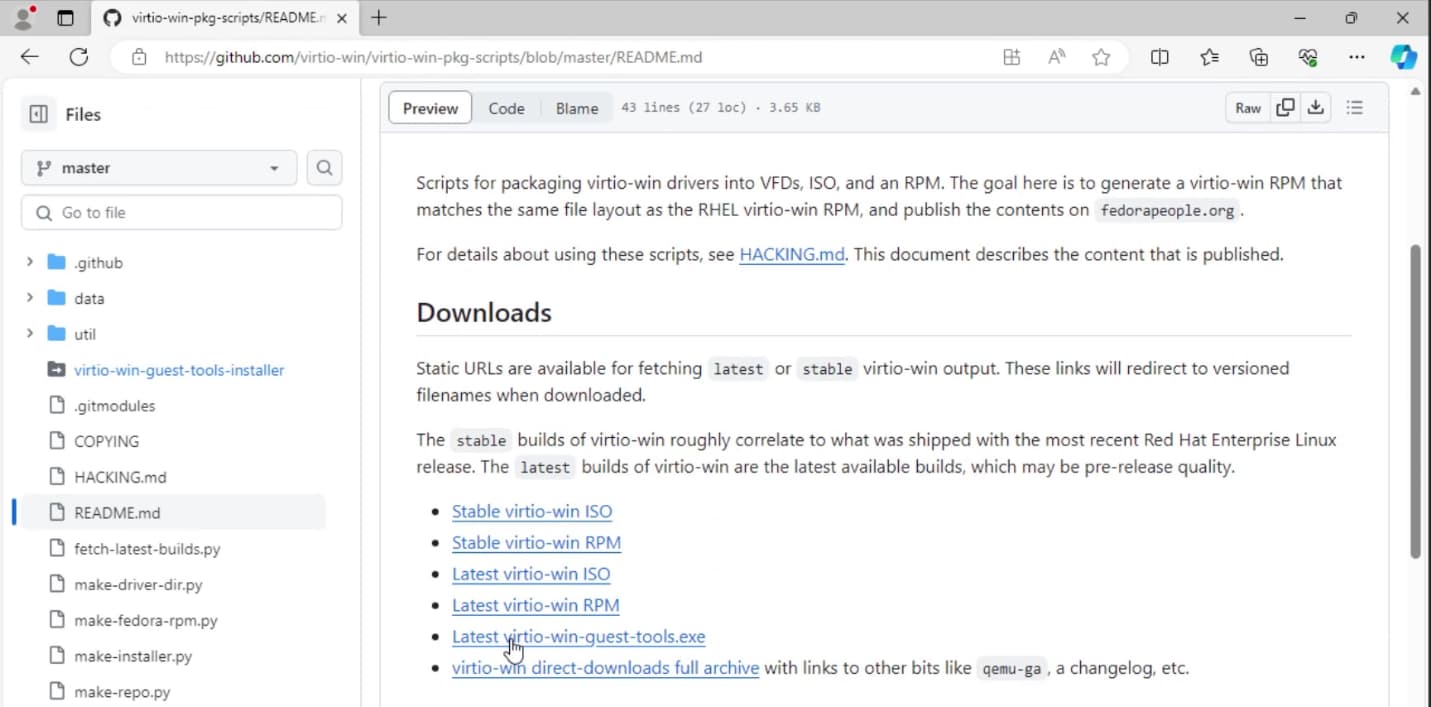
Once you are logged into your new Windows 11 Incus VM, you will want to install the Redhat Virt-IO drivers to improve performance. In the Microsoft Edge browser, navigate to:
https://github.com/virtio-win/virtio-win-pkg-scripts/blob/master/README.md
Scroll down the page and download the “Latest virtio-win-guest-tools.exe”.
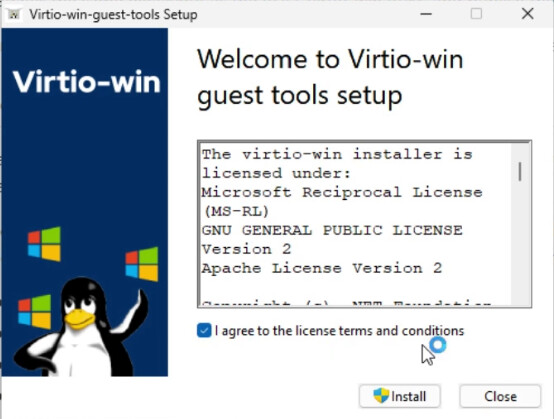
Run the installation and accept all the defaults.
Reboot your Windows 11 Incus Virtual Machine and once again enter the following command to restart the remote viewer.
incus console win11vm --type=vga
At this point, you are running the Redhat Virt-IO drivers for your Windows 11 Incus Virtual Machine and you can adjust your screen resolution and make other customizations.

Finally, back at your Incus server command line, you can dismount the Windows installation boot ISO image with the following command so that it doesn’t give the prompt to boot to the install media every time that Windows starts.
incus config device remove win11vm install
Enjoy your Windows 11 Incus Virtual Machine!