TCP/IP is a broadcast based protocol and this means that all systems on a particular subnet hear communication from one another. VLANs allow more than one network to run on a single cable and on a single network adapter. VLANs improve not only security, but performance because they allow traffic to be isolated.
Most tutorials online focus on configuring VLANs on managed routers and switches. Notably, companies set a VLAN profile on designated switch ports and connected computers are unaware they are even on a VLAN.
This tutorial assumes that the switch port profiles to which your homelab PCs are connected is unrestricted. I show how to configure VLANs on Ubuntu and Windows for your physical Ethernet adapter.
To start with, I address how to configure a VLAN on an Ubuntu Desktop through the GUI. In order to do this, we need a component called “NetworkManager” installed. This is usually installed on most Ubuntu Desktops. If not, it is installed via the following command which also adds the proper GUI integration:
snap install network-manager network-manager
Now we need to run the “Network Connection Manager”. This program is named “nm-connection-editor” and can be run either from the app drawer or a terminal. When launched, it shows as follows:
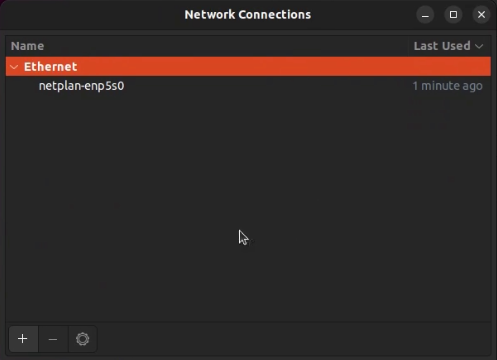
Press the “+” in the bottom left of the screen and select the connection type of VLAN.
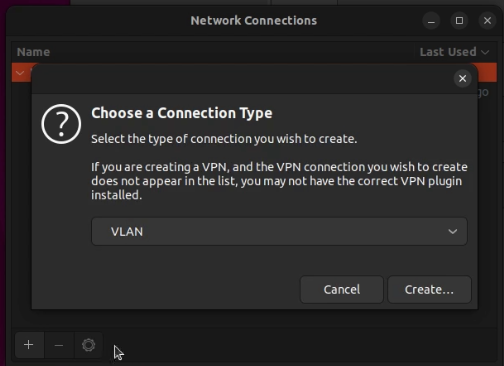
Press the create button and then on the next screen you can provide a connection name, select the parent adapter name for your NIC, the VLAN ID number, and you can name the Interface if you like.
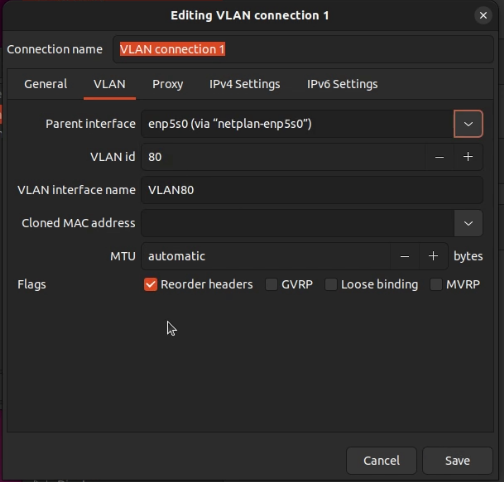
Once the data is filled in and you click SAVE you will be prompted for your “sudo” password. Execute an ifconfig command from your terminal and you should now see the new VLAN adapter.
ifconfig
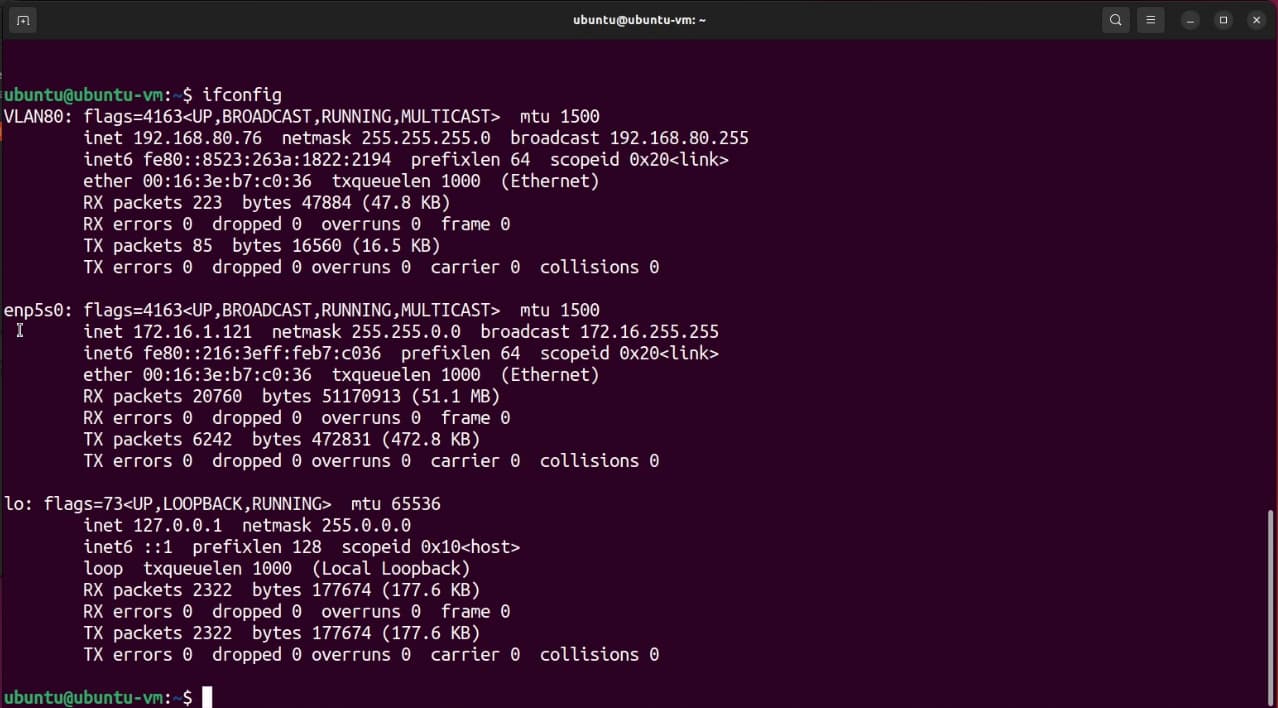
You can add additional VLAN adapters in the nm-connection-editor using the same process.
You can delete interfaces by highlighting them in the connection editor and pressing the “-”.
You can also configure VLAN interfaces from Netplan:
cd /etc/netplan
Edit your configuration YAML file. Your file name will be different.
sudo nano 00-default-nm-renderer.yaml
Delete the contents of the file and enter something like the following being sure to adjust your adapter name and your VLAN as required.
network:
  version: 2
  ethernets:
    enp5s0:
      dhcp4: yes
  vlans:
    vlan80:
      id: 80
      link: enp5s0
      dhcp4: yes
Do a CTRL O and ENTER to SAVE the file and a CTRL X to exit the editor.
Apply the new network configuration.
sudo netplan apply
After this, my network appears as follows:
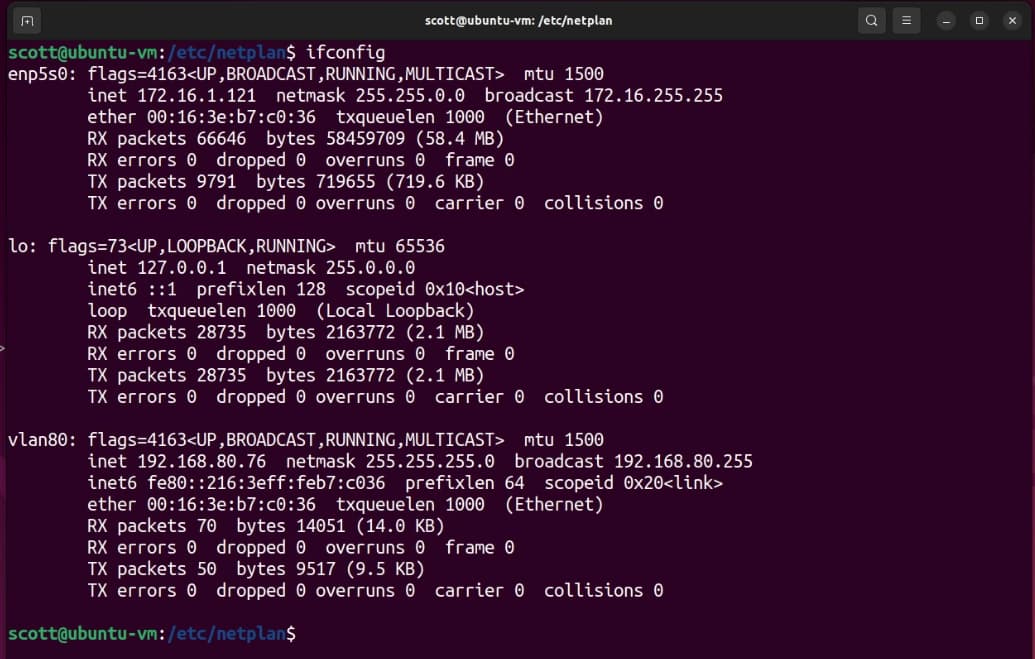
In the video, I edited the file again and added a section for vlan30 as well and I did a “netplan apply” again to add another vlan.
To remove a vlan:
sudo ip link set dev vlan80 down
sudo ip link delete vlan80
In the next section of the video, I show how to create VLAN adapter connections in Windows 11.
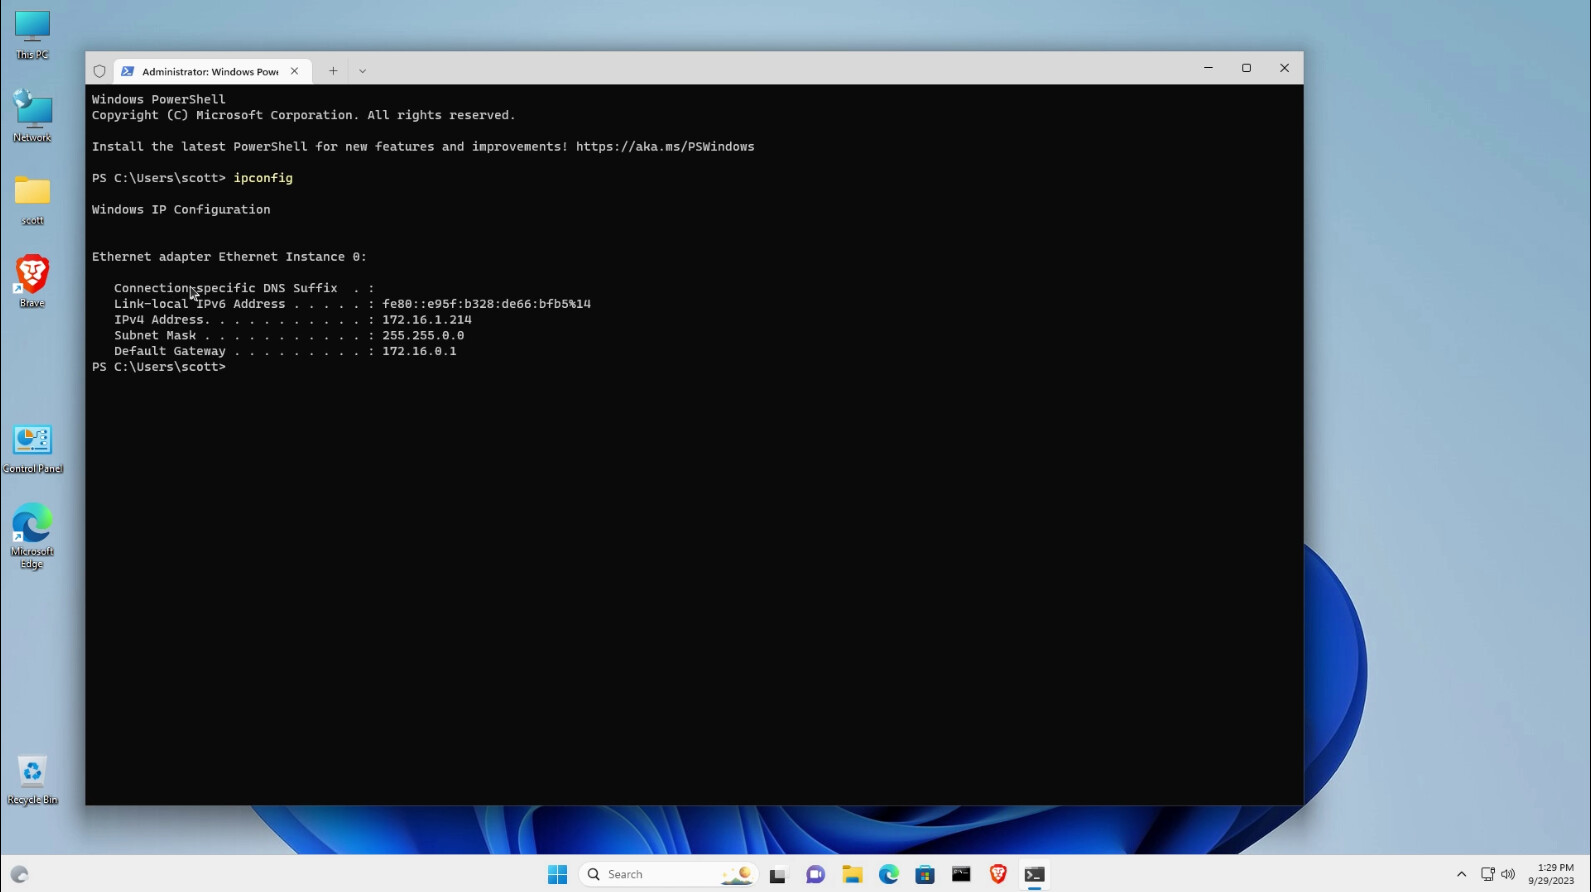
Start a admin authorized PowerShell session as shown in the video.
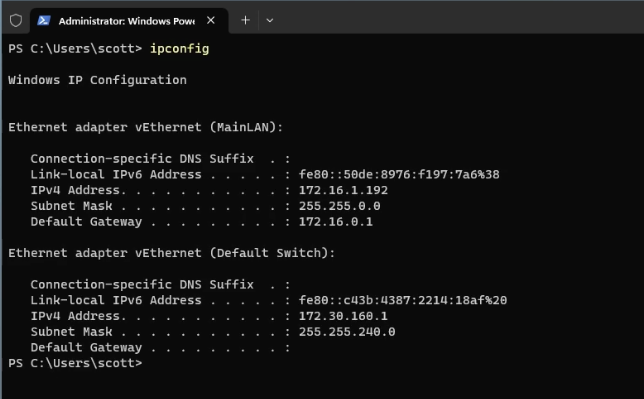
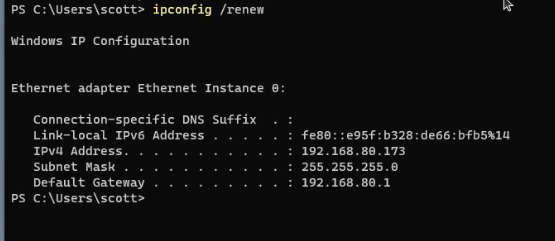
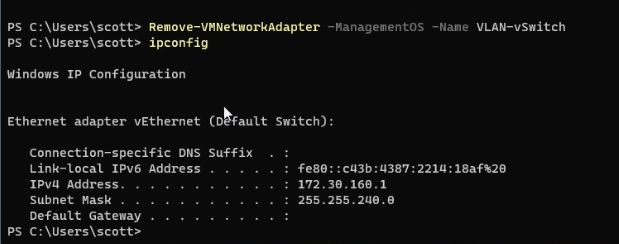
The ipconfig command shows the interface currently.
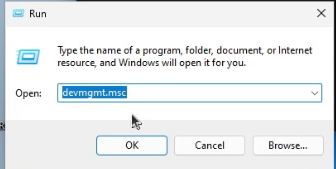
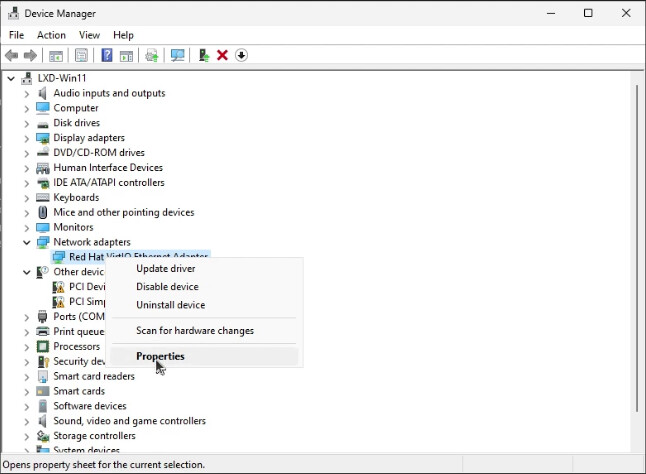
To change your Windows Ethernet Interface to use a VLAN, right click on your START button and select the “Run” option. In the run box enter “devmgmt.msc” to bring up the Windows device manager.
Find your Network Adapter, right click it and select properties.
In the properties screen go to the advanced tab. Scroll down in the properties to find VLAN ID.
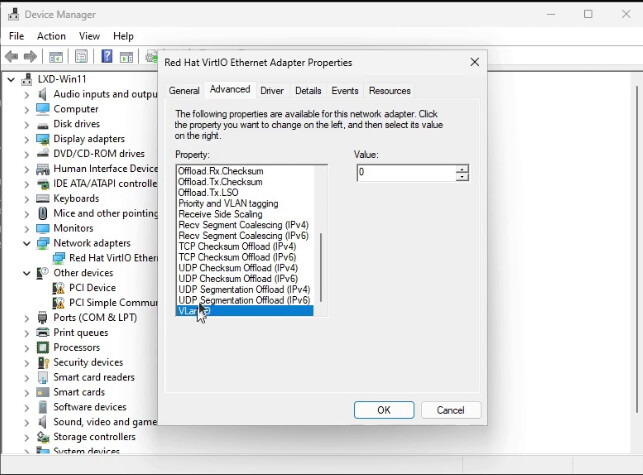
Type in the VLAN number that you want to connect to. Back in the PowerShell session:
ipconfig/renew
To change this back, you can go back into the VLAN ID and change it back to zero.
In order to have multiple adapters connected to different VLANs in Windows we will need to use Hyper-V Switch Manager. Hyper-V is an optional component of Windows Professional, but is not available in Windows Home.
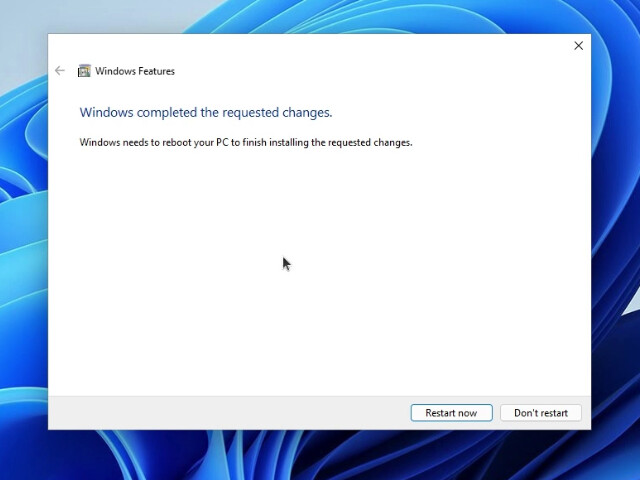
To load Hyper-V on your Windows Professional system, click START, type features and choose “Turn Windows features on or off”. Put a check mark in “Hyper-V” and click OK.
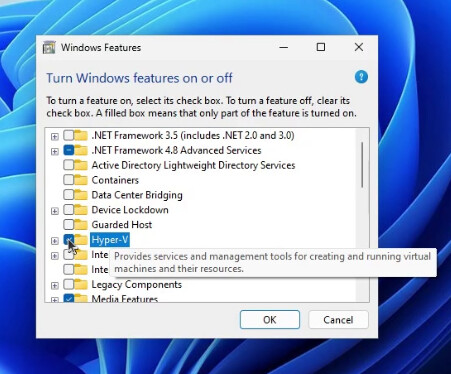
Your system will now need to reboot.
When the system reboots, login and start an admin instance of PowerShell.
Find out the name of your Network Adapter:
Get-NetAdapter

Create a new virtual switch and use the name of your Network Adapter:
New-VMSwitch -name VLAN-vSwitch -NetAdapterName "Ethernet Instance 0" -AllowManagementOS $true

We want to delete the Virtual Switch that Hyper-V created upon its installation:
Remove-VMNetworkAdapter -ManagementOS -Name VLAN-vSwitch
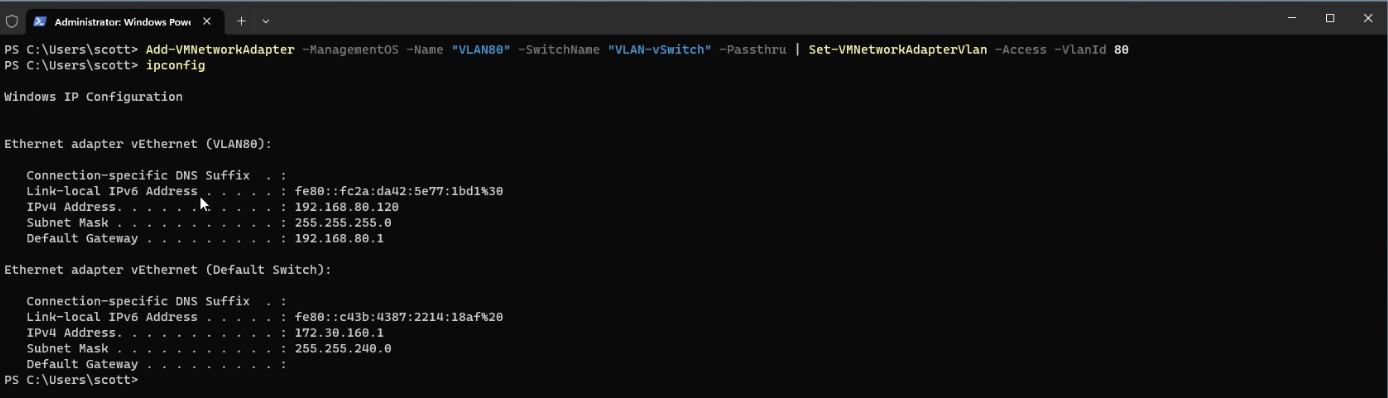
I added a Network interface for VLAN80.
Add-VMNetworkAdapter -ManagementOS -Name "VLAN80" -SwitchName "VLAN-vSwitch" -Passthru | Set-VMNetworkAdapterVlan -Access -VlanId 80
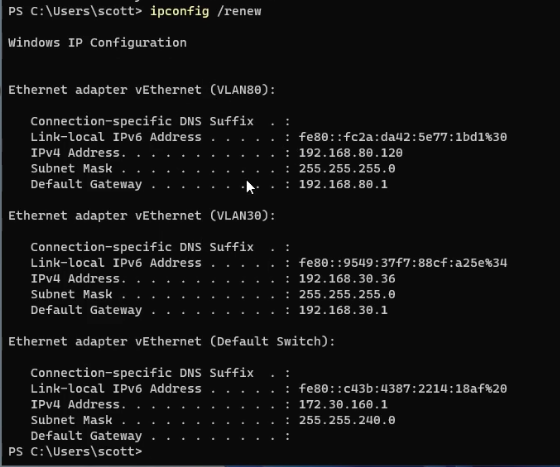
I also added an adapter for VLAN30.
Add-VMNetworkAdapter -ManagementOS -Name "VLAN30" -SwitchName "VLAN-vSwitch" -Passthru | Set-VMNetworkAdapterVlan -Access -VlanId 30
Next:
ipconfig/renew
I also added another interface for my MAIN untagged LAN:
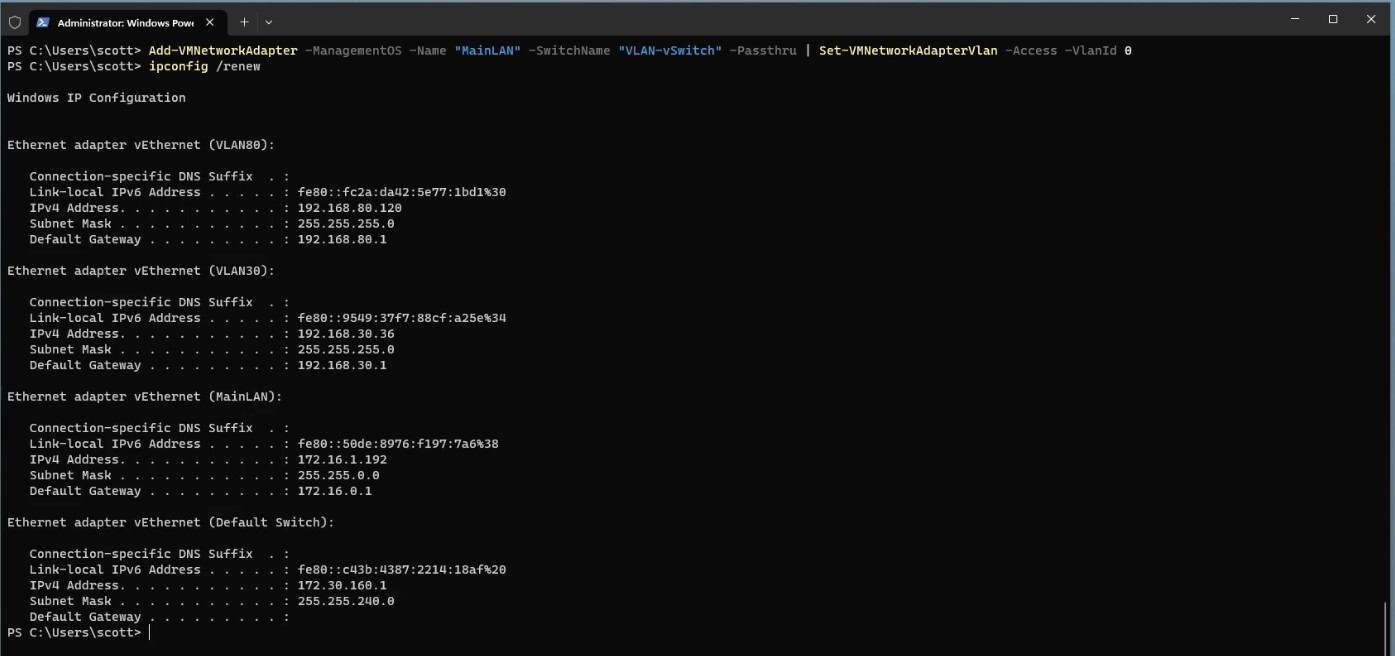
Add-VMNetworkAdapter -ManagementOS -Name "MainLAN" -SwitchName "VLAN-vSwitch" -Passthru | Set-VMNetworkAdapterVlan -Access -VlanId 0
After an ipconfig/renew, you can see MainLAN, VLAN30 and VLAN80.
To remove the VLAN adapters:
Remove-VMNetworkAdapter -ManagementOS -Name VLAN30
Remove-VMNetworkAdapter -ManagementOS -Name VLAN80