This tutorial shows step by step how to convert a Virtualbox Virtual Machine to an Incus Virtual Machine. The technique covered in this video will be valuable in converting other types of Virtual Machines to Incus as well.
My use case in this video is a bit more complex because I actually converted a Virtualbox snapshot to an Incus VM.
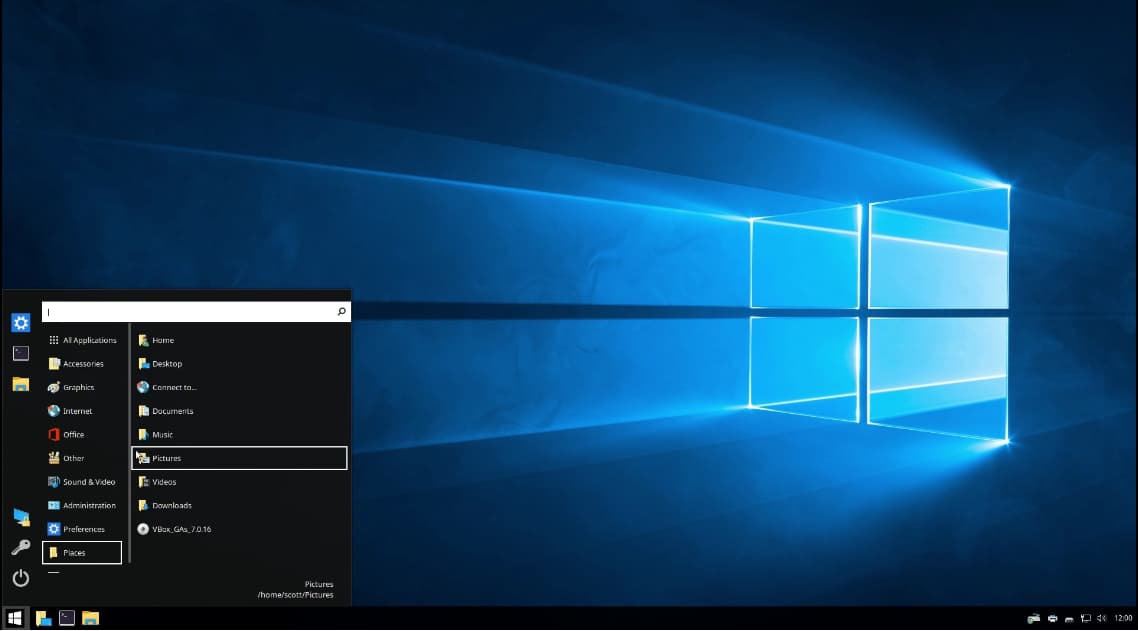
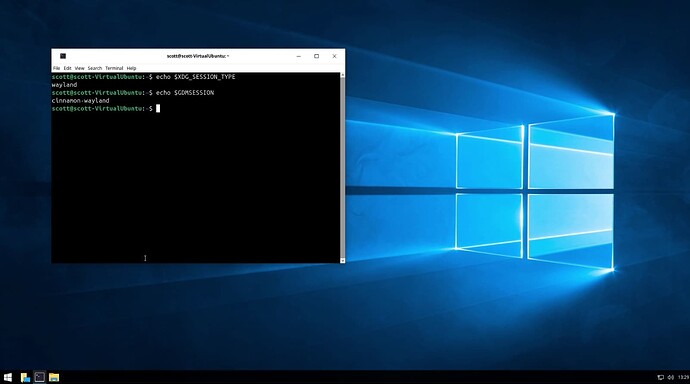
I got creative with modifying an Ubuntu Desktop to make it look visually similar to Windows 10. This was possible using the cinnamon desktop manager as well as the nemo file manager along with other graphical modifications. This shows how customizable a Linux desktop can be.
Open a terminal with CTRL ALT T in your Virtualbox virtual machine and let’s make a note of the window manager:
echo $XDG_SESSION_TYPE
Then let’s make a note of your desktop manager:
echo $GDMSESSION
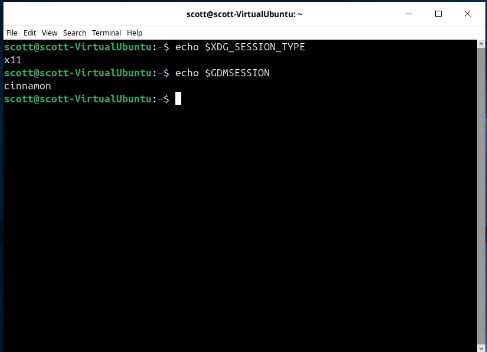
In my virtual machine, I had the X11 window manager and my desktop is being managed by Cinnamon. The cinnamon desktop manager is normally the desktop manager found in Linux Mint. The normal default for Ubuntu would be the Ubuntu desktop manager.
Before we can transition our Virtualbox virtual machine to Incus, we will want to uninstall the Virtualbox guest additions from our VM.
sudo /opt/VBoxGuestAdditions-*/uninstall.sh

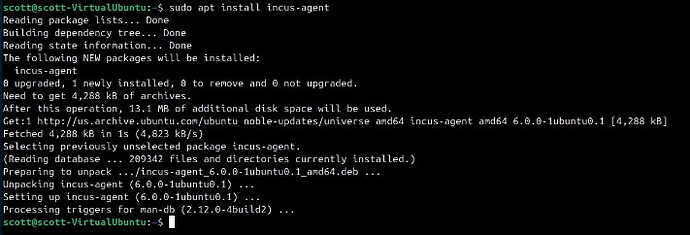
The incus agent is a piece of software that allows us to connect to an Incus container or incus virtual machine. We want to install the incus agent prior to the migration.
sudo apt install incus-agent
You can now shutdown the Virtualbox virtual machine.
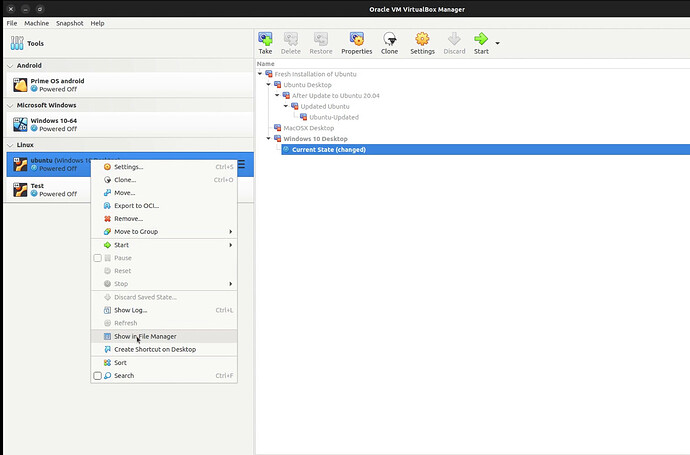
Back in the VirtualBox Manager screen, you will want to right click on your virtual machine and select the option to “Show in File Manager”.
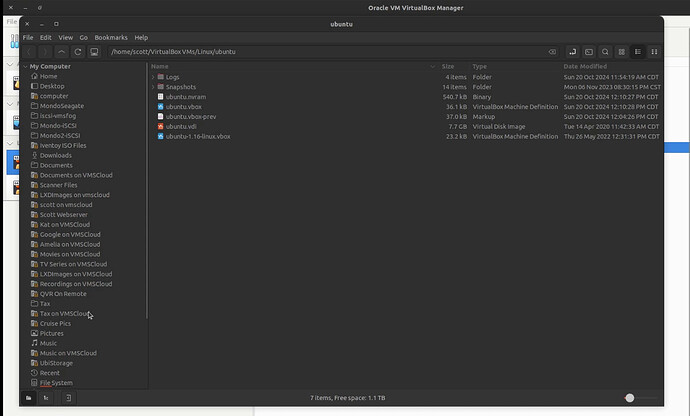
This brings up a file manager screen. The virtual disk (VDI) listed on this screen is the original virtual disk image that was created when the VM was created. In my case, this dates back to 2020.
Since, I have taken snapshots of my Virtualbox VM, I want to have the latest snapshot image. To do so, I need to navigate inside of the “Snapshots” folder.
I want to create my converted disk image from the latest VDI image and you can see that highlighted below.
I can now exit the Virtualbox manager completely and go into a terminal.
You would think that I would be able to use the qemu-img utility from QEMU to convert the virtualbox image since Incus VM’s are QEMU VM’s front ended by the incus CLI and API.
This will not correctly convert the virtualbox VDI image because it is a snapshot. Virtualbox uses differential backups to create their snapshots and so all of the elements to recreate the disk image are not found in the snapshot image. Therefore, the following command will NOT WORK:
qemu-img convert -f vdi -O qcow2 "/home/scott/VirtualBox VMs/Linux/ubuntu/Snapshots/{1d79fcab-cbfd-4f85-9a3f-54dc402a8817}.vdi" /home/scott/Desktop/working/converted.qcow2
Instead, we will use the Virtualbox VBoxManage command to clone the disk with the following command:
VBoxManage clonemedium disk "/home/scott/VirtualBox VMs/Linux/ubuntu/Snapshots/{1d79fcab-cbfd-4f85-9a3f-54dc402a8817}.vdi" /home/scott/Desktop/working/converted.qcow --format qcow
Note that the original file path to the VDI snapshot image is quoted because of the embedded space. Also note that I am converting the VDI image to a QCOW image. The reason for that is because qcow images are smaller because they do not use the entire raw image drive size.
Incus uses a program called incus-migrate to import containers from disk images. Incus-migrate is not installed by default when incus is installed. To install incus-migrate:
sudo apt install incus-extra
Now that incus-migrate is installed as a part of the incus-extra package, execute the program to begin importing the disk image into incus thus creating an Incus virtual machine.
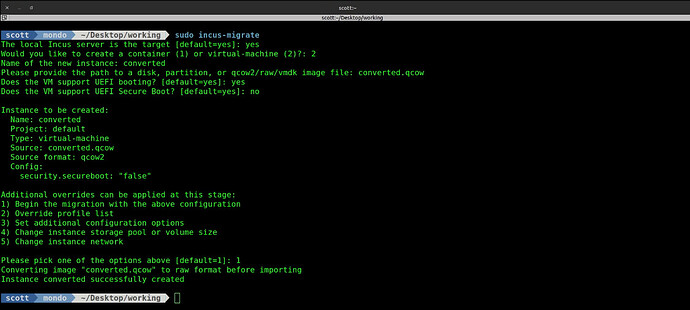
sudo incus-migrate
Prior to Incus v6.6, incus-migrate only supported importing raw images. However, with the release of Incus v6.6, qcow2 and vmdk images may also be imported. As shown in the video, here is the dialogue from incus-migrate:
Incus Virtual Machines get 1GB of memory and a single vCPU core by default. Since this instance is Ubuntu 24.04, the minimum requirements for Ubuntu 24.04 are 4GB of memory and 2 vCPU’s. To change these resources on my Incus Virtual Machine named “converted”, I executed the following command.
incus config set converted limits.memory=4GiB limits.cpu=2
Next, start your Incus Virtual Machine.
incus start converted
In the tutorial, I was unable to login initially and instead I was returned to the login screen after entering my password. As close I was able to determine, Incus Virtual Machines (or at least Incus VM’s with a Cinnamon desktop) prefer Wayland as opposed to X11 as the display manager,
To convert to the Wayland display manager, first sign into the shell root account.
incus shell converted
Then edit the graphical display manager configuration file.
nano /etc/gdm3/custom.conf
Look for the WaylandEnable keyword, uncomment it and set it to true.
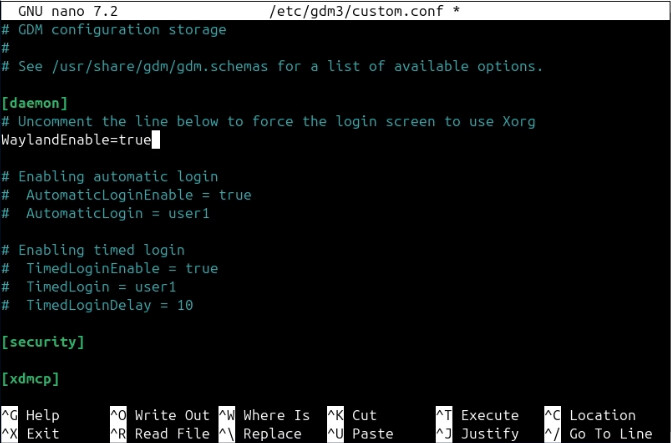
Save the file with CTRL O and enter and then CTRL X to exit the nano editor.
Reboot the virtual machine:
reboot now
When you are returned to the command prompt on your Incus server, issue the following command to go into the remove viewer for your VM.
incus console converted --type=vga
In the video, I full screened the remote viewer and logged in.
After logging in, you can see that I am running the Wayland display manager with Cinnamon as my desktop session manager.
