Adding an SSD Storage Pool on a QNAP NAS and migrating Virtualization Station and Container Station applications and data to a volume on the SSD pool can massively improve the performance of your containers.
In my case, my QNAP TS-1277 had an additional four 2.5" drive bays in addition to the standard 3.5" drive bays where I have Western Digital Gold Enterprise drives installed. If yours NAS doesn’t have these bays, but does have at least one PCIe expansion slot, consider adding an external SATA controller to connect/host an SSD array.
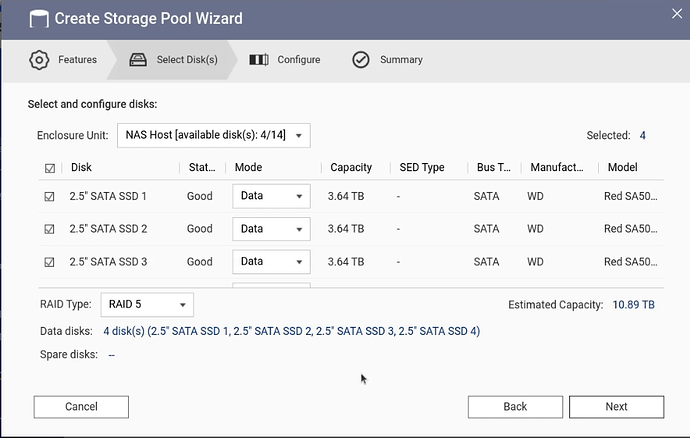
I decided to install four Western Digital SA500 Red SATA SSD drives with a 4TB capacity each. Next, I created a RAID 5 set from these four drives which after formatting provided a net 10TB of storage.
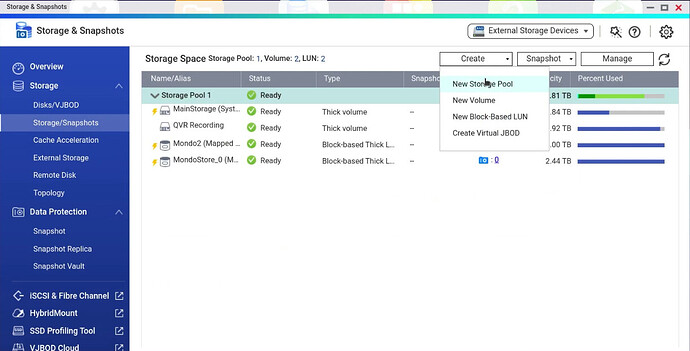
With the new drives installed in the 2.5" drive bays in the QNAP NAS, I head over to the “CREATE” menu in “Storage & Snapshots” and select the “Create” option and I select “New Storage Pool”.
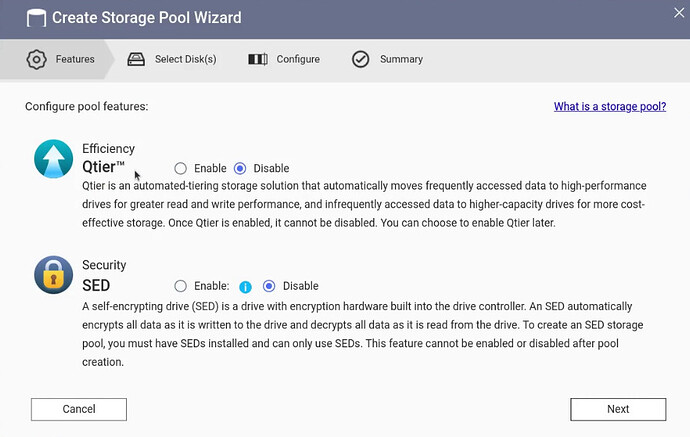
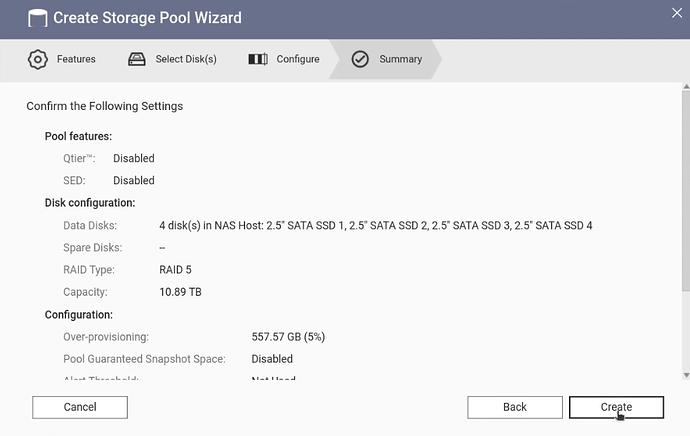
I do not want the new Storage Pool to be a part of “Qtier”. Tiered storage provides a means of intermediate caching and I had an almost catastrophic experience when I used it with my two motherboard based M.2 drives and one failed. Tiered storage, unless enabled in the right situations can be dangerous.
I also opted to disable “SED” to encrypt the new pool. This is for a home lab and I didn’t need that level of security and also felt that the additional “writes” for encryption would lead to a shorter SSD life.
On the next screen, I selected all four of the new SA500 SSD drives and make sure that RAID 5 is selected.
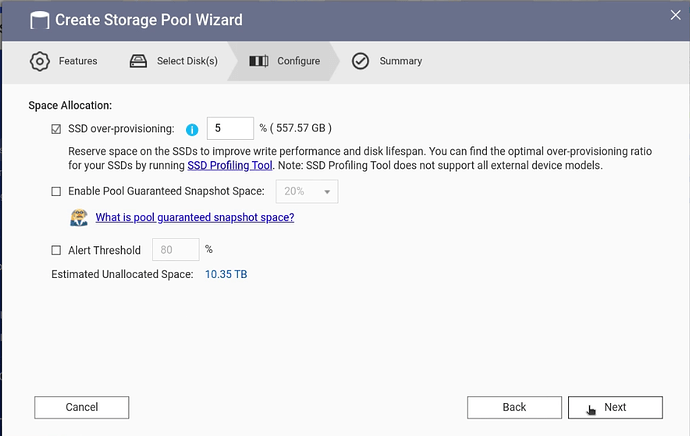
On the next screen, I opted not to enabled Snapshot space since I planto use the space for containers and VM’s which I plan to backup on a separate schedule. I turn off the alert threshold since I am planning to use the entire pool space for one LUN.
The next screen is a review of the selected options and I selected “Create”.
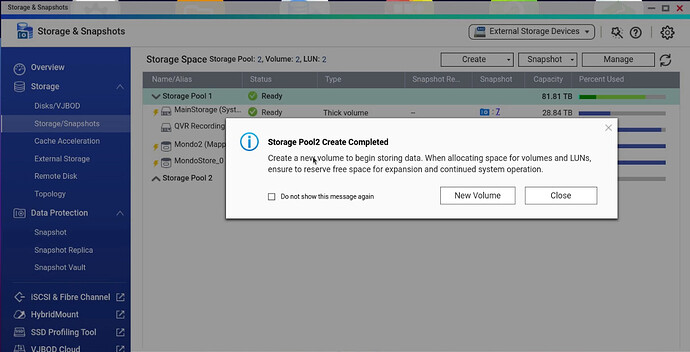
After a brief time, I get a pop-up saying that the storage pool has been created and I select the “New Volume” option to create a new volume/LUN on the new pool.
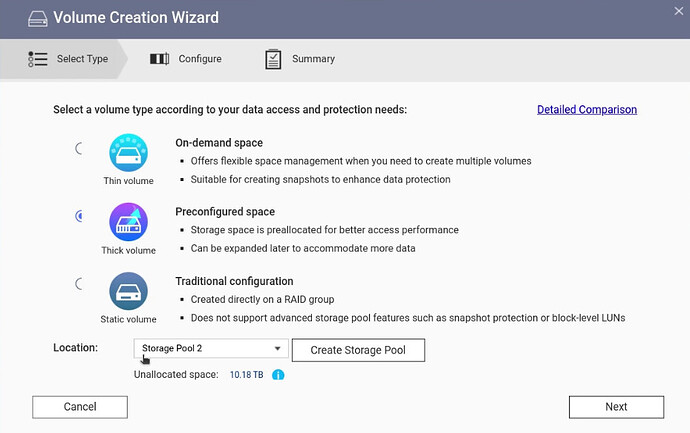
On the next screen, I designate the new volume as a “Thick Volume”. Thick Volumes are more flexible because they can be resized as required after creation.
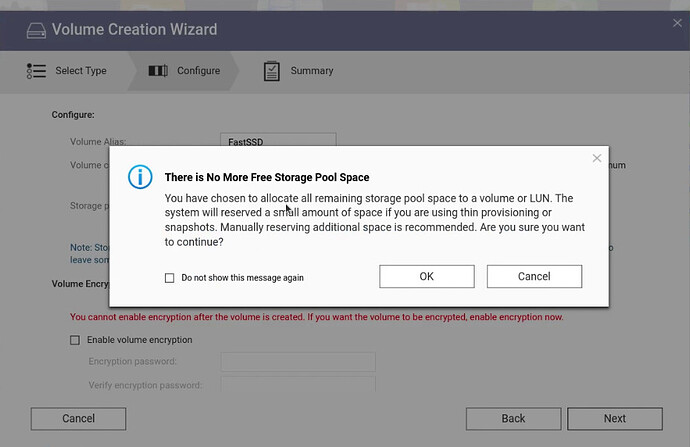
On the next screen, I named my volume alias “FastSSD” just so it would stand out as being the SSD Volume. I also set the volume size to “Max” meaning that it occupies the entire storage pool. My goal is to just have one large dedicated space for all of my Virtual Machines, LXD Containers and Docker Containers. I might also relegate some space in the future for an iSCSI drive. I only see an iSCSI drive on SSD as being a reasonable choice if I were to add a 10gbps NIC to this QNAP.
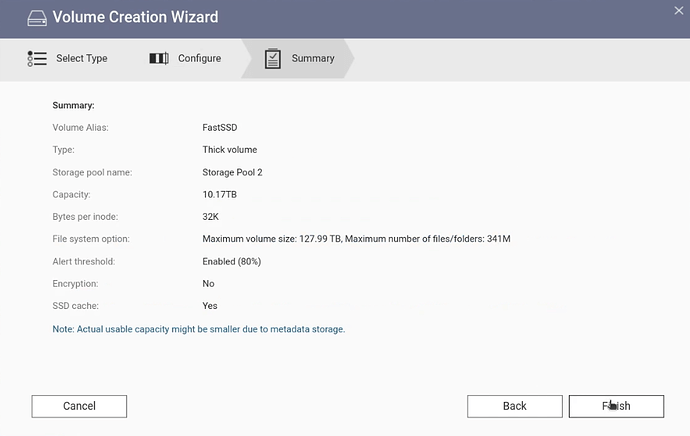
The last screen is a verification of the options that I have chosen.
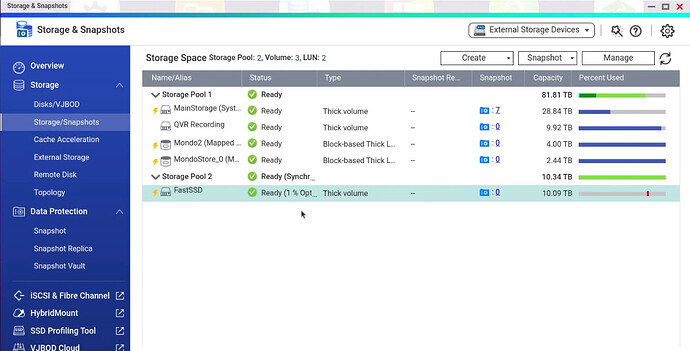
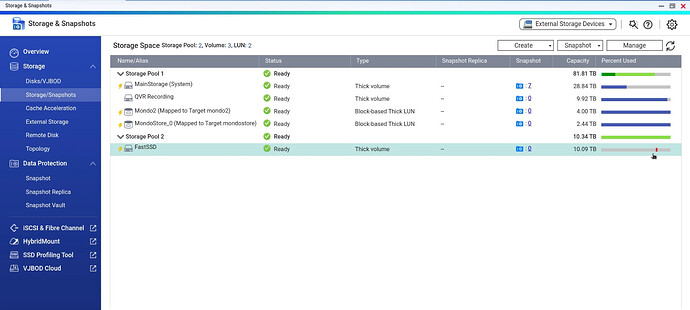
The next operations that will occur is that the FastSSD volume will be created and an optimization process will occur. Concurrently, Storage Pool 2 will be performing RAID synchronization. This will take several hours to complete. Although it is possible to work with the new volume during this period, it is a best practice to wait until both optimization and synchronization are completed.
Once these are completed, note that although I turned off the threshold warning on the Storage Pool 2, I left the threshold warning on for FastSSD to alert me if I ever use the majority of the FastSSD volume.
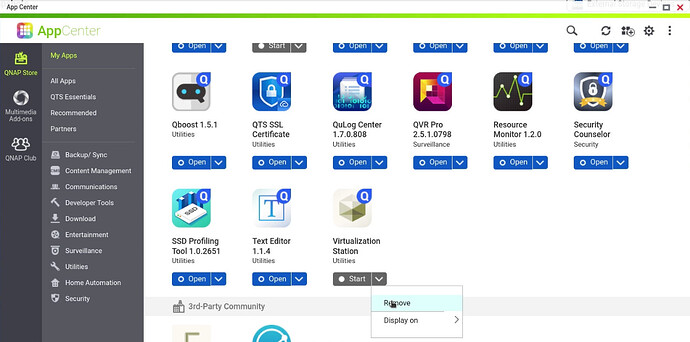
In order to safely migrate Virtualization Station, and out of an abundance of caution I exported all of my VM’s and then deleted them from the existing Virtualization Station. It is certainly possible to just move the folders for the VM’s, but the QNAP recommended process is a backup and restore. Finally, I stopped Virtualization Station in the app center and I chose to remove it.
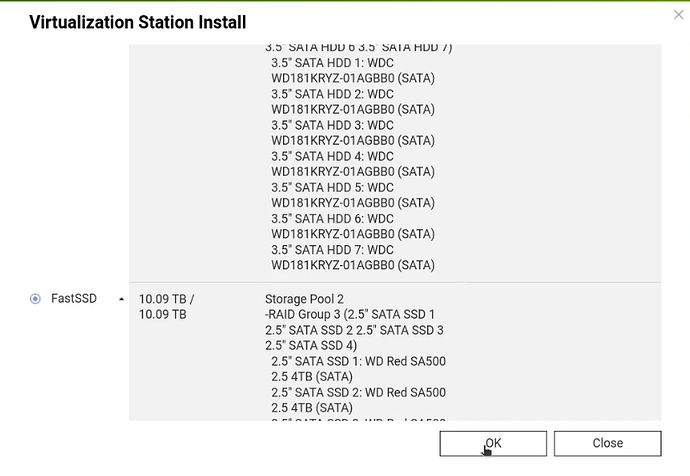
Beginning in QTS 5.x it is possible to install Qpkg applications on selected storage pools and so I opted to install the Virtualization Station application on Storage Pool 2. My thoughts are that if I am moving the VM’s over to the SSD’s then why not also move the Virtualization Application to the SSD’s also. So, the screenshot below shows me selecting the FastSSD Storage Pool as the location to install Virtualization Station.
When you install a QNAP Qpkg application to another storage pool, you are installing the application to reserved space on the pool and not the actual volume we created earlier.
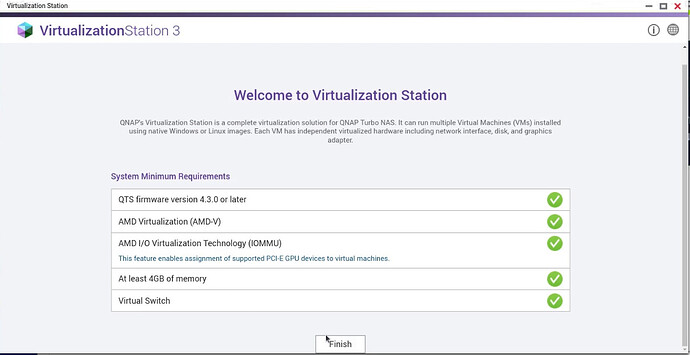
On first launch of Virtualization Station you get the standard welcome screen which should check off the requirements saying it will run. Note that a key requirement is that your NAS must have the memory to run VMs.
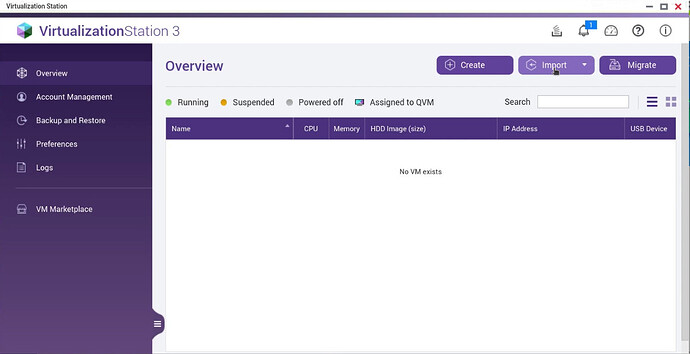
At this point, we can import the VM’s that I exported before starting this effort.
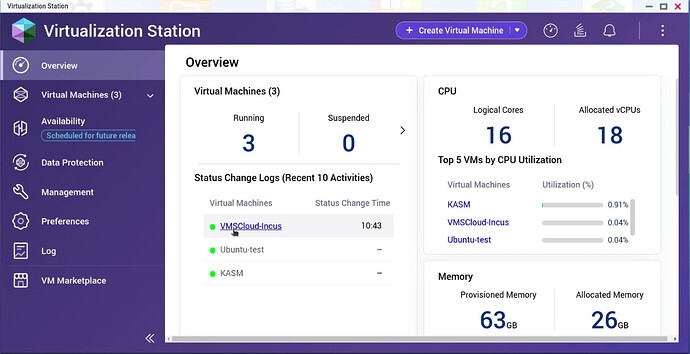
When importing your virtual machines, it is important to choose a storage location that is located on the new volume we created. The point is that the Virtual Machine virtual disks are on the SSD’s for performance reasons. I imported three of my virtual machines.
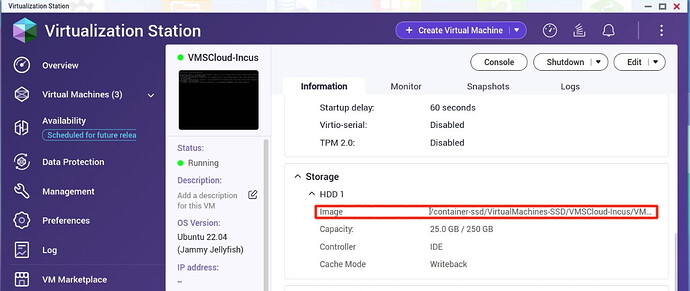
Here is where you can see the disk location I chose for the imported VM on the SSD location. I created a folder on the FastSSD volume named “container-ssd” where I stored all of my VM’s.
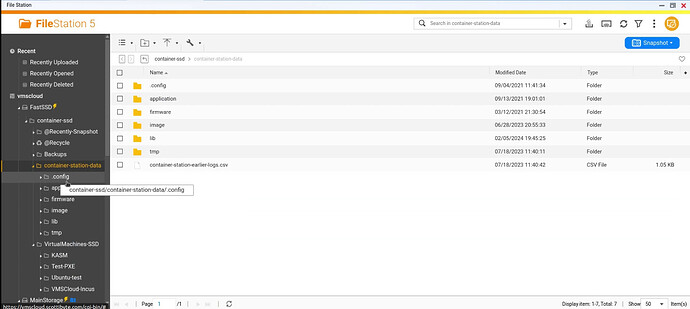
Here’s a look at this storage location via File Station.
After seeing the performance improvement for Virtualization Station Virtual Machines, I decided to also move container station.
I started by shutting down container station and then simply copying the Container Station folder structure using file station from the location on MainStorage (pool 1 spinning drives) to FastSSD (Pool 2 SSDs). Next I uninstalled Container Station since I wanted the application itself to also be installed on the FastSSD Storage Pool just like I did for Virtualization Station.
The data structure for container-station-data includes all the data for both LXD and Docker volumes.
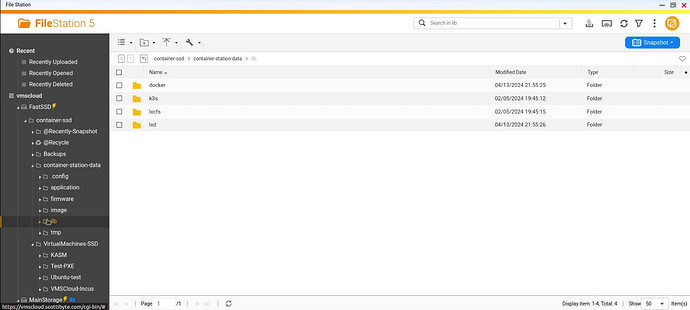
The folder of the most interest is the “lib” folder which contains the storage locations for docker, k3s, the lxc file system and LXD containers.
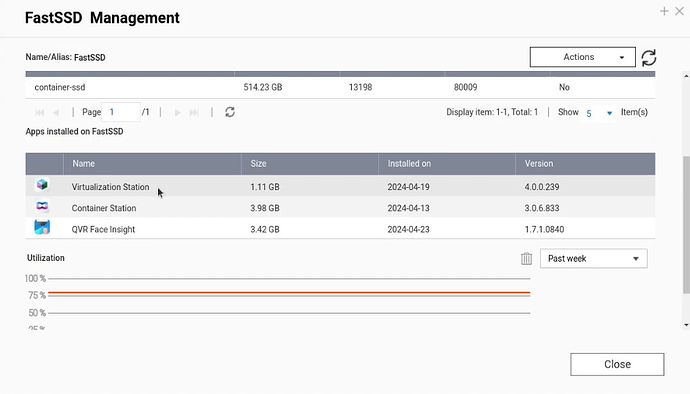
After uninstalling Container Station and reinstalling container station, if I look at the FastSSD volume, you can see that both the Virtualization Station and the Container Station Qpkgs are installed on that location now.
When you first install Container Station after having uninstalled it, Container Station will prompt for the location that you want to store its data. I selected the location where I moved my container station data folders shown above which is FastSSD/Container-SSD/container-station-data.
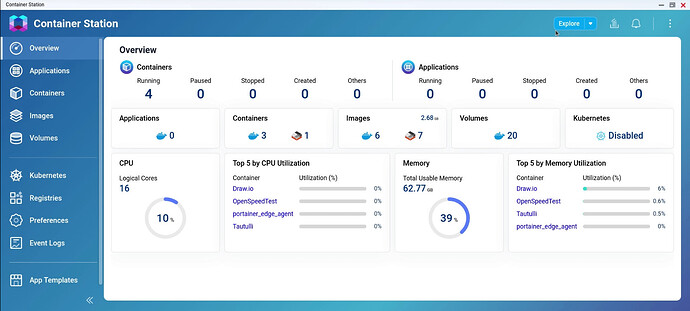
This had the effect of bringing up all of my docker and LXD containers without any further actions.
I noticed much increased performance running both docker and LXD containers.
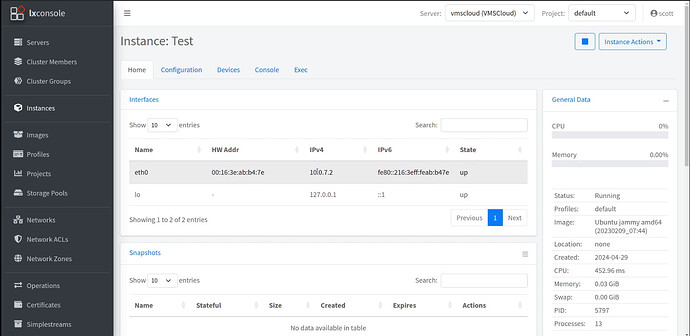
For a much nicer web based interface for managing your LXD containers (and incus containers if you have an incus server) watch my tutorial entitled LXConsole: The New LXD Dashboard.
Here’s an example of an Ubuntu 22.04 LXD Container that I created from the LXConsole Interface on the my QNAP NAS named VMSCloud. Note that you can manage your LXD containers from both Container Station and from LXConsole if you decided to install it.
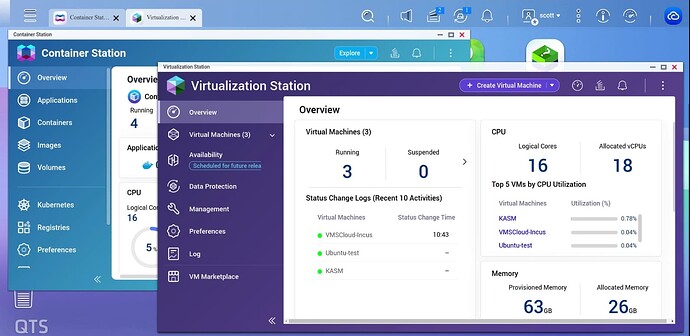
The end result of my efforts were to have both Virtualization Station VM’s and Container Station LXD/Docker containers all running on the new SSD storage pool for much increased performance.

