Wake On LAN (WOL) is a helpful capability for the Home Lab by allowing for systems that are powered down to be remotely powered up and booted. The Advanced Manageability Alliance (AMA) was formed between IBM & Intel in 1997 and Wake on LAN was born.
WoL is implemented using a specially designed frame called a magic packet, which is sent to all computers in a network, among them the computer to be awakened. The magic packet contains the MAC address of the destination computer.
Wake On LAN is a Local Area Network protocol and so only computers on the same LAN network range can be remotely powered using Wake on LAN. Wake On LAN only works on systems that are wired and so wifi connected systems cannot use WOL.
Wake on LAN is an option that you must enable in your BIOS before the system can be remotely powered.
UpSnap is an open source web based Wake on LAN utility that we are going to install and configure. Although not explicitly covered in the tutorial, you could offer UpSnap as a service via NginX Proxy Manager using a subdomain name that you define at your DNS provider. That would allow you to power up systems remotely when you are away from home.
Since I highly recommend the use of Incus containers for efficient virtualization of services, I am creating an incus container for UpSnap as shown in the video.
incus launch images:ubuntu/24.04 UpSnap -c boot.autostart=true -c security.nesting=true -p default -p bridgeprofile
Move inside the container.
incus shell UpSnap
Take the updates:
apt update && apt upgrade -y
Install the dependencies.
apt install nano git curl net-tools openssh-server
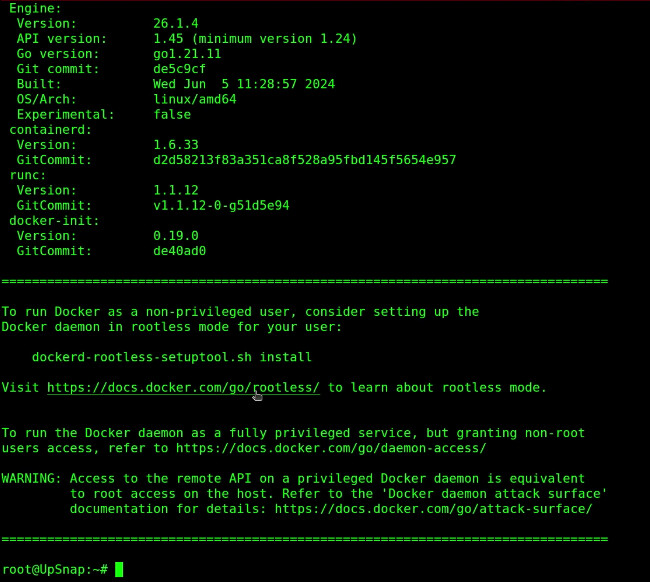
Install docker since UpSnap is a docker application.
curl -sSL https://get.docker.com | sh
Add a username for myself and put my user in the sudo and docker groups.
adduser scott
usermod -aG sudo scott
usermod -aG docker scott
Move over to the scott account:
su - scott
Clone the UpSnap project to make a local copy.
git clone https://github.com/seriousm4x/UpSnap.git
Move into the UpSnap folder.
cd UpSnap
Start up UpSnap:
docker compose up -d
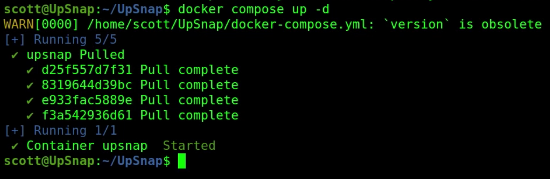
Don’t worry about the “obsolete” warning. That is only because the “docker compose” command no longer requires the version number in the docker-compose.yml file.
Find out the address of your UpSnap instance.
ifconfig
Use the address you just found for device eth0 with a “:8090” at the end in your web browser because UpSnap runs on port 8090.
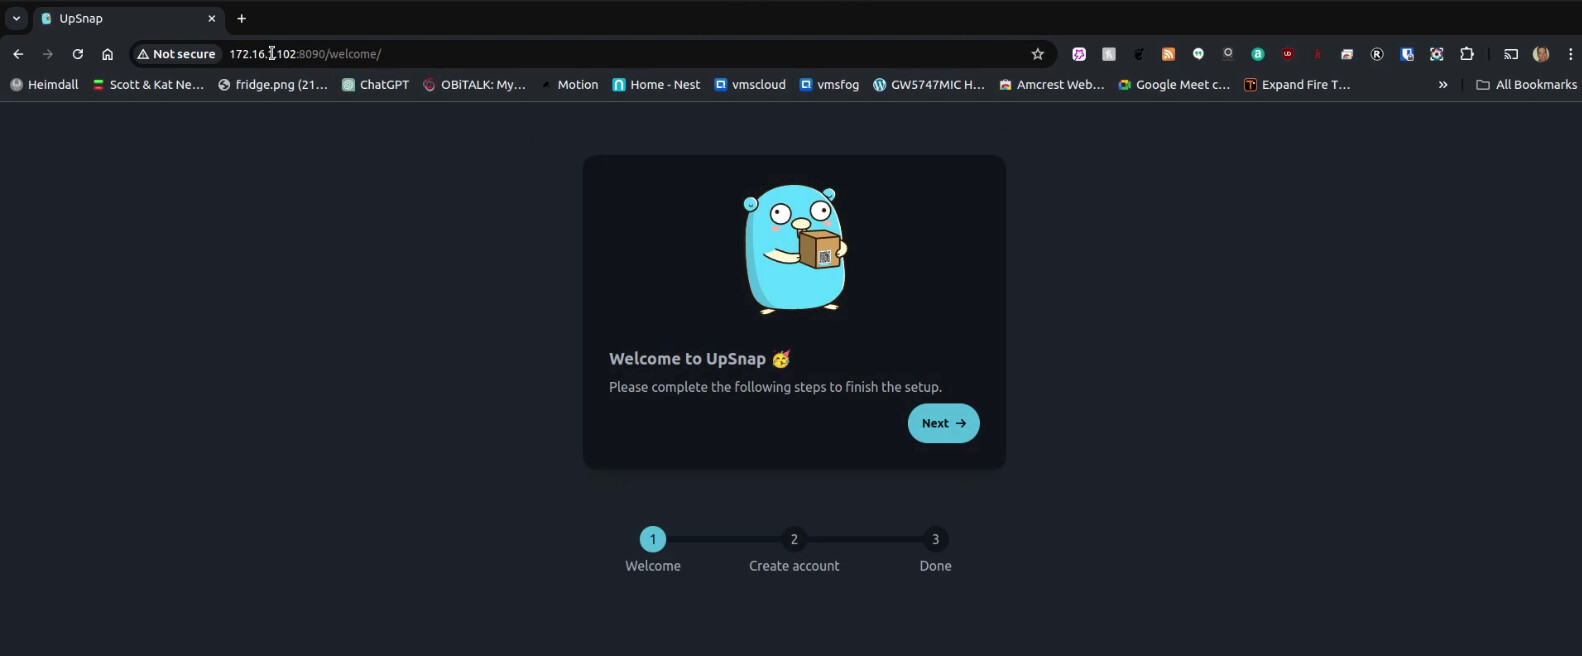
Create an admin account as requested.
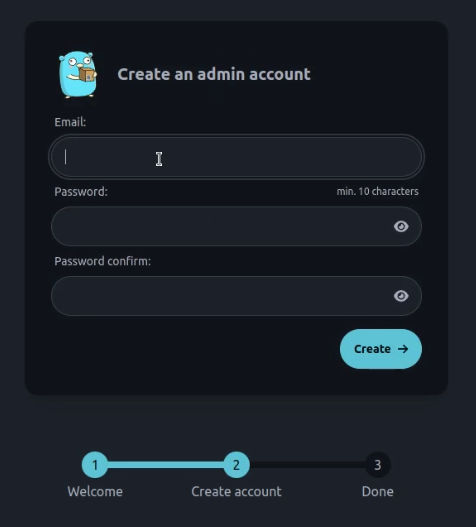
That’s all there is to the setup!
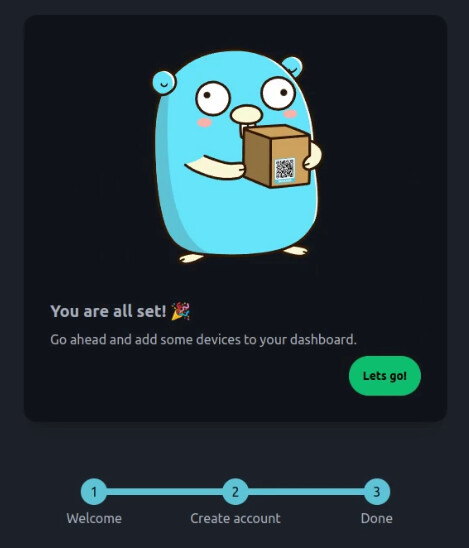
Create your devices with the “+New” button accordingly.
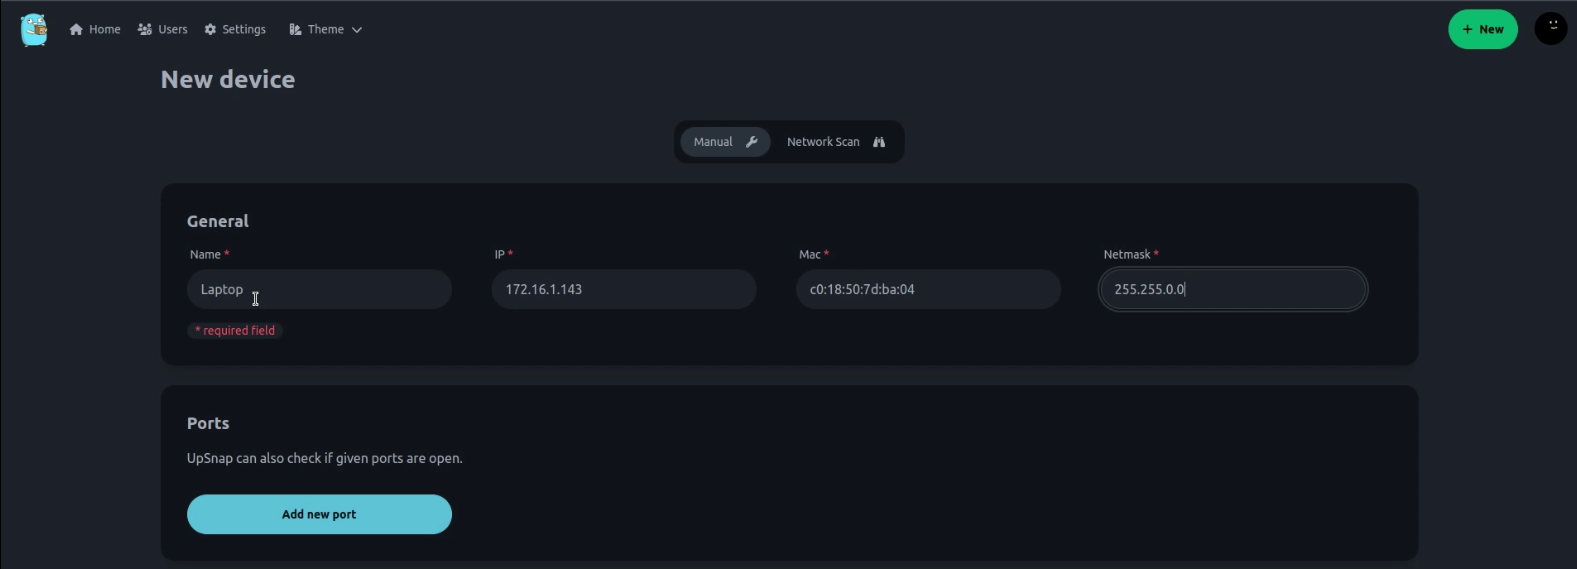
There are other options when adding a system that I reviewed in the video.
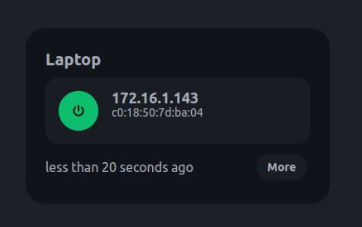
Once you add a system, it will show up on the dashboard.
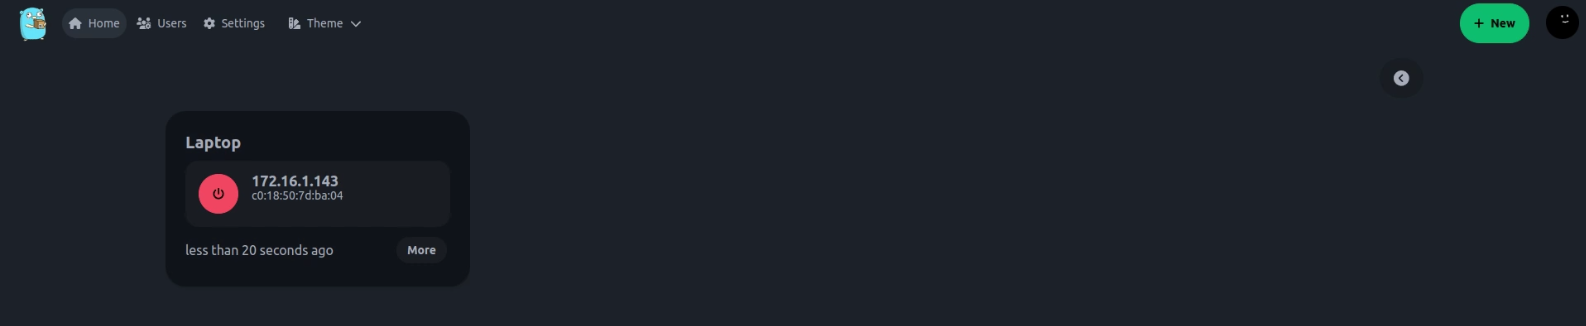
The red power button means the system is powered down and green means that it is powered on. You simply click the red power button to send a Wake On LAN request to the target system and a countdown timer is displayed.
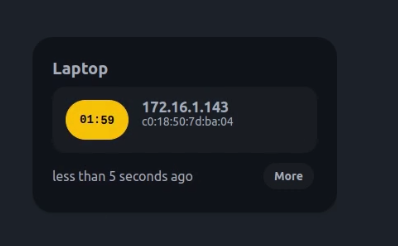
Around a minute later, your system should be powered up and booted. It will show green if you have the right IP address listed.
You can also create additional user accounts in UpSnap. The settings section allows you to set up the ping interval for determining if a system is online. You can also change the website name and icon for UpSnap. There are also a number of themes you can set from the main dashboard.