This is an introduction into a use case on how to use the Unifi Protect API to create a Proxy web server to obtain camera still snapshots from Unifi Protect cameras.
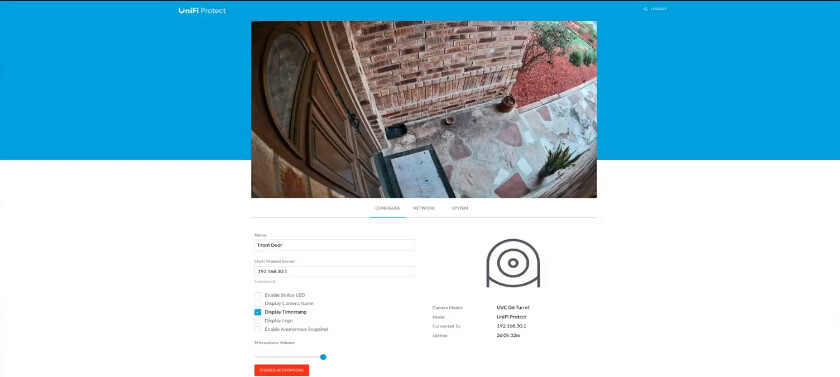
I recently replaced one of my Reolink RLC-520a cameras with a Unifi Protect G6 Turret. Most PoE cameras can be managed via a web page. Unifi Protect cameras do have a web page at the camera address, but it is not used to manage the camera. You need a Unifi Protect host like a UDM Pro or a UNVR to use Unifi Protect cameras. That being said, you can go into the settings – system – advanced menu in Unifi Protect and get the recovery code which is the password for your cameras. The username is “ubnt”.
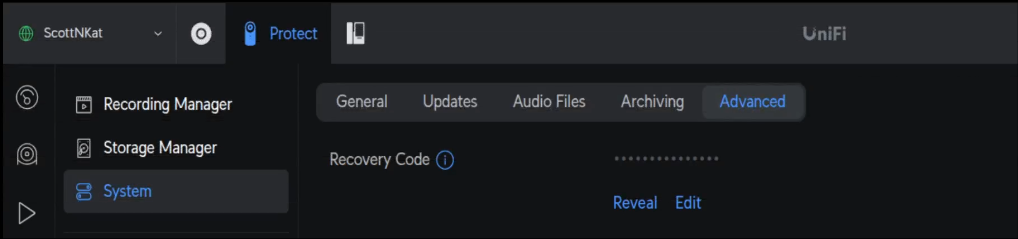
This web interface for the camera has only the most basic options and is not a management interface like most IP cameras.
Unifi Protect cameras are “adopted” just like other Unifi hardware devices. Unifi Protect cameras send a raw IP stream to Unifi Protect and the Unifi Protect Host (UDM Pro, Cloud Key Gen 2, etc) manage the camera configuration, NVR function, and API calls. The Unifi Protect API is largely undocumented.
Most IP security cameras are managed from a web page on the camera. One commonly used feature of these cameras are to obtain a “snapshot” from a snapshot URL on the camera. For example, a snapshot grab on a Reolink camera might look like:
http://192.168.30.40/cgi-bin/api.cgi?cmd=Snap&channel=0&rs=Ab456d%&user=admin&password=mypassword
To do this in Unifi Protect, you would use a Unifi Protect API call. This tutorial shows one example of how to use the Unifi Protect API.
NOTE: It seems that the Unifi Protect 6.0 release has reduced the resolution of the Snapshot API endpoint from the full resolution of the camera down to only 640x360. From the Unifi Protect GUI, it’s possible to get a 720p snapshot, but not through the API. This change to the API endpoint in Protect 6.0 is designed to reserve more resources for streaming and increase security on camera endpoints. That being said, the 640x360 snapshots still work with the same code I present here.
In the video tutorial, I created a dedicated environment in the form of an incus container to perform my demonstration.
incus launch images:ubuntu/24.04 ProtectAPI -p default -p bridgeprofile -c boot.autostart=true
Move inside of the new container.
incus shell ProtectAPI
Add a user account for myself.
adduser scott
Put my user account into the sudo group.
usermod -aG sudo scott
Move over to my user account.
su - scott
Update the repositories:
sudo apt update
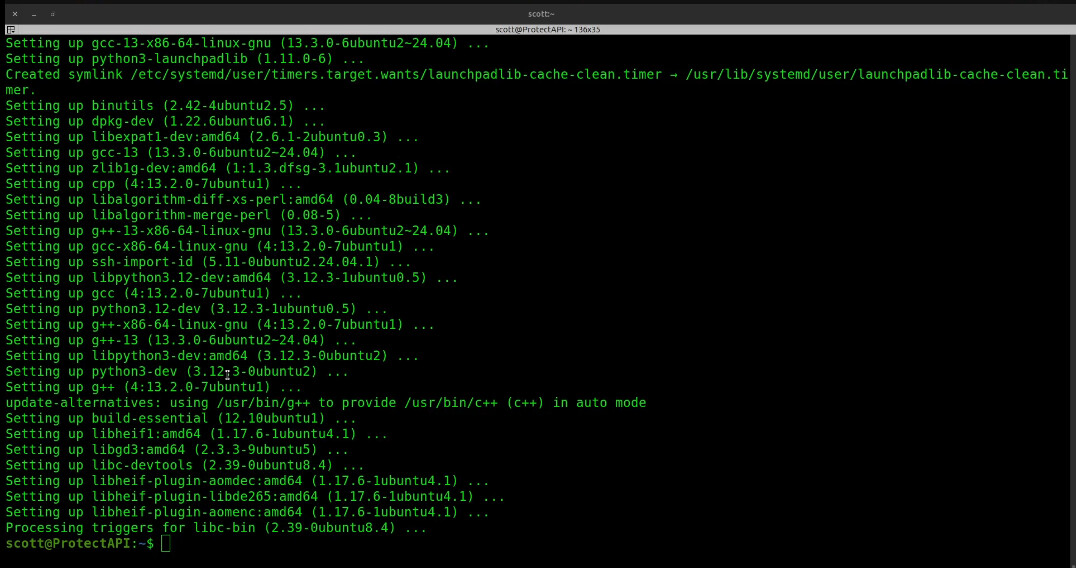
Install the dependencies including the python tools.
sudo apt install python3 python3-pip python3-venv openssh-server nano curl jq -y
Now head over to your Unifi console and access the gear icon to enter “settings”. From here, select “Admins & Users”. Click on “Create New Admin”. Create a new admin and choose the checkbox “Restrict to Local Access Only”. Choose a name you prefer and a sufficiently complex password.
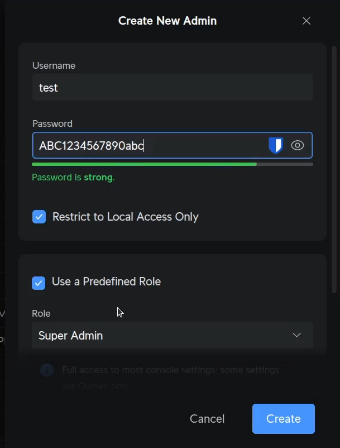
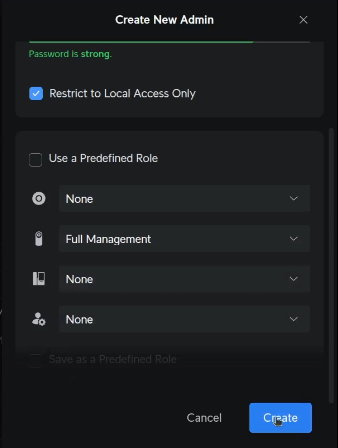
Uncheck the option for “Use a Predefined Role” and then provide no access for all but the Protect application. I provided full management for the Protect application, but view only is probably enough.
Finally, click “Create” and you will have a new local account for Unifi Protect.
At this point, all of our dependencies that we installed above will have completed.
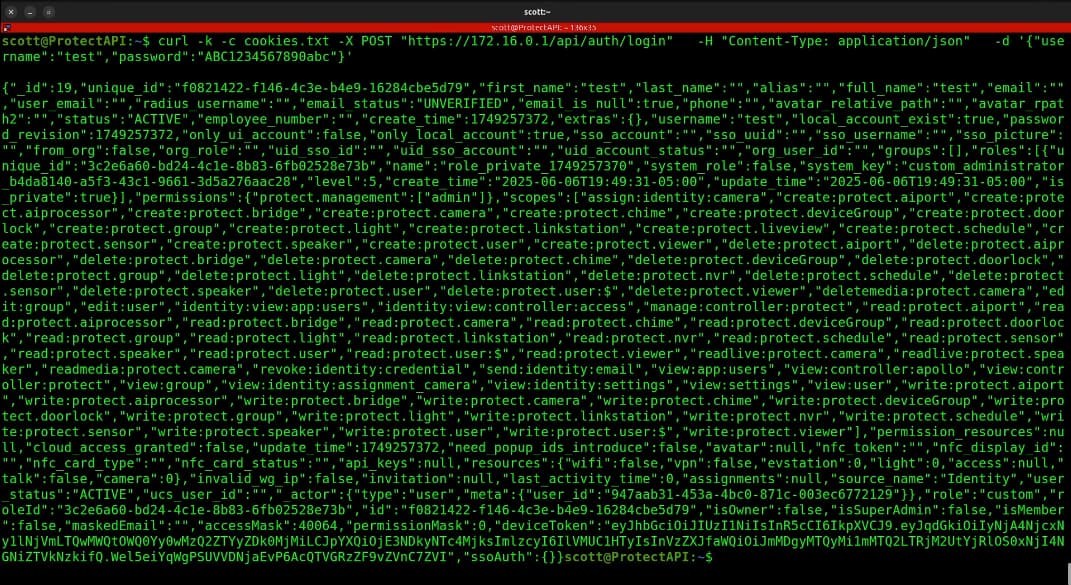
In order to initiate an API session with Unifi Protect, we have to execute an http post request to the address of our Unifi Protect server, using the username we just created and the password for that username. In the example below, substitute your Unifi Protect host address for 172.16.0.1, substitute your username for test and substitute your password for ABC1234567890abc.
curl -k -c cookies.txt -X POST "https://172.16.0.1/api/auth/login" -H "Content-Type: application/json" -d '{"username":"test","password":"ABC1234567890abc"}'
This command will return a long line of data that may look like many lines. This creates the “cookies.txt” file which provides authorization for future commands.
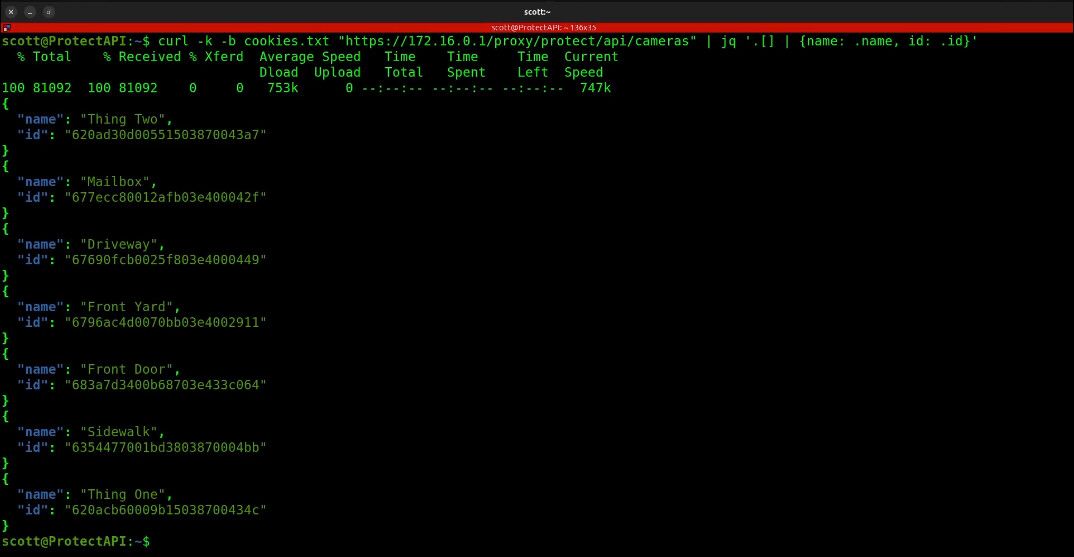
Before we can issue a request to a particular camera, we must obtain the ID for the camera we want to access. To do that we execute another curl command that will list the names and corresponding ID’s for each of the cameras on your Protect system.
This uses the cookie file we just created, but you still need to change the 172.16.0.1 address in the following command.
curl -k -b cookies.txt "https://172.16.0.1/proxy/protect/api/cameras" | jq '.[] | {name: .name, id: .id}'
Again, updating the 172.16.0.1 address for your server, I am able to request a screenshot from my frontdoor camera by using its ID in the following command:
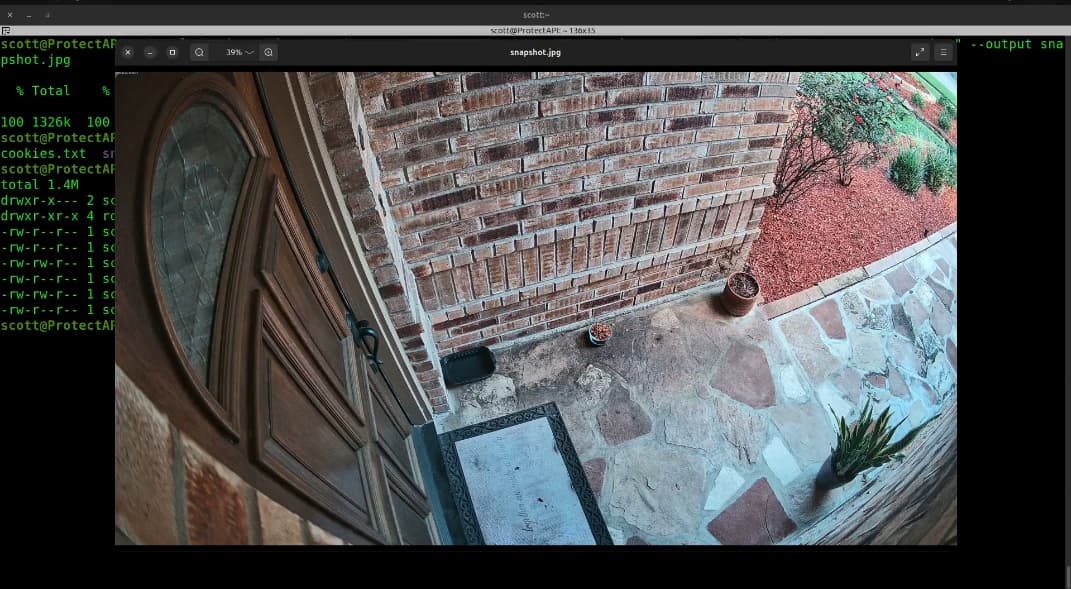
curl -k -b cookies.txt "https://172.16.0.1/proxy/protect/api/cameras/683a7d3400b68703e433c064/snapshot" --output snapshot.jpg
Here’s the resulting file.
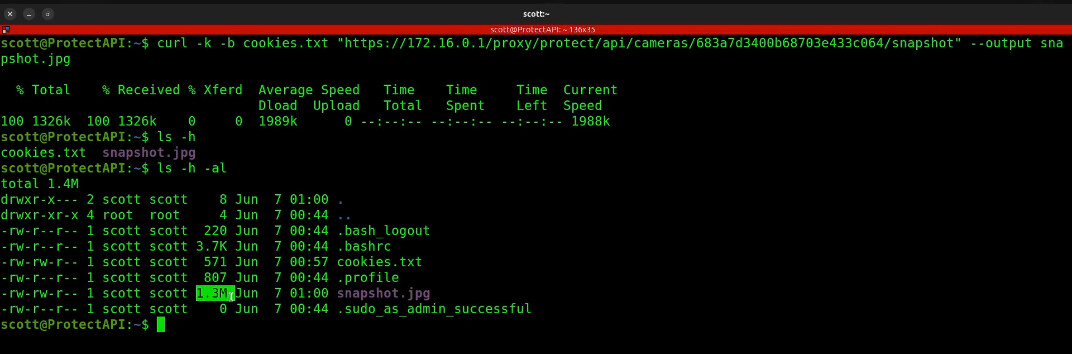
In the video, I displayed the resulting file from my Linux file manager,
Now we want to automate this process.
To do so, I create a virtual Python environment. This is required from Ubuntu 24.04 onwards for increased security.
python3 -m venv ~/snapshot-env
Next, I activate or enter this Python environment.
source ~/snapshot-env/bin/activate
![]()
Next I perform a command to install the Flask web framework which will facilitate the creation of my web application and calling of the API.
pip3 install flask requests
Edit a file for the Python script:
nano unifi_snapshot_proxy.py
Insert the following code into the file being sure to change your username, password, camera ID, and URL address as shown in the video.
#!/usr/bin/env python3

from flask import Flask, request, make_response
import requests
import urllib3
import time
from datetime import datetime, timedelta

# Configuration
USERNAME = "your-protect-username"
PASSWORD = "your-protect-password"
DEFAULT_CAMERA_ID = "your-camera-id"
UDM_PRO_URL = "https://192.168.1.1"

app = Flask(__name__)
urllib3.disable_warnings(urllib3.exceptions.InsecureRequestWarning)

session = requests.Session()
session.verify = False
session.headers.update({'Accept': 'application/json'})

login_time = None
LOGIN_TIMEOUT = timedelta(minutes=10)  # Adjust based on token/session validity

def log_debug(msg):
    timestamp = datetime.now().strftime("%Y-%m-%d %H:%M:%S")
    print(f"[{timestamp}] {msg}", flush=True)

def login():
    global login_time
    log_debug("Logging in to UniFi Protect...")
    resp = session.post(f"{UDM_PRO_URL}/api/auth/login", json={
        "username": USERNAME,
        "password": PASSWORD
    })
    resp.raise_for_status()
    csrf_token = resp.headers.get("X-CSRF-Token")
    if csrf_token:
        session.headers.update({"X-CSRF-Token": csrf_token})
    session.headers.update({
        "Referer": f"{UDM_PRO_URL}/manage/protect/cameras"
    })
    if 'TOKEN' not in session.cookies:
        raise Exception("Login failed: TOKEN cookie not found")
    login_time = datetime.now()
    log_debug("Login successful.")

def is_logged_in():
    global login_time
    if not login_time:
        return False
    if datetime.now() - login_time > LOGIN_TIMEOUT:
        log_debug("Session expired based on timeout.")
        return False
    return True

@app.route("/snapshot.jpg")
def snapshot():
    camera_id = request.args.get("camera_id", DEFAULT_CAMERA_ID)
    try:
        if not is_logged_in():
            login()
        ts = int(time.time())
        snapshot_url = f"{UDM_PRO_URL}/proxy/protect/api/cameras/{camera_id}/snapshot?force=true&ts={ts}"
        log_debug(f"Requesting snapshot from: {snapshot_url}")
        resp = session.get(snapshot_url)
        if resp.status_code == 401:
            # Unauthorized — probably session expired, retry login once
            log_debug("Unauthorized snapshot request, re-logging in...")
            login()
            resp = session.get(snapshot_url)
        resp.raise_for_status()

        img = resp.content
        response = make_response(img)
        response.headers.set('Content-Type', 'image/jpeg')
        response.headers.set('Content-Length', str(len(img)))
        response.headers.set('Cache-Control', 'no-store, no-cache, must-revalidate, max-age=0')
        response.headers.set('Pragma', 'no-cache')
        response.headers.set('Expires', '0')
        return response

    except Exception as e:
        log_debug(f"Snapshot error: {e}")
        return f"Error: {e}", 500

if __name__ == "__main__":
    app.run(host="0.0.0.0", port=5000)
Once you updated the script, do a CTRL O and enter to write the file out and a CTRL X to exit the nano editor.
Set execute privilege on the new script.
chmod +x unifi_snapshot_proxy.py
To run the script interactively:
python unifi_snapshot_proxy.py

Visit the address for your new proxy web server at the address of your incus container at port 5000. In my case:
http://172.16.1.205:5000/snapshot.jpg
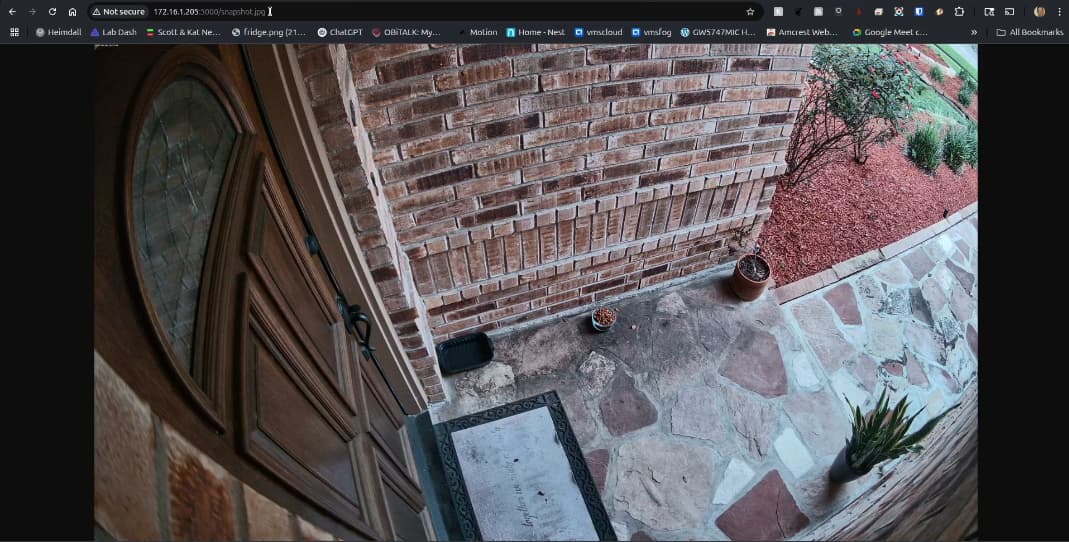
Now that this works, head back to the terminal and CTRL C to abort the running Python script. You will notice that the script logged the snapshot.

Now exit the Python virtual environment and you will see your prompt return to normal.
deactivate
![]()
We now want to run this python script as a service that runs when the incus container starts.
Create a Service to run the Python Script:
sudo nano /etc/systemd/system/unifi-snapshot.service
Insert the following into the editing session and adjust your username in the ExecStart, WorkingDirectory and User lines below.
[Unit]
Description=UniFi Snapshot Proxy
After=network.target

[Service]
ExecStart=/home/scott/snapshot-env/bin/python /home/scott/unifi_snapshot_proxy.py
WorkingDirectory=/home/scott
Restart=always
User=scott
Environment=FLASK_ENV=production

[Install]
WantedBy=multi-user.target
Save the file with CTRL O and Enter and then CTRL X to exit the nano editor.
Reload the systemd service directory.
sudo systemctl daemon-reload
Create the service to start on reboot.
sudo systemctl enable unifi-snapshot.service
Start the service now.
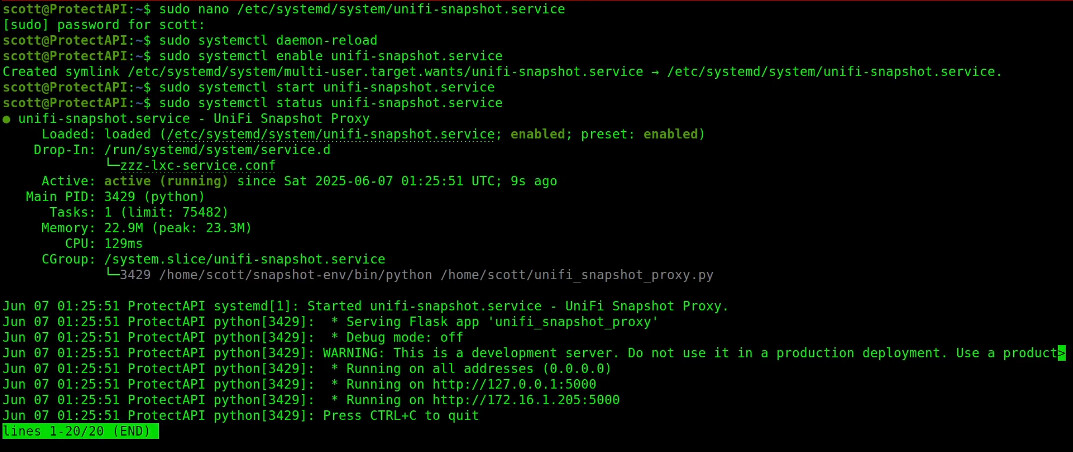
sudo systemctl start unifi-snapshot.service
Examine the status of the service.
sudo systemctl status unifi-snapshot.service
If you want, you can watch the performance of the service as it logs calls to it.
sudo journalctl -u unifi-snapshot.service -f
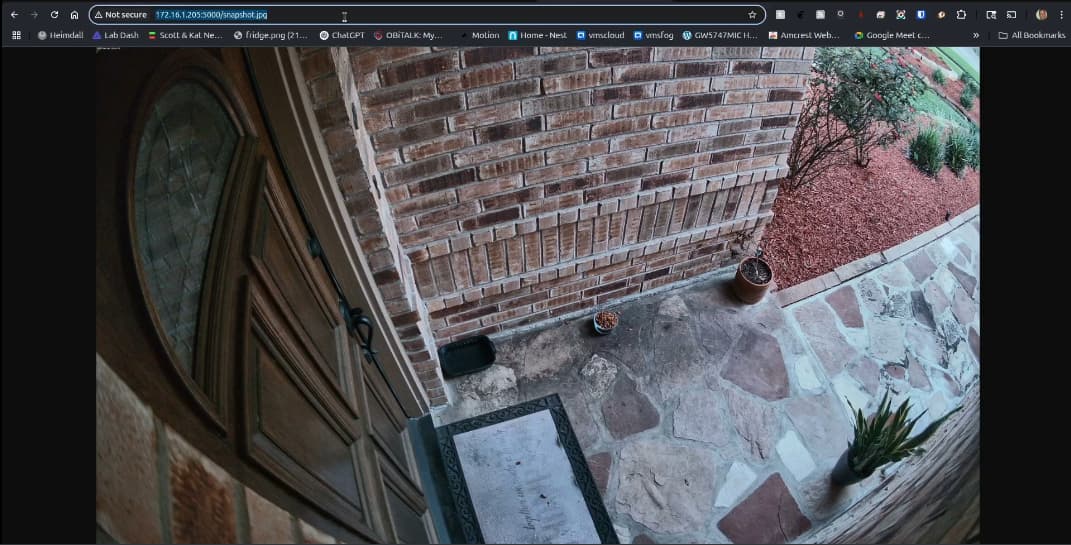
As before, just access the web page and your proxy snapshot page is there to serve you.
Hopefully this tutorial is a start on how to use the Unifi Protect API.