The new Incus 6.16 release supports CD-ROM handling for VM’s. This means that Distrobuilder is no longer required to create an Incus Windows 11 Virtual Machine. With the new CD-ROM, attaching an ISO to a VM on the USB bus will now correctly result in a virtual CD-ROM drive being exposed to the VM as a CD.
Back in February 2022, I presented Windows 11 LXD Virtual Machine and in February of 2024 I presented Windows 11 Incus Virtual Machine and both of these installations required repackaging the Windows ISO image to incorporate the proper drivers with a tool called Distrobuilder to work with LXD/Incus.
Incus 6.16 and later remove this requirement and allow a much easier installation of a Windows VM in Incus.
Start by going to the Windows Download page.
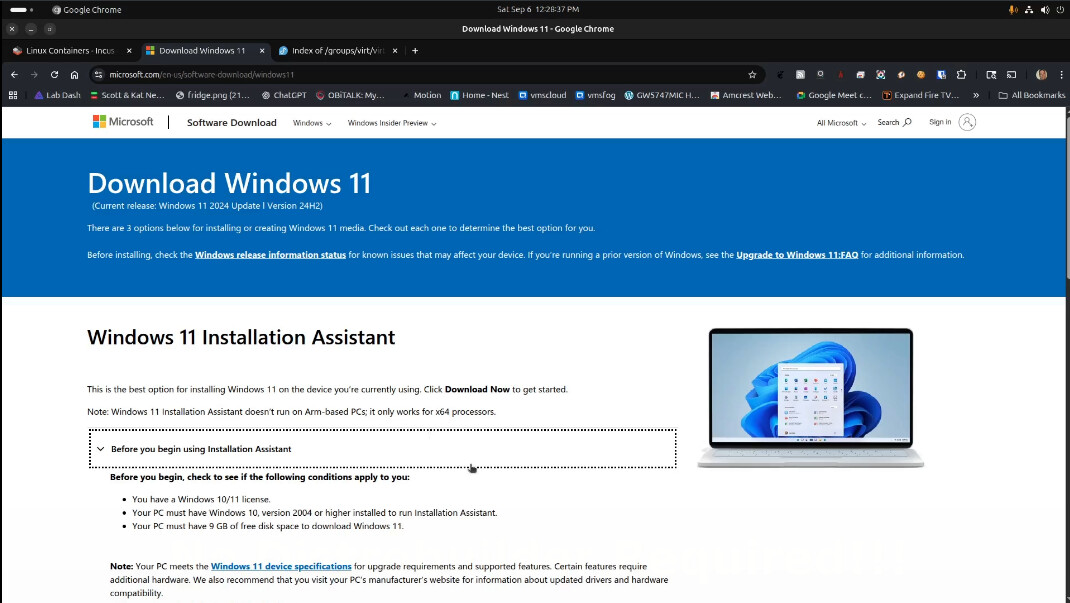
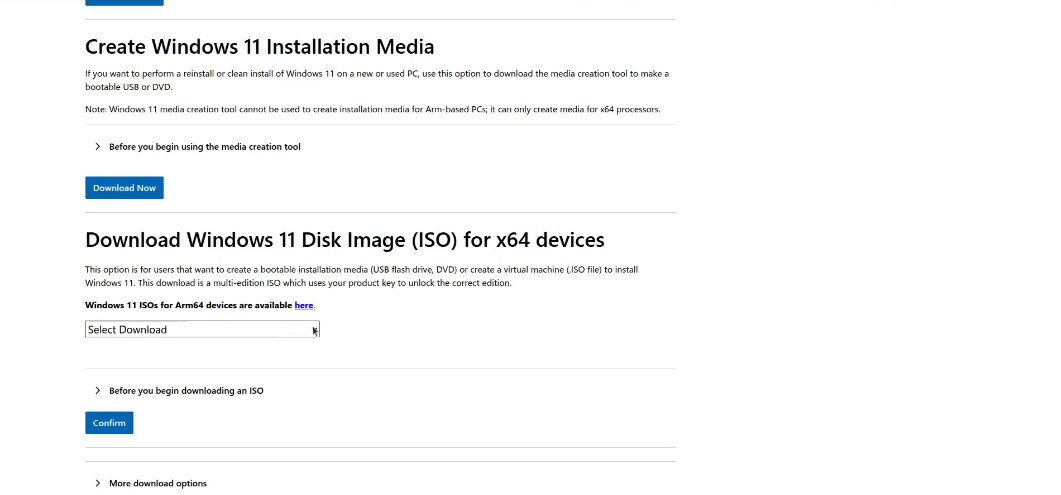
As shown in the tutorial, scroll down the page and follow the options to download the Windows 11 Disk Image (ISO) for x64 devices.
Once the download completes (around 5.8GB) move the ISO file over to your Incus server.
Open a terminal on your Incus server. If you don’t know what Incus is, it’s a powerful virtualization system that supports both containers and Virtual Machines. Watch my tutorial entitled Incus Containers Step by Step.
On your incus server, check to be sure you are running Incus v6.16 or later. If you need to upgrade your Incus server, do so.
incus version
Incus requires that Windows use the Redhat VirtIO drivers. Download them to your Incus server with this command:
wget https://fedorapeople.org/groups/virt/virtio-win/direct-downloads/archive-virtio/virtio-win-0.1.271-1/virtio-win-0.1.271.iso
Create an empty virtual machine with the following command. Normally an Incus VM is created with an existing OS image. This is not an option with a Windows installation.
incus init win11vm --empty --vm
Set the size of the system disk for our virtual machine and have it use an NVMe bus for the drive.
incus config device override win11vm root size=85GiB io.bus=nvme
Set the desired number of virtual CPU cores and memory for the VM.
incus config set win11vm limits.cpu=4 limits.memory=8GiB
Windows has a hardware requirement for the Trusted Platform Module (TPM) chip to be present to support Secureboot. We can create a virtual TPM device.
incus config device add win11vm vtpm tpm path=/dev/tpm0
We are attaching the Windows ISO as a CD-ROM device using the new io.bus=usb. This is a virtual attachment of the ISO to make it look like a USB mounted ISO. The boot.priority=10 assures that the Windows CD image boots before the internal hard drive. The source path to the ISO file requires a full absolute path-name, so adjust yours accordingly.
incus config device add win11vm install disk source=/home/scott/demo/Win11_24H2_English_x64.iso io.bus=usb boot.priority=10
Likewise, attach the Redhat VirtIO driver ISO to a second CD device being sure to adjust the path. The lower boot priority makes sure this disk does not try to boot.
incus config device add win11vm virtio disk source=/home/scott/demo/virtio-win-0.1.271.iso io.bus=usb boot.priority=5
We will now power up the new virtual machine causing it to boot from the Windows ISO and initiate the Windows install with the following command.
incus start win11vm --console=vga
If you get an error that the console cannot be displayed, be sure that you have the remote viewer installed.
sudo apt install virt-viewer
If your Incus server is remote to your desktop, you might need to read my article Manage Your Incus Server from Windows. The reason is that the option to display the Virtual Machine console assumes by default that your desktop and your incus server are one in the same.
If this is not the case, the article I linked is even applicable to Linux users because it shows creating a “trust” to run incus commands on remote servers. It’s also possible to install the incus desktop client on Linux without installing the server.
I use this capability all the time from my desktop to open the remote viewer on a VM which is running on one of my other incus servers. For example:
incus start vmsrain:win11 --console=vga
The command above works because vmsrain, has a trust for my desktop computer and my desktop has the virt-viewer installed. Linux is great because programs don’t always have to run on the computer you are on. They can run remotely and be controlled locally.
Anyway, enough of that…
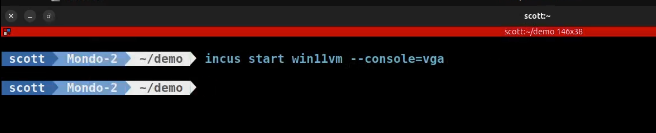
So, when you run the VM the first time.
incus start win11vm --console=vga
If you are too slow to “Press any key to boot from CD or DVD…..”, your screen may appear as follows.
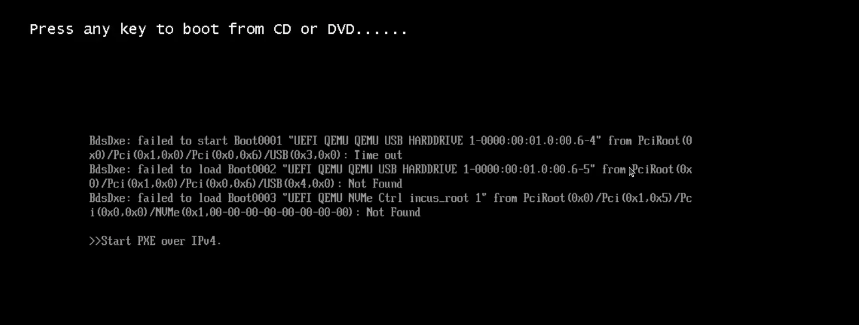
If so, do a CTRL ALT DEL and the remote viewer will exit and you will be back at the terminal.
If so, reset and try again with the following two commands:
incus stop win11vm -f
incus start win11vm --console=vga
If you were fast enough at hitting a key, you should see a screen like the following.
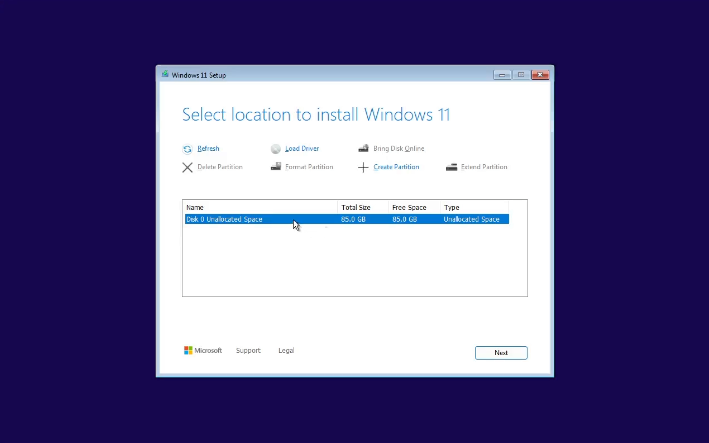
Follow all of the prompts in the video tutorial while installing Windows. When you see the screen to choose where to install Windows, it will have highlighted the virtual disk we created and you can click Next.
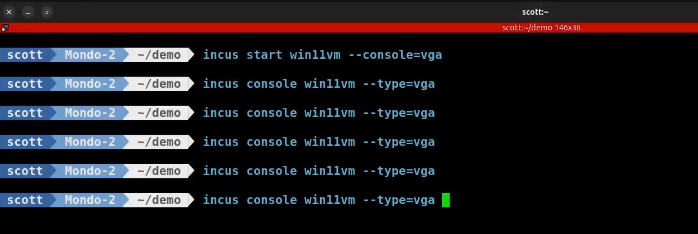
The Virtual Machine viewer will trap your mouse pointer. If you want to escape the viewer at any time, use Shift +F12. Windows will restart several times during installation. Any time Windows reboots, you will be exited from the remote viewer and be back at the terminal. The command to return to the remote viewer is:
incus console win11vm --type=vga
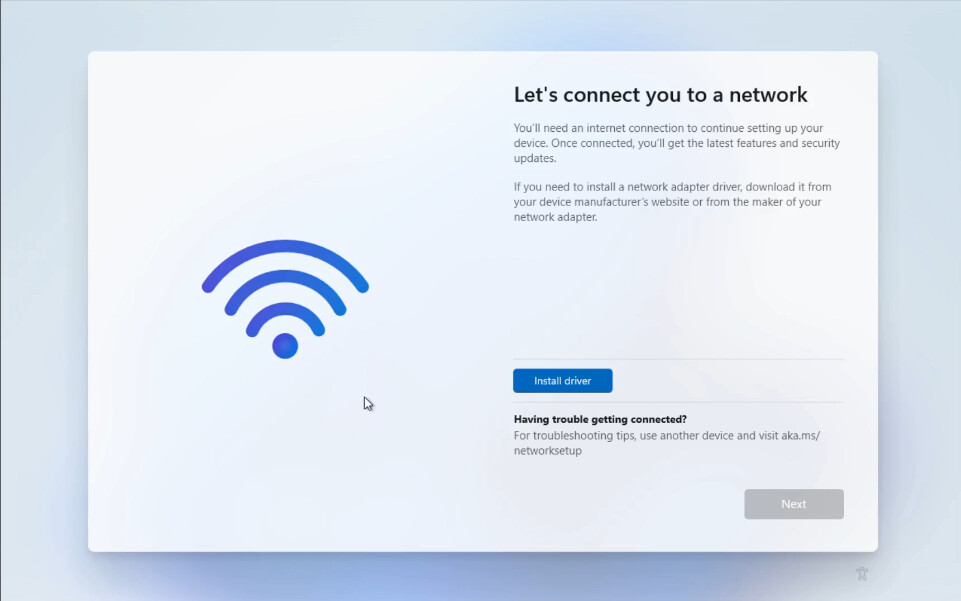
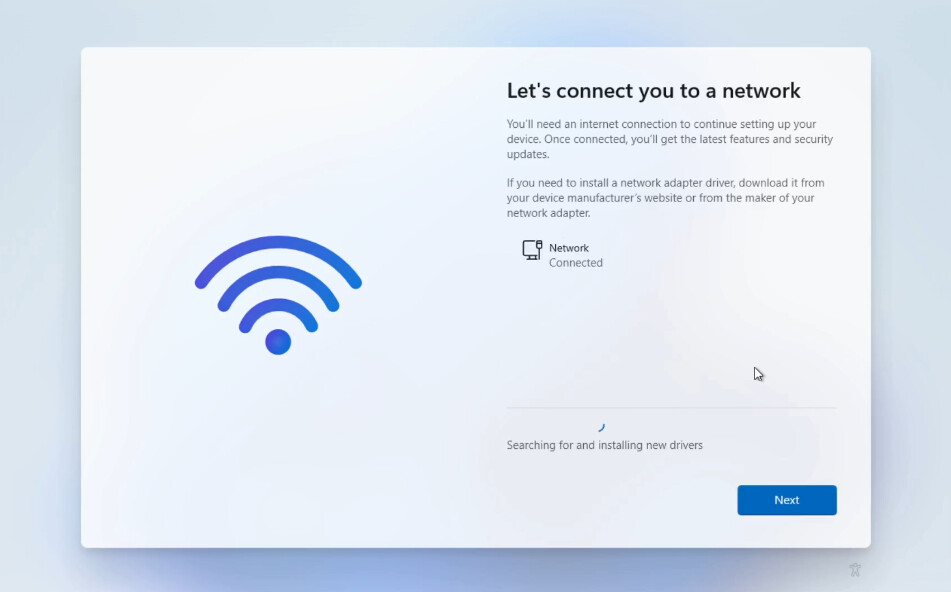
Eventually you will come to a screen entitled “Let’s connect you to a network”. Since Windows does not have VirtIO drivers, it does not know how to get to the network. On this screen, click “Install driver”.
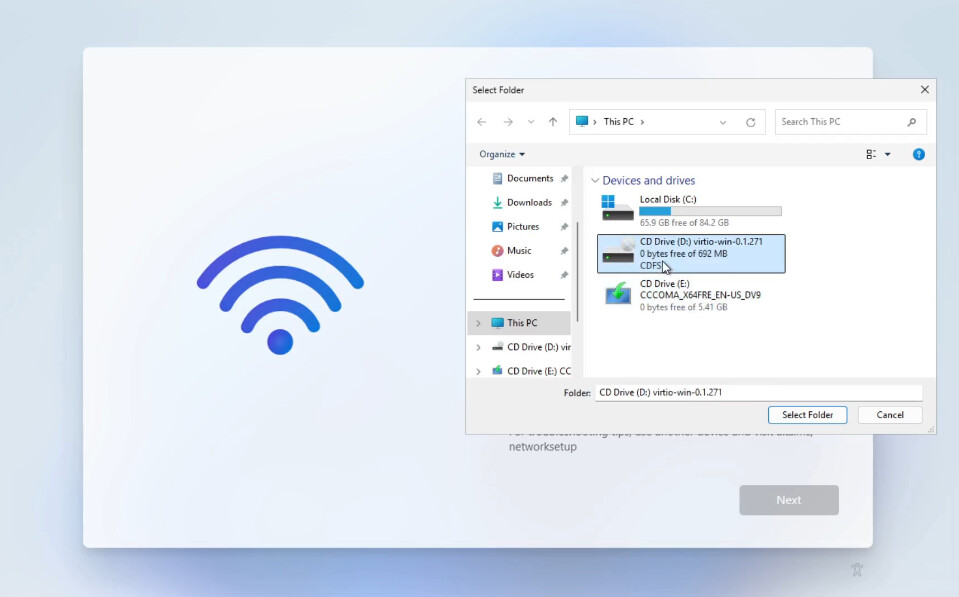
Select “Drive D” because it is the CD ROM with the Redhat VirtIO drivers we attached to the Incus virtual machine before we started it. Then click select folder from the top of the drive.
Your network device will be connected.
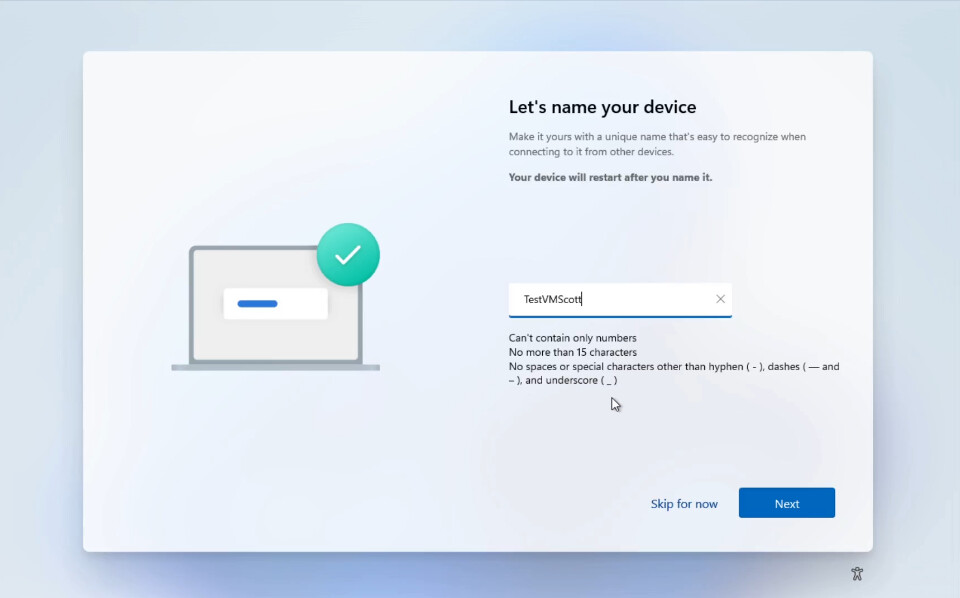
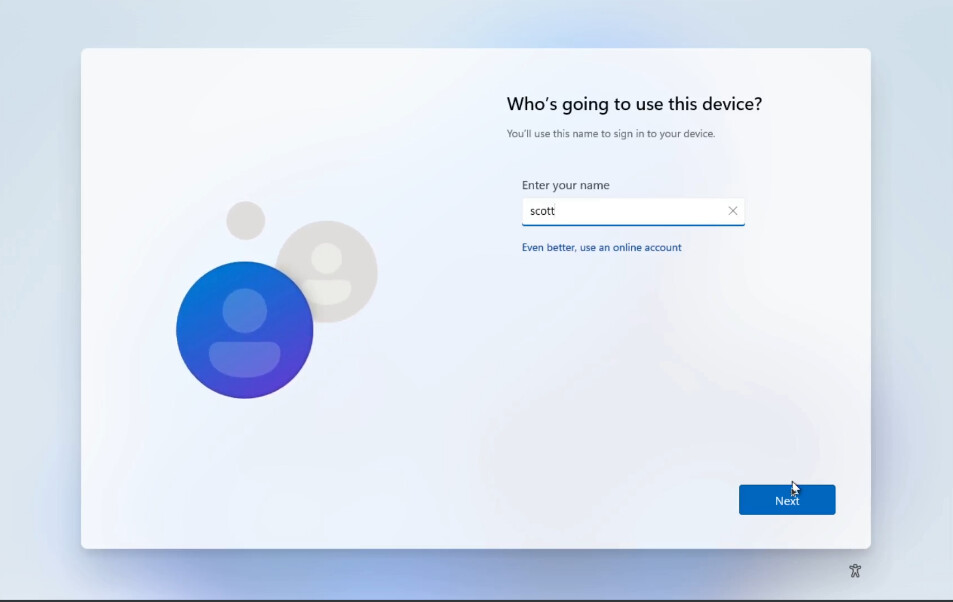
As the installation continues, you will get to a screen to name your device.
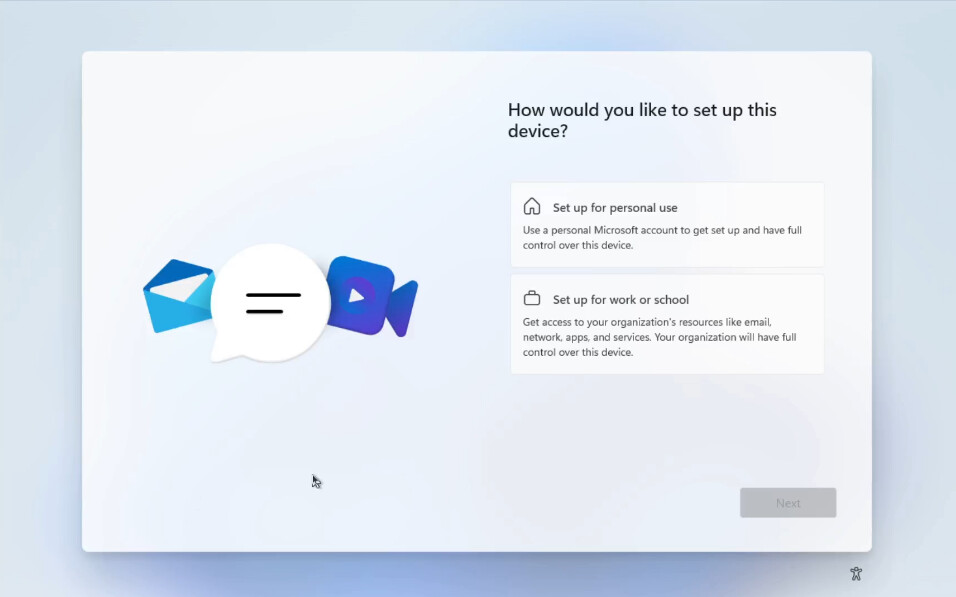
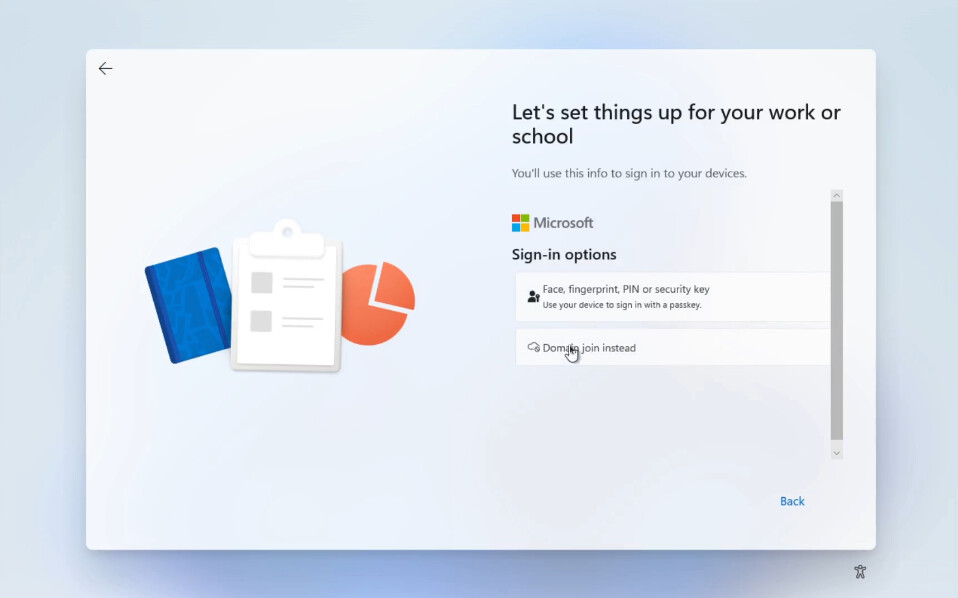
If you are like me and just want a local account rather than signing on to a Microsoft account, select the option to “Set up for work or school” on the screen below.
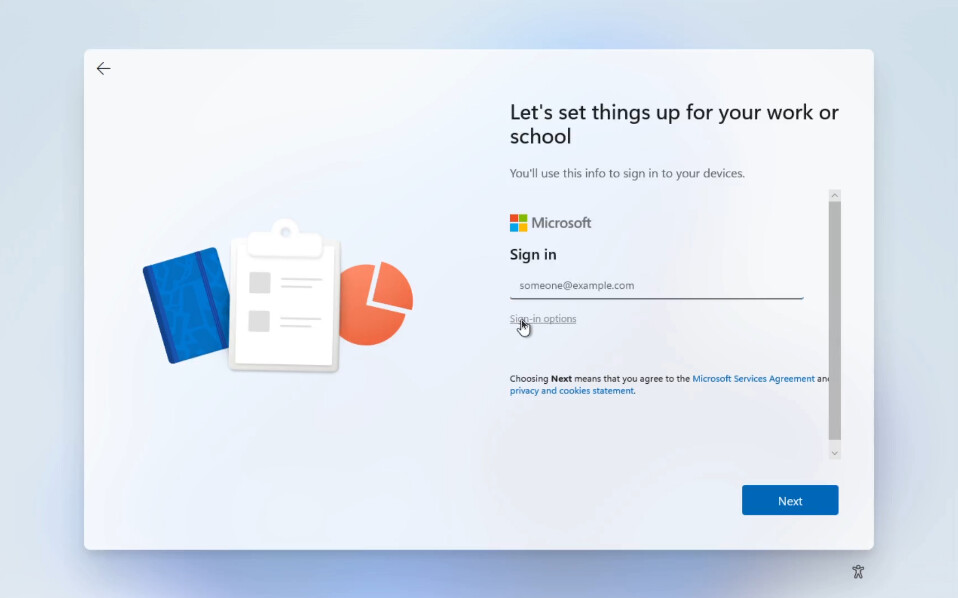
On the screen below, click on “Sign in options”.
Click “Domain join instead” on the screen below.
You will then be able to type in a plain local username & password.
Follow the prompts for the password, password verification and security questions. Answer the privacy questions (but it’s Windows – does it really matter?).
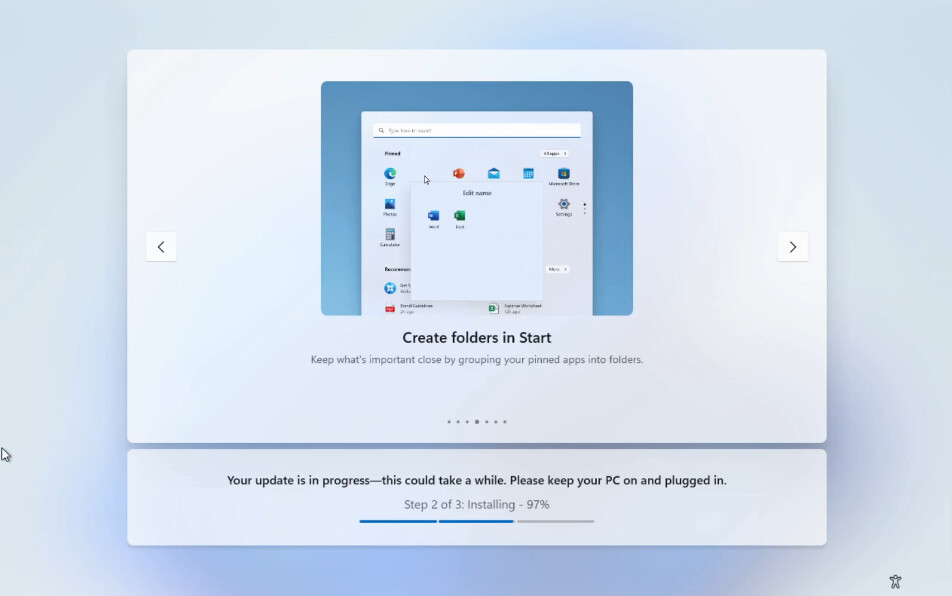
The update download and patch installation process will continue for a long time independently now.
So, how many times does Windows 11 actually restart during an install. The evidence is below.
After logging in following the installation, I had to adjust my screen resolution. Other than that, everything looked good.
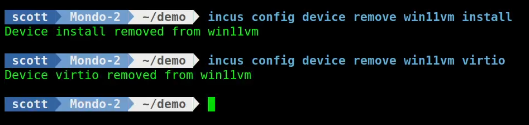
Finally, I shutdown Windows from the start menu. Once Windows is down, it returned to the terminal where I disconnected the CD ROM drives used for the Windows ISO and the VirtIO ISO images with the following commands.
incus config device remove win11vm install
incus config device remove win11vm virtio
The new USB bus CD ROM drivers that are a part of Incus 6.16 have really helped to massively simplify the installation of a Windows 11 virtual machine in Incus.