Speedtest-Tracker is a web based interface designed to analyze the performance of your ISP connections. Speedtests can be run according to a user defined interval or on demand.
Read about Speedtest-Tracker here.
Speedtest-Tracker differs from the very simple “OpenSpeedTest” application that many folks use. OpenSpeedTest is helpful to measure the speed between two devices on your network or between a device on the Internet back to your network.
In contrast, Speedtest-Tracker is more like https://www.speedtest.net/ which is designed to measure your ISP WAN connection to a speedtest server on the internet.
Speedtest-Tracker is valuable because it is a self-hosted application that automates the collection of speedtest statistics over time to allow you to analyze the service that you are receiving from your Internet Service Provider.
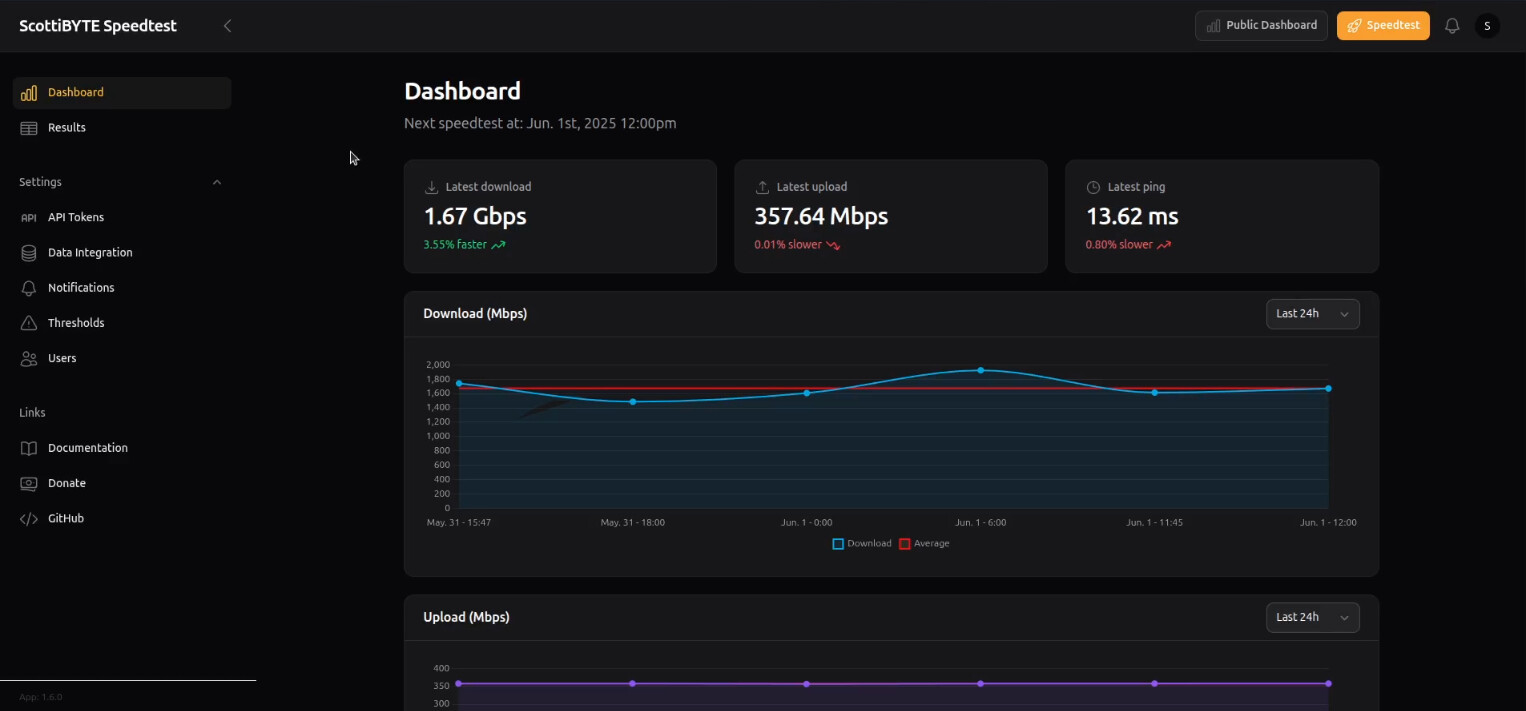
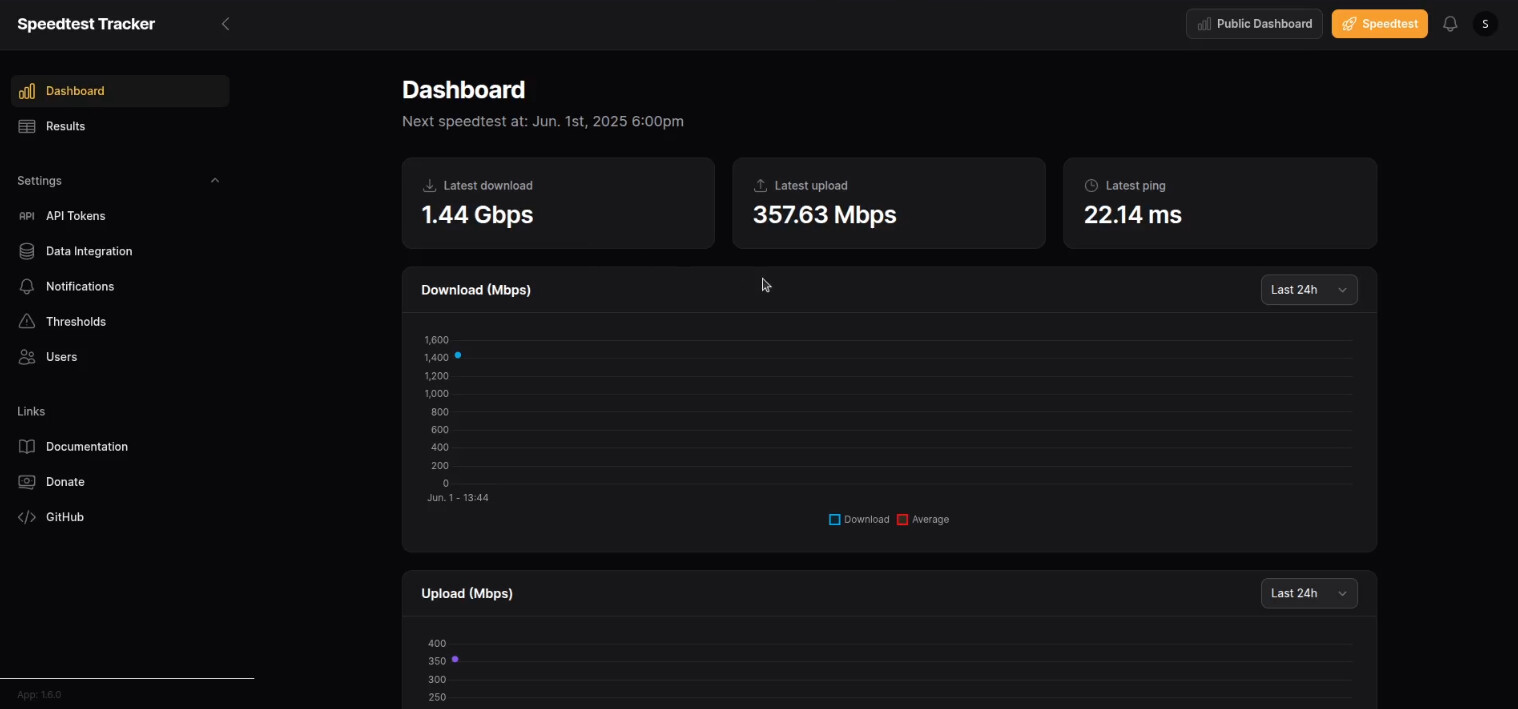
Here’s my production Speedtest-Tracker dashboard.
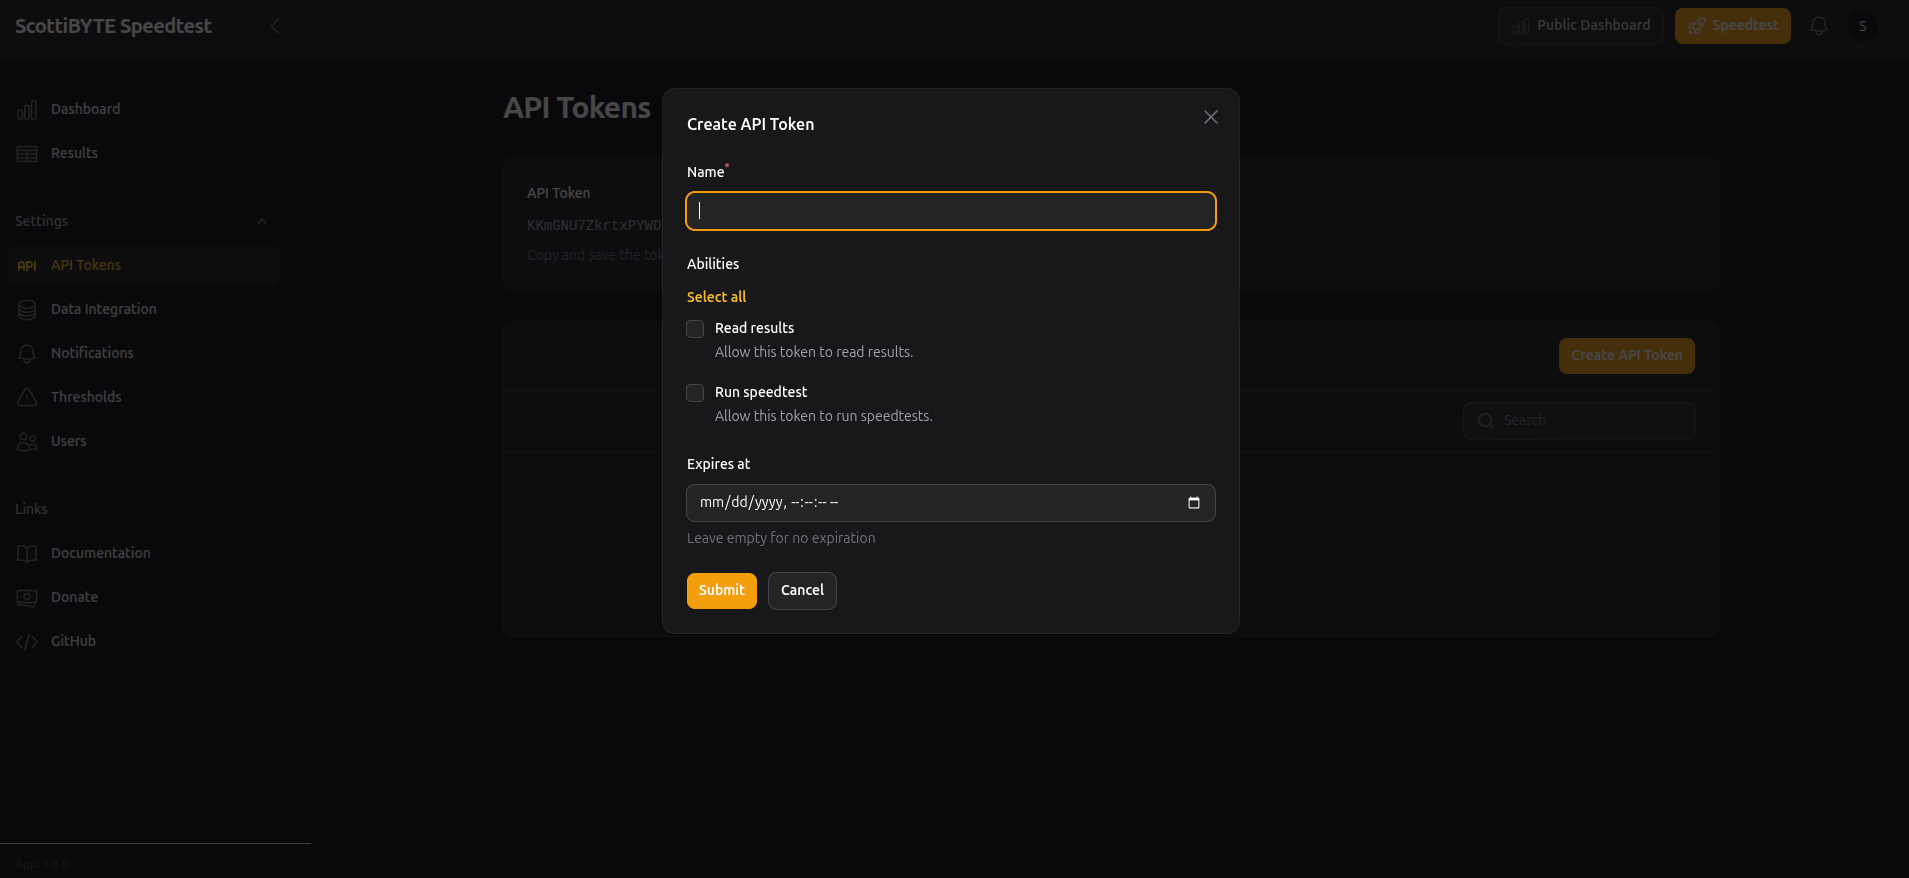
The program allows you to create API tokens which can be used to either run speed tests remotely from an application or to retrieve the results of a speedtest.
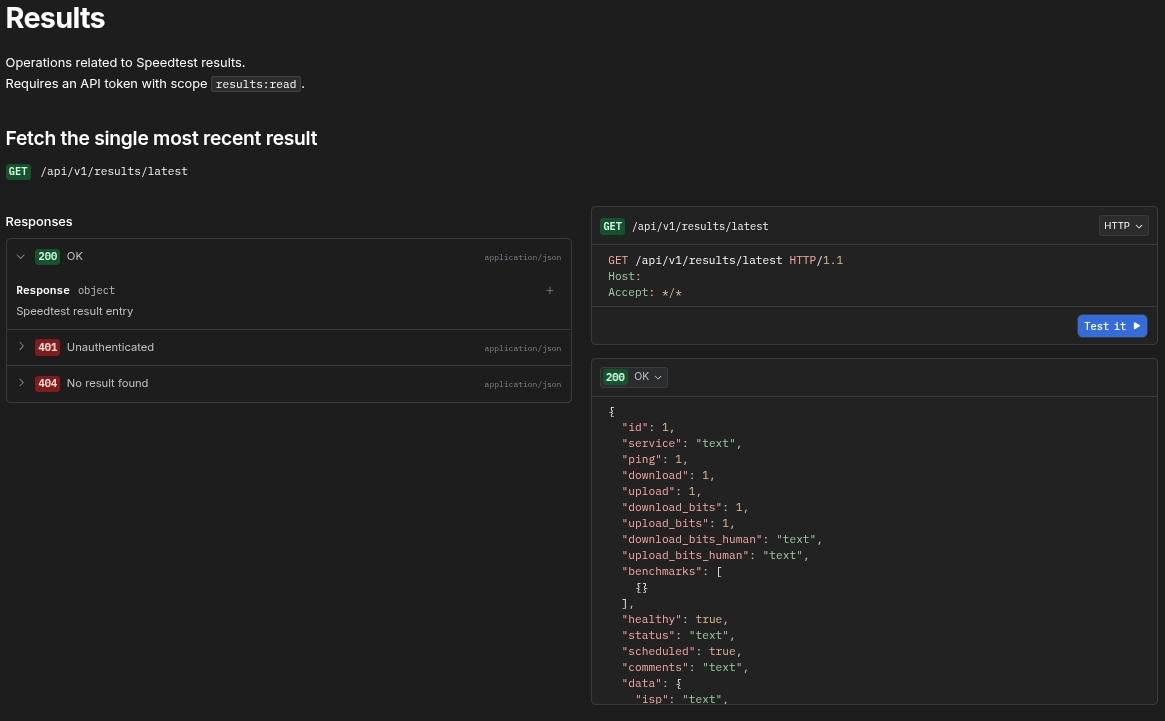
The documentation shows how to execute an http get with the API.
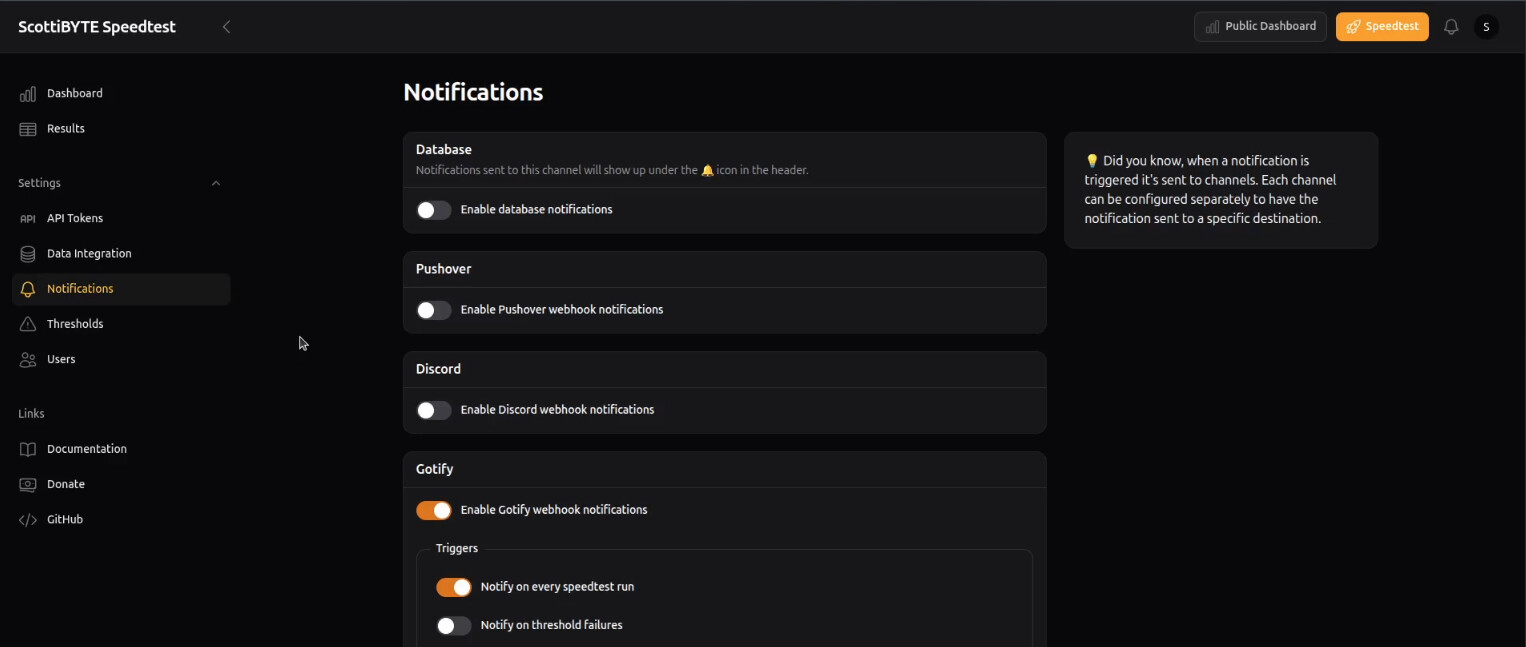
Speedtest-Tracker also allows you to set up notifications on the results of your speedtests. Several notification methods are supported. I use Gotify, but Ntfy and Email can be used as well. The developer notes that they are planning to support Apprise which I covered in my tutorial on Home Lab Network Monitoring.
To install Speedtest-Tracker, I am creating an incus container where I plan to nest the Speedtest-Tracker docker application.
incus launch images:ubuntu/24.04 SpeedtestTracker -p default -p bridgeprofile -c boot.autostart=true -c security.nesting=true
Move inside of the container.
incus shell SpeedtestTracker
Update the repositories and take any OS upgrades.
apt update && apt upgrade -y
Install the dependencies.
apt install curl net-tools nano openssh-server -y
Install docker from the script on the docker website.
curl -sSL https://get.docker.com | sh
Add myself a user account.
adduser scott
Put my user in the sudo and docker groups for management purposes.
usermod -aG sudo scott
usermod -aG docker scott
Move over to my user account.
su - scott
Create a folder for the application and move inside it.
mkdir SpeedtestTracker
cd SpeedtestTracker
Edit a docker compose file.
nano compose.yml
Insert the following into the file.
services:
  speedtest-tracker:
    image: lscr.io/linuxserver/speedtest-tracker:latest
    container_name: speedtest-tracker
    env_file:
      - .env
    environment:
      - PUID=${PUID}
      - PGID=${PGID}
    volumes:
      - ./data:/config
    ports:
      - 80:80
    restart: unless-stopped
Save the file with a CTRL O and Enter and then CTRL X to exit the nano editor.
Create a randomly generated application key for data encryption.
echo -n 'base64:'; openssl rand -base64 32;

Your key will differ from the one that I created above for my demo server. You will want to copy that key in order to insert it into the .env file.
Create the environment variables file.
nano .env
Insert the following into the editor session.
APP_NAME=Speedtest Tracker
APP_ENV=production
APP_KEY=
APP_DEBUG=false
APP_URL=http://localhost

SCHEDULE=0 */6 * * *

PUID=1001
PGID=1001

APP_LOCALE=en
APP_FALLBACK_LOCALE=en
APP_TIMEZONE=America/Chicago
DISPLAY_TIMEZONE=America/Chicago

DB_CONNECTION=sqlite
DB_DATABASE=/config/database.sqlite

APP_MAINTENANCE_DRIVER=file
APP_MAINTENANCE_STORE=database

PHP_CLI_SERVER_WORKERS=4

BCRYPT_ROUNDS=12

LOG_CHANNEL=stack
LOG_STACK=single
LOG_DEPRECATIONS_CHANNEL=null
LOG_LEVEL=debug

BROADCAST_CONNECTION=log
CACHE_STORE=database
FILESYSTEM_DISK=local
QUEUE_CONNECTION=database

SESSION_DRIVER=database
SESSION_LIFETIME=120
SESSION_ENCRYPT=false
SESSION_PATH=/
SESSION_DOMAIN=null

MAIL_MAILER=smtp
MAIL_HOST=mailhog
MAIL_PORT=1025
MAIL_USERNAME=null
MAIL_PASSWORD=null
MAIL_SCHEME=null
MAIL_FROM_ADDRESS=hello@example.com
MAIL_FROM_NAME=Speedtest Tracker
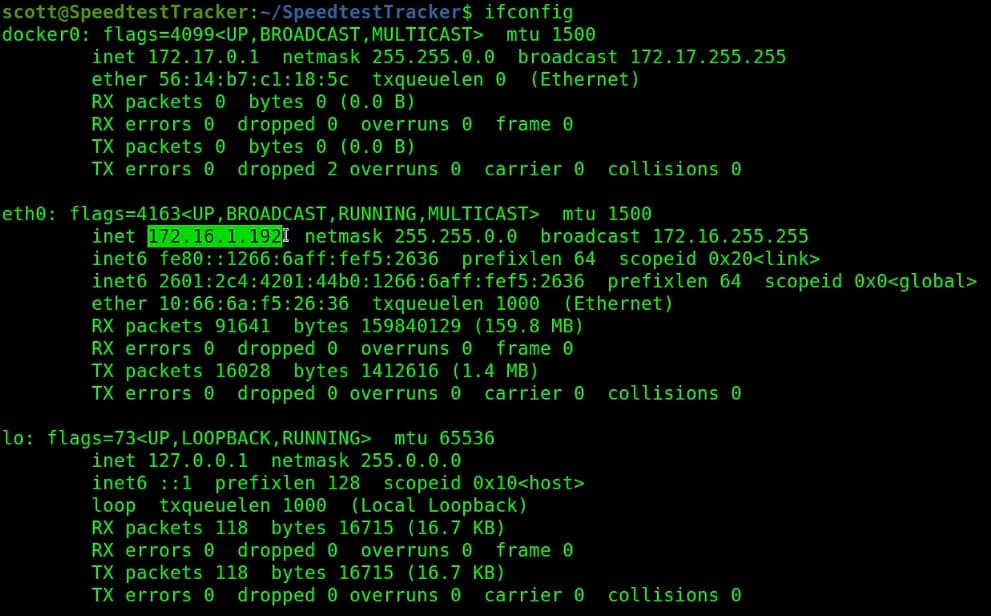
Be sure to paste the key we just generated into the APP_KEY field in the file. Find out the address of your Incus container. I used “ifconfig” to do this in the tutorial.
Change the APP_URL from localhost to the address you just got or if you are planning to serve it via reverse proxy, you can make the APP_URL=https://speedtest.yourdomain.com.
You can optionally change the APP_NAME to your liking and you should change your TIMEZONE variables as shown in the video. The SPEEDTEST_SCHEDULE environment variable is a time specification according to the cron format. In the template, I set the speedtest to run four times per day every six hours starting at midnight your local time. The PUID & PGID values of 1001 will be what you want if you implement this in an Incus container as described here. If you plan to use email for your notifications, you will want to change the email settings at the end of the file.
Once you have made your changes, do a CTRL O and Enter to save the file and a CTRL X to exit the nano editor.
Start the application.
docker compose up -d
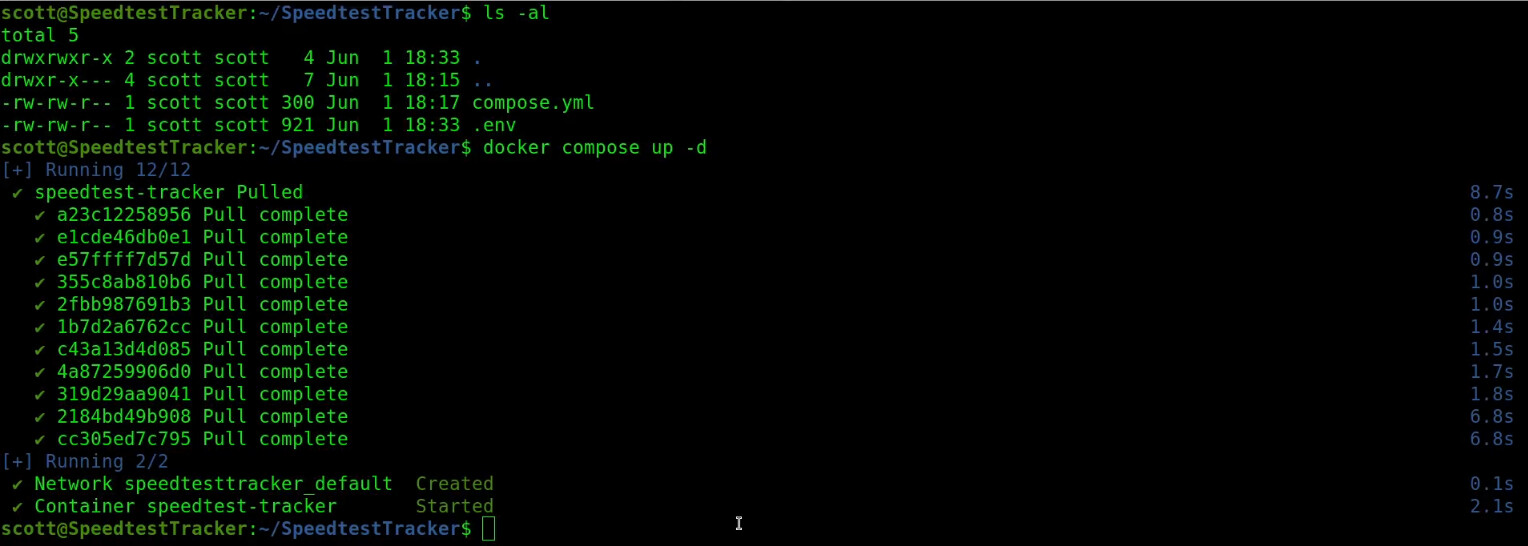
After the application is started, open a web page to the address of your incus container we found with the ifconfig command and you should see the screen below.
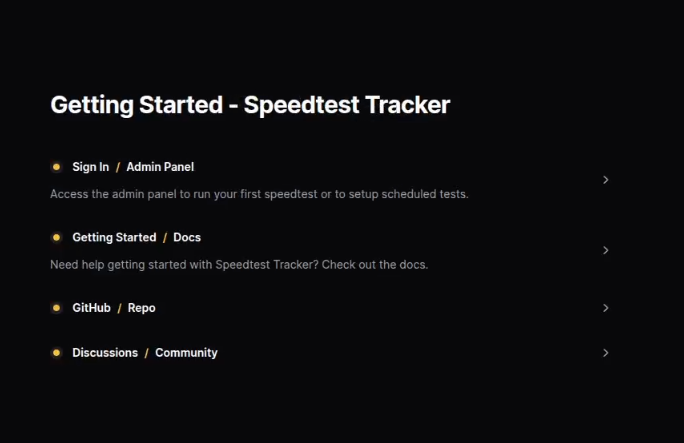
Choose the “Sign In / Admin panel” option and you should see the login page. The default username is admin@example.com and the default password is password.
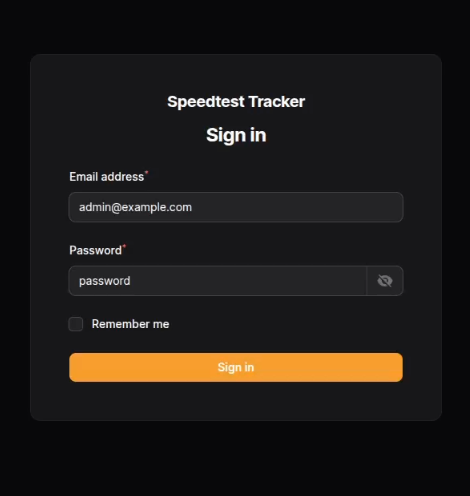
Enter the profile option after logging in.
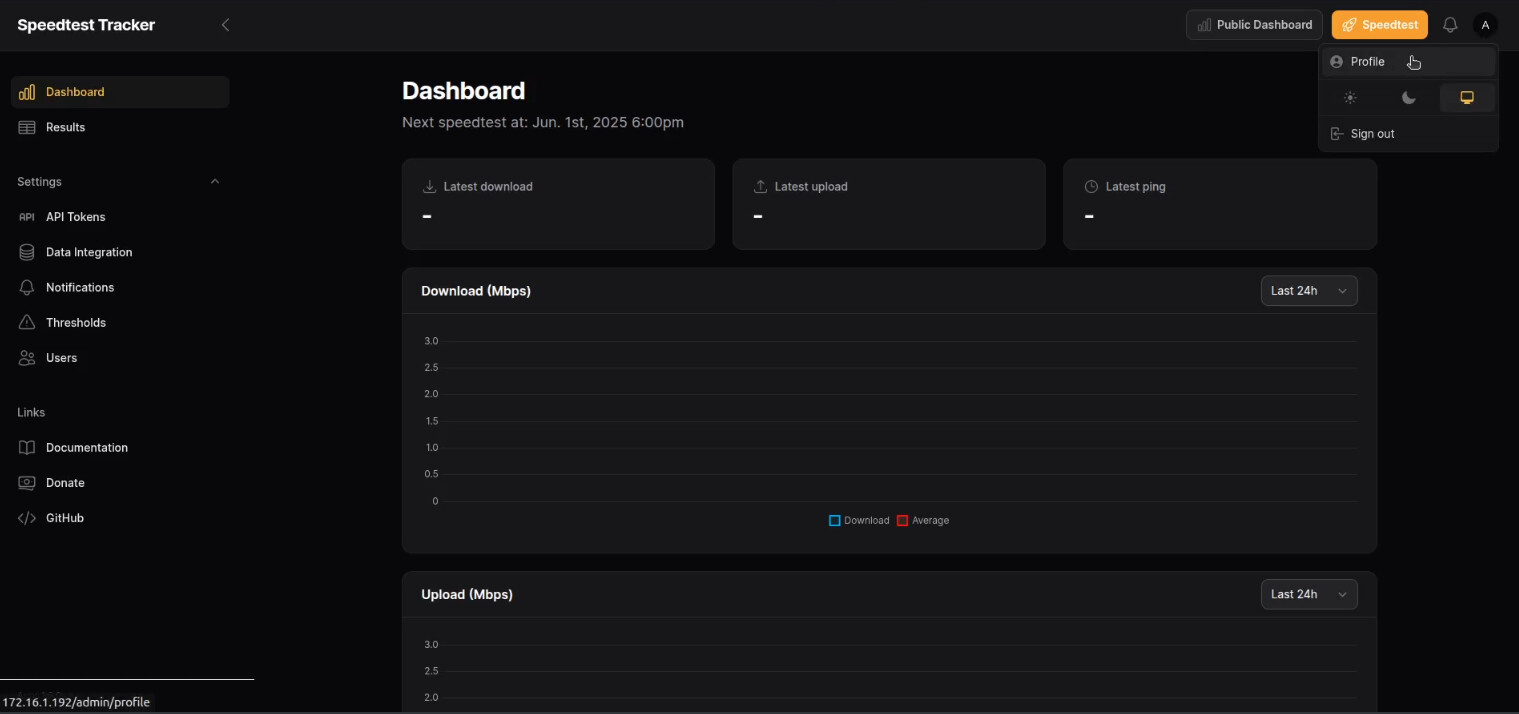
Change your name, email address and password to something specific to you. The email address becomes your login username.
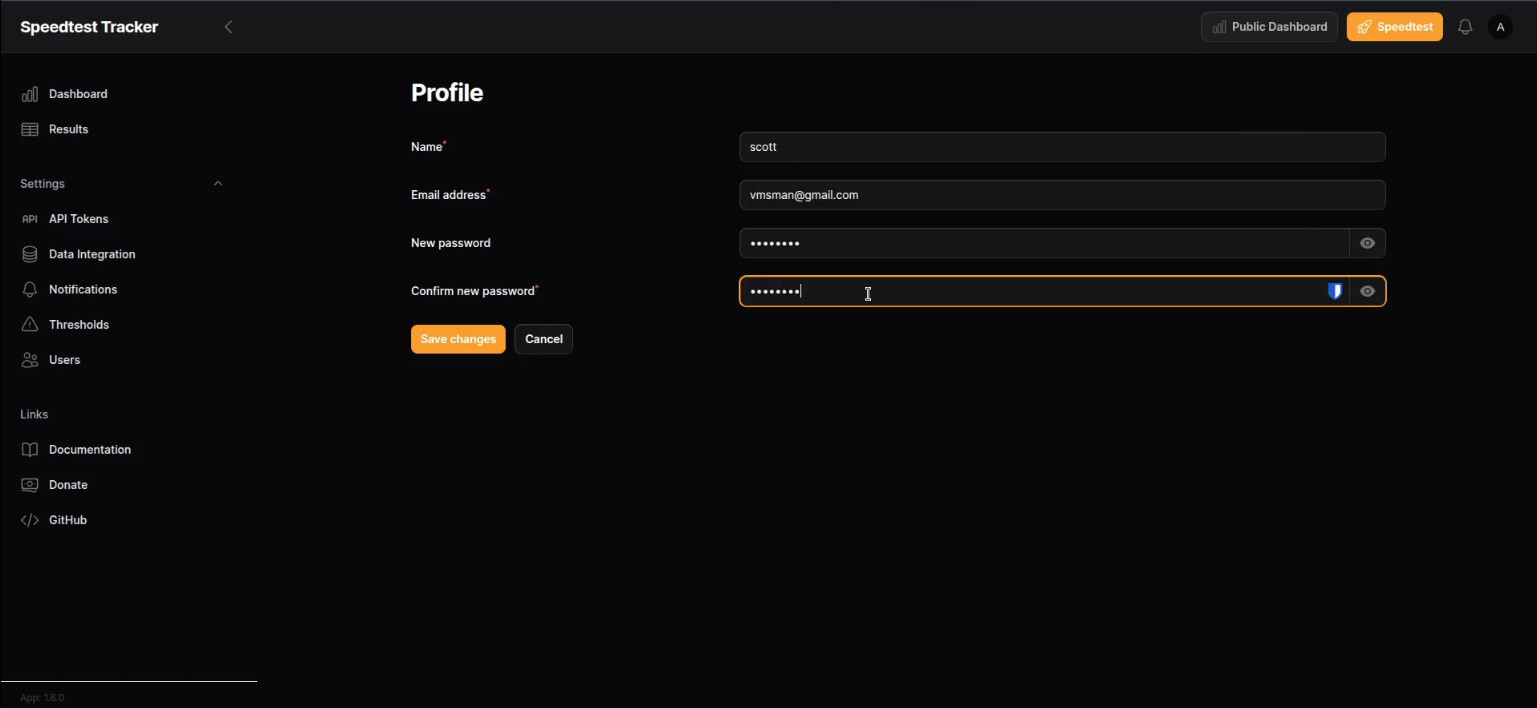
You should log out and log back in to test your new credentials as I did in the tutorial.
You can run a speedtest on demand as opposed to waiting for the scheduled test by clicking on the yellow Speedtest button in the upper right of the web interface.
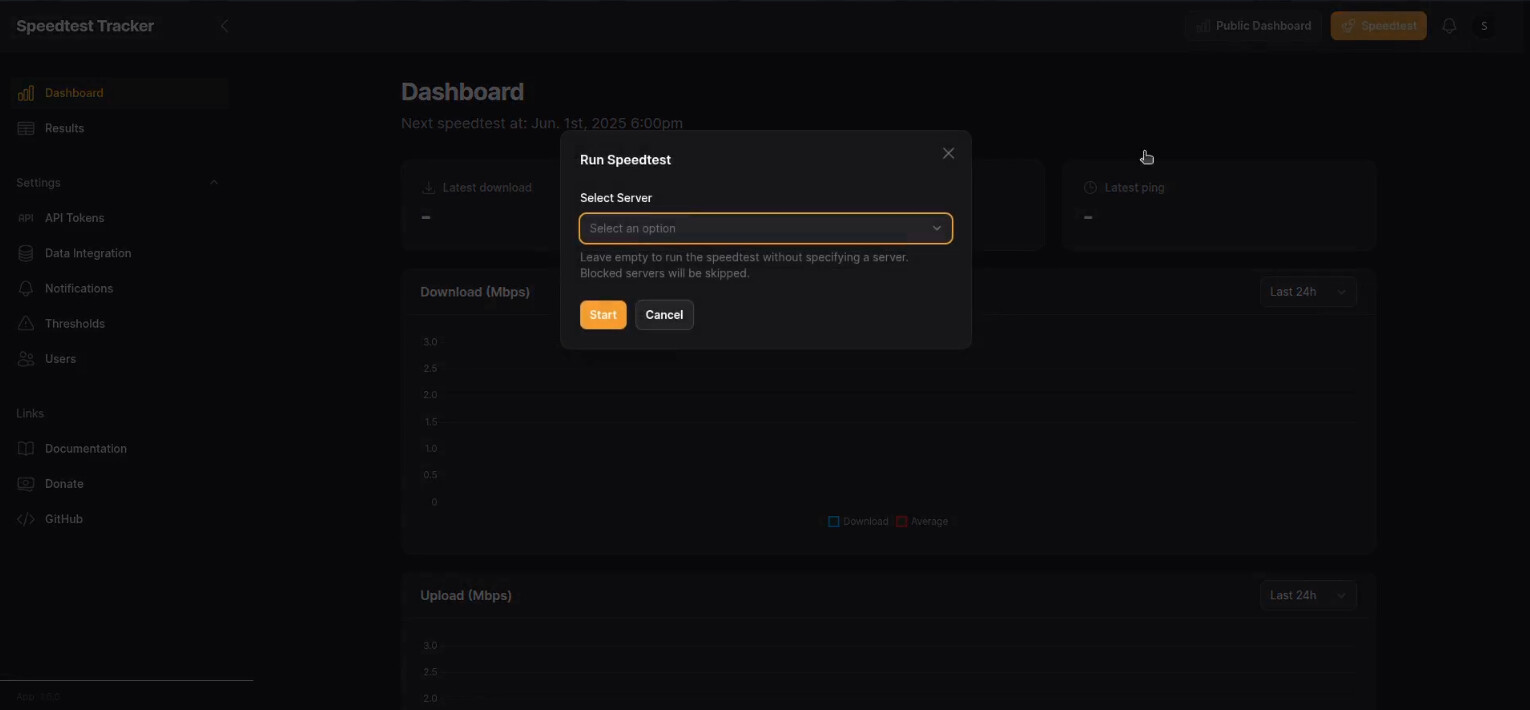
You will be asked to select a speedtest server and the program automatically finds the nearest servers to you.
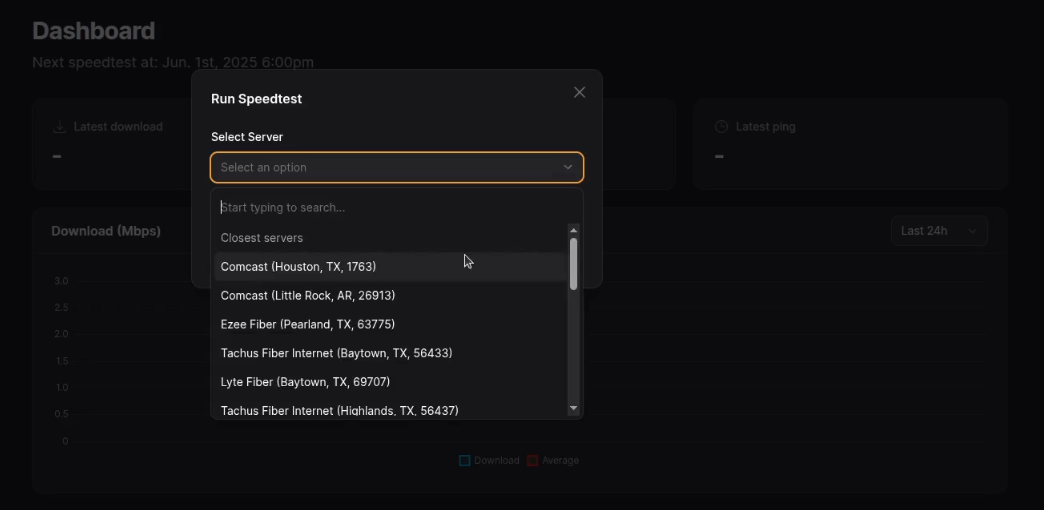
Once you select a server and click “Start”, after a few seconds you should see the speedtest has been completed in the results tab.

Back on the dashboard, you will see the summary of the last test.
As you collect more historical data over time, you will start to see a pattern in the performance of your Internet connection which should allow you to identify when there are problems.