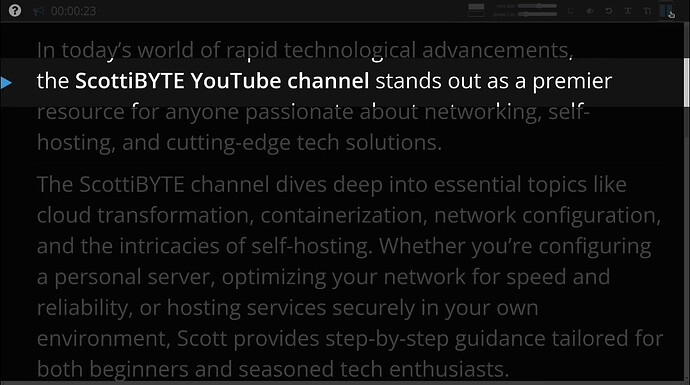
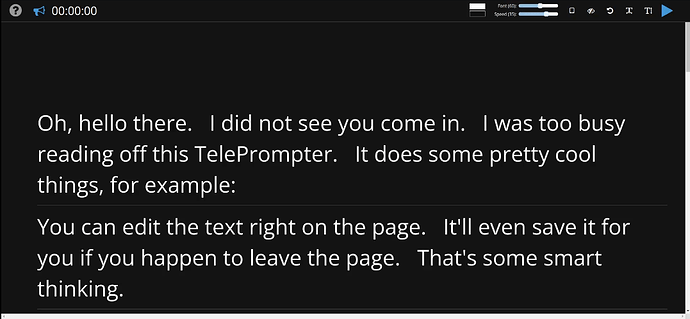
This is a web-based Teleprompter program which could be useful to content providers or those who present live speeches. This program allows you to paste in your own text dialogue and control the font, size, and speed of the text as it is displayed.
Although “Teleprompter” is a docker application, I will be nesting it inside of an Incus container. Some of my subscribers have asked why I do not use Incus OCI containers to achieve the same thing as nesting.
I feel that if a Docker application has more than one container, that it makes for easier management to have all of its parts hosted in one structure rather than having multiple OCI containers directly on your Incus host.
The overhead of using an Incus container appears to be roughly 150MB of memory during runtime. The other advantage is that by offering the Incus container on its own address, the nested docker containers will have all port numbers available to it whereas on a single host (incus host or docker host) you need to manage which ports an application uses to avoid conflicts with other applications.
If you are unfamiliar with incus, watch my Incus Containers Step by Step tutorial.
Start by creating an incus container with nesting support:
incus launch images:ubuntu/24.04 Teleprompter -p default -p bridgeprofile -c boot.autostart=true -c security.nesting=true
Connect to the shell of the new container.
incus shell Teleprompter
Take all of the updates on the new container, if any.
apt update && apt upgrade -y
Install dependencies.
apt install curl openssh-server net-tools nano -y
Install docker from the script on the docker website.
curl -sSL https://get.docker.com | sh
Add a user account and put the new account into the sudo and docker groups.
adduser scott
usermod -aG sudo scott
usermod -aG docker scott
Move over to the new account.
su - scott
Create a folder for the application and move inside of it.
mkdir teleprompter
cd teleprompter
Edit a compose file for the docker application.
nano compose.yml
Paste in the following code.
services:
  server:
    build: .
    image: ghcr.io/manifestinteractive/teleprompter
    command: server
    ports:
      - '3000:3000'
    restart: always
  client:
    build: .
    image: ghcr.io/manifestinteractive/teleprompter
    command: client
    ports:
      - '80:8080'
    restart: always
Write out the file with a CTRL O and enter and then exit the nano editor with a CTRL X.
Load and start the new application.
docker compose up -d
The application runs two containers, both of which happen to use the same image. One of the containers is a server and the other is the client. Since we nested the application in its own incus container offered on a LAN address, I modified the docker-compose to present the client on port 80 for simplicity.
You may wish to establish a DHCP address reservation for the Teleprompter incus container on your router so that the address does not change.
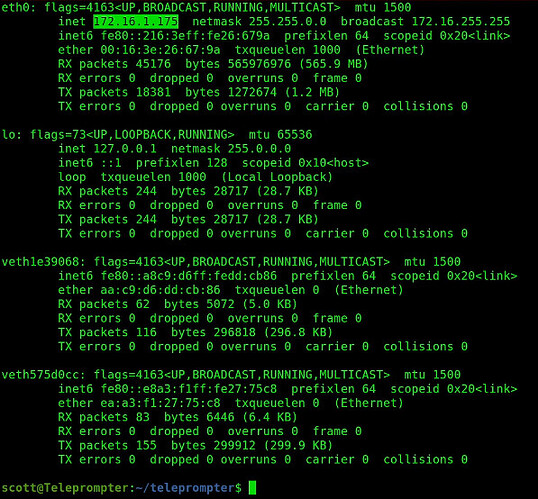
Perform an ifconfig command to find out the address of the eth0 device in the incus container.
ifconfig
To access the application, go to your web browser at the address you just found.
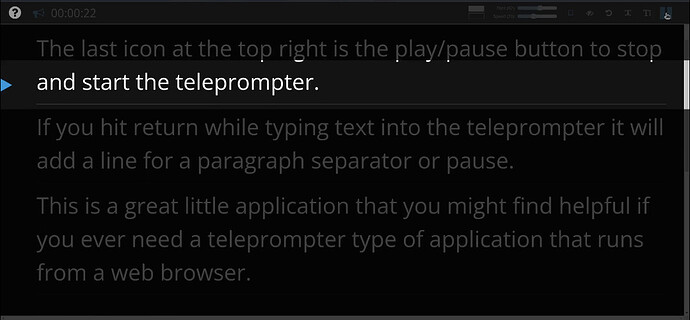
As shown in the video, there are simple options to control Teleprompter. The left and right arrows increase and decrease the speed at which the text will be displayed. The up and down arrows change the font size. The first icon on the top bar provides a QR code to display the teleprompter on a remote device such as a phone or tablet. The next icon “dim while recording” is a toggle for the highlighted view-port for the text as it scrolls. The backwards curled arrow resets the teleprompter to the top of the screen. The last two icons are for mirroring the display over the horizontal or vertical axis since some people use a mirrored display for their teleprompter.
The last icon on the top bar is the play/pause control to start and stop the teleprompter.
I like the simplicity of this application and hopefully it is of use to you.


