The new self hosted Unifi OS released in August 2025 is a game changer that allows managing one or more non-cloud Unifi Gateways from one location. This is added value for Managed Service Providers (MSP) who deploy Unifi infrastructure to their customers.
A Unifi non-Cloud gateway does not run Unifi OS or the Unifi Network Controller program internally. Instead, these gateways have required either a self hosted Unifi Network Controller or a Unifi Cloud key to manage them.
The non-cloud gateways are attractive to companies or MSPs that want to manage geographically separated sites from one centralized location. Unifi OS self hosted is new and this is the first guide to installing Unifi OS to a container. I have read online where Proxmox users have been unsuccessful in hosting Unifi OS in a lxc container and so I took it as a personal challenge to implement it in an incus container rather than in a VM.
Self hosted Unifi OS is limited to the Network Controller program and InnerSpace as of August 2025. That means that for now, Unifi OS self hosted does not run applications like Protect, Talk or Access. The real difference between self hosting just a Unifi Network Controller and Unifi OS is the scalability. A Unifi Network Controller manages just one Unifi Gateway. A self-hosted Unifi OS instance can manage multiple Unifi sites, each with their own gateway.
The other advantage of self hosting Unifi OS is that it supports connecting your sites via Site Magic which is Ubiquiti’s SD-WAN software. If you have sites behind a CGNat with solutions like Starlink or T-Mobile Home Internet, they cannot do site to site VPN’s because gateways behind CGNat have no public IP address. Site Magic can mesh a SD-WAN connection between multiple CGNat sites.
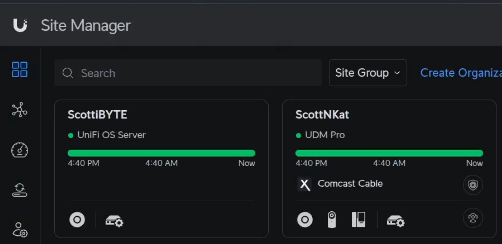
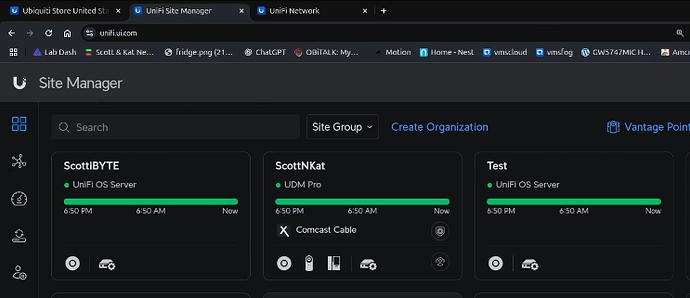
Unifi Site Manager can manage both cloud consoles and Unifi OS instances. Here’s my ScottNKat UDM Pro in Site Manager and my ScottiBYTE instance which is a Unifi OS self hosted in an Incus container.
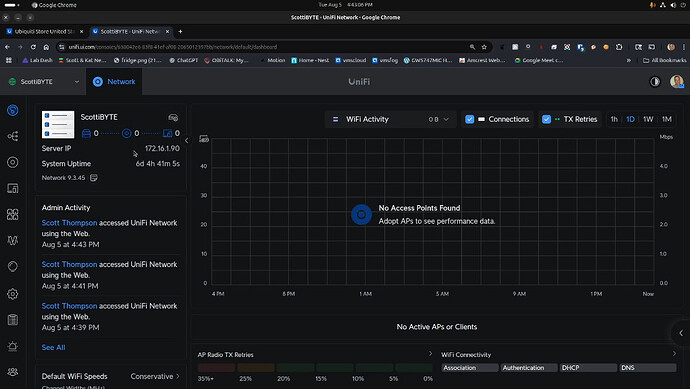
Here’s my Unifi OS server. I’ve not adopted any devices to it yet.
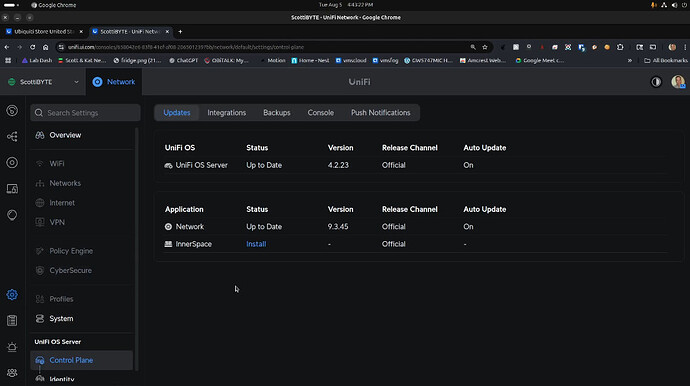
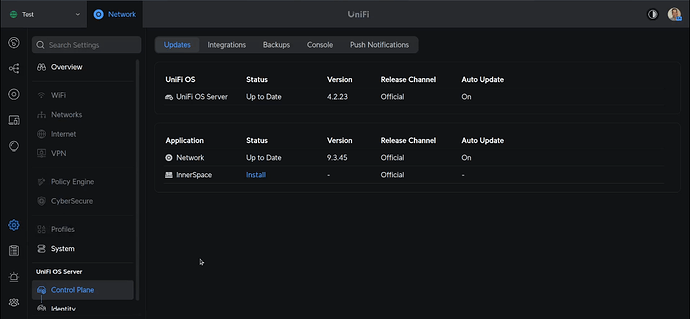
The icon for the Unifi OS server is trying to show that multiple sites can be managed beneath this server. The control plane for the Unifi OS Server manages the server and the versions of the Network Controller and Innerspace for now as seen below.
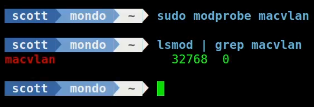
To get started, log into your Incus server. The Unifi OS application requires support for macvlan. To see if you have macvlan support on your incus server:
lsmod | grep macvlan

If that command comes back blank, you need to load the kernel module for macvlan.
sudo modprobe macvlan
To make this persistent between incus server reboots:
echo macvlan | sudo tee /etc/modules-load.d/macvlan.conf
Create the incus container as shown in the video with the following command (assuming you created the bridgeprofile from my Incus Containers Step by Step Tutorial):
incus launch images:debian/12 UnifiOS \
  -p default \
  -p bridgeprofile \
  -c boot.autostart=true \
  -c security.nesting=true \
  -c security.privileged=true \
  -c security.syscalls.intercept.sysinfo=true \
  -c raw.lxc="lxc.apparmor.profile=unconfined
lxc.cgroup.devices.allow = a * rwm
lxc.mount.auto = proc:rw sys:rw"
It took me about eight (umm maybe 12) hours to determine the settings for the container just to let you all know.
Connect to the container.
incus shell UnifiOS
Accept the updates.
apt update && apt upgrade -y
Install the dependencies.
apt install curl wget podman kmod nano net-tools openssh-server -y
Since podman (like docker) uses an overlay file system, I found that the podman container was failing. The reason for the failure was that our incus default storage pool uses the zfs file system and the podman overlay file system cannot live on top of zfs.
To fix this, execute the following command to make podman use the vfs file system.
echo -e '[storage]\ndriver = "vfs"\nrunroot = "/run/containers/storage"\ngraphroot = "/var/lib/containers/storage"' | sudo tee /etc/containers/storage.conf
To complete this use of vfs, we also need to create two folders.
mkdir -p /run/containers/storage
mkdir -p /var/lib/containers/storage
Add a user account on our new incus container.
adduser scott
Put your user in the sudo group.
usermod -aG sudo scott
Move over to the new account.
su - scott
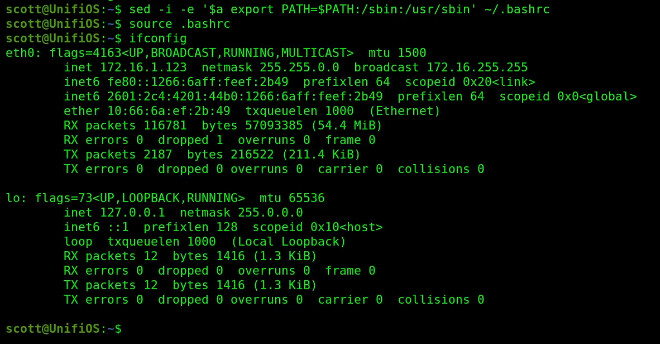
I found it interesting that in Debian after moving to my user account, that my ifconfig command that we installed with net-tools didn’t work.

Update your path in .bashrc with the following command and reload the bash shell.
sed -i -e '$a export PATH=$PATH:/sbin:/usr/sbin' ~/.bashrc
source .bashrc
Now ifconfig works.
Enough for rabbit holes. Now let’s download the installation package for Unifi OS.
wget https://fw-download.ubnt.com/data/unifi-os-server/8b93-linux-x64-4.2.23-158fa00b-6b2c-4cd8-94ea-e92bc4a81369.23-x64
Grant the file execute privilege.
chmod +x 8b93-linux-x64-4.2.23-158fa00b-6b2c-4cd8-94ea-e92bc4a81369.23-x64
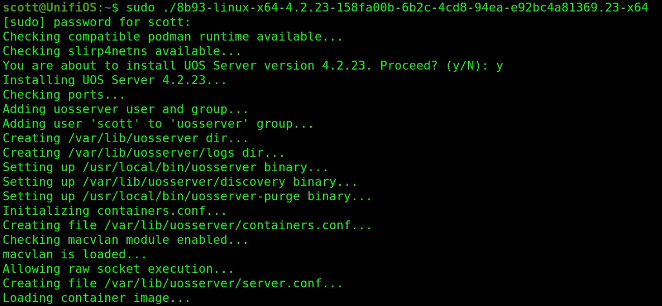
Run the installation.
sudo ./8b93-linux-x64-4.2.23-158fa00b-6b2c-4cd8-94ea-e92bc4a81369.23-x64
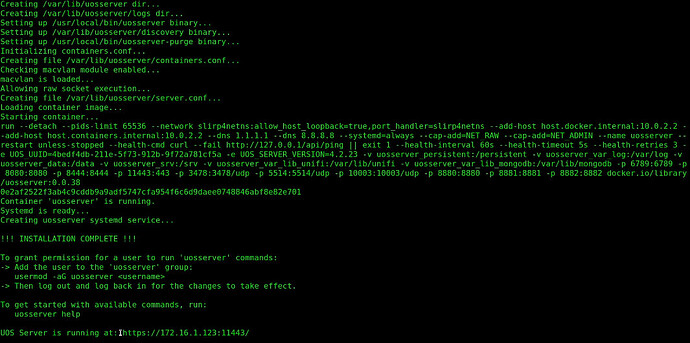
The installation will run for a couple minutes and finally…
When the installation completes, you will be told the URL for your new Unifi OS instance.
Before you go there, add your user account to the group they specify and load the group to your current login session.
sudo usermod -aG uosserver scott
newgrp uosserver
As mentioned in the video, podman will not list the container even though it is running because it is managed by uosserver.
sudo podman ps -a
![]()
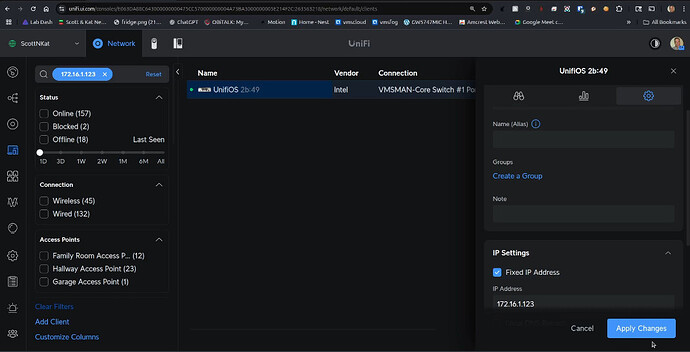
Be sure to go to your existing Unifi Network Controller program and grant the Unifi OS container a DHCP Address reservation so that the container address does not change.
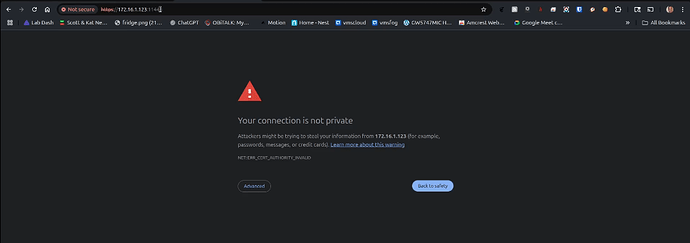
Now open a new tab in your web browser and go to the address of your Unifi OS Incus container we created at port 11443 making sure to use https and not http.
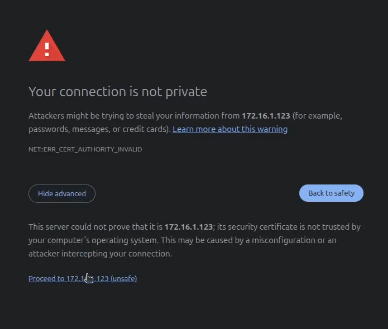
Choose “Advanced” and then proceed. You are getting this message because the container has a self signed certificate.
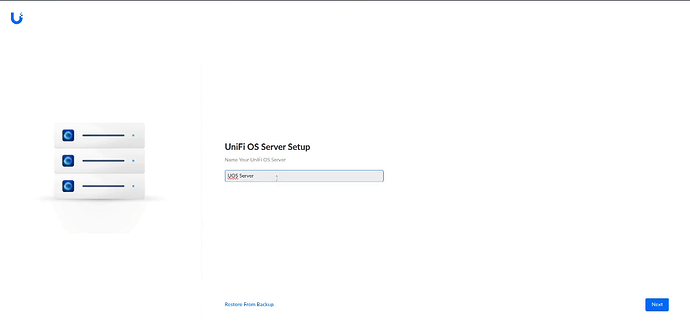
Select a name for your server and click Next below.
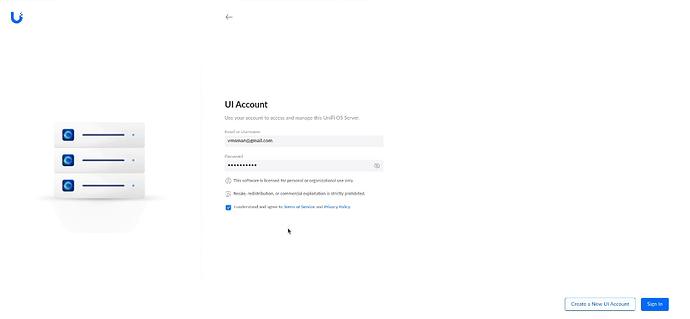
The next screen will give you an option to create an account. You probably want to log into your existing Unifi Cloud account, so click “sign in”. Enter your credentials and check the terms of service checkbox.
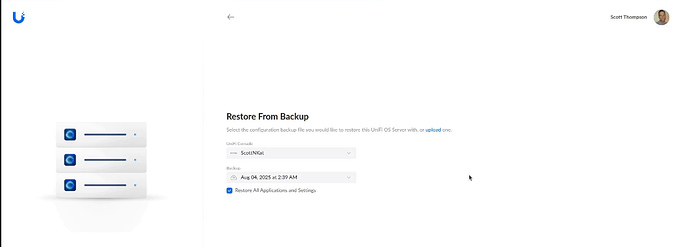
Once you have logged in, you get an option to restore a controller backup. You probably don’t want to do that at this point and so I skip it.
From here, it sets up Unifi OS.
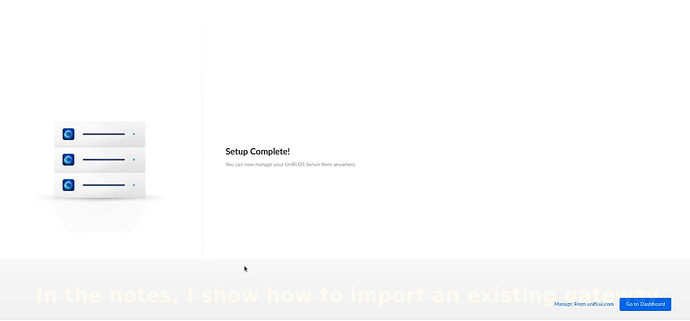
After a short time, setup is complete and you can click “Go to Dashboard”.
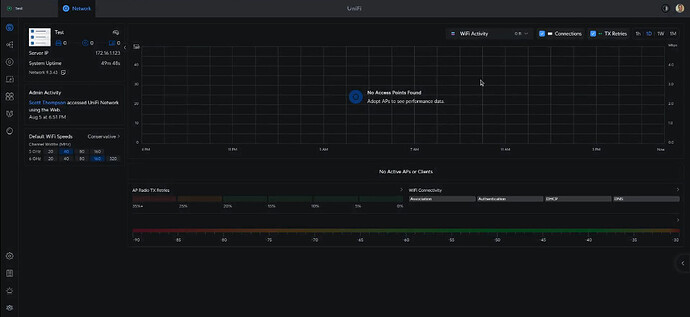
Here’s the Unifi OS Dashboard.
What you see above is the “default” site. Other sites can be added as well. You are not seeing anything yet because no gateways, switches or access points have been adopted.
So far, we have accessed our Unifi OS via the local address of the Incus container. However, Unifi OS has many options at the site manager level which you can access from https://unifi.ui.com/.
Recall that my new Unifi OS instance is named “Test” from the video and you can see that in the Unifi Site Manager at https://unifi.ui.com/.
Here’s the control plane from my self hosted Unifi OS instance.
I discussed the power of Site Magic (SD-WAN) in the end of the video.
Now I want to include the steps you might take to convert from a standalone network controller or Cloud Key managed non-Cloud based Unifi gateway to being managed by your shiny new self hosted Unifi OS container.
BIG GLARING NOTE: If you are going to have a site to site VPN or Site Magic linking sites, each site must have a unique address range. That means that you can’t link two sites that both use 192.168.1.0/24.
Realize that in order to manage a remote gateway, you need to have some kind of a link to it.
One of my subscribers has two sites that I helped him link with a site to site VPN. That means that anything at one side can see anything at the other.
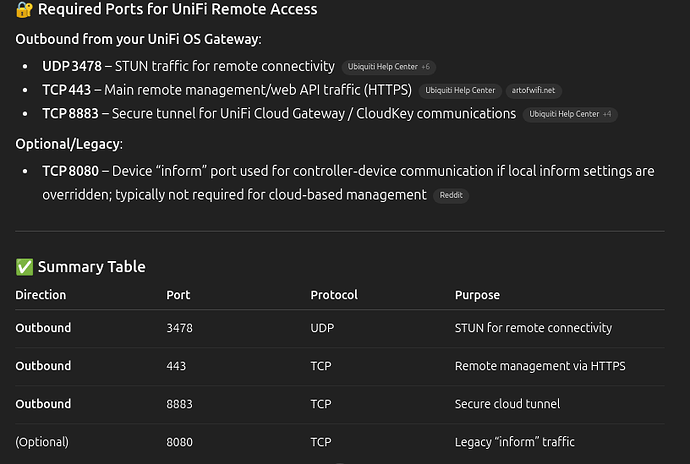
You may not want to do that, but just know that the gateway to be managed must have at least access to the following ports.
Before doing anything, log into the network controller at the remote gateway and perform a network controller backup for safety.
From the network where that non-cloud gateway is located (example: UXG Max):
ssh ubnt@ip-address
You will need to set the device password in your network controller before you can ssh into it.
Once you are logged into the non-cloud unifi gateway:
ping unifi-os-container-ip
If the ping worked, you should be good to go. If not you need some type of VPN or port forwards to accomplish connectivity.
If the ping worked, you can now change the inform address to match that of the Unifi OS container with the following command.
set-inform http://<Unifi-os-container-IP>:8080/inform
Now go back to the Unifi OS Network Controller web interface and you should see a pending adoption for your gateway.
Once you adopt, the gateway will be managed by your Unifi OS instance we created in the Incus container and the gateway will reboot.
Your existing configuration of the gateway should remain intact.
At this point, you can implement site magic to connect both sites and then once it is up, you can discontinue your site to site VPN if that is what you used previously.
The last step is to set the “Override Inform Host” on the UniFi OS controller (hosted in your self-hosted container). This tells all UniFi devices — including the remote gateway (UXG Max) which IP or FQDN to use to contact the controller, especially after they reboot or lose connectivity.
