Quick Response (QR) Codes are two dimensional bar codes invented in 1994 by the Japanese company Denso Wave for labeling auto parts. In this tutorial, we learn how to self-host your own QR Code management system.
PHP Dynamic QRCode Generator is a Docker application and I like to nest my Docker apps inside of dedicated LXD containers for better security and configuration control. Watch my videos in the LXD Playlist if you want to learn about LXD.
I created a LXD container as follows:
lxc launch ubuntu:22.04 QRCode --profile default --profile bridgeprofile -c boot.autostart=true -c security.nesting=true
Move inside of the container:
lxc shell QRCode
Take the updates:
apt update && apt upgrade -y
Add a user account for myself and grant it sudo privilege:
adduser scott
usermod -aG sudo scott
Install Docker and docker-compose:
curl -sSL https://get.docker.com | sh
apt install docker-compose
Add my user account to the docker group:
usermod -aG docker scott
Move over to the scott account and into the scott home folder (The dash moves into scott’s home folder:
su - scott
Download the Dynamic QR Code Github project files:
git clone https://github.com/giandonatoinverso/PHP-Dynamic-Qr-code
Move into the folder:
cd PHP-Dynamic-Qr-code
Edit the docker-compose.yml file that is in this folder. Modify the BASE URL to be the URL of your website. This means that you should have created a subdomain record at your domain provider for your service. Also, change database passwords in the application and database portions of the file.
nano docker-compose.yml
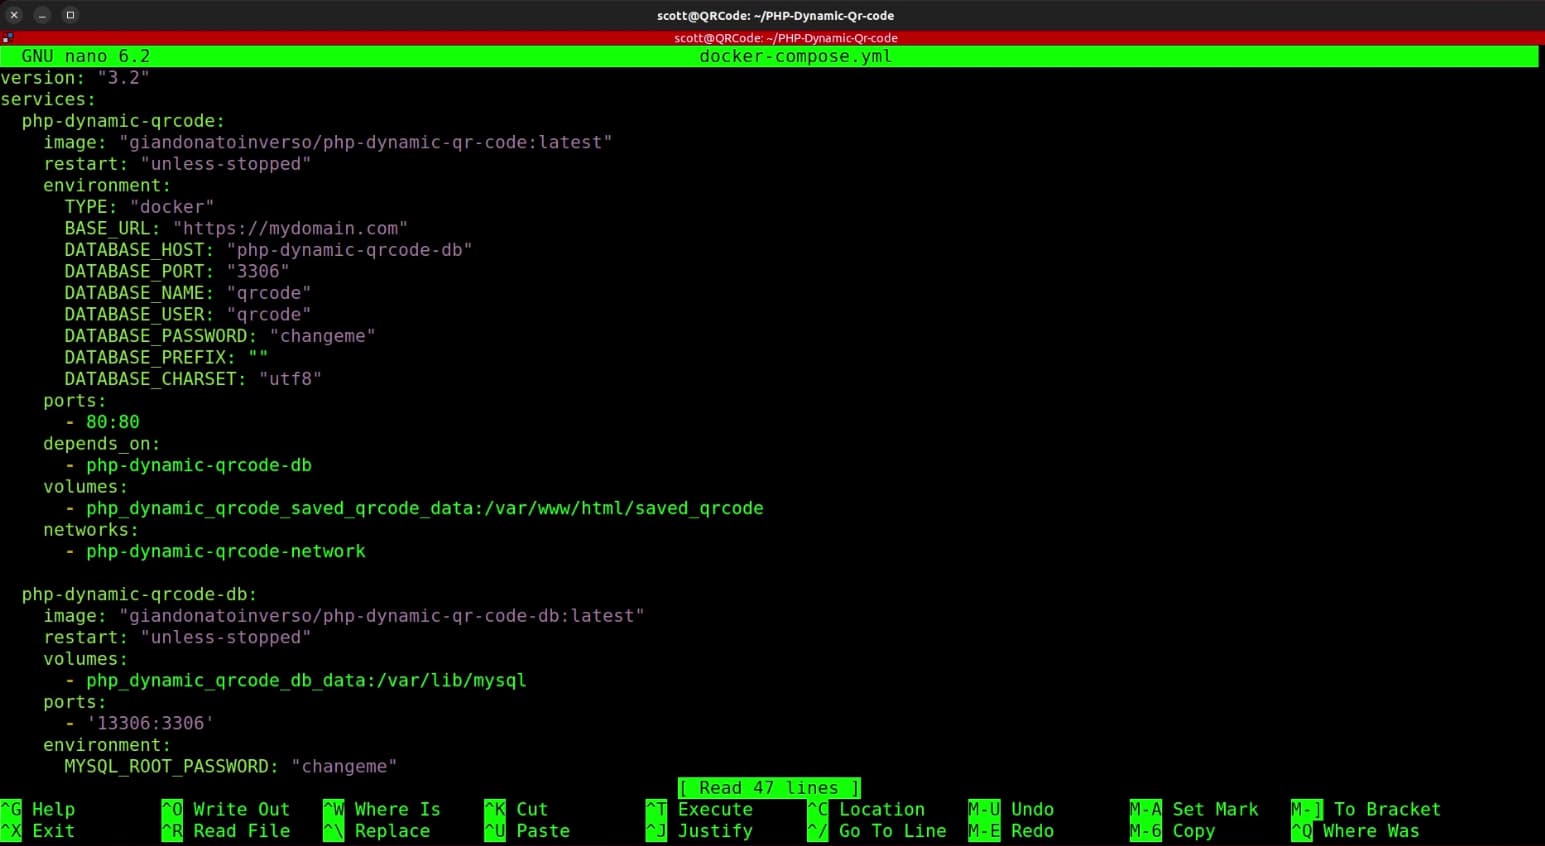
When you have edited both the BASE URL and the passwords, do a CTRL O and Enter to SAVE the file and a CTRL X to exit the nano editor.
NOTE: The Base domain name is needed to support the dynamic QR Codes which will reference the website.
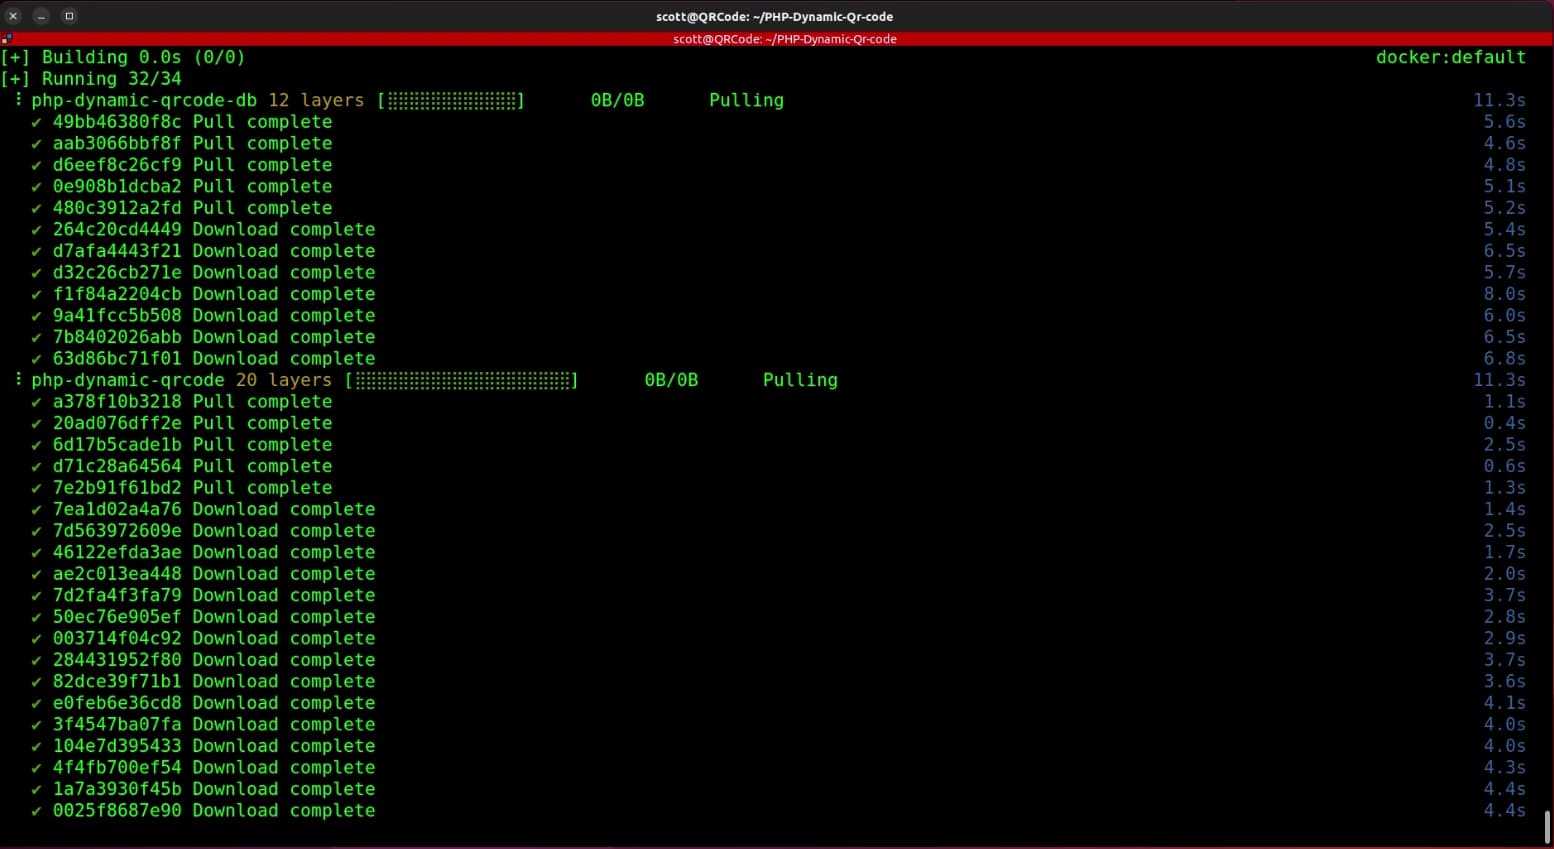
Next, build the application and start it:
docker compose build --no-cache && docker compose up -d
Find out the address of the container:
ifconfig
If that command doesn’t work, install net-tools:
sudo apt install net-tools
Perform the ifconfig again and look for the IP address of eth0:
ifconfig
Go to the address (and port number if you changed from the default port 80) in your web browser:
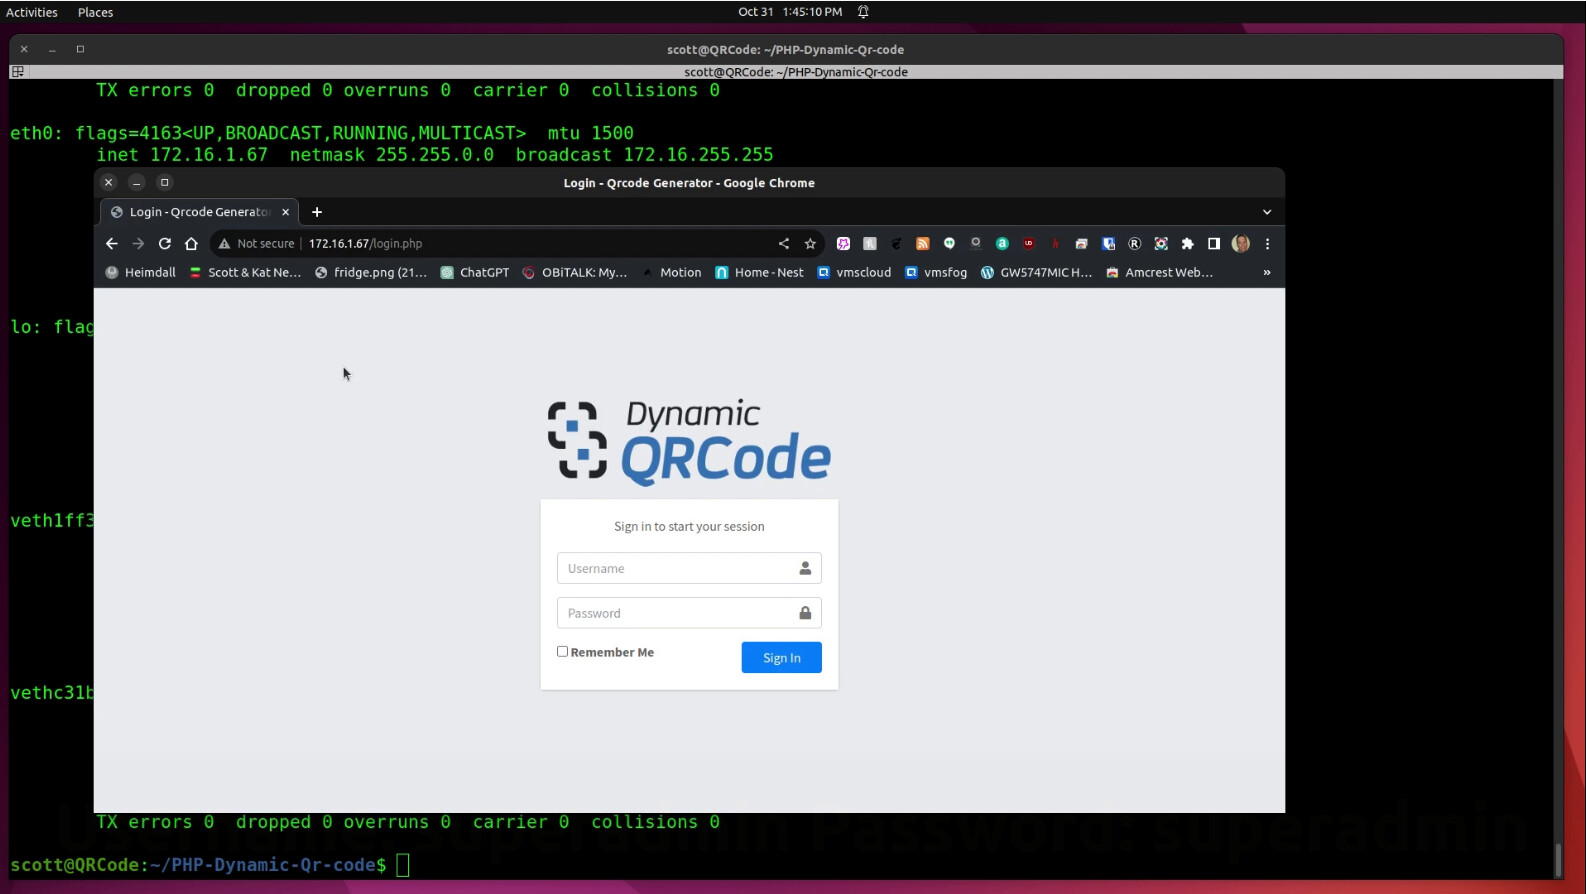
The initial username is superadmin and the initial password is superadmin.
Go to the “Users” section after logging in and modify the “superadmin” user:
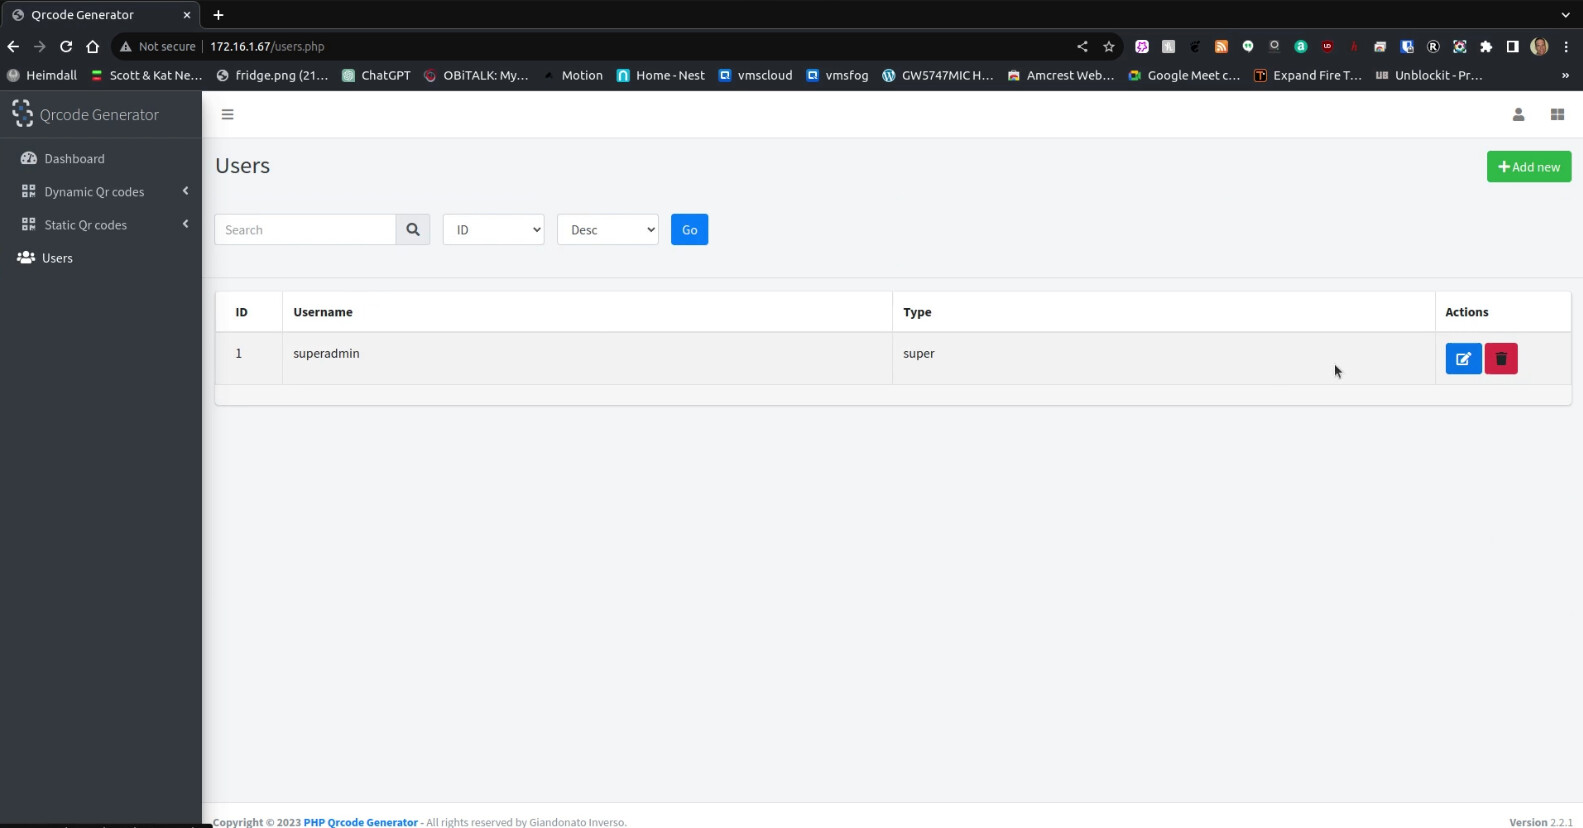
Select the blue "pen: and change both the username and the password to your choices for security. Superadmins can create and modify accounts. Admins only control QR Codes that are in the “All” group or QRCodes they create.
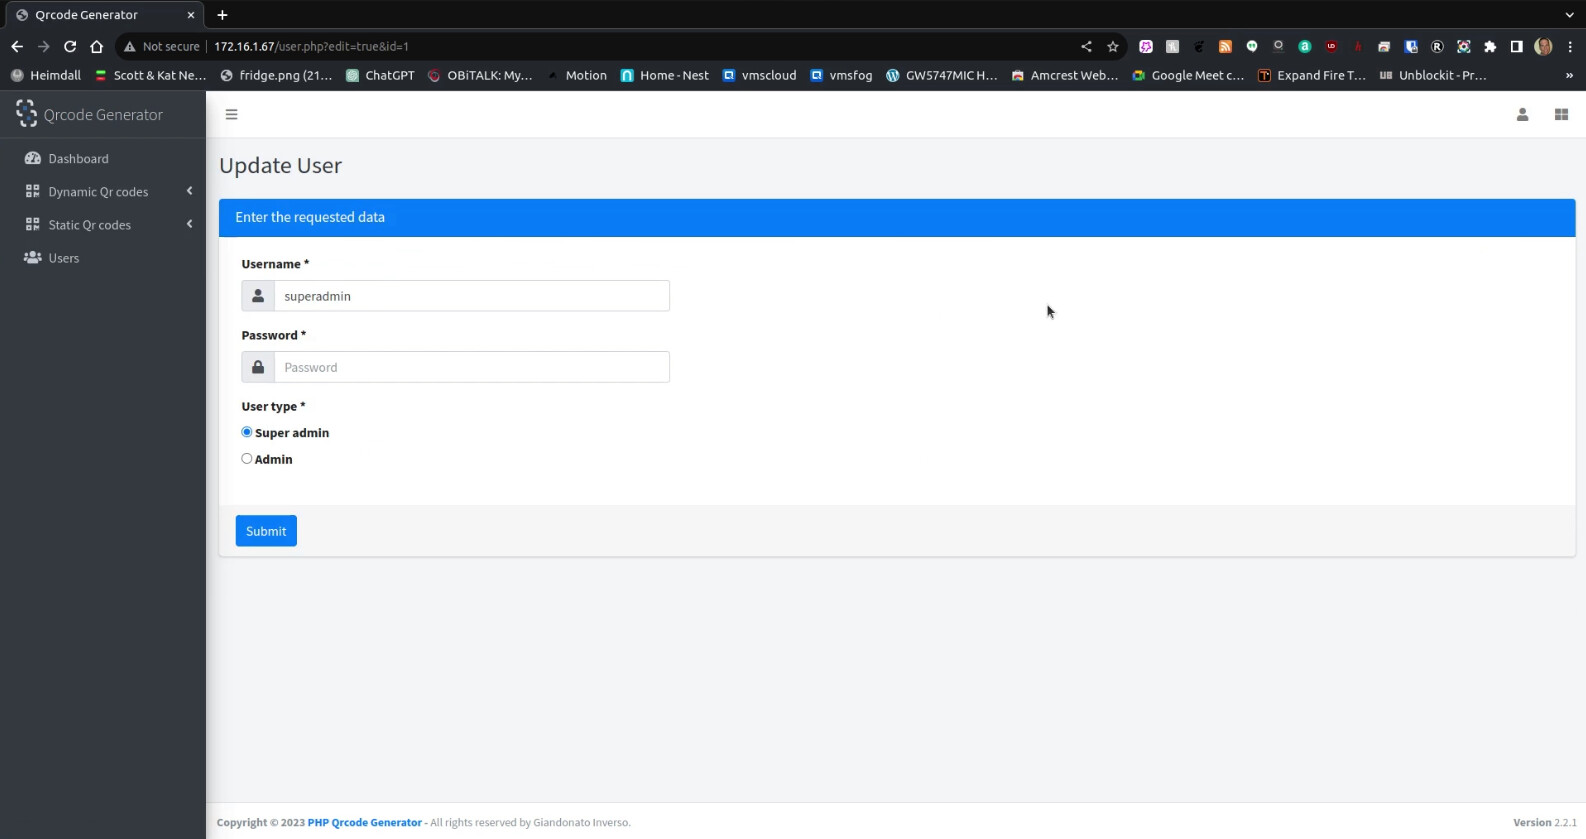
Click on submit after your changes.
To make the dynamic QR Codes functional, they need to be able to access your subdomain name for the Dynamic QR Code Generator that you edited for the BASE URL.
You will have to go into NginX Proxy Manager which I have installed and shown in many previous videos. You will need a reverse proxy record that points to the address of your LXD container (Not the LXD host). So, this is the address you went to in the web browser. In my case:
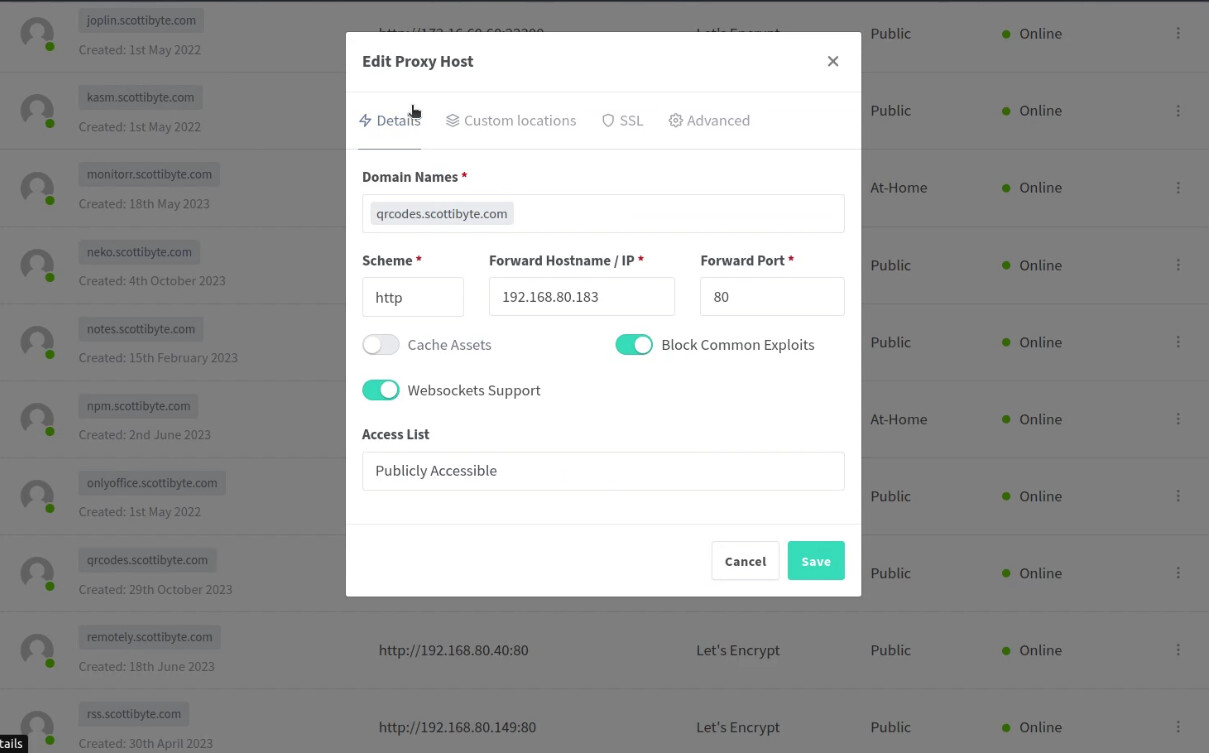
Be sure to also go to the SSL tab in the interface above and request a new Self Signed SSL certificate from Let’s Encrypt. Watch the video for more details.
At this point, you will be able to use your sub-domain name to access your PHP QRCode generator website. As indicated, you will want to review and delete the sample codes added by the author and begin creating your own codes.
Enjoy!