OwnTracks is an open source self-hosted alternative for GPS Tracking and location history to replace Google & Apple Tracking. Are you concerned about privacy? OwnTracks lets you keep track of the locations of your family and friends and build a private location diary of your travels on your own server.
The OwnTracks webpage is here and their Github page is here.
OwnTracks has a mobile app for Android and also a Mobile app for iOS that can be downloaded from the Play Store or the Apple App Store accordingly.
Your self-hosted OwnTracks server will include the OwnTracks recorder that records the GPS telemetry from your mobile devices and the OwnTracks frontend that reads data from the recorder app and presents a nice web based interface showing your travels.
You will want to head over to the OpenCage geocoding site and get a free account to be able to translate your GPS coordinates to and from street addresses. The service is free for up to 2500 API requests per day and they have paid plans for other usage levels.
On the OpenCage Geocoding API page, you will want to request your free API and keep that number for later in the tutorial.
As with most of my application installation tutorials, we will be installing OwnTracks inside of an Incus container. If you are not familiar with Incus containers, watch my Incus Containers Step by Step tutorial. This is important because you will learn not only how to install incus, but how to configure a software bridge to bridge your containers to the main LAN.
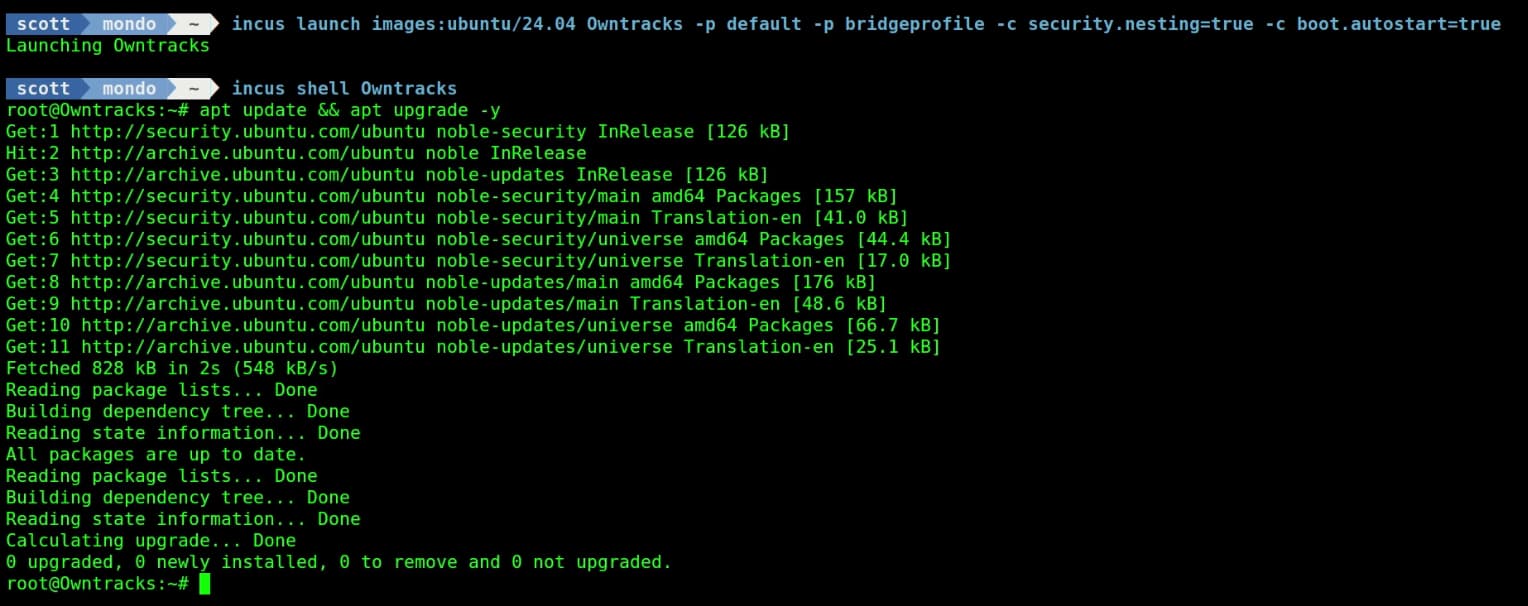
OwnTracks consists of the recorder and the frontend apps which are both Docker applications that we will be nesting in an incus container. First, create the incus container:
incus launch images:ubuntu/24.04 Owntracks -p default -p bridgeprofile -c security.nesting=true -c boot.autostart=true
Next connect to the root account of the container:
incus shell Owntracks
Update the repositories and take all of the updates on the new container instance.
apt update && apt upgrade -y
Install the dependencies.
apt install curl nano net-tools openssh-server
Owntracks is a docker application and so we install docker from the script on the docker website.
curl -sSL https://get.docker.com | sh
Add a user account and put the new user in the sudo and the docker groups.
adduser scott
usermod -aG sudo scott
usermod -aG docker scott
Move over to the new account and create a folder for the application and move into it.
su - scott
mkdir owntracks
cd owntracks
Create the docker-compose file for Owntracks.
nano docker-compose.yml
Insert the following data into the editing session.
services:
  otrecorder:
    image: owntracks/recorder
    ports:
      - 8083:8083
    volumes:
      - ./config:/config
      - ./store:/store
      - "/etc/timezone:/etc/timezone:ro"
      - "/etc/localtime:/etc/localtime:ro"

    environment:
      - TZ=America/Chicago
      - OTR_PORT=0
      - OTR_HTTPPORT=8083
      - OTR_USER=scott
      - OTR_PASS=whereami
      - OPENCAGE_APIKEY=YOUR-API-KEY
    restart: unless-stopped

  owntracks-frontend:
    image: owntracks/frontend
    ports:
      - 80:80
    volumes:
      - ./config/config.js:/usr/share/nginx/html/config/config.js
      - "/etc/timezone:/etc/timezone:ro"
      - "/etc/localtime:/etc/localtime:ro"

    environment:
      - TZ=America/Chicago
      - SERVER_HOST=otrecorder
      - SERVER_PORT=8083
    restart: unless-stopped
Replace “YOUR-API-KEY” in the data you just pasted into the editor with the OpenCage API key you obtained earlier from the OpenCage website. Set your time zone. Also set your desired username and password.
Do a CTRL O and enter to SAVE the file and a CTRL X to exit the nano editor.
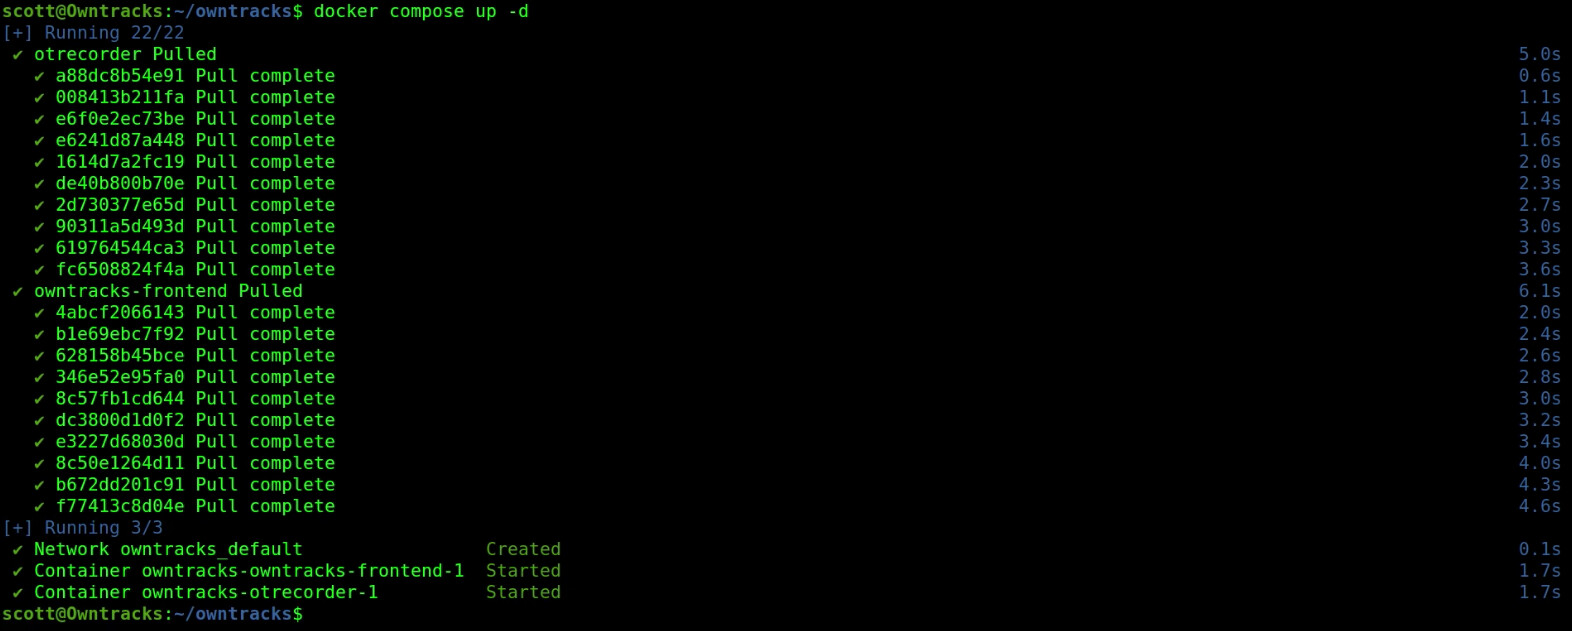
Start up the application:
docker compose up -d
OwnTracks is frequently updated. To update your self-hosted instance of OwnTracks, you simply:
docker compose pull
docker compose up -d
Find out the address of your Owntracks server on your LAN with:
ifconfig
Look for the IP address of the “eth0” device.
Head over to your web browser and enter that address followed with :8083

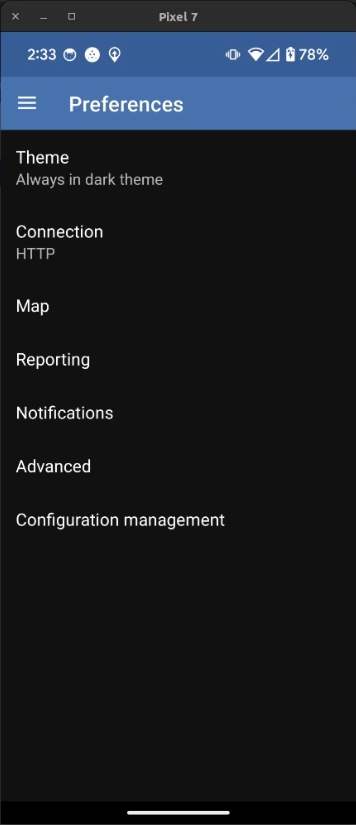
Launch your OwnTracks mobile app either on your Android or iOS device and go to the preferences menu.
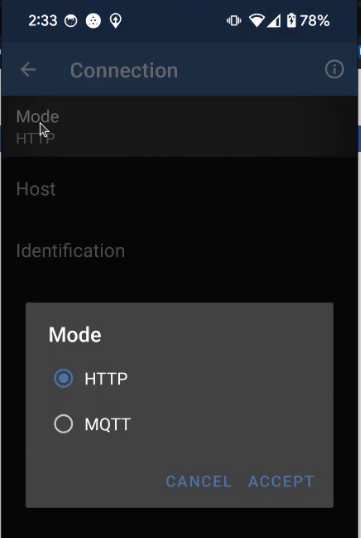
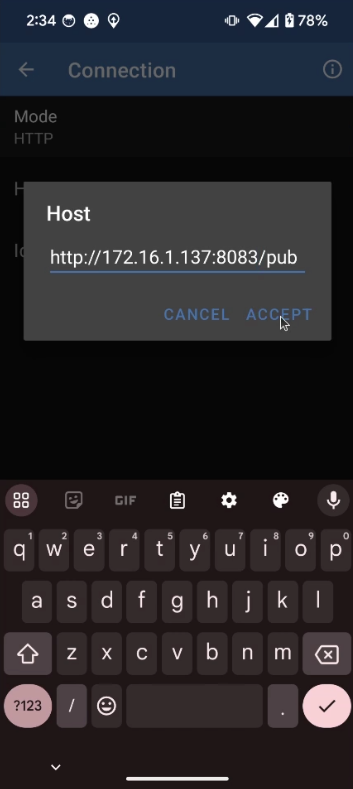
Go to the “Connection” option and make sure that you are set to “HTTP” and not “MQTT”.
Next, under the “Host” option, you will set "http://your-address:8083/pub which points to the recorder app. Don’t forget the /pub.
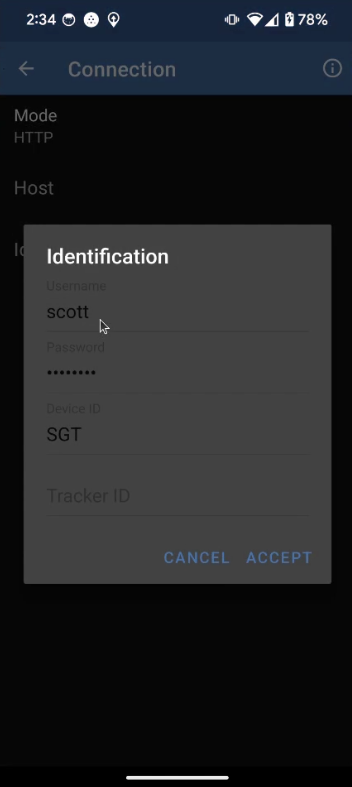
Now go to the “Identification” option and set your username, password and create a device ID. I use my initials as my device ID and that is how your track will be labelled in both the recorder and frontend app.
Now if you head back to your recorder application, your mobile device should show up if your mobile device is on your wi-fi network.

Open another browser tab and enter the same server address that you did for the recorder, but this time leave off the 8083 port number and your browser will default to a connection on port 80 on your server which is where the “frontend” application resides that shows your tracks/trip histories.
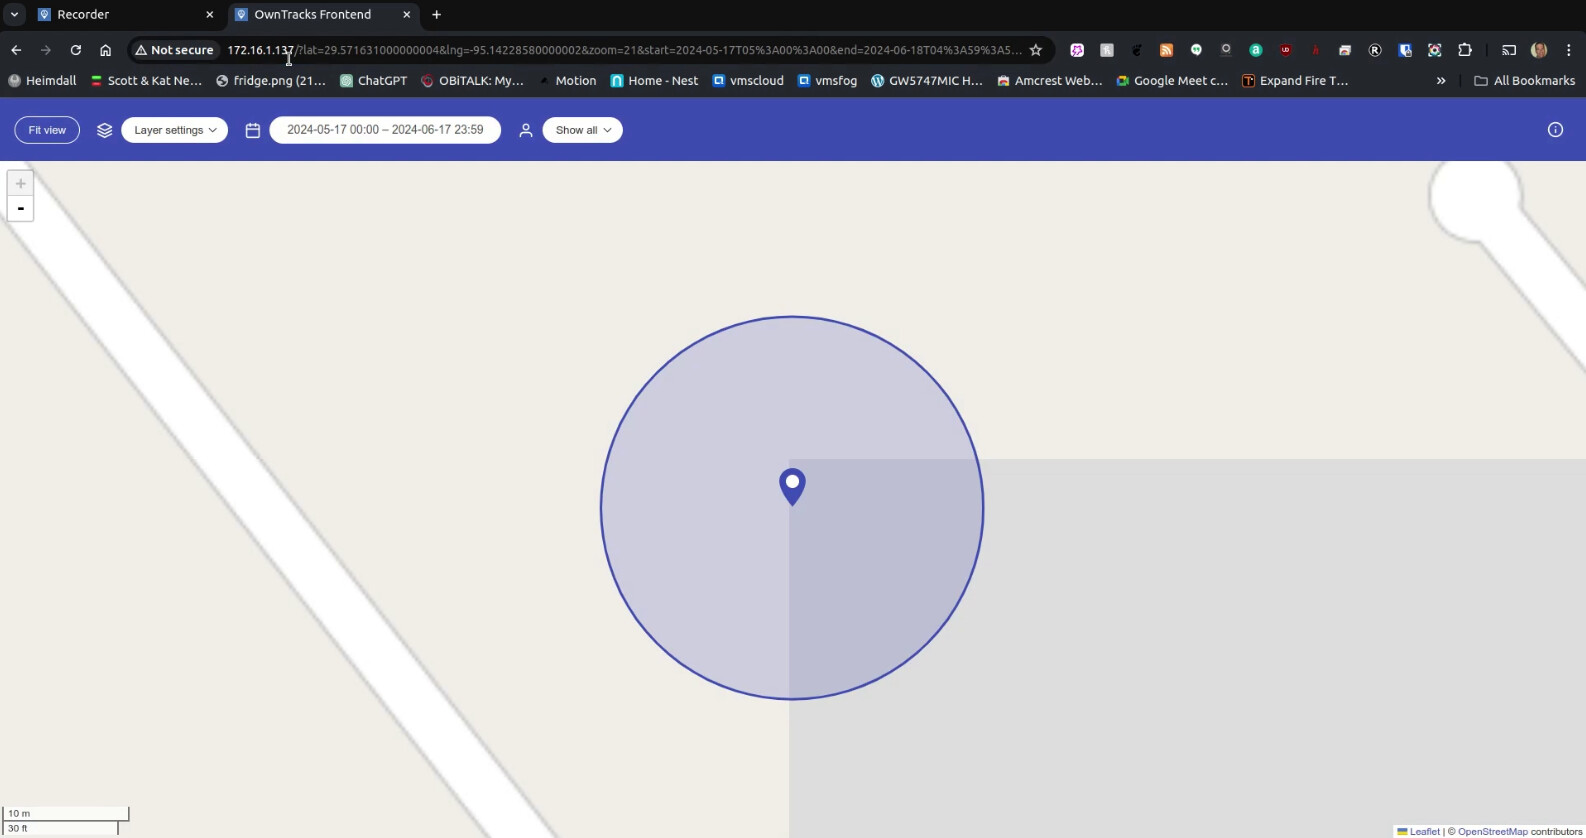
You can zoom in/out with your mouse/trackball scroll wheel to see more or less of the map. You can also select the dates and/or devices to view once you are recording multiple trips.
Pro Tip: To enter other phones, they use the same username/password from the docker compose file, but you create different device ID’s. The username/password prevents just anyone from using your recorder.
The mobile app lets you adjust how often your phone checks in to record location points. Increased accuracy results from more points being recorded. Just be aware that this can have an effect on the battery life of your mobile device.
When you leave your wi-fi network, the recorder will be unreachable and so nothing will be recorded. Don’t dispair because when you return home the mobile app will update all of its data points to the recorder once your phone is on the wi-fi network.
An alternative for real-time tracking would be if you VPN from your phone to your home network when you are out and about. This will also allow realtime tracking.
Although out of scope for this tutorial, a more advanced solution would be to have a subdomain name and a corresponding NginX Proxy Manager (NPM) record for your OwnTracks recorder application.
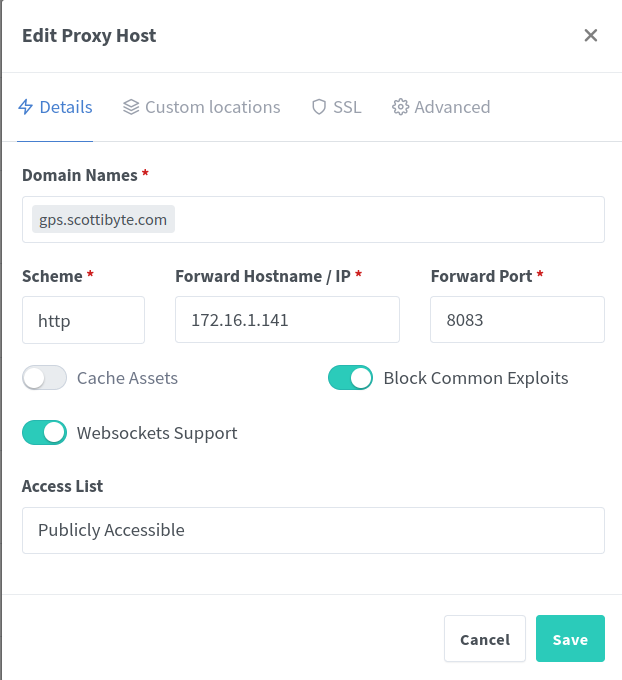
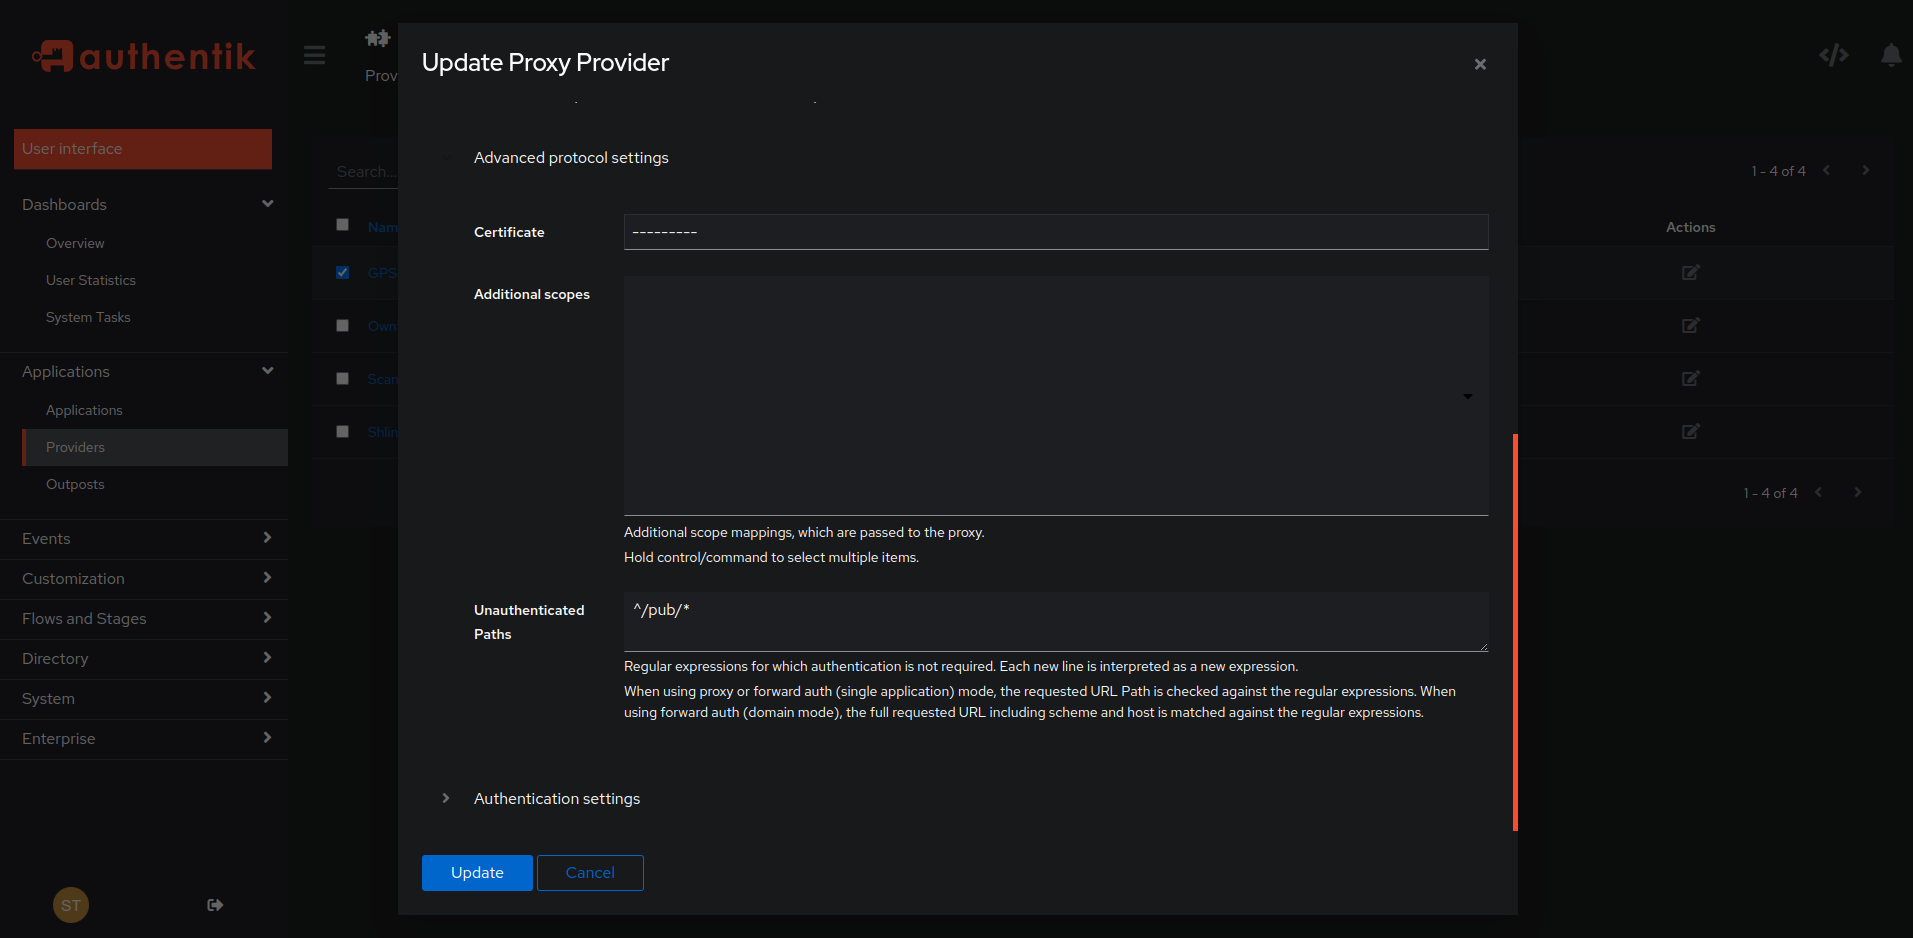
You might think that this would expose the recorder web interface to the public internet. It does not, because I use Authentik to validate access to the recorder web interface while only passing open access to the /pub interface for the API with Authentik. The Authentik code snippet is added to my NPM record for the recorder app.
Protecting the “recorder” web interface and yet allowing the API access is achieved by editing the Authentik “provider” definition for my recorder (the gps.scottibyte.com) so that the API path is the only “unauthorized” access. Realize that the username/password for the mobile device is still needed for the API.
I also have a different subdomain for the OwnTracks frontend app and it has its own NginX Proxy Manager (NPM) record. Both of these NPM records use Authentik so that they require authorized access from the public internet.
Watch my tutorial on Authentik: A Frontend for NPM to learn how Authentik is used to provide security for web instances that do not have their own security built-in.