WeTransfer is a public cloud hosted service with advertisements and a paywall. Are you concerned that the data you transfer to others may not be kept private?
In this tutorial we learn how to install and configure a self-hosted, privacy-centric file transfer portal called Pingvin. In addition, we show how to host Pingvin behind NginX Proxy Manager and remove the 2GB upload limit.
In previous videos I have covered other self-hosted solutions for file transfer including YouTransfer, CryptPad, and PsiTransfer. PingVin Share is an actively developed, self-hosted file transfer portal that allows you to send files to other people and the remote users do not need an account. In addition, you can even provide them a “Reverse Share” which is a link where they can upload files to you. Pingvin Share has many other features making it very attractive.
In this tutorial I show how to publicly host Pingvin on your registered domain behind NginX Proxy Manager. Most importantly, I show how to remove the 2GB upload limit from NginX Proxy Manager to allow Pingvin to host large data sets.
The first user account added to Pingvin is the administrator who can also manage users and shares on the server. In my installation, I turned off user registration so that I can create accounts as needed, but there is no capability to create an account unless I create it.
Start by creating an incus container for Pingvin.
incus launch images:ubuntu/24.04 Pingvin -p default -p bridgeprofile -c boot.autostart=true -c security.nesting=true
Connect to the incus container root account via the shell command and accept updates to the repositories:
incus shell Pingvin
apt update
Install some dependencies and install docker from the docker script since Pingvin is a Docker application.
apt install curl nano net-tools openssh-server -y
curl -sSL https://get.docker.com | sh
Create a user account and put it in the sudo and docker groups:
adduser scott
usermod -aG sudo scott
usermod -aG docker scott
Move to the new user account.
su - scott
Create a folder for the application and move inside it.
mkdir pingvin
cd pingvin
Edit a docker compose file.
nano compose.yml
Insert the following data.
services:
  pingvin-share:
    image: stonith404/pingvin-share # or ghcr.io/stonith404/pingvin-share
    restart: unless-stopped
    ports:
      - 80:3000
    environment:
      - TRUST_PROXY=false # Set to true if a reverse proxy is in front of the container
    volumes:
      - ./data:/opt/app/backend/data
      - ./data/images:/opt/app/frontend/public/img
Save the file with a CTRL O and enter and then CTRL X to exit the nano editor.
Start the application.
docker compose up -d
Find the address of the incus container by examining the address of device eth0.
ifconfig
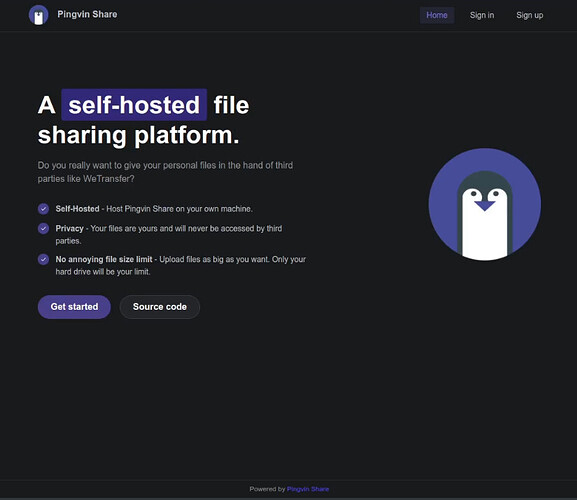
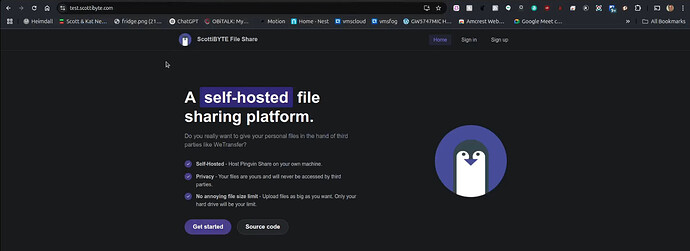
Go to the address you found in your web browser and you should see the following screen.
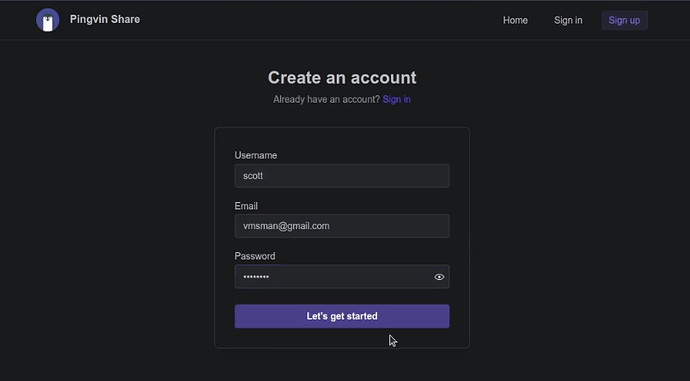
The first account that you add to Pingvin Share will be the administrator account.
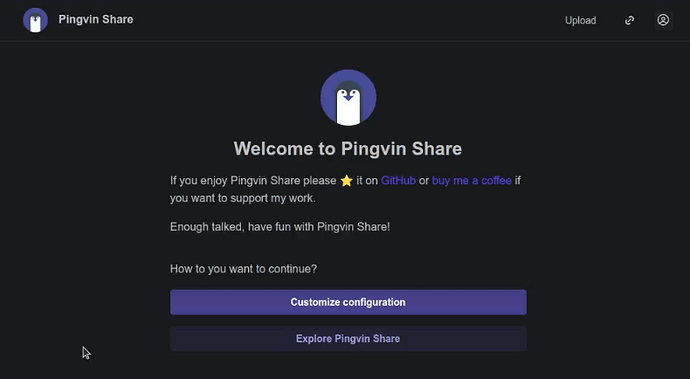
Choose “Customize Configuration”.
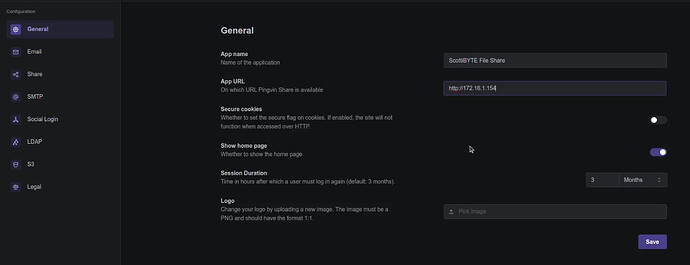
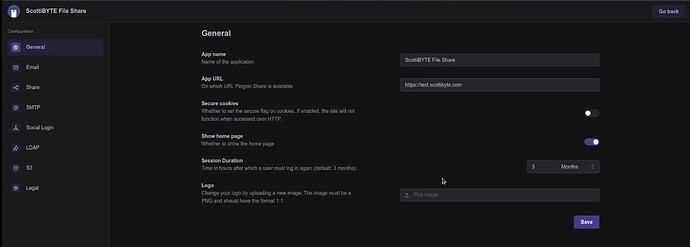
At a minimum, change the App name and the App URL as shown in the video (your address will differ).
You will want to go set your SMTP mail settings so that the program can send links and notifications as mentioned in the video.
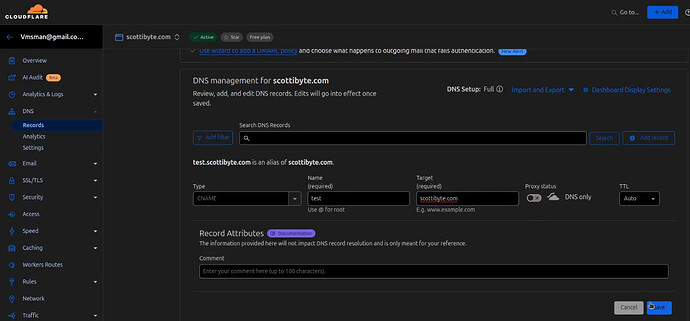
To make the program publicly accessible , you will want to associate it with a subdomain record on your domain at your DNS provider. I added a subdomain called test.scottibyte.com as a CNAME record. My scottibyte.com domain is an A record that points to the WAN address of my NginX Proxy Manager.
Go to the address of your NginX Proxy Manager in your web browser.
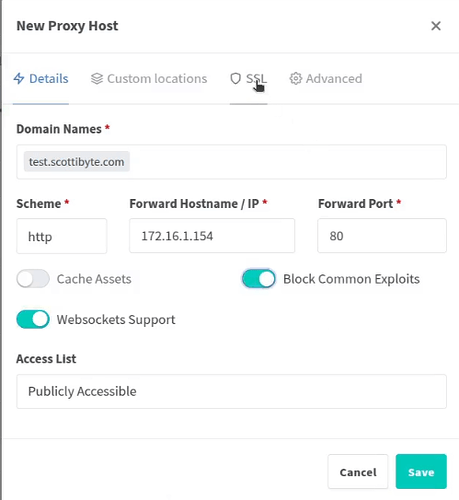
Click on proxy hosts and choose “Add Proxy Host”.
Type in your domain name and hit TAB. Type in the address of your Pingvin installation we used previously in the web browser include port 80 as the Forward Port. Your data will differ from mine.
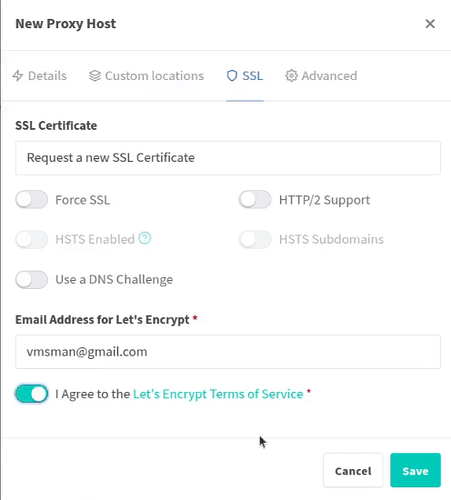
Go to the SSL Tab and Request a new certificate and agree to the Let’s Encrypt Terms of Service.
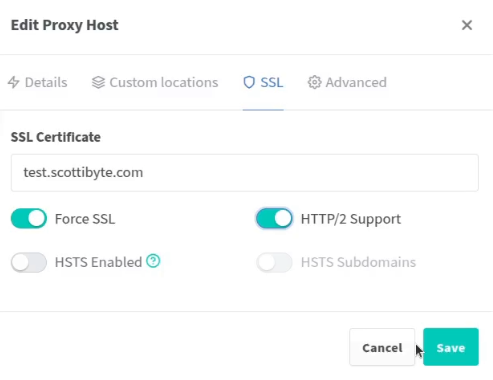
Once your proxy has been added, go back and edit the SSL options as indicated below.
Now you can access your application via the subdomain name with a secure SSL connection and it is publicly available.
Log back into the application and change the App URL to “https” with your domain name in the administration section.
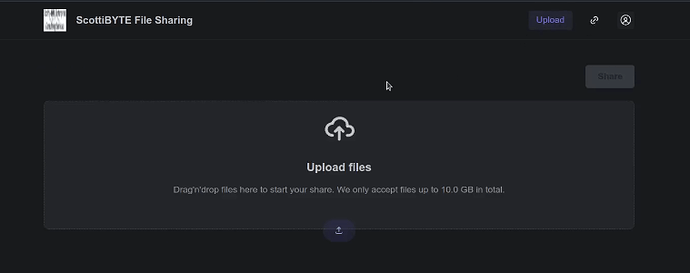
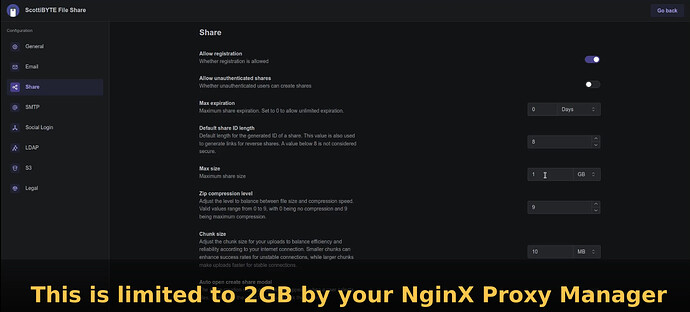
Move to the “Share” section of the administration menus and set your “Max Size” for shares. The program defaults to 1GB. You will only be able to transfer files up to 2GB in size until we make some changes to your NginX Proxy Manager.
You will also want to visit the SMTP settings because Pingvin will need to send emails for account verification and share links.
In my tutorial entitled Immich How to Bust the Upload Limits I describe in depth how to set NginX Proxy Manager to allow unlimited file transfer sizes on the applications it hosts.
Here’s a summary of what you need to do. Log into your NPM instance and move into the folder where you hosted NPM. In my case:
ssh npm
cd NPM
Create a new folder and move into it.
mkdir config
cd config
Create a file:
nano nginx.conf
Insert the following into it:
# run nginx in foreground
daemon off;
pid /run/nginx/nginx.pid;
user npm;

# Set number of worker processes automatically based on number of CPU cores.
worker_processes auto;

# Enables the use of JIT for regular expressions to speed-up their processing.
pcre_jit on;

error_log /data/logs/fallback_error.log warn;

# Includes files with directives to load dynamic modules.
include /etc/nginx/modules/*.conf;

# Custom
include /data/nginx/custom/root_top[.]conf;

events {
	include /data/nginx/custom/events[.]conf;
}

http {
	include                       /etc/nginx/mime.types;
	default_type                  application/octet-stream;
	sendfile                      on;
	server_tokens                 off;
	tcp_nopush                    on;
	tcp_nodelay                   on;
	client_body_temp_path         /tmp/nginx/body 1 2;
	keepalive_timeout             90s;
	proxy_connect_timeout         90s;
	proxy_send_timeout            90s;
	proxy_read_timeout            90s;
	ssl_prefer_server_ciphers     on;
	gzip                          on;
	proxy_ignore_client_abort     off;
	client_max_body_size          0;
        proxy_request_buffering       off;
	server_names_hash_bucket_size 1024;
	proxy_http_version            1.1;
	proxy_set_header              X-Forwarded-Scheme $scheme;
	proxy_set_header              X-Forwarded-For $proxy_add_x_forwarded_for;
	proxy_set_header              Accept-Encoding "";
	proxy_cache                   off;
	proxy_cache_path              /var/lib/nginx/cache/public  levels=1:2 keys_zone=public-cache:30m max_size=192m;
	proxy_cache_path              /var/lib/nginx/cache/private levels=1:2 keys_zone=private-cache:5m max_size=1024m;

	# Log format and fallback log file
	include /etc/nginx/conf.d/include/log.conf;

	# Dynamically generated resolvers file
	include /etc/nginx/conf.d/include/resolvers.conf;

	# Default upstream scheme
	map $host $forward_scheme {
		default http;
	}

	# Real IP Determination

	# Local subnets:
	set_real_ip_from 10.0.0.0/8;
	set_real_ip_from 172.16.0.0/12; # Includes Docker subnet
	set_real_ip_from 192.168.0.0/16;
	# NPM generated CDN ip ranges:
	include conf.d/include/ip_ranges.conf;
	# always put the following 2 lines after ip subnets:
	real_ip_header X-Real-IP;
	real_ip_recursive on;

	# Custom
	include /data/nginx/custom/http_top[.]conf;

	# Files generated by NPM
	include /etc/nginx/conf.d/*.conf;
	include /data/nginx/default_host/*.conf;
	include /data/nginx/proxy_host/*.conf;
	include /data/nginx/redirection_host/*.conf;
	include /data/nginx/dead_host/*.conf;
	include /data/nginx/temp/*.conf;

	# Custom
	include /data/nginx/custom/http[.]conf;
}

stream {
	# Files generated by NPM
	include /data/nginx/stream/*.conf;

	# Custom
	include /data/nginx/custom/stream[.]conf;
}

# Custom
include /data/nginx/custom/root[.]conf;
Save the file with CTRL O and enter and then CTRL X to exit the nano editor.

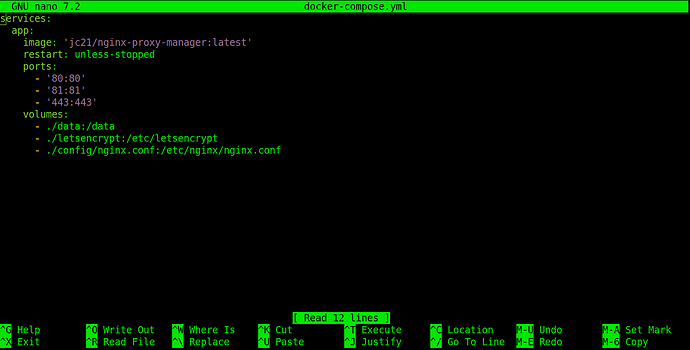
Move up one directory level and edit your docker-compose file:
cd ..
nano docker-compose.yml
Add the last line you see below.
Save the file with CTRL O and enter and then CTRL X to exit the nano editor.
Stop and start NginX Proxy Manager.
docker compose down
docker compose up -d
Your Pingvin and any other applications hosted by NginX Proxy Manager will now allow unlimited upload sizes.
One other important caveat that I noticed for Pingvin is that the file names cannot have more than one dot in the names. You can either rename or zip such files to get around this. I renamed the ubuntu-24.04-desktop-amd64.iso file to ubuntu2404.iso and I was able to transfer this 6.1GB file with Pingvin.
