With personal information being increasingly compromised on a regular basis, it only makes sense to host your own instance of a privacy respecting self-hosted search engine that does not share your search terms with a multitude of companies. Today we learn how to self host SearNGX.
I have been self-hosting “Whoogle Search” for a couple of years now. Whoogle is an ad-free search aggregator that retrieves Google search results.
SearXNG is another search aggregator that supports a huge number of search engines from which you may select. SearXNG doesn’t generate a profile on your searches and is open source, self-hosted software that you control.
In this tutorial we will learn how to self-host SearXNG on your own server and also define SearXNG as the default search engine in your browser.
We will be hosting SearXNG as a docker container nested inside of an Incus container. The reason for this is for better isolation, maintenance and security. If you are unfamiliar with incus containers, watch my tutorial entitled Incus Containers Step by Step.
Begin by creating an incus container using the “bridgeprofile” created in Incus Containers Step by Step:
incus launch images:ubuntu/24.04 Searxng -c boot.autostart=true -c security.nesting=true -p default -p bridgeprofile
Connect to the newly created container:
incus shell Searxng
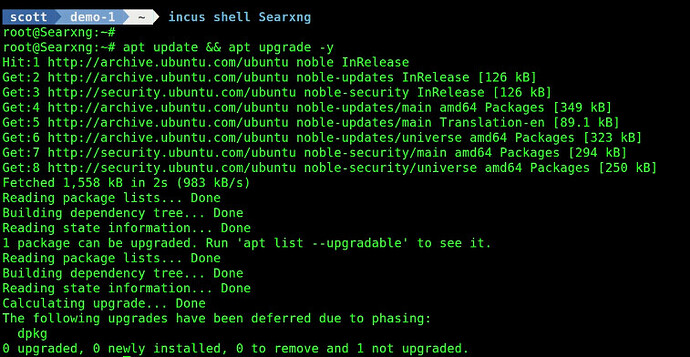
Update the repositories and the software in the container instance:
apt update && apt upgrade -y
Add a user account and place it in the sudo group for maintaining the application in the future:
adduser scott
usermod -aG sudo scott
Use the following command to install the required dependencies:
apt install git nano curl net-tools openssh-server -y
Install docker from the script on the docker website:
curl -sSL https://get.docker.com | sh
Add your user to the docker group:
usermod -aG docker scott
Normally I would move over to my user account to complete the installation and configuration. However, this application is very picky about being installed in a particular system folder. With that in mind, nesting this application in a dedicated incus container is attractive since it will have its own environment.
Move over the the folder where we will install the app:
cd /usr/local
Clone the SearNGX project to the current location.
git clone https://github.com/searxng/searxng-docker.git
Move into the folder:
cd searxng-docker
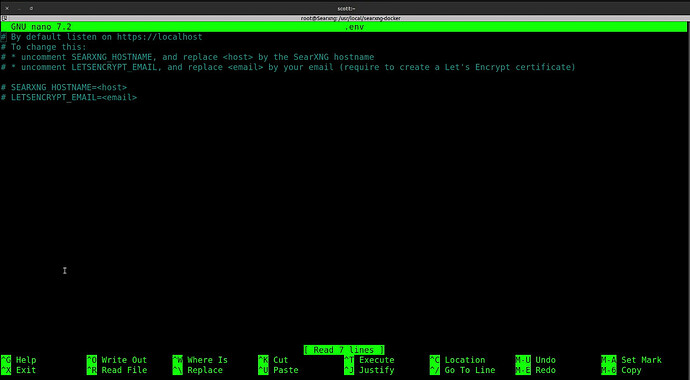
There is a “.env” file which is used to configure the application for reverse proxy using the caddy web server and having caddy use a Lets Encrypt certificate. We are going to use NginX Proxy Manager as I have on the channel before rather than caddy. The contents of the .env file should not be modified and are shown below for information purposes only.
SearXNG has a configuration file which you can access with:
nano searxng/settings.yml
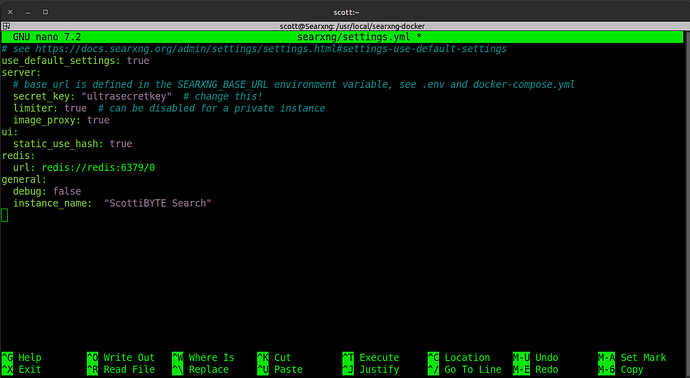
If you want to name the tab in the web browser, you can add a section to the bottom of the file as follows:
general:
  debug: false
  instance_name:  "ScottiBYTE Search"
Your file should now look something like this:
Save the file with a CTRL O and enter and a CTRL X to exit the editor.
Set the secret_key to a random value using the following command.
sed -i "s|ultrasecretkey|$(openssl rand -hex 32)|g" searxng/settings.yml
If you were to look at the settings file, you will note that a 32 byte hexadecimal key has been added to the file in place of the placeholder value “ultrasecretkey” which is in the template.
Next, edit the docker-compose file:
nano docker-compose.yaml
Delete the existing contents and replace with the following into the editing session.
services:

  redis:
    container_name: redis
    image: docker.io/valkey/valkey:7-alpine
    command: valkey-server --save 30 1 --loglevel warning
    restart: unless-stopped
    networks:
      - searxng
    volumes:
      - valkey-data2:/data
    cap_drop:
      - ALL
    cap_add:
      - SETGID
      - SETUID
      - DAC_OVERRIDE
    logging:
      driver: "json-file"
      options:
        max-size: "1m"
        max-file: "1"

  searxng:
    container_name: searxng
    image: docker.io/searxng/searxng:latest
    restart: unless-stopped
    networks:
      - searxng
    ports:
      - "80:8080"
    volumes:
      - ./searxng:/etc/searxng:rw
      - ./logo:/usr/local/searxng/searx/static/themes/simple/img:rw
    environment:
      - SEARXNG_BASE_URL=https:/search.scottibyte.com
    cap_drop:
      - ALL
    cap_add:
      - CHOWN
      - SETGID
      - SETUID
    logging:
      driver: "json-file"
      options:
        max-size: "1m"
        max-file: "1"

networks:
  searxng:

volumes:
  valkey-data2:
I added an optional persistent volume for a customized SearXNG logo which you design if desired. If you are not doing that, then delete the volume listing from the file
- ./logo:/usr/local/searxng/searx/static/themes/simple/img:rw
Be advised that if you add the line above, you will have no logo until you add one of your own as I show later in the tutorial.
Save the file with a CTRL O and Enter and a CTRL X to exit the nano editor.
Add a subdomain name for your search engine at your domain name service provider. I used https://testing.scottibyte.com/ in my example:
![]()
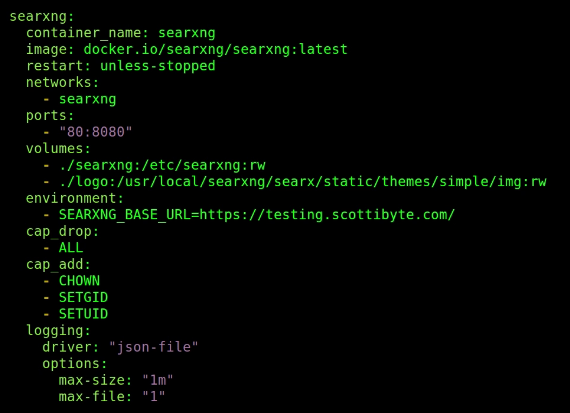
With all the edits in place, your searxng section should look somewhat like this.
Now do a CTRL O and enter to write the file out and a CTRL X to exit the nano editor.
Next edit the uwsgi.ini configuration file which is a configuration file used by uWSGI, a popular application server for serving Python web applications (like Flask, Django, etc.) behind a web server:
nano /usr/local/searxng-docker/searxng/uwsgi.ini
Insert the following code into it.
[uwsgi]
# Who will run the code
uid = searxng
gid = searxng

# Number of workers (usually CPU count)
# default value: %k (= number of CPU core, see Dockerfile)
workers = %k

# Number of threads per worker
# default value: 4 (see Dockerfile)
threads = 4

# The right granted on the created socket
chmod-socket = 666

# Plugin to use and interpreter config
single-interpreter = true
master = true
plugin = python3
lazy-apps = true
enable-threads = 4

# Module to import
module = searx.webapp

# Virtualenv and python path
pythonpath = /usr/local/searxng/
chdir = /usr/local/searxng/searx/

# automatically set processes name to something meaningful
auto-procname = true

# Disable request logging for privacy
disable-logging = true
log-5xx = true

# Set the max size of a request (request-body excluded)
buffer-size = 8192

# No keep alive
# See https://github.com/searx/searx-docker/issues/24
add-header = Connection: close

# Follow SIGTERM convention
# See https://github.com/searxng/searxng/issues/3427
die-on-term

# uwsgi serves the static files
static-map = /static=/usr/local/searxng/searx/static
# expires set to one day
static-expires = /* 86400
static-gzip-all = True
offload-threads = 4
Save the file out with a CTRL O and enter and then CTRL X to exit the nano editor.
Start the application:
docker compose up -d
Find out the address of your eth0 device:
ip -f inet addr show eth0 | sed -En -e 's/.*inet ([0-9.]+).*/\1/p'
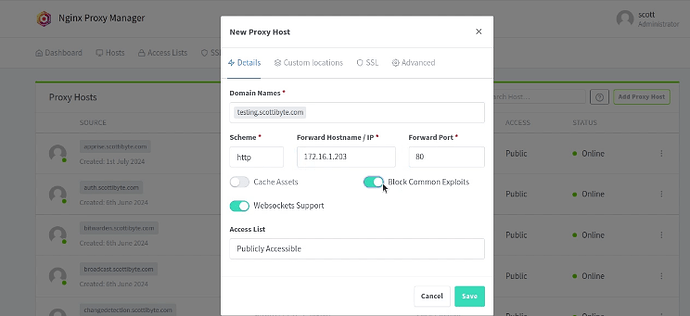
Go into your NginX Proxy Manager instance as we have done on the channel before and select “add new Proxy host”. Specify your subdomain name, the address we just got and port 80. In addition, turn on “Block Common Exploits” and “Websockets Support”:
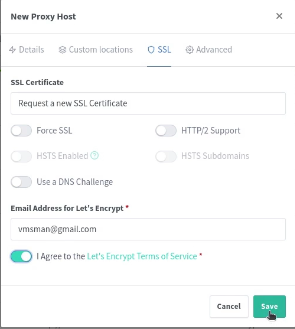
Go over to the SSL tab and request a new certificate and agree to the Lets Encrypt terms of service. Finally, click the Save button.
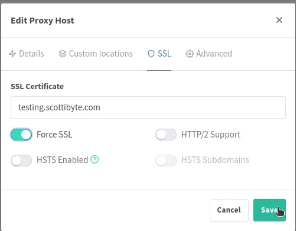
After the new proxy is added, go back and edit it as shown in the video and enable “Force SSL” in the SSL tab.
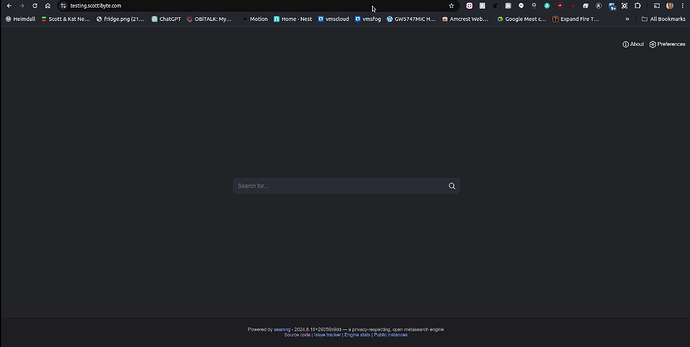
At this point, you can open a new tab in your web browser and go to the subdomain name. Note that you will not see a logo above the search field because we need to add that later.
In the tutorial, I used the GIMP image editor to create my own custom logo. If you don’t have GIMP installed on your Linux desktop (not on the incus container), you can start a terminal on your desktop with CTRL ALT T and then install GIMP with the following command:
sudo apt install gimp
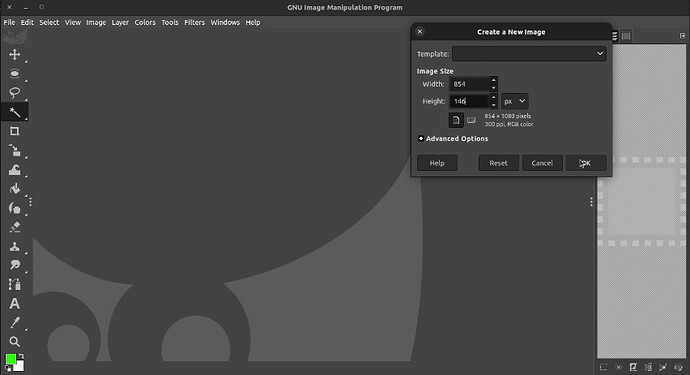
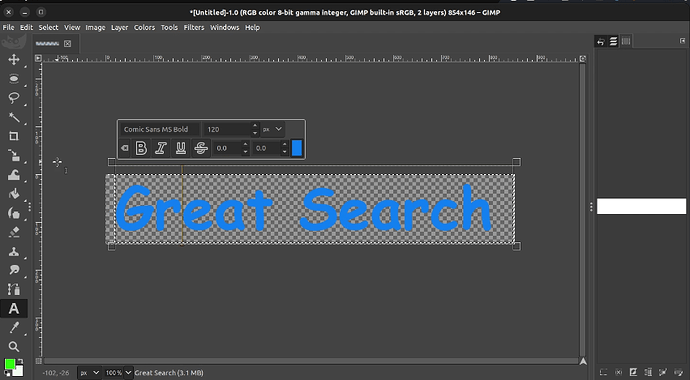
Launch GIMP and go to File – New… to create a new Canvas and set the canvas size to 854 pixels wide and 146 pixels tall and then click OK.
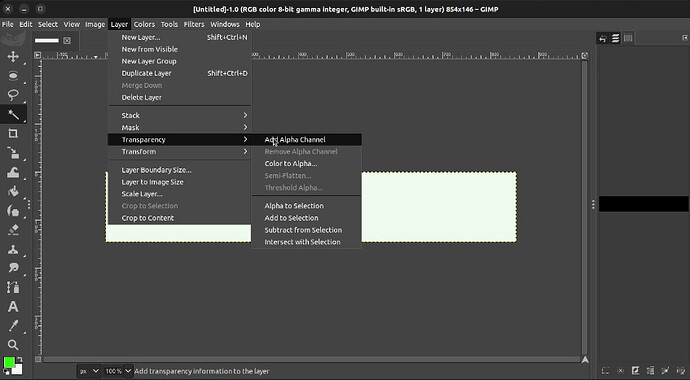
Go to the Layer menu and transparency and select “Add Alpha Channel”.
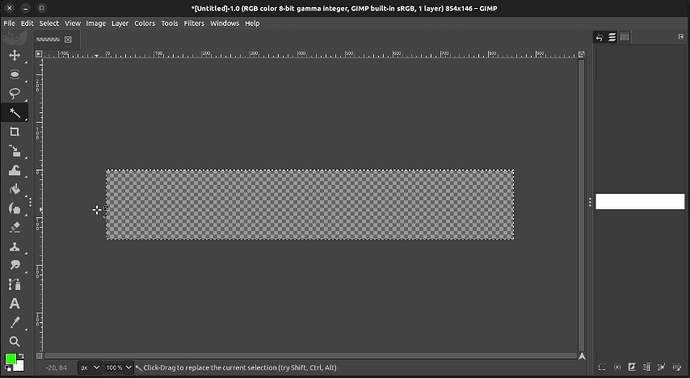
Select the magic wand from the left menu and click inside the canvas and press the delete key. This will make the canvas “transparent”.
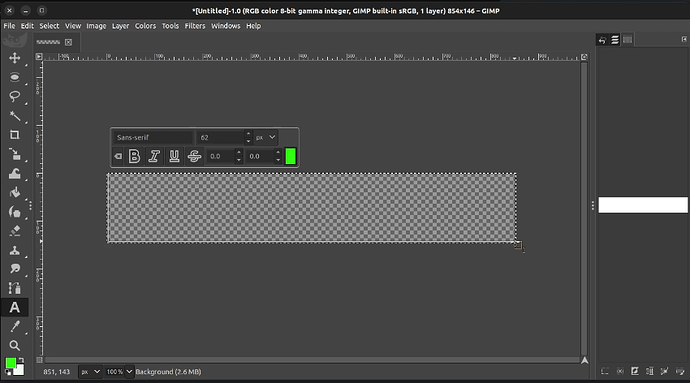
Select the text tool from the left menu and drag the text selection tool to outline the canvas.
I typed in the text “Great Search” as my logo. I selected the text I typed and I changed my font to the Microsoft “Comic Sans Bold” font and then changed the point size to 120 pts. I also dragged the text handles to align my logo in the canvas.
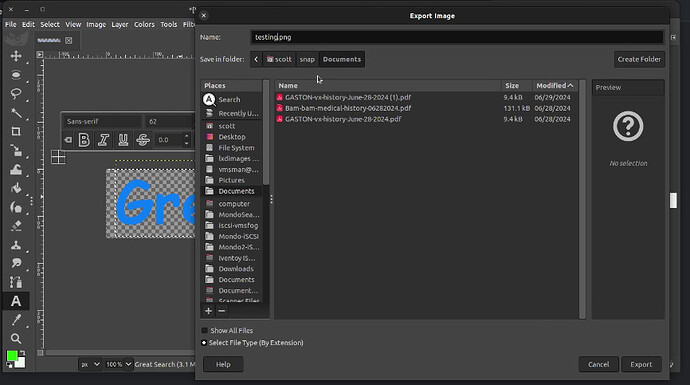
Now go to the “File” menu and choose “Export As” and save the file to a name of your liking being sure to use the “.png” format.
At this point, I quit the GIMP session without saving because I didn’t need to come back and edit the file later. You may want to save it if you think you will come back and make changes.
Go back to the terminal session and perform a secure copy command to copy the logo file from wherever you placed it on your desktop computer to the logo folder in the incus container and be sure to name it searxng.png. My scp command looked like this.
scp scott@172.16.1.225:/home/scott/Desktop/Staging/testing.png ./logo/searxng.png
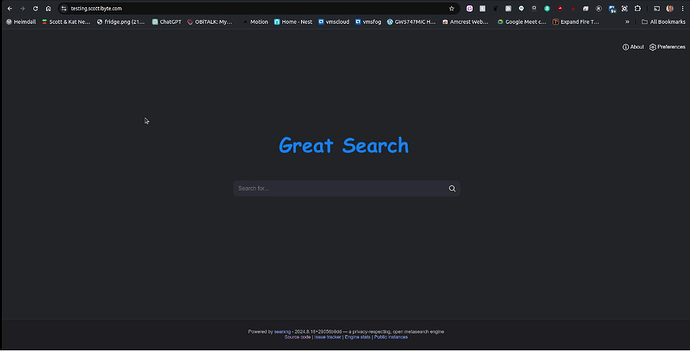
If you go back to your web browser, you can simply refresh the page and SearXNG will display your new logo.
The next step will be to add our SearXNG self hosted search as a custom search engine to my browser and make it the default search engine. I did this in the video using the Chrome browser as an example.
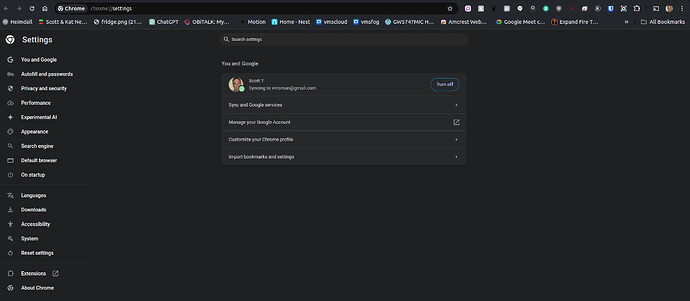
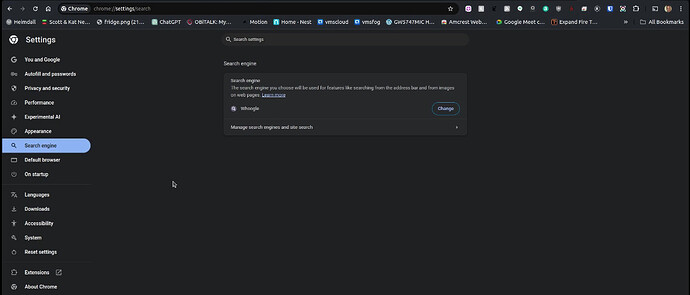
Go to the three dot menu in the upper right of your web browser and choose “settings”:
In the settings screen, choose “Search engine” from the menu at the left.
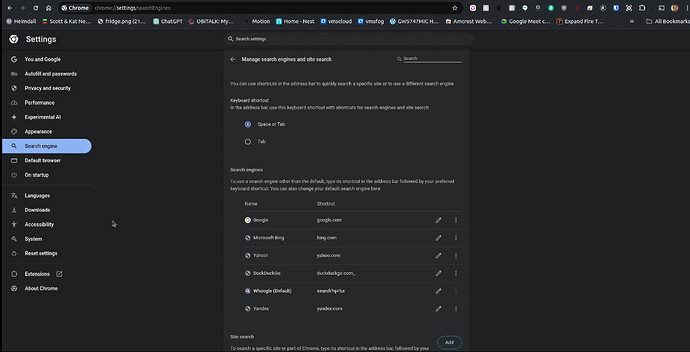
Click on “Manage search engines and site search”.
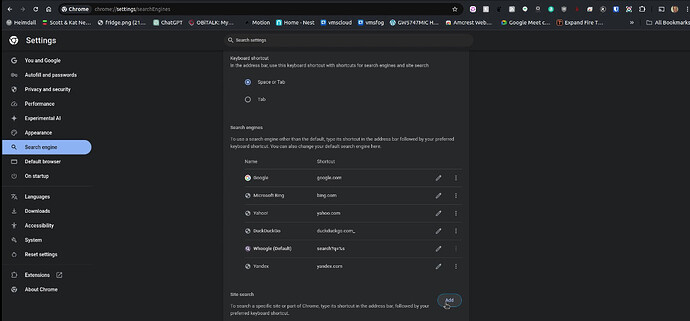
Scroll down and select the “Add” button to the right of “Site Search”.
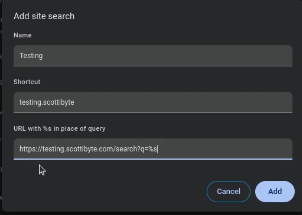
Add your new search engine as shown in the video with your subdomain name.
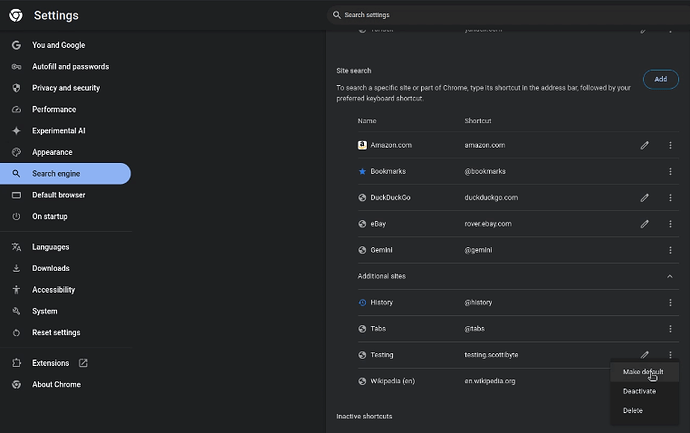
To make your new search engine the default search engine you will need to scroll down past the “site search” section and click on “additional sites”.
You will see your new search engine now and you can hit the three dot menu and select it with “Make default”.
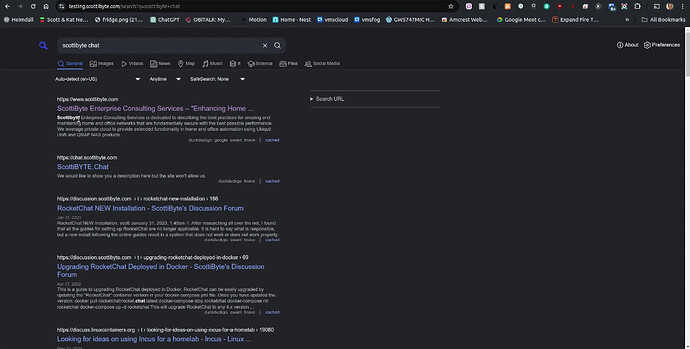
Now you will be able to go to the address bar in your web browser and type a search term and your instance of SearXNG will be used for the search.
I did a search from the address bar for “ScottiBYTE chat”.
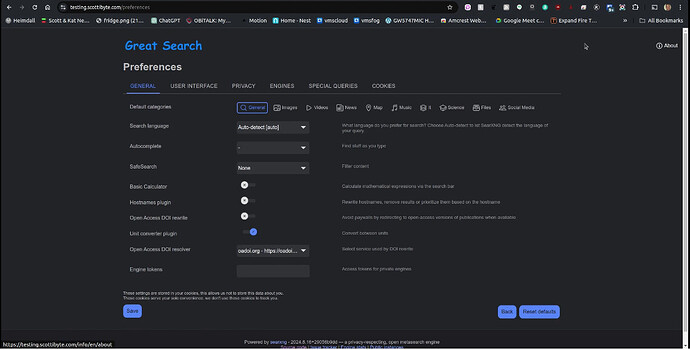
You will notice that the logo is broken in your SearXNG preferences menu. In order to fix that, we need to restart the application to fully process the logo change we made earlier. Head back to the command line in the Searxng incus container.
cd ..
docker compose down
docker compose up -d
After restarting the application, the logo correctly displays in the preferences section.
As newer versions of SearXNG are released, you can update the application by logging into the SearXNG container and executing the following commands:
cd /usr/local/searxng-docker
docker compose pull
docker compose up -d

