ScottiBYTE Multiview is a suite of products which I developed to provide secure, private and reliable viewing of your cameras. MultiView Web is the latest addition to this suite allowing you to view your cameras from any web browser.
Multiview Server is a requirement for MultiView Web and is covered in this tutorial which also covers MultiView TV. MultiView Mobile works on Android phones and tablets and is covered in this tutorial.
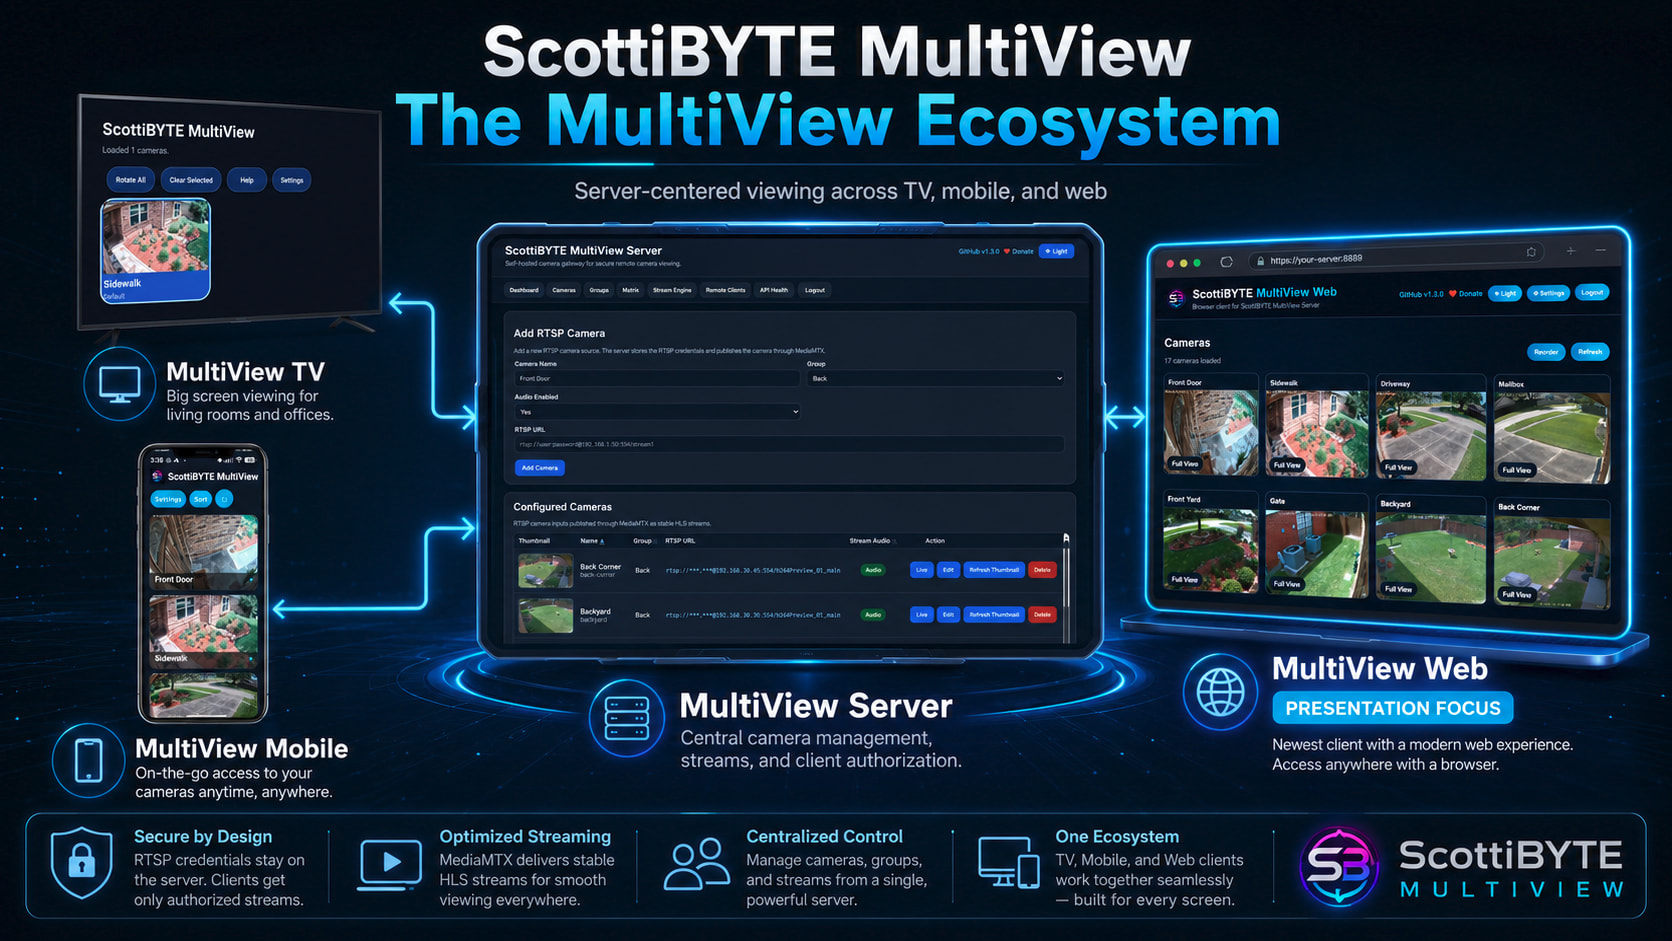
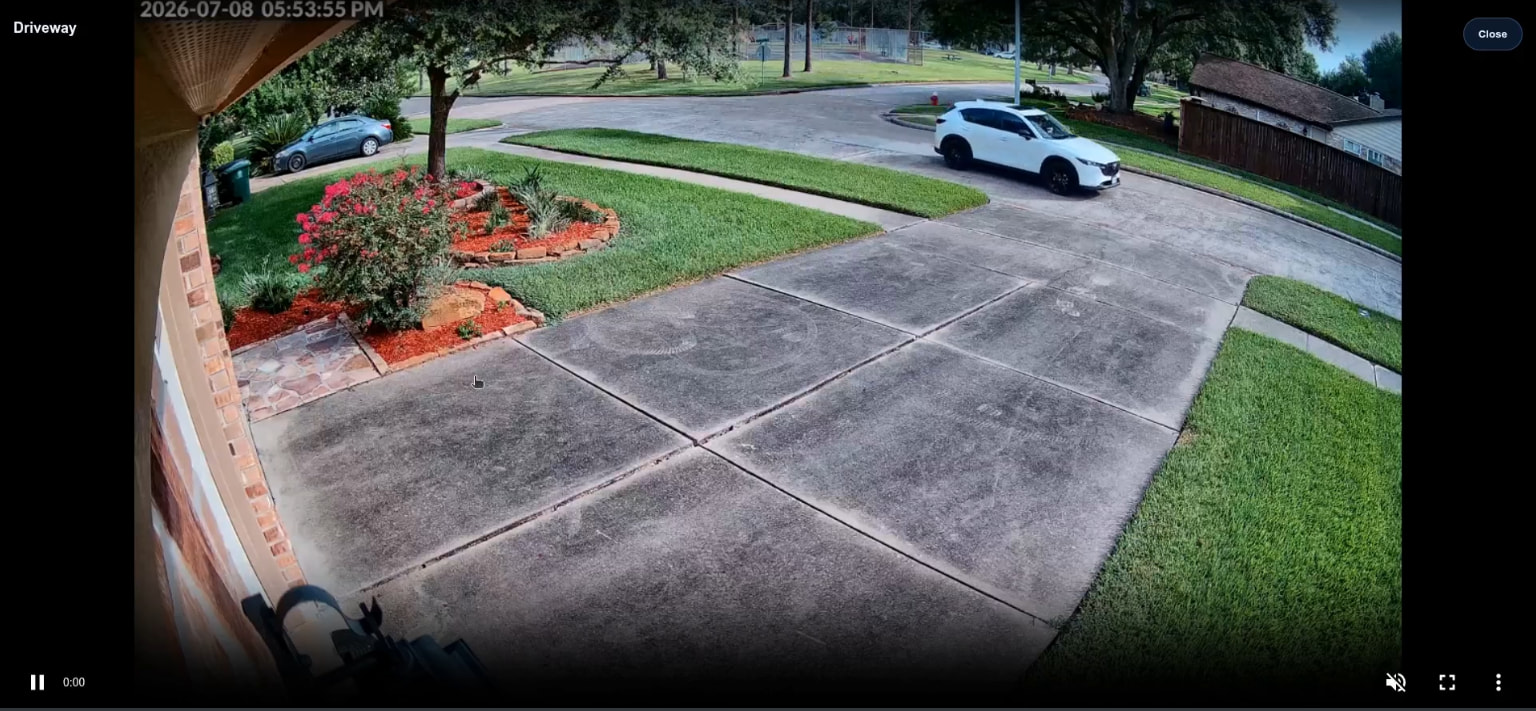
The MultiView Web application looks very much like the TV and the Mobile applications except that it allows you to view your cameras in any web browser.
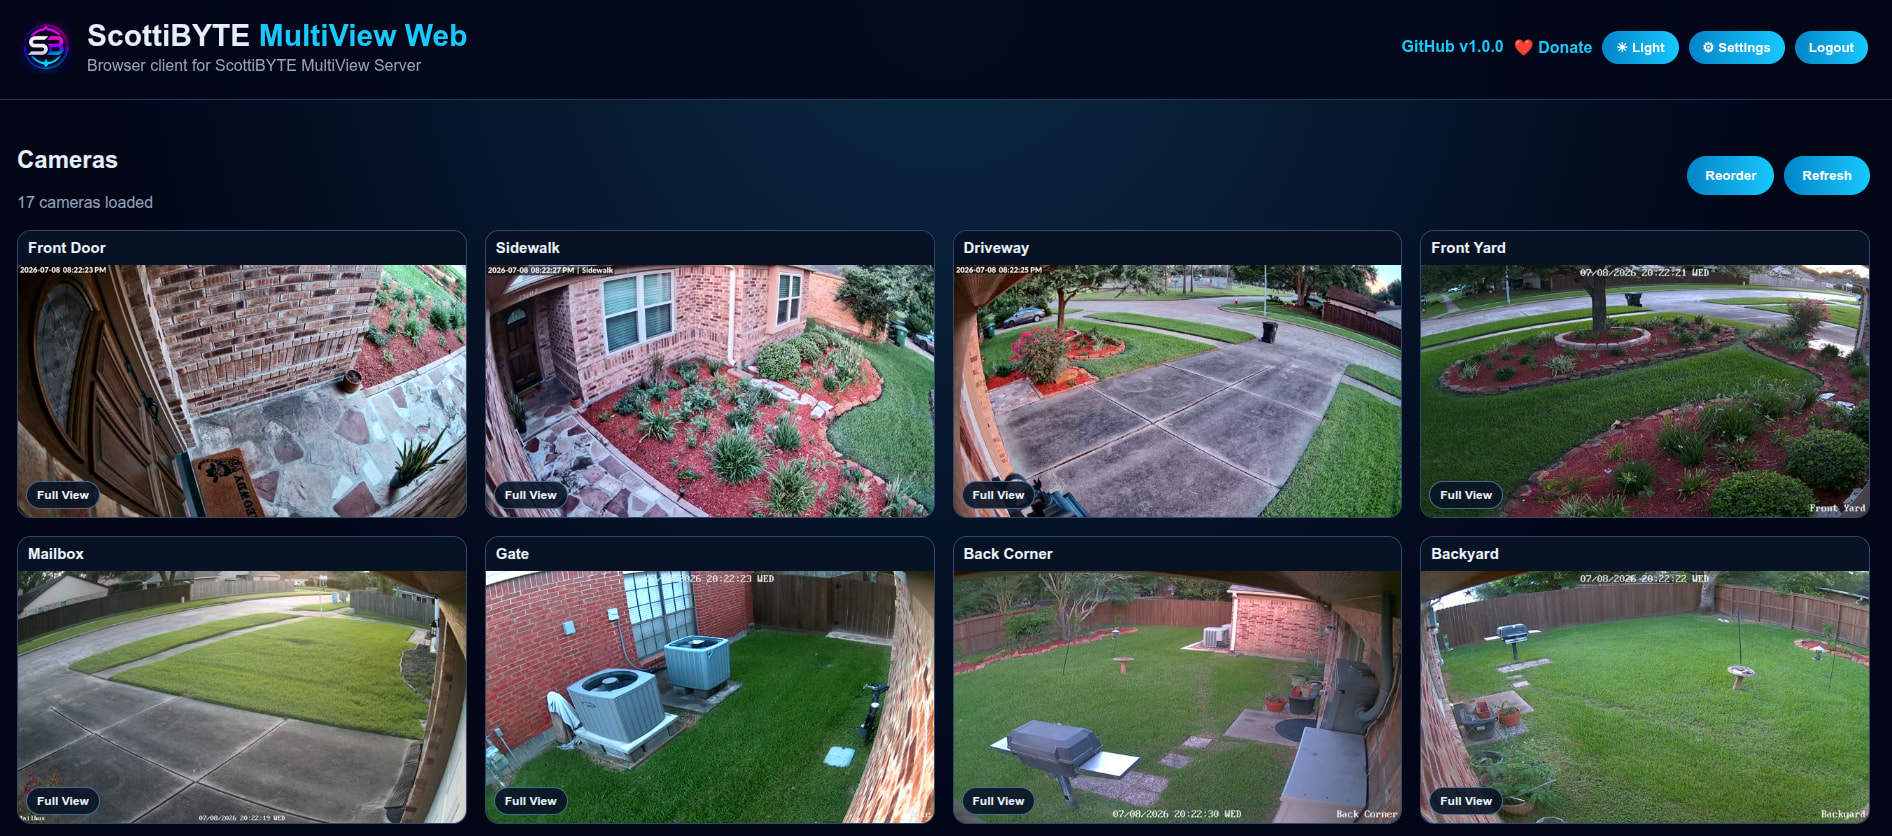
MultiView Web provides an additional level of authorization beyond the required pairing code requirement for The TV and Mobile app. This is completely optional, but is included to allow for additional security.
With or without user authentication, no one can access your cameras without browser authorization by the admin of the MultiView Server which can be revoked at any time.
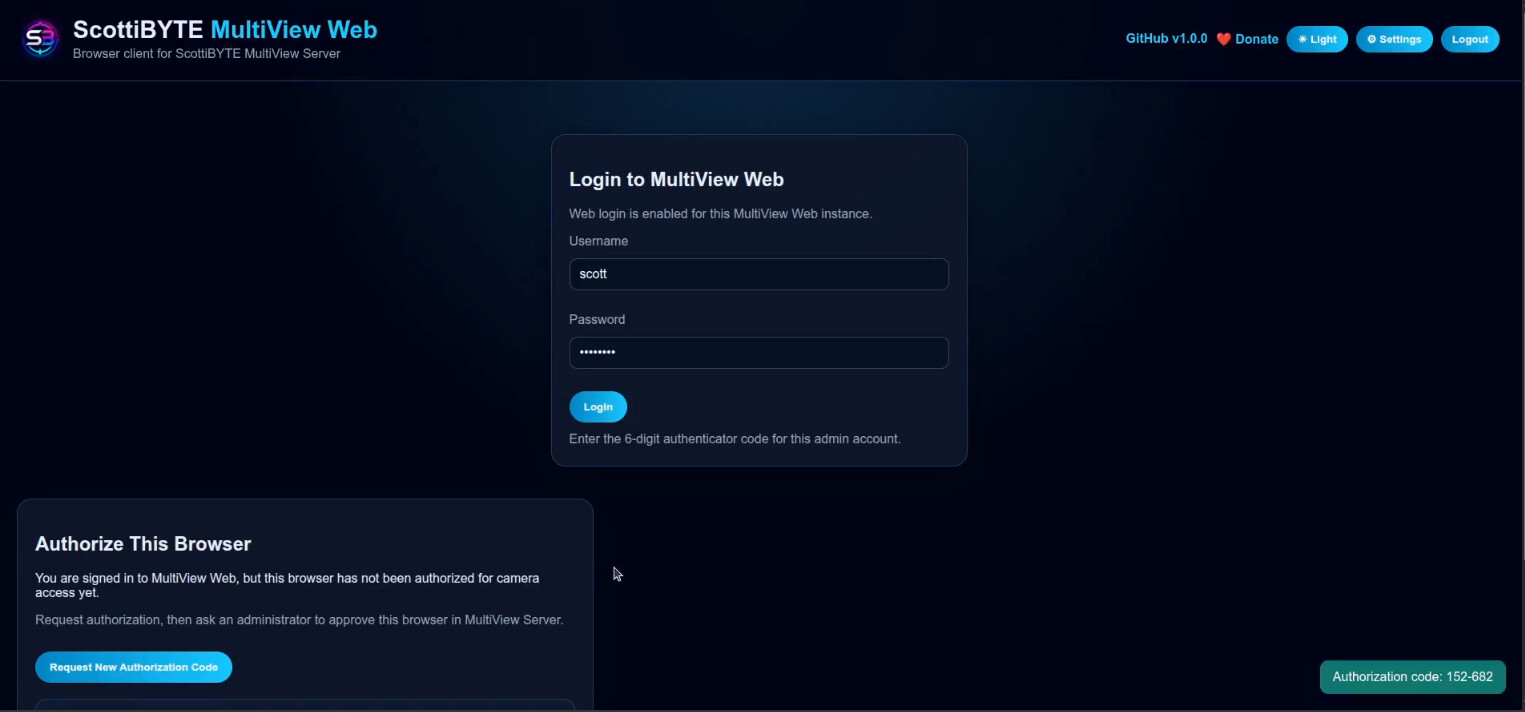
Each browser instance requests authorization from the MultiView Server which must be approved before any cameras can be accessed.
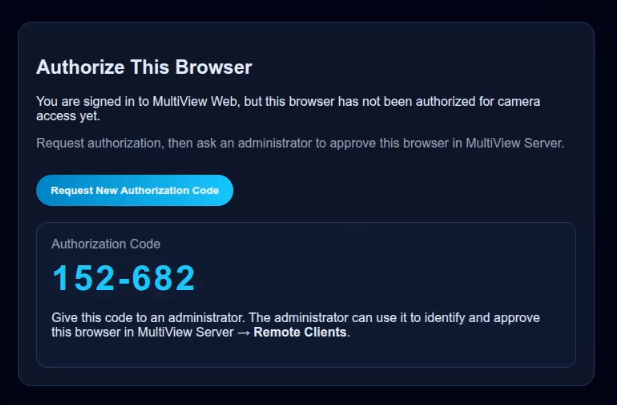
This request for authorization shows up on the MultiView server.

When the Admin of the MultiView Server authorizes the request, it moves into an approved queue on the MultiView Server until the authorization token is pushed to the web client.

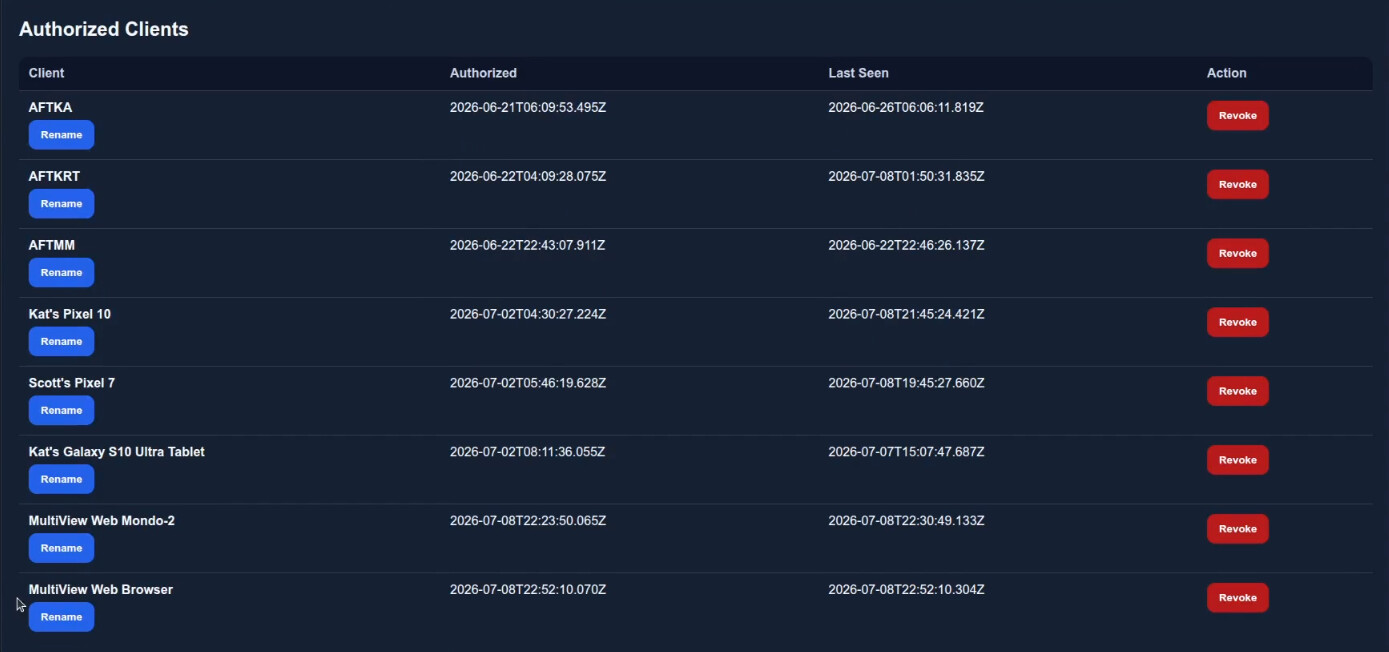
Once the token is pushed to the client, the MultiView Web Client can immediately see the cameras and the MultiView Server sees an authorized client of type "MultiView Web Browser which can be renamed accordingly.
Pairing is mandatory. The user authorization system is completely optional on MultiView Web and the features are discussed in the video.
Pro Tip: In full view mode, you can use left and right arrow to cycle between cameras.
Assuming that you created a MultiView Server from that tutorial, lets now create the MultiView Web application.
Create an Incus container.
incus launch images:ubuntu/26.04 MultiviewWeb -p default -p bridgeprofile -c boot.autostart=true -c security.nesting=true
Move inside it.
incus shell MultiviewWeb
Accept the updates.
apt update && apt upgrade -y
Install dependencies.
apt install nano curl net-tools openssh-server -y
Install Docker from the script on the Docker website.
curl https://get.docker.com | sh
Add a user.
adduser scott
Grant the user sudo and docker.
usermod -aG sudo,docker scott
Log into the new user account.
su - scott
Create the required folders.
mkdir -p multiview-web/config multiview-web/data/sessions
Move into the application folder.
cd multiview-web
Edit a docker compose file.
nano compose.yml
Paste the following text into the editor.
services:
  multiview-web:
    image: scottibyte/multiview-web:latest
    container_name: multiview-web
    user: "1001:1001"
    restart: unless-stopped
    ports:
      - "8090:8090"
    environment:
      NODE_ENV: production
      PORT: 8090
      MULTIVIEW_SERVER_URL: http://192.168.1.xxx
    volumes:
      - ./config:/app/config
      - ./data:/app/data
Change the MULTIVIEW_SERVER_URL above to the address of your MultiView Server (not this container) or the subdomain for the server if you created one.
Save the File with CTRL O and enter and CTRL X to exit the nano editor.
Start the application.
docker compose up -d
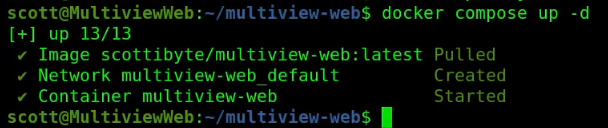
You can see that it is running.

Find out the address of eth0 in your container.
ifconfig
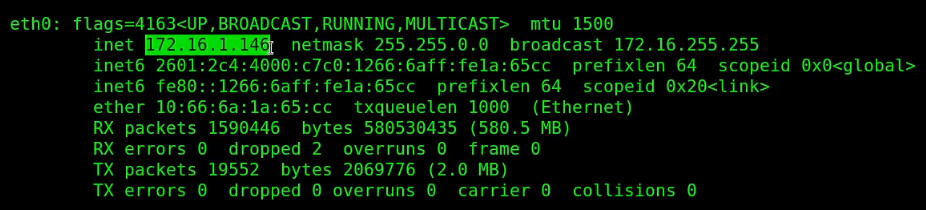
Go to your web browser at the address you just found followed by :8090.
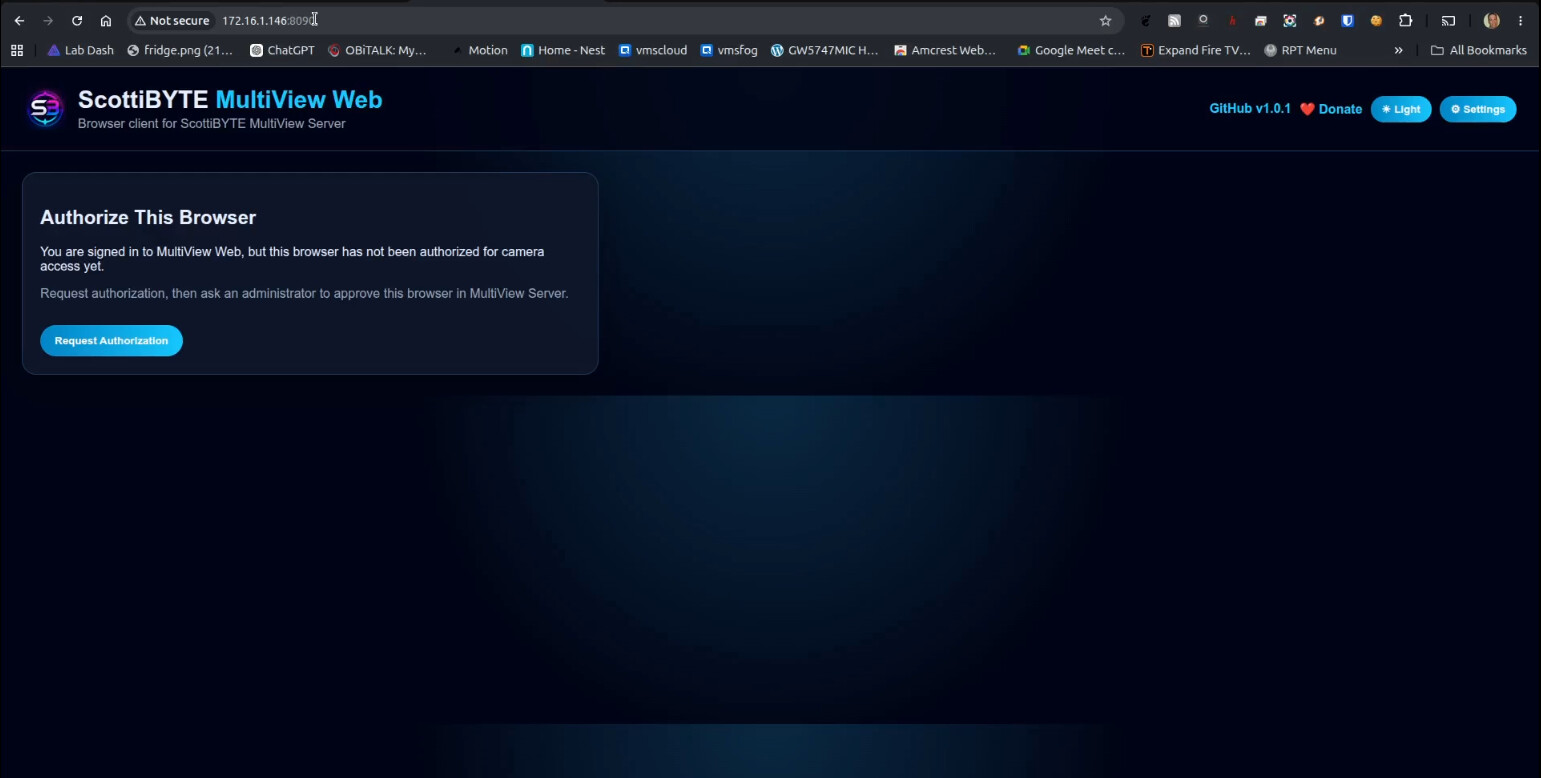
Click “Request Authorization”.
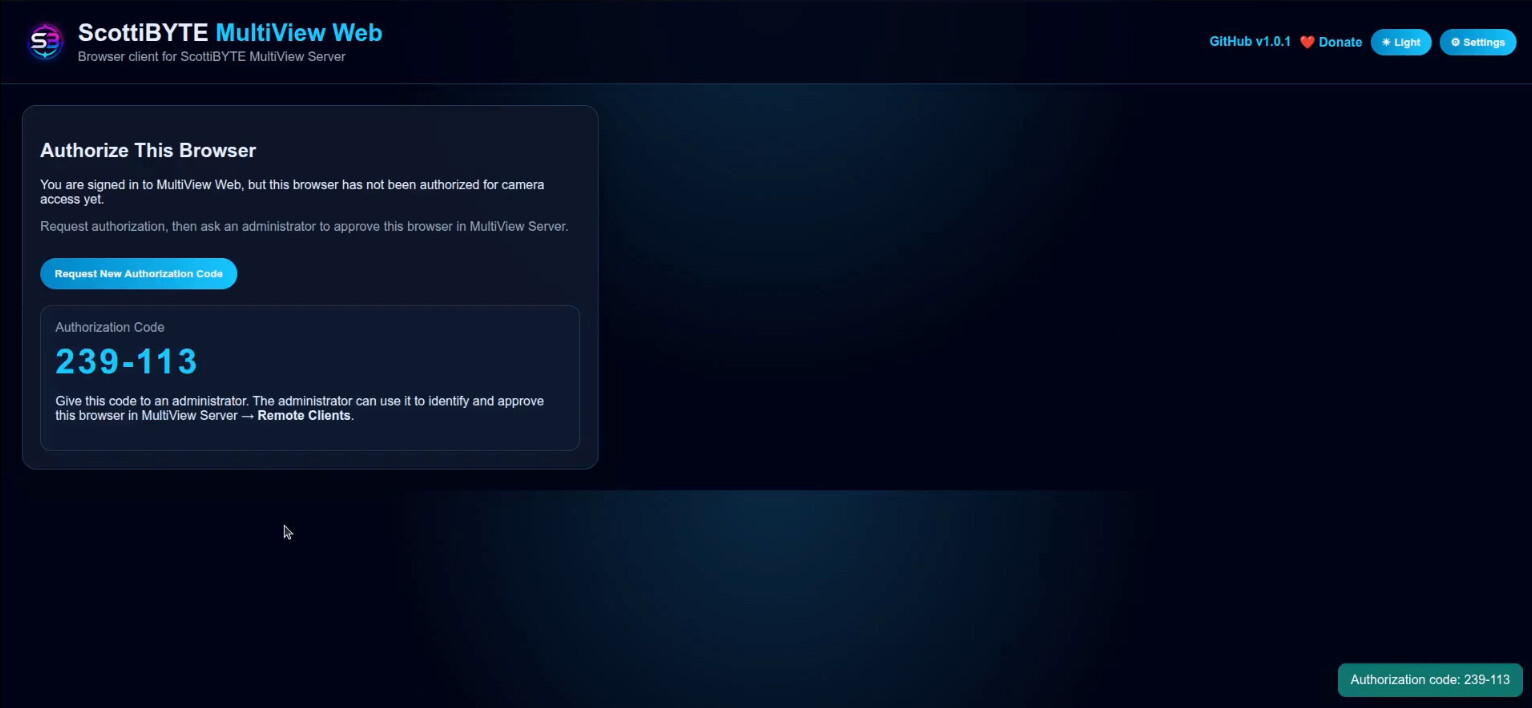
Head over to your MultiView Server and in the “Remote Clients” tab you will see a pending authorization. You may have to refresh the screen in the server.

When you click “Authorize” the request will move to the “Waiting for First Connection” queue briefly.

If you refresh the screen again, it will show in the Authorized clients list where you can rename it for better documentation.


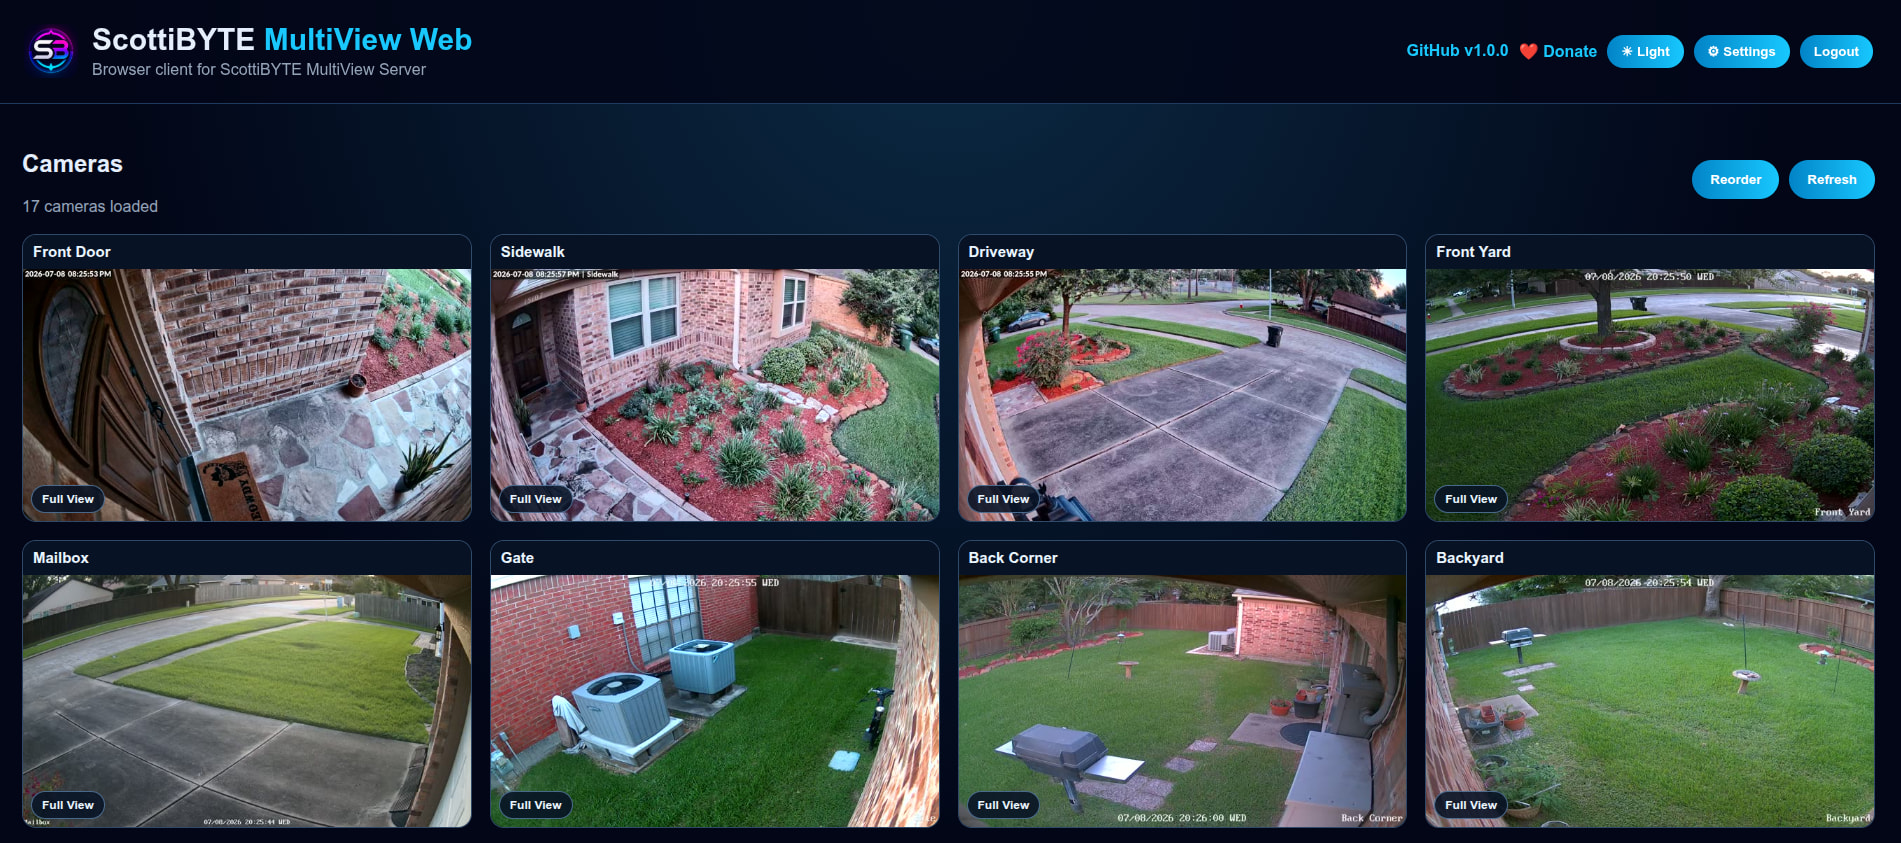
Back in the MultView Web application, the user will see the current camera view.
Check out MultiView TV and MultiView Mobile if you have not already.