After researching all over the net, I found that all the guides for setting up RocketChat are no longer applicable.
It is hard to say what is responsible, but a new install following the online guides result in a system that does not work or does not work properly. Most of the issues associated with this are related to the fact that RocketChat last year had sent out a message saying that MongoDB 4.x had been deprecated.
In order to upgrade to RocketChat v5.x and onward, MongoDB 4.0.28 which had been using the nmap database engine needed to be converted to use the wiredTiger database engine and then MongoDB had to be incrementally upgraded from v.4.0 to v4.2, then to v4.4 and then optionally to v5.0 of MongoDB.
The upgrade of MongoDB was complicated and not well documented. So, with an existing version of RocketChat, I showed how an upgrade could be performed in my tutorial entitled "Upgrading RocketChat in Docker – MongoDB 4.0 Deprecated”.
A brand new installation of RocketChat is also not a simple task. In this tutorial, I show how you can do a new installation of the latest version of RocketChat using Docker.
If you follow the channel, you know that I have 60+ videos on the use of LXD containers and LXD profiles. I start by creating a LXD container with a profile called “bridgeprofile” to present the container to an address on the main LAN. This is covered in other videos. I created the container with:
lxc launch ubuntu:22.04 Rocketchat --profile default --profile bridgeprofile -c boot.autostart=true -c security.nesting=true
I connected to the container console:
lxc exec Rocketchat bash
I updated the repositories and installed the latest updates as well as creating myself a username and granting it sudo privilege.
apt update && apt upgrade -y
adduser scott
usermod -aG sudo scott
Install Docker and docker-compose and put my username in the docker group so that I can run docker without sudo:
curl -sSL https://get.docker.com | sh
sudo apt install docker-compose	-y
usermod -aG docker scott
I moved over to the “scott” account for the rest.
su - scott
Edit a new docker-compose file:
nano docker-compose.yml
Insert the following into the file:
version: '3'

volumes:
  mongodb_data: { driver: local }

services:
  rocketchat:
    image: registry.rocket.chat/rocketchat/rocket.chat:${RELEASE:-5.4.2}
    restart: on-failure
    labels:
      traefik.enable: "true"
      traefik.http.routers.rocketchat.rule: Host(`${DOMAIN}`)
      traefik.http.routers.rocketchat.tls: "true"
      traefik.http.routers.rocketchat.entrypoints: https
      traefik.http.routers.rocketchat.tls.certresolver: le
    environment:
      MONGO_URL: "${MONGO_URL:-\
        mongodb://${MONGODB_ADVERTISED_HOSTNAME:-mongodb}:${MONGODB_INITIAL_PRIMARY_PORT_NUMBER:-27017}/\
        ${MONGODB_DATABASE:-rocketchat}?replicaSet=${MONGODB_REPLICA_SET_NAME:-rs0}}"
      MONGO_OPLOG_URL: "${MONGO_OPLOG_URL:\
        -mongodb://${MONGODB_ADVERTISED_HOSTNAME:-mongodb}:${MONGODB_INITIAL_PRIMARY_PORT_NUMBER:-27017}/\
        local?replicaSet=${MONGODB_REPLICA_SET_NAME:-rs0}}"
      ROOT_URL: ${ROOT_URL:-http://localhost:${HOST_PORT:-3000}}
      PORT: ${PORT:-3000}
      DEPLOY_METHOD: docker
      DEPLOY_PLATFORM: ${DEPLOY_PLATFORM}
    depends_on:
      - mongodb
    expose:
      - ${PORT:-3000}
    ports:
      - "${BIND_IP:-0.0.0.0}:${HOST_PORT:-3000}:${PORT:-3000}"

  mongodb:
    image: docker.io/bitnami/mongodb:${MONGODB_VERSION:-4.4}
    restart: on-failure
    volumes:
      - mongodb_data:/bitnami/mongodb
    environment:
      MONGODB_REPLICA_SET_MODE: primary
      MONGODB_REPLICA_SET_NAME: ${MONGODB_REPLICA_SET_NAME:-rs0}
      MONGODB_PORT_NUMBER: ${MONGODB_PORT_NUMBER:-27017}
      MONGODB_INITIAL_PRIMARY_HOST: ${MONGODB_INITIAL_PRIMARY_HOST:-mongodb}
      MONGODB_INITIAL_PRIMARY_PORT_NUMBER: ${MONGODB_INITIAL_PRIMARY_PORT_NUMBER:-27017}
      MONGODB_ADVERTISED_HOSTNAME: ${MONGODB_ADVERTISED_HOSTNAME:-mongodb}
      MONGODB_ENABLE_JOURNAL: ${MONGODB_ENABLE_JOURNAL:-true}
      ALLOW_EMPTY_PASSWORD: ${ALLOW_EMPTY_PASSWORD:-yes}
Do a CTRL O to save the output and a CTRL X to exit the editor.
Next edit the environment variable file:
nano .env
Insert the following data into the file:
### Rocket.Chat configuration

# Rocket.Chat version
# see:- https://github.com/RocketChat/Rocket.Chat/releases
#RELEASE=
# MongoDB endpoint (include ?replicaSet= parameter)
#MONGO_URL=
# MongoDB endpoint to the local database
#MONGO_OPLOG_URL=
# IP to bind the process to
#BIND_IP=
# URL used to access your Rocket.Chat instance
ROOT_URL=https://testing.scottibyte.com
# Port Rocket.Chat runs on (in-container)
#PORT=
# Port on the host to bind to
#HOST_PORT=

### MongoDB configuration
# MongoDB version/image tag
# MONGODB_RELEASE=
# See:- https://hub.docker.com/r/bitnami/mongodb
This file is mainly for placeholders. Be sure to set the “ROOT_URL” to be the subdomain name that you have created at your domain service provider. NOTE: You must own a domain name.
Do a CTRL O to output the file and a CTRL X to exit the editor.
Launch the application:
docker compose up -d && docker compose logs -f
Once you see the banner following banner, the server is running.
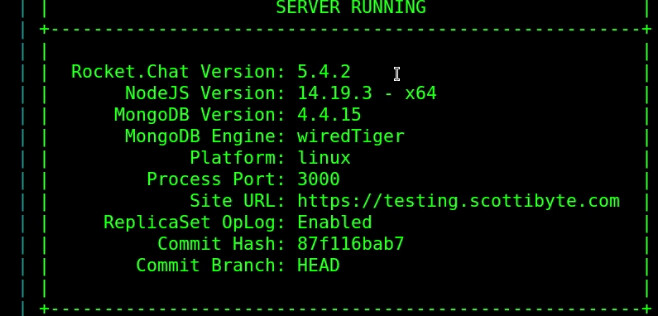
You should be able to access the application at:
http://<local-ip-address>:3000
Go through the initial setup as shown in the video.
If you find yourself unable to verify your workspace in the setup wizard, you should add the entries below EXACTLY AS SHOWN into the .env file that you edited earlier:
OVERWRITE_SETTING_Show_Setup_Wizard=completed
ADMIN_USERNAME=adminrc
ADMIN_PASS=!!!SET MASTER_ADMIN_PASSWORD!!!
when adding these commands to the .env file, it resolves that issue.
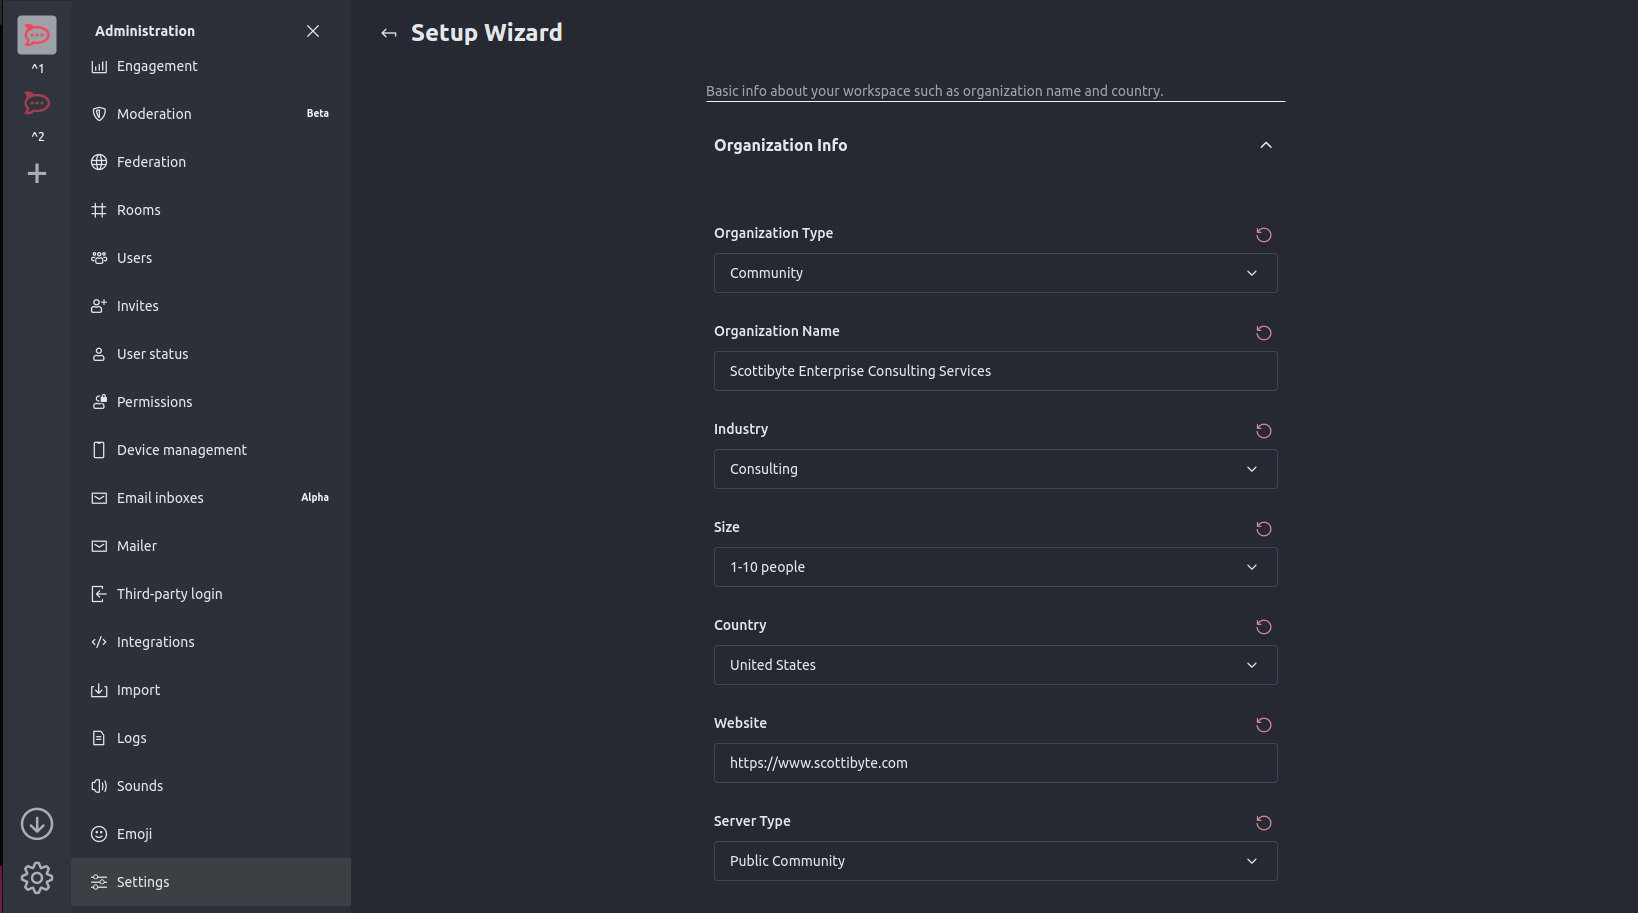
In order for the above settings to take effect, you must go into your Rocketchat Web instance and then go into the admin panel – settings and in the search bar search for Setup Wizard. You must complete the organizational Info tab. As an example:
Next, create an NginX Proxy Manager record to point to the server instance using the subdomain name you specified in the “.env” file. Also have it create a Let’s Encrypt self-signed certificate as shown in the tutorial.
You should now be able to access your RocketChat instance via the domain name:
https://chat.mydomain.com/
At this point, edit your docker compose file:
nano docker-compose.yml
Search for “image: registry.rocket.chat/rocketchat/rocket.chat:${RELEASE:-5.4.2}” and change it to:
image: registry.rocket.chat/rocketchat/rocket.chat:${RELEASE:-latest}
SAVE the file with CTRL O and Enter and CTRL X to exit the editor.
To update Rocketchat with these changes:
docker-compose stop rocketchat
docker-compose rm rocketchat
docker-compose up -d rocketchat
Although completely optional, at this point you can update your MongoDB from v4.4 to v5.0:
nano docker-compose.yml
Look in the “mongodb” section for the following code:
 mongodb:
    image: docker.io/bitnami/mongodb:${MONGODB_VERSION:-4.4}
Change the 4.4 to 5.0 and do a CTRL O to save the file and a CTRL X to exit the editor.
See the running containers.
docker ps
Shutdown the application:
docker-compose down
List the current images:
docker images
Look for the image ID for Mongo 4.4.
docker rmi <your-image-id>
Start the application again:
docker compose up -d
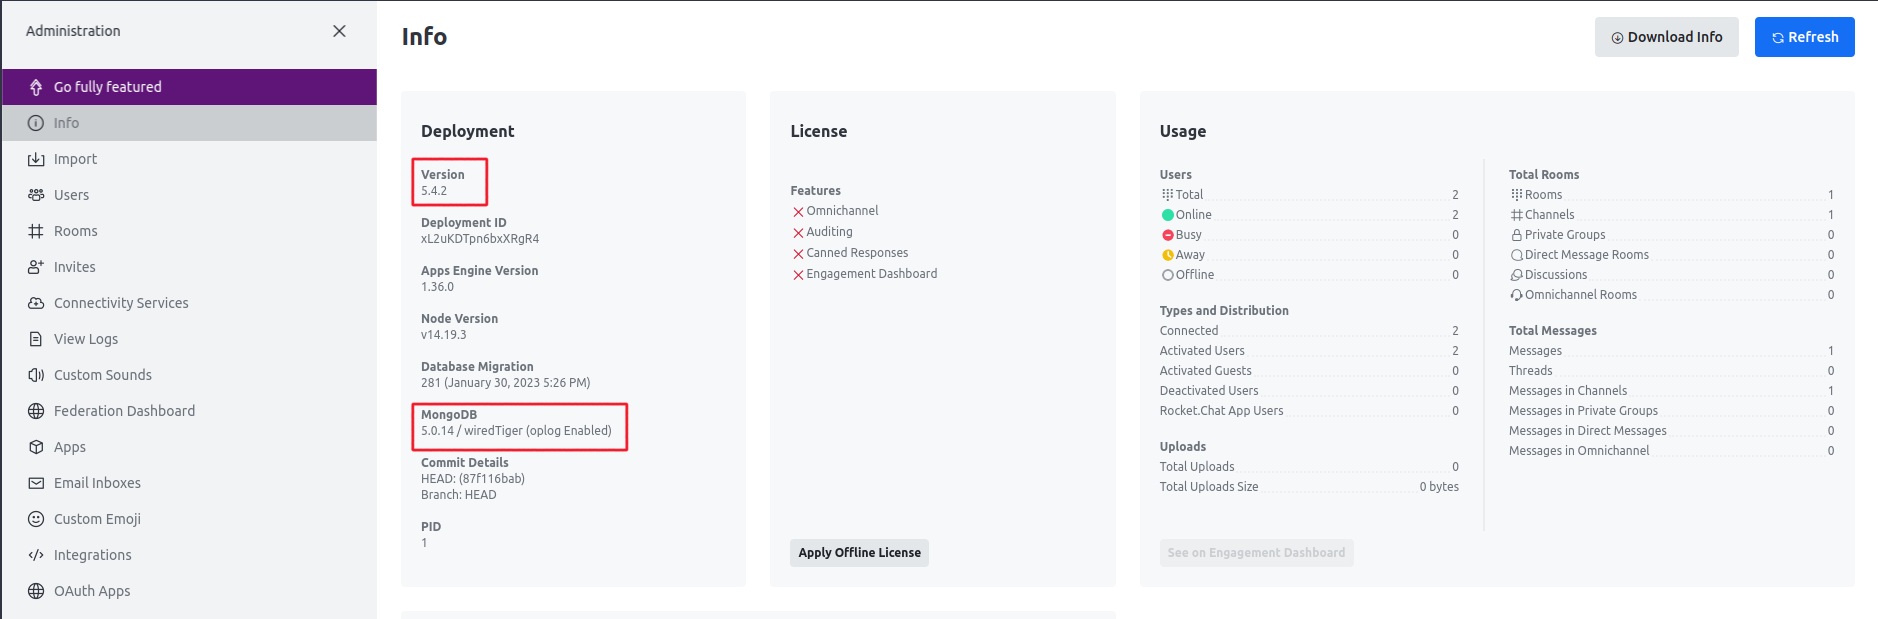
MongoDB 5.0 is now running as you can see from the admin - info screen.
Although I tried to move the database location, the application would not allow this without breaking. Your database will be located in the following path:
/var/lib/docker/volumes/
NOTE: To update your Rocketchat instance as there are new releases:
docker-compose stop rocketchat
docker-compose rm rocketchat
docker-compose up -d rocketchat