By default an Ubuntu Server creates a root partition using logical volume manager (LVM) that is only 100GB even on a large disk. This is to leave room on the primary disk for other partitions since LVM storage can span multiple partitions and disks. In this tutorial we learn how to expand the root partition of an LVM and also how to enlarge a virtual zfs incus default storage pool to take advantage of the additional space on the root partition if your incus storage pool is located on the LVM root partition.
If you followed Incus Containers Step by Step, I enlarged the root partition in Logical Volume Manager to occupy all of the free space on the disk at the I time built the server. If you overlooked that part of the process, used an existing server, or cloned a smaller server disk to a larger one, you may want to expand your LVM root partition and file system.
In my example, I looked at the block storage devices. On your system your root filesystem name might be /dev/nvme0n1p2 or something else.
lsblk

Note in the listing above that the root partition is an “lvm” partition and that’s what we are modifying today. You will notice that device vda is 1000G or 1TB.
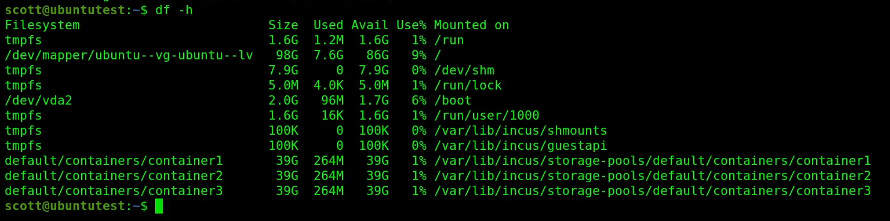
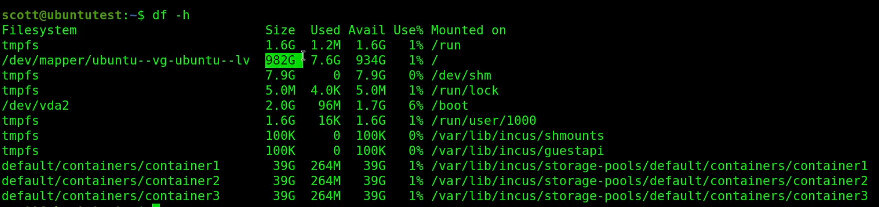
However, when I use the disk free command, you will notice that the root partition is only 98GB.
df -h
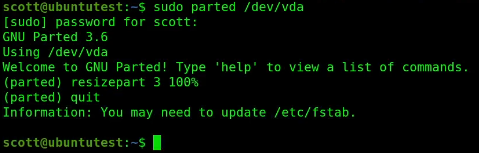
To enlarge the root (/) partition, our first step will be to enlarge my vda3 partition (your device name will differ) to use all of the free unused space.
sudo parted /dev/vda
resizepart 3 100%
quit
Rescan the storage to update the known storage for the partition changes we made.
sudo partprobe
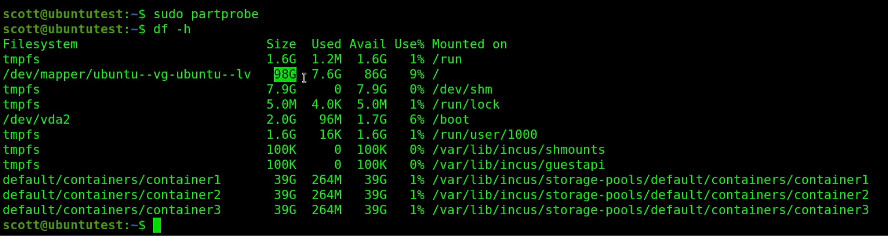
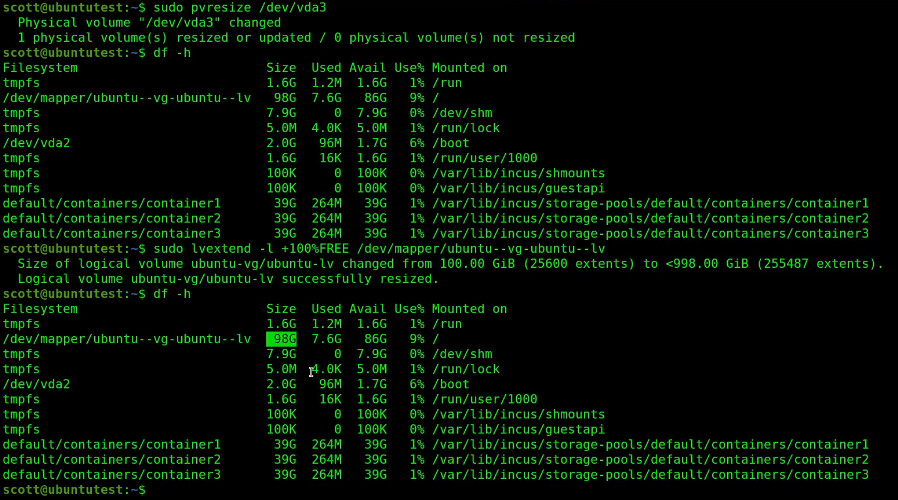
At this point, we have not yet changed the size of the root partition. That’s because we now need to enlarge the LVM partition to occupy all of the space inside of /dev/vda3 that we just enlarged.
sudo pvresize /dev/vda3
sudo lvextend -l +100%FREE /dev/mapper/ubuntu--vg-ubuntu--lv
This still does not enlarge the root partition, because the file system is still the same size.
The final step is to resize the file system inside of the LVM partition and we need to use the LVM file mapping designation as follows to accomplish this:
sudo resize2fs /dev/mapper/ubuntu--vg-ubuntu--lv

Now the root file system is enlarged.
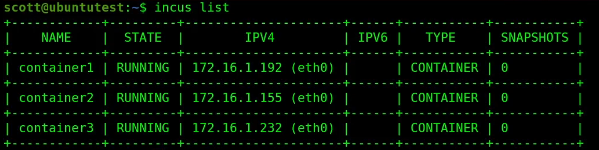
This particular system has three incus containers.
Since the initial root size of the system was only 100GB, I created the incus storage pool to fit inside of it and it was and still is 40GB and that is really small.
sudo zpool list
![]()
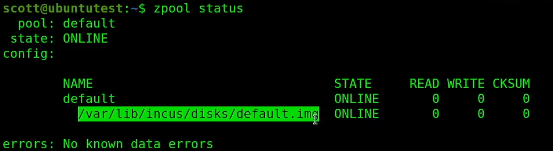
Before we can expand the storage pool. we need to find out where the default storage pool is kept. Keep in mind that we are working with a ZFS virtual storage pool. That means that you followed my Incus Containers Step by Step video referenced above and so your default storage pool exists inside of a file. Here’s how to find its location.
zpool status
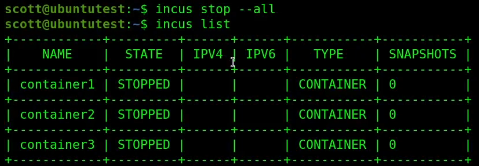
We must stop all of the incus containers.
incus stop --all
Since my root file system is now 982GB, I arbitrarily decided to expand my default storage pool by an additional 500GB. It’s a best practice to leave at least one third of the disk space in the root file system unused for operating system functions.
Expand the virtual file size by 500GB which will make the storage pool 540GB.
sudo truncate -s +500G /var/lib/incus/disks/default.img
Turn on autoexpansion, bring the zfs storage pool back online and then turn off autoexpansion and we are done.
sudo zpool set autoexpand=on default
sudo zpool online -e default /var/lib/incus/disks/default.img
sudo zpool set autoexpand=off default
We can see the new expanded pool:
sudo zpool list
![]()
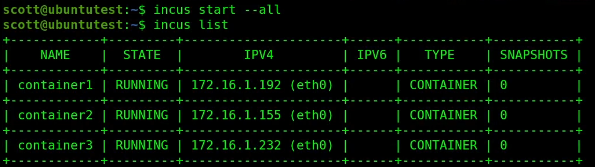
We can now restart all of our incus containers.
incus start --all
Another way to list the storage utilization of the default Incus Storage Pool is:
incus storage info default

Hopefully this guide will be useful in resizing your LVM disk partitions. I have another video on Resizing a Linux Disk that covers basic ext-4 file systems.