This tutorial is about moving Proxmox LXC containers to LXD Containers on a LXD server. This will be followed by another tutorial showing how to migrate a Proxmox Virtual Machine to a LXD Virtual machine.
This is accomplished by making an image of the Proxmox LXC container, adding metadata to it, and importing these components into a LXD Image. Then we use the LXD image to create a LXD container.
To initiate this migration, I ssh’ed into the root account on my Proxmox server (your Proxmox server address will differ):
ssh root@172.16.1.165
Move over to the /tmp folder on the Proxmox server:
cd /tmp
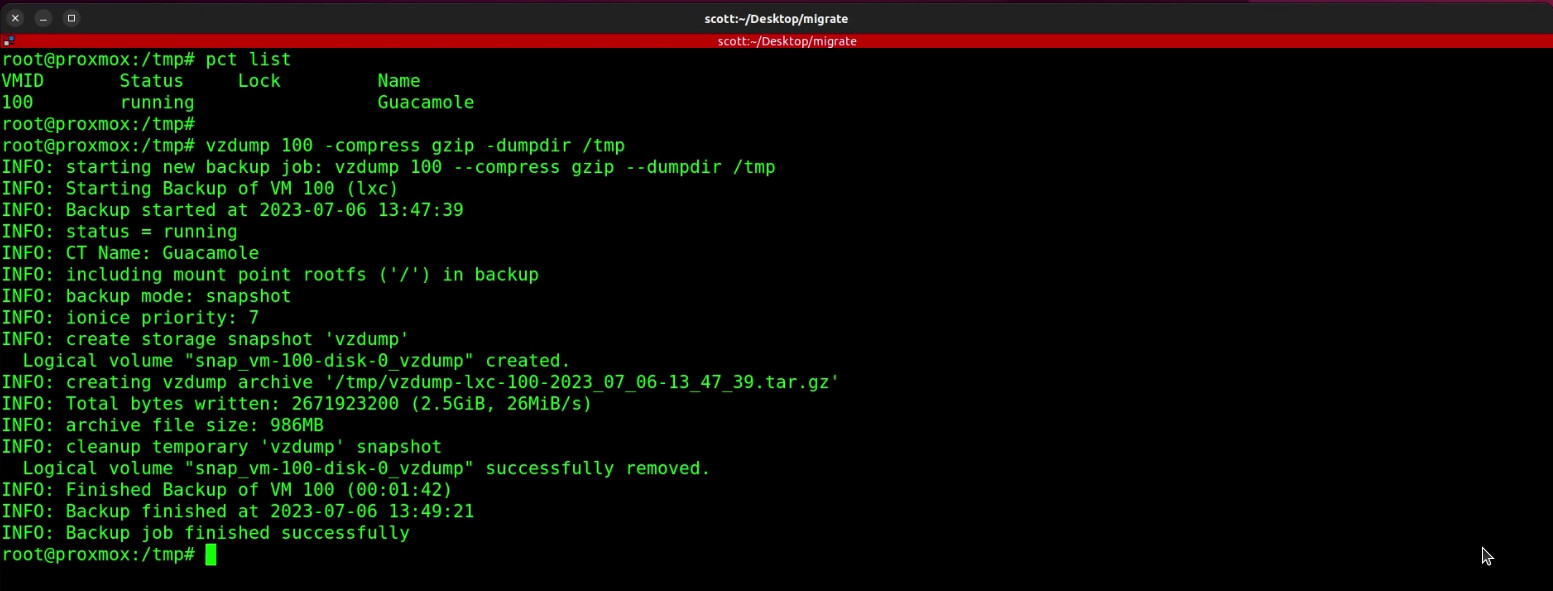
List your Proxmox containers:
pct list
Make a note of the LXC container that you want to transfer and issue a command like the following to create a compressed image of the container:
vzdump 100 -compress gzip -dumpdir /tmp
Next we have to create a metadata file to go along with the LXC image file dump:
echo architecture: `pct config 100 | grep arch: | awk '{print $2}' ` > metadata.yaml
echo creation_date: `date +%s` >> metadata.yaml
echo description: 'Imported from Proxmox' >> metadata.yaml
The metadata file must be placed into a compressed TAR file:
tar -czvf metadata.tar.gz metadata.yaml
You can delete the metadata.yaml file now:
rm metadata.yaml
We now want to copy the dump file and the metadata file to your LXD server. I used secure copy to do this (I created a “migrate” folder on the LXD server just to keep track of the files more easily):
scp vzdump-lxc-100-2023_07_06-13_47_39.tar.gz metadata.tar.gz scott@172.16.1.225:/home/scott/Desktop/migrate
Next, I logged into my LXD server (again, your address will differ):
ssh 172.16.1.225
I changed to the folder where I placed the two files:
cd Desktop/migrate
Next, import the two files to create a LXD image (the alias name is the name of the image):
lxc image import --alias=fromproxmox metadata.tar.gz vzdump-lxc-100-2023_07_06-13_47_39.tar.gz

List your images on your LXD server:
lxc image list
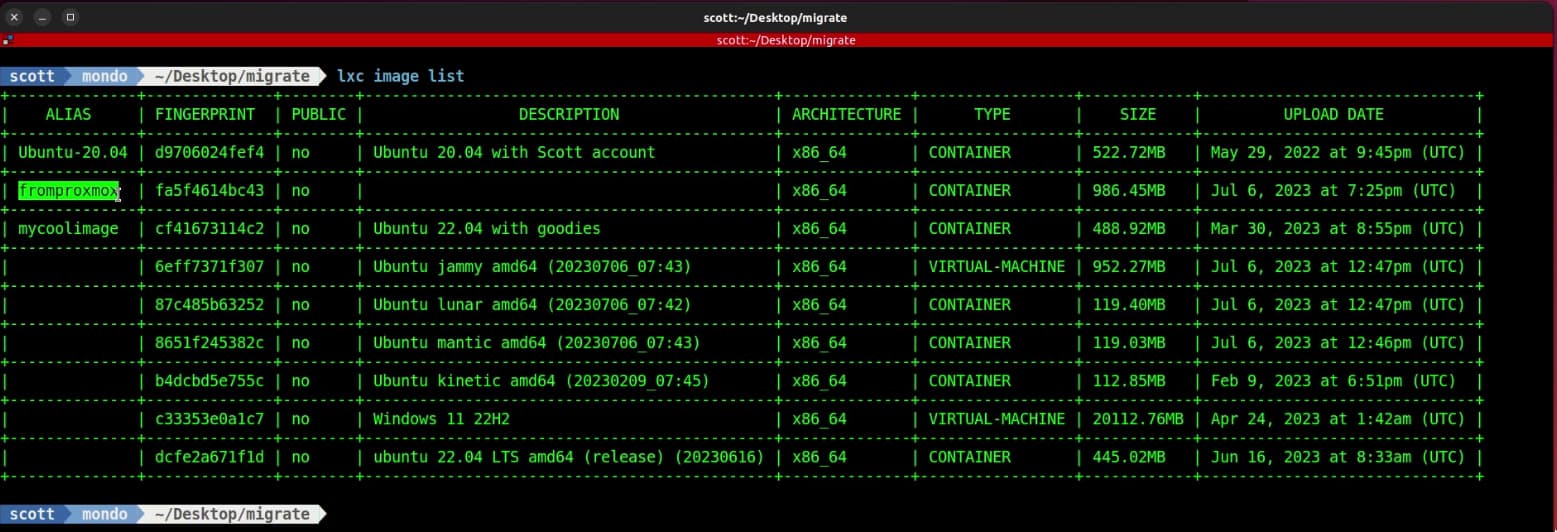
Create a new LXD container from the image that we just created (Test is the name of my container):
lxc launch fromproxmox Test -c boot.autostart=true
From my “LXD Step by Step” tutorial, I assigned the profile we created in that video to bridge the LXD container to an address on your LAN:
lxc profile assign Test default,bridgeprofile
After a minute or two, you can list your LXD containers and see the newly updated address on your LAN of the newly created container:
lxc list
At this point, you no longer need the image we created unless you want to create other containers based on the image. So you can delete it if you like:
lxc image delete fromproxmox
Deleting the image does not affect the LXD container we just created.
Now you have a fully migrated LXD container that came from a Proxmox LXC container.