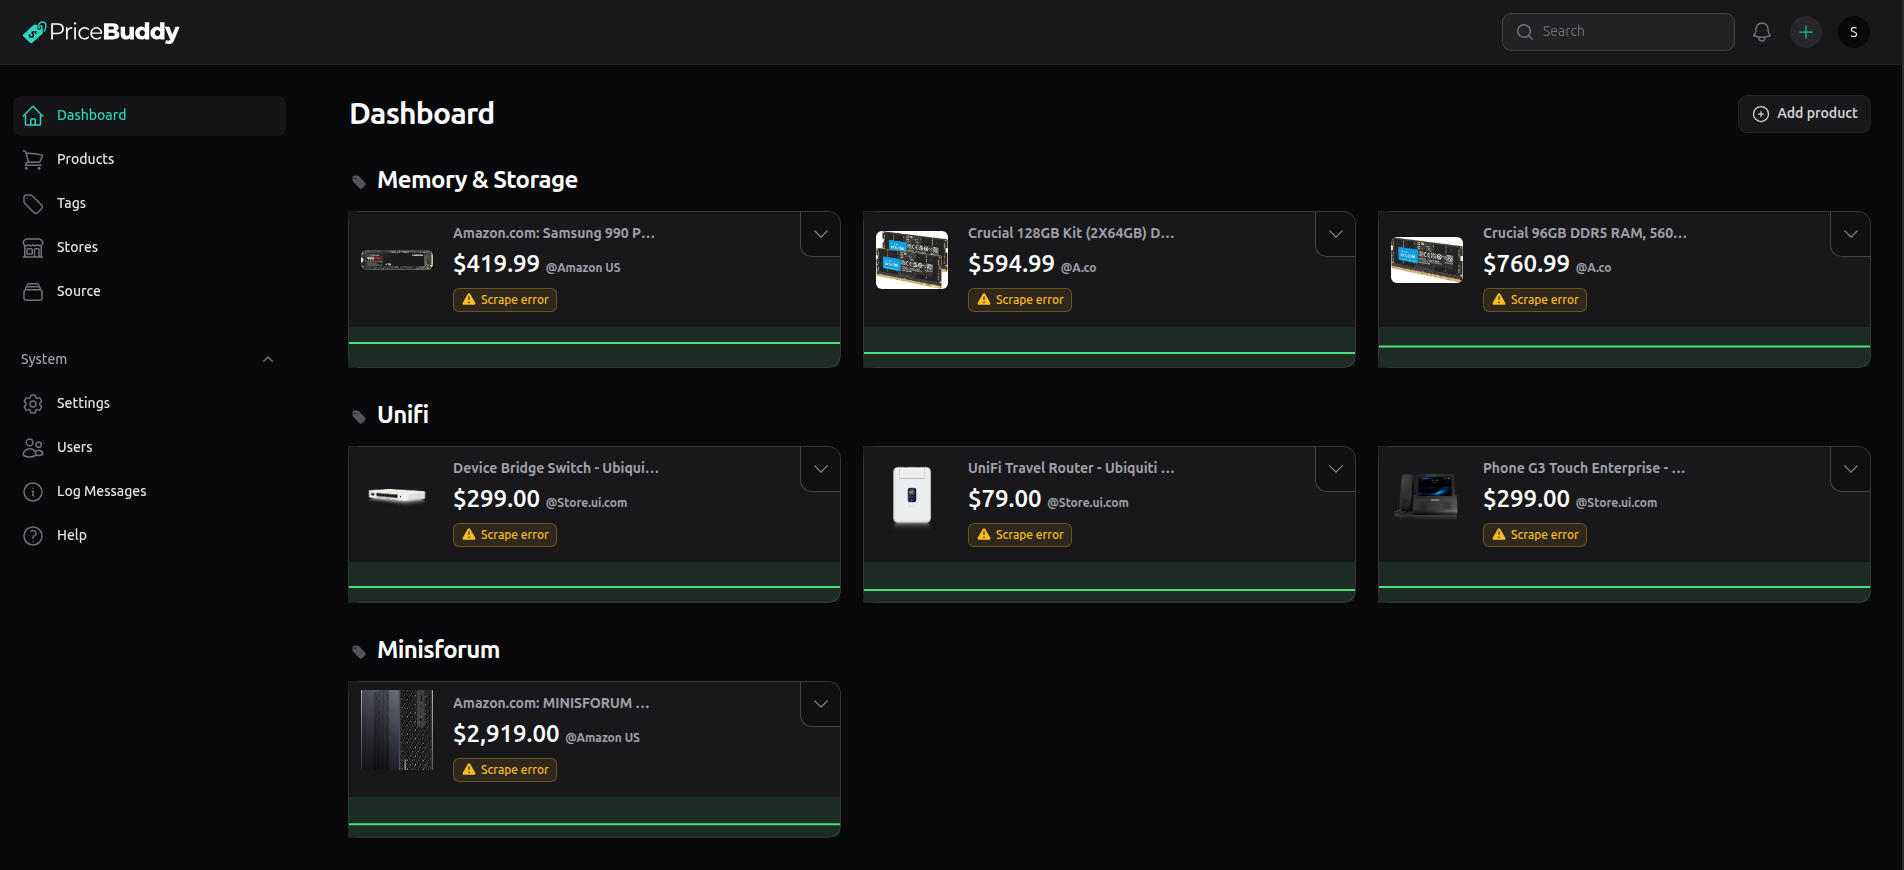
PriceBuddy is an open source, self-hostable, web application that allows users to compare prices of products from different online retailers. I show how to host it via a Cloudflare Zero Trust Tunnel.
We are going to create an incus container to install PriceBuddy. You could also use a dedicated system or a virtual machine. Start by creating an incus container per my usual instructions on the channel.
incus launch images:ubuntu/24.04 PriceBuddy -p default -p bridgeprofile -c boot.autostart=true -c security.nesting=true
Connect to the new container.
incus shell PriceBuddy
Accept the updates.
apt update && apt upgrade -y
Install some dependencies.
apt install openssh-server net-tools curl gnupg nano -y
Install Docker from the script on the Docker website.
curl https://get.docker.com | sh
Add a user account a put the user in the sudo and docker groups.
adduser scott
usermod -aG sudo,docker scott
Move to the new user account.
su - scott
Make an application folder and move into it.
mkdir pricebuddy
cd pricebuddy
Edit a docker compose file.
nano compose.yml
Insert the following into the nano editor.
services:
  app:
    image: jez500/pricebuddy:latest
    restart: unless-stopped
    ports:
      - "8080:80"
    volumes:
      - ./storage:/app/storage
      - ./.env:/app/.env
      - ./health.html:/var/www/html/health.html:ro
    environment:
      DB_HOST: database
      DB_USERNAME: pricebuddy
      DB_PASSWORD: pric3buddy
      DB_DATABASE: pricebuddy
      APP_USER_EMAIL: admin@example.com
      APP_USER_PASSWORD: admin
      SCRAPER_BASE_URL: http://scraper:3000
      AFFILIATE_ENABLED: "true"
    depends_on:
      database:
        condition: service_healthy
    command: >
      sh -c "
        echo 'Waiting for MySQL...' &&
        until mysqladmin ping -h database -upricebuddy -ppric3buddy --silent; do
          sleep 2;
        done &&
        echo 'MySQL is up' &&
        apache2-foreground
      "
    healthcheck:
      test: ["CMD-SHELL", "curl -fsS http://localhost/health.html || exit 1"]
      interval: 30s
      timeout: 5s
      retries: 3
      start_period: 10s

  database:
    image: mysql:8.2
    restart: unless-stopped
    environment:
      MYSQL_DATABASE: pricebuddy
      MYSQL_USER: pricebuddy
      MYSQL_PASSWORD: pric3buddy
      MYSQL_ROOT_PASSWORD: root
    volumes:
      - ./data:/var/lib/mysql
    healthcheck:
      test: ["CMD", "mysqladmin", "ping", "-h", "localhost"]
      interval: 10s
      timeout: 5s
      retries: 5
      start_period: 1m

  scraper:
    image: jez500/seleniumbase-scrapper:latest
    restart: unless-stopped
    ports:
      - "3030:3000"
    healthcheck:
      test: ["CMD-SHELL", "curl -fsS http://localhost:3000/health || exit 1"]
      interval: 30s
      timeout: 5s
      retries: 3
      start_period: 10s

  scheduler:
    image: jez500/pricebuddy:latest
    restart: unless-stopped
    volumes:
      - ./storage:/app/storage
      - ./.env:/app/.env
    environment:
      DB_HOST: database
      DB_USERNAME: pricebuddy
      DB_PASSWORD: pric3buddy
      DB_DATABASE: pricebuddy
      SCRAPER_BASE_URL: http://scraper:3000
    depends_on:
      database:
        condition: service_healthy
    command: sh -c "while true; do php artisan schedule:run; sleep 60; done"

  worker:
    image: jez500/pricebuddy:latest
    restart: unless-stopped
    volumes:
      - ./storage:/app/storage
      - ./.env:/app/.env
    environment:
      DB_HOST: database
      DB_USERNAME: pricebuddy
      DB_PASSWORD: pric3buddy
      DB_DATABASE: pricebuddy
    depends_on:
      database:
        condition: service_healthy
    command: php artisan queue:work --sleep=3 --tries=3
Save the file with a CTRL O and enter and then a CTRL X to exit the editor.
Create my super-nifty installation script.
nano setup_pricebuddy.sh
Enter the following code into the editor.
#!/bin/bash
set -euo pipefail

echo "⏳ Starting PriceBuddy setup..."

############################################
# 1️⃣ Prompt for REQUIRED domain + credentials
############################################

while true; do
  read -rp "Enter full domain (e.g. pricebuddy.mydomain.com): " DOMAIN
  if [ -n "$DOMAIN" ]; then break; fi
  echo "❌ Domain is required."
done

while true; do
  read -rp "Admin username: " ADMIN_USERNAME
  if [ -n "$ADMIN_USERNAME" ]; then break; fi
  echo "❌ Username is required."
done

while true; do
  read -rp "Admin email: " ADMIN_EMAIL
  if [ -n "$ADMIN_EMAIL" ]; then break; fi
  echo "❌ Email is required."
done

while true; do
  read -rsp "Admin password: " ADMIN_PASSWORD
  echo
  read -rsp "Confirm password: " ADMIN_PASSWORD_CONFIRM
  echo
  if [ "$ADMIN_PASSWORD" = "$ADMIN_PASSWORD_CONFIRM" ] && [ -n "$ADMIN_PASSWORD" ]; then
    break
  fi
  echo "❌ Passwords do not match or are empty. Try again."
done

APP_URL="https://${DOMAIN}"

############################################
# 2️⃣ Create or update .env
############################################
if [ ! -f .env ]; then
  cat <<EOF > .env
APP_KEY=
DB_HOST=database
DB_USERNAME=pricebuddy
DB_PASSWORD=pric3buddy
DB_DATABASE=pricebuddy
SCRAPER_BASE_URL=http://scraper:3000
AFFILIATE_ENABLED=true
APP_URL=${APP_URL}
ASSET_URL=${APP_URL}
SESSION_SECURE_COOKIE=true
APP_USER_EMAIL=${ADMIN_EMAIL}
APP_USER_PASSWORD=${ADMIN_PASSWORD}
EOF
  echo "✅ .env created"
else
  echo "ℹ️ .env exists, updating values"
  sed -i "s|^APP_URL=.*|APP_URL=${APP_URL}|" .env
  sed -i "s|^ASSET_URL=.*|ASSET_URL=${APP_URL}|" .env
  sed -i "s|^APP_USER_EMAIL=.*|APP_USER_EMAIL=${ADMIN_EMAIL}|" .env
  sed -i "s|^APP_USER_PASSWORD=.*|APP_USER_PASSWORD=${ADMIN_PASSWORD}|" .env
fi

export $(grep -v '^#' .env | xargs)

############################################
# 3️⃣ Create required directories
############################################
mkdir -p data
mkdir -p storage/framework/{cache,views,sessions}
mkdir -p bootstrap/cache
echo "✅ Storage directories created"

############################################
# 4️⃣ Create health.html
############################################
cat <<'EOF' > health.html
<!DOCTYPE html>
<html>
<head>
  <title>OK</title>
</head>
<body>
  OK
</body>
</html>
EOF
echo "✅ health.html created"

############################################
# 5️⃣ Start Docker
############################################
docker compose up -d >/dev/null 2>&1
echo "✅ Docker containers started"

############################################
# 6️⃣ Wait for MySQL
############################################
echo "⏳ Waiting for database..."
until docker exec pricebuddy-database-1 \
  mysqladmin ping -h "127.0.0.1" -u"$DB_USERNAME" -p"$DB_PASSWORD" --silent 2>/dev/null; do
  sleep 2
done
echo "✅ Database is ready"

############################################
# 7️⃣ Laravel setup
############################################
docker exec -i pricebuddy-app-1 bash -c "
set -e
chown -R www-data:www-data storage bootstrap/cache 2>/dev/null || true
chmod -R 775 storage bootstrap/cache 2>/dev/null || true

php artisan key:generate --force >/dev/null 2>&1
php artisan migrate --force >/dev/null 2>&1

php artisan config:clear >/dev/null 2>&1
php artisan cache:clear >/dev/null 2>&1
php artisan route:clear >/dev/null 2>&1
php artisan view:clear >/dev/null 2>&1
php artisan config:cache >/dev/null 2>&1
"

############################################
# 8️⃣ Create admin user (idempotent)
############################################
echo "⏳ Ensuring admin user exists..."
docker exec -i pricebuddy-app-1 php -d display_errors=0 -r "
require '/app/vendor/autoload.php';
\$app = require '/app/bootstrap/app.php';
\$kernel = \$app->make(Illuminate\Contracts\Console\Kernel::class);
\$kernel->bootstrap();

use App\Models\User;
use Illuminate\Support\Facades\Hash;

User::updateOrCreate(
    ['email' => '${ADMIN_EMAIL}'],
    [
        'name' => '${ADMIN_USERNAME}',
        'password' => Hash::make('${ADMIN_PASSWORD}'),
        'email_verified_at' => now(),
    ]
);
echo \"✅ Admin user ready\\n\";
"

############################################
# 9️⃣ Done
############################################
echo
echo "🎉 PriceBuddy setup complete!"
echo "Admin email: ${ADMIN_EMAIL}"
echo "Site URL:    ${APP_URL}"
echo "Healthcheck: ${APP_URL}/health.html"
Save the file with a CTRL O and Enter and then a CTRL X to exit the editor.
Grant the script file execute privilege.
chmod +x setup_pricebuddy.sh
Execute the script. Note: You must have a domain and a Cloudflare account in order to configure the Cloudflare tunnel in steps that follow.
./setup_pricebuddy.sh
Here’s an example of when I ran the script from the tutorial. You will of course enter a subdomain name of your choosing on your domain.
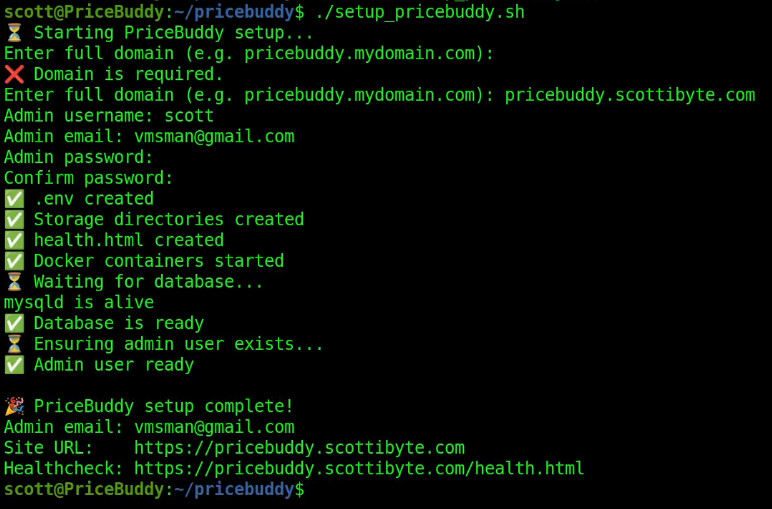
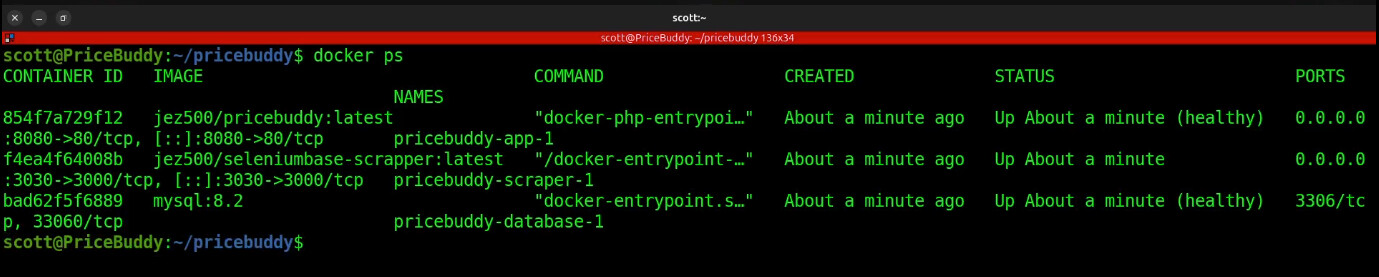
After the script completes, the application is up and running, but it is configured to use your subdomain name. We have additional steps before you can access PriceBuddy. You can check the running app.
docker ps
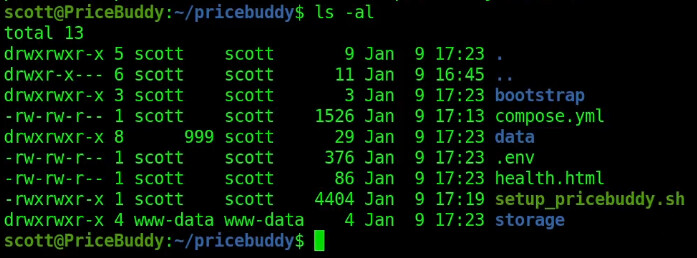
At this point, your file structure should look like this.
ls -al
The next step is to install and configure Cloudflared which is the Cloudflare Zero Trust tunneling daemon. Start by moving to your home folder.
cd
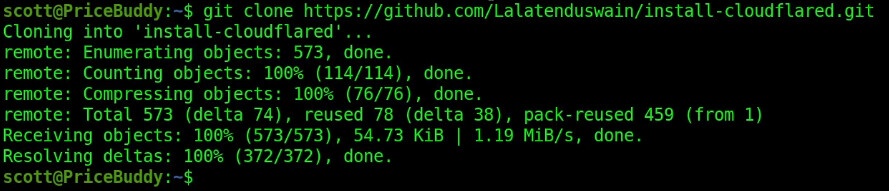
Download the software.
git clone https://github.com/Lalatenduswain/install-cloudflared.git
Move into the folder that “git” just created and provide the script execute privilege.
cd install-cloudflared
chmod +x install-cloudflared.sh
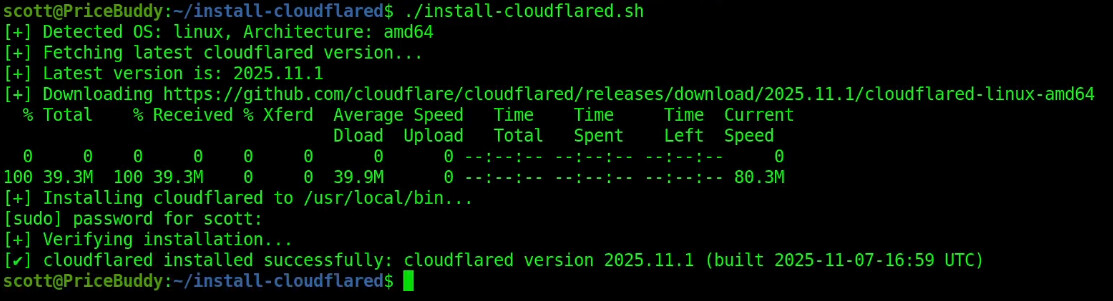
Run the installation script.
./install-cloudflared.sh
Move back to your home folder.
cd
Login to your cloudflared tunnel. Pro Tip: If you are logged into Cloudflare on your default browser, this is simplified.
cloudflared tunnel login

Copy the URL that is displayed as part of the login and then head over to your browser and visit that URL. Click on your zone aka domain in the list.
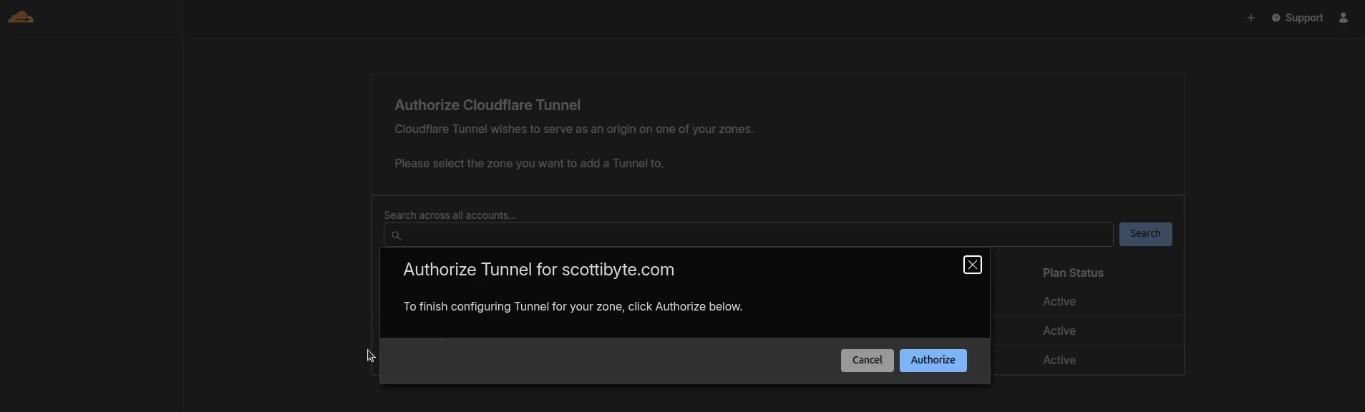
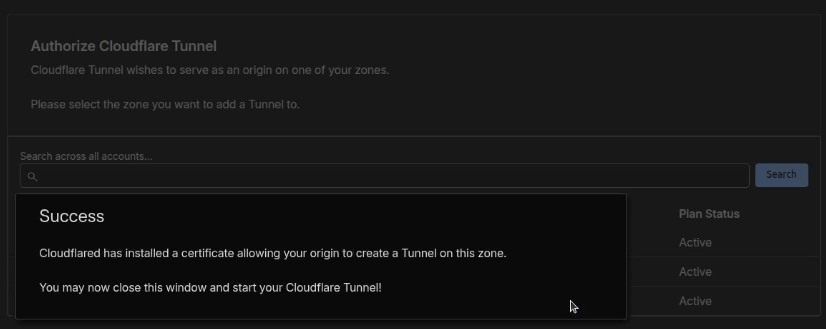
Click the “Authorize” button and you will see a success screen pretty quickly.
Go back to your terminal you will notice that the login has completed.
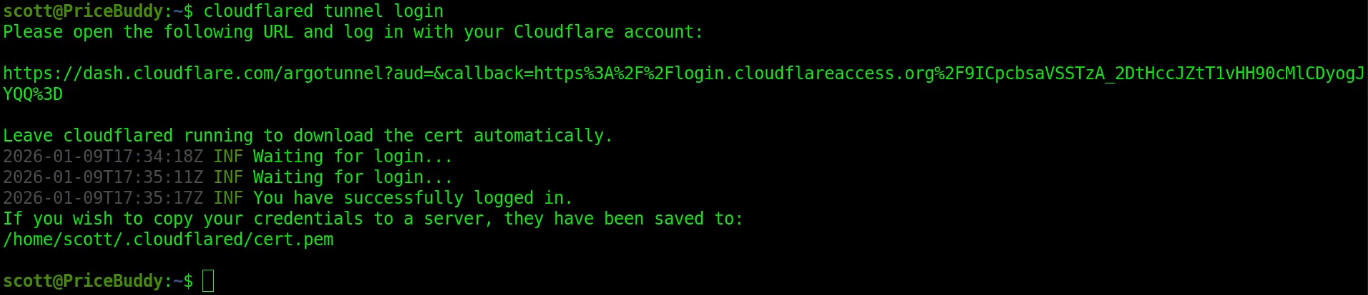
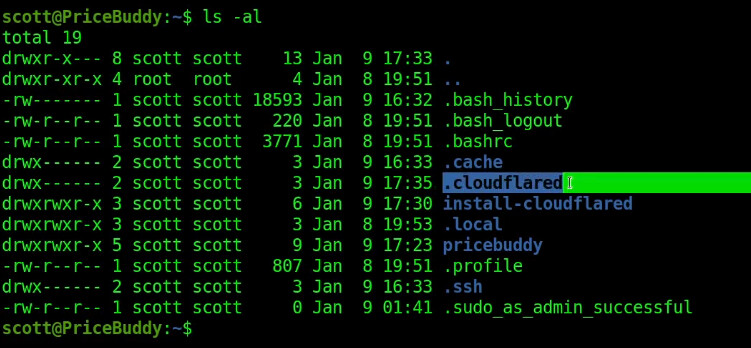
You now have a “.cloudflared” folder that has been created.
ls -al
Move into the new folder.
cd .cloudflared
ls -al
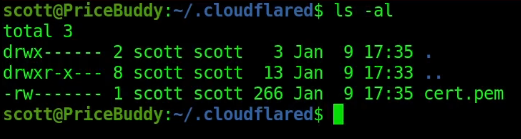
Notice that you have a certificate named cert.pem.
Create the tunnel up to Cloudflare. The tunnel name is arbitrary and I called mine pricebuddy2 because I already had one named pricebuddy for my production application.
cloudflared tunnel create pricebuddy2

List the files in the folder and you will have a json file containing your tunnel credentials. Treat this as a password because it provides encrypted access to this container.
ls

Create a configuration file for your tunnel.
nano config.yml
Insert the following into the file.
tunnel: XXXXXXXXXXXXXXXXX  # Replace with your tunnel ID
credentials-file: /home/scott/.cloudflared/XXXXXXXXXXXXXXXXX.json  # Your tunnel credentials file

ingress:
  - hostname: pricebuddy.mydomain.com
    service: http://localhost:8080  # Replace with your app's local service, e.g., port 80
  - service: http_status:404  # This will return a 404 for all other requests
Substitute the XXXXXXXXXXXXXXXXX in the two places with your tunnel ID which is the name of the json file minus the extension.

Also change the “scott” to the name of your home folder. Your hostname should match the subdomain that you provided when you ran the script. Port 8080 is correct for PriceBuddy. Do a CTRL O and enter to save the file and a CTRL X to exit the editor.
Set the permissions on your json file and be sure to use the name of your file and the correct path.
sudo chmod 644 /home/scott/.cloudflared/XXXXXXXXXXXXXXXXX.json
Configure your tunnel using the same name and domain as what you used to create it.
cloudflared tunnel route dns pricebuddy2 pricebuddy.scottibyte.com

Run the Cloudflare tunnel interactively from your terminal to see that it works.
cloudflared tunnel run pricebuddy2

Head on up to your browser and type the subdomain name for your PriceBuddy and you should see a login.
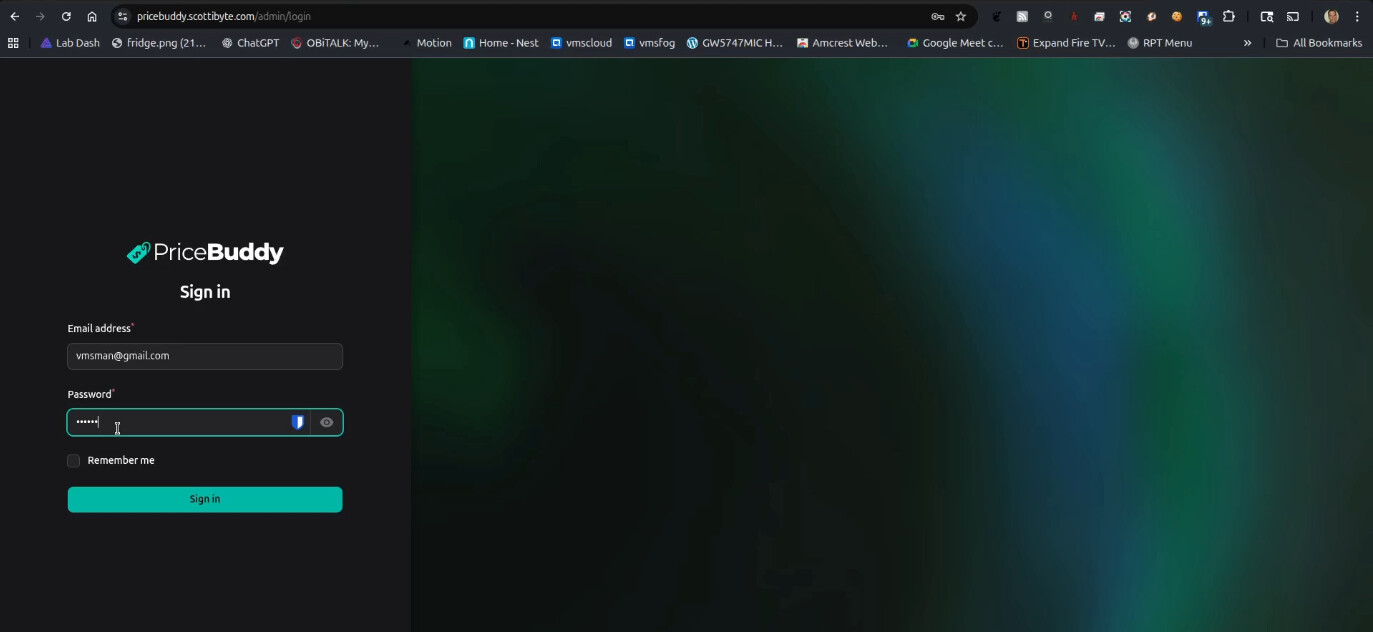
Use the email and password that you used in the script we ran earlier.
We aren’t done, because if you exit the tunnel in the terminal, it will disconnect the application.
To solve this, we are going to create a systemd service to run the tunnel.
sudo nano /etc/systemd/system/cloudflared.service
Insert the following in the file.
[Unit]
Description=Cloudflare Tunnel
After=network-online.target
Wants=network-online.target

[Service]
Type=simple
User=scott
WorkingDirectory=/home/scott/.cloudflared
Environment=HOME=/home/scott
Environment=TUNNEL_ORIGIN_CERT=/home/scott/.cloudflared/cert.pem
ExecStartPre=/bin/sleep 10
ExecStart=/usr/local/bin/cloudflared tunnel run XXXXXXXXXXXXXXXXX
Restart=on-failure
RestartSec=5s

[Install]
WantedBy=multi-user.target
Be sure to change “scott” above to your username in all the places it occurs. Also be sure to insert your tunnel ID in place of the XXXXXXXXXXXXXXXXX on the “tunnel run” line. Save the file with a CTRL O and enter and a CTRL X to exit the nano editor.
Reload the systemd service files to update the changes.
sudo systemctl daemon-reload
Define the service to work on reboot.
sudo systemctl enable cloudflared
Start the service on the running system now.
sudo systemctl start cloudflared
Check the status of your service.
sudo systemctl status cloudflared
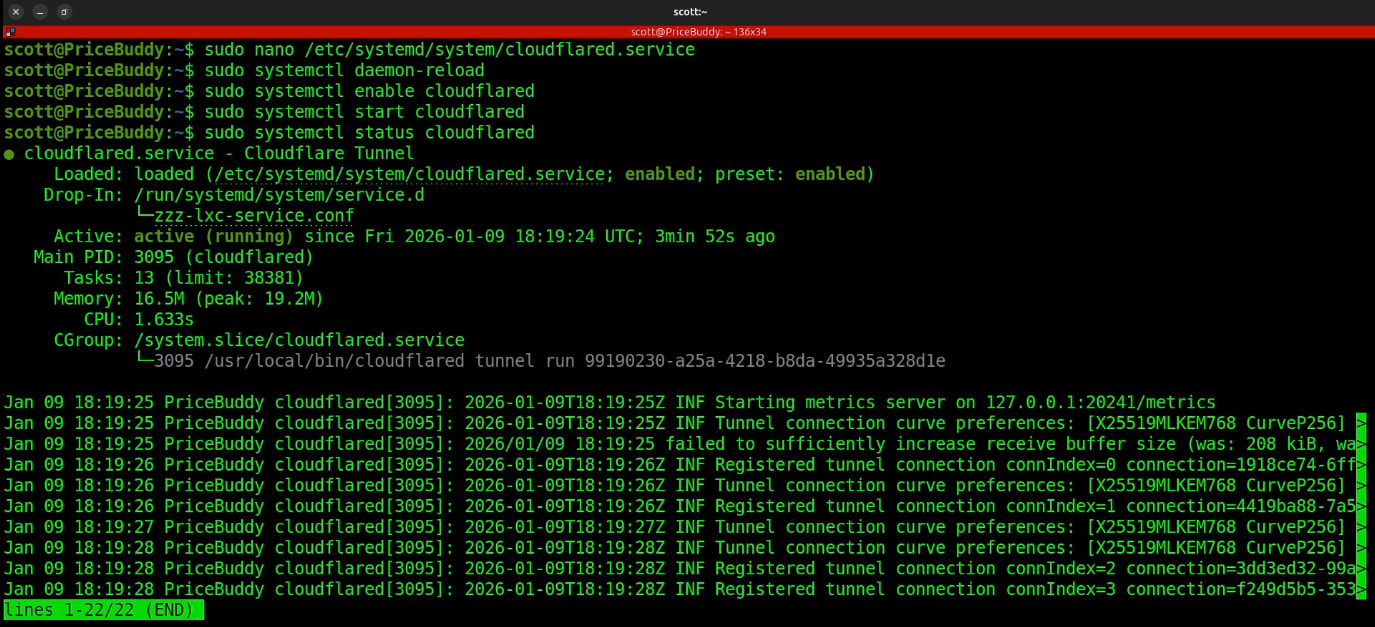
Your PriceBuddy service is now available and running over a Cloudflare tunnel.