In this tutorial we learn how to use Incus custom volumes to store data. In this example, we create a Plex server on an Incus OCI container that uses custom volumes to store the configuration and media for a Plex server.
If you are unfamiliar with the Incus container system, you will need to watch my video Incus Containers Step by Step first.
Sign on to a terminal on your Incus server.
Our Plex media server will be implemented in an Incus OCI container and so we start by creating an Incus Network to bridge to the main LAN.
incus network create LAN --type=macvlan parent=bridge0
If this is your first Incus OCI container you will need to add the docker repository.
incus remote add docker https://docker.io --protocol=oci
You can perform an “incus remote list” to see if the docker repository is configured on your system.
Create, without starting, the Plex OCI container with the following command. You may want to adjust your time zone in the following command.
incus create docker:linuxserver/plex:latest Plex -c environment.TZ=America/Chicago -c environment.VERSION=docker -c environment.net=host -c environment.PUID=1000 -c environment.PGID=1000 -c boot.autostart=true -c boot.autorestart=true --network=LAN
In the command above, we use UID 1000 and GID 1000 which is the first user account added to a container.
Now create an Incus custom volume to store the Plex database and other settings.
incus storage volume create default plex-data
Connect the new volume to the Plex container at the /config mount point which is where Plex expects to find its database.
incus storage volume attach default plex-data Plex /config
Create a custom volume for the TV show library/collection and mount it to the Plex container.
incus storage volume create default plex-tv
incus storage volume attach default plex-tv Plex /tv
Create a custom volume for the Movie library/collection and mount it to the Plex container.
incus storage volume create default plex-movies
incus storage volume attach default plex-movies Plex /movies
Start the Plex media server.
incus start Plex
Create a standard Incus container to manage the files stored on the Plex server.
incus launch images:ubuntu/24.04 Plexfiles -c boot.autostart=true --network=LAN
Connect this container to the custom volumes for the TV shows and the Movies folders we created earlier.
incus storage volume attach default plex-tv Plexfiles /tv
incus storage volume attach default plex-movies Plexfiles /movies
Connect to this container and update the software.
incus shell Plexfiles
apt update && apt upgrade -y
Delete the “ubuntu” user which is using UID 1000 and GID 1000.
deluser ubuntu
Add a user account which will default to [1000,1000] now.
adduser scott
Change the ownership of the folders to the user:
chown scott:scott -R /tv /movies
Install the dependencies:
apt install openssh-server samba nano -y
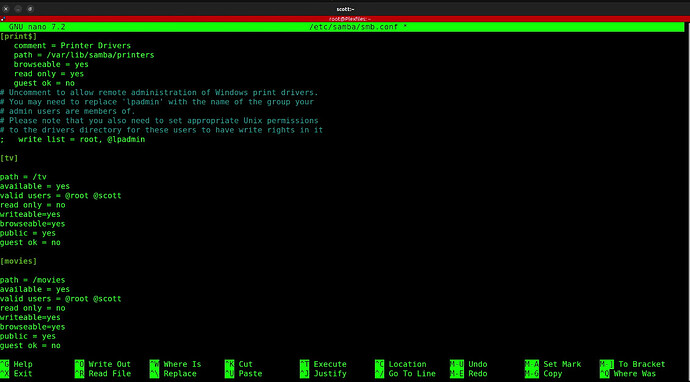
Edit the Samba configuration file.
nano /etc/samba/smb.conf
Go to the end of the file and insert the following adjusting your username.
[tv]

path = /tv
available = yes
valid users = @root @scott
read only = no
writeable=yes
browseable=yes
public = yes
guest ok = no

[movies]

path = /movies
available = yes
valid users = @root @scott
read only = no
writeable=yes
browseable=yes
public = yes
guest ok = no
Save the file with a CTRL O and Enter and a CTRL X to exit the nano editor.
Set your password for Microsoft file sharing with the following command:
smbpasswd -a scott
The password above may be different from the password to log into the new account.
Restart the CIFS/SMB Microsoft File Server with the following command.
systemctl restart smbd
Exit the shell account of the “Plexfiles” container back to the Incus server.
exit
List your containers.
incus list

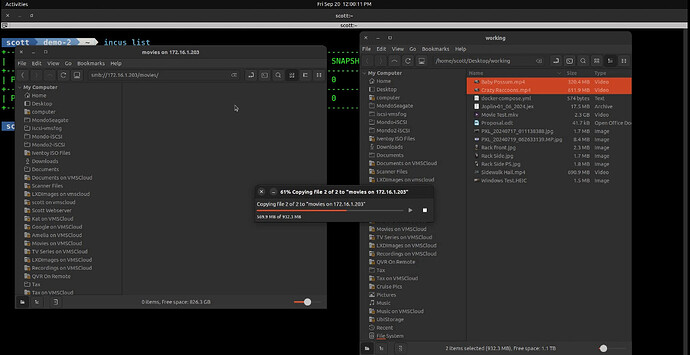
Go into your desktop Linux file manager and access the Plexfiles file server as follows. Watch the video for details and note how this is done in Windows as well.
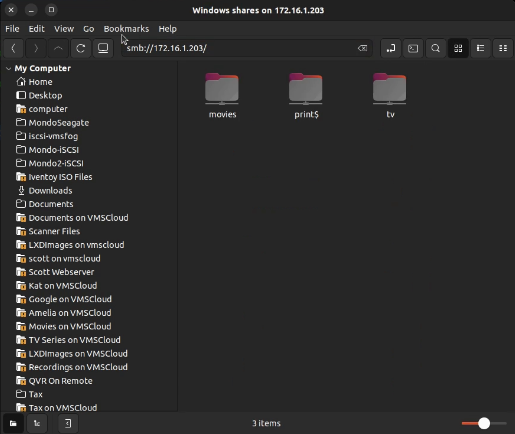
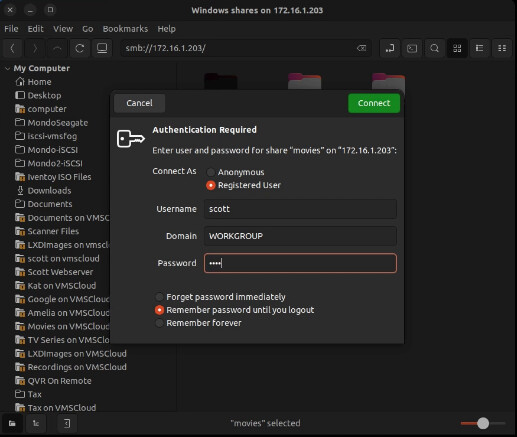
Double click on the “movies” folder and you should be prompted for your credentials.
Once you login, should be in the “movies” folder.
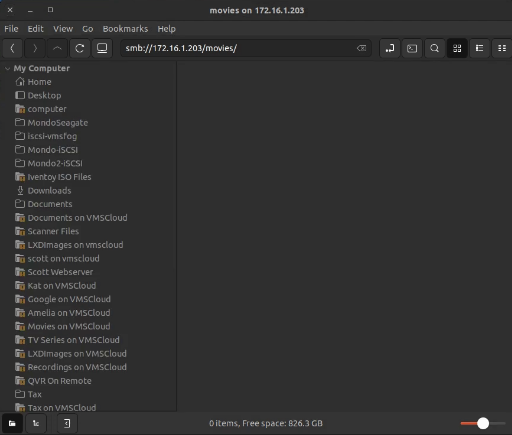
I can now drag and drop a couple videos into the movies folder.
The default port number of a Plex server is 32400 and so we go to the address of our Plex container (Not the Plexfiles container) in the web browser. In my example, the address was:
http://172.16.1.143:32400/manage
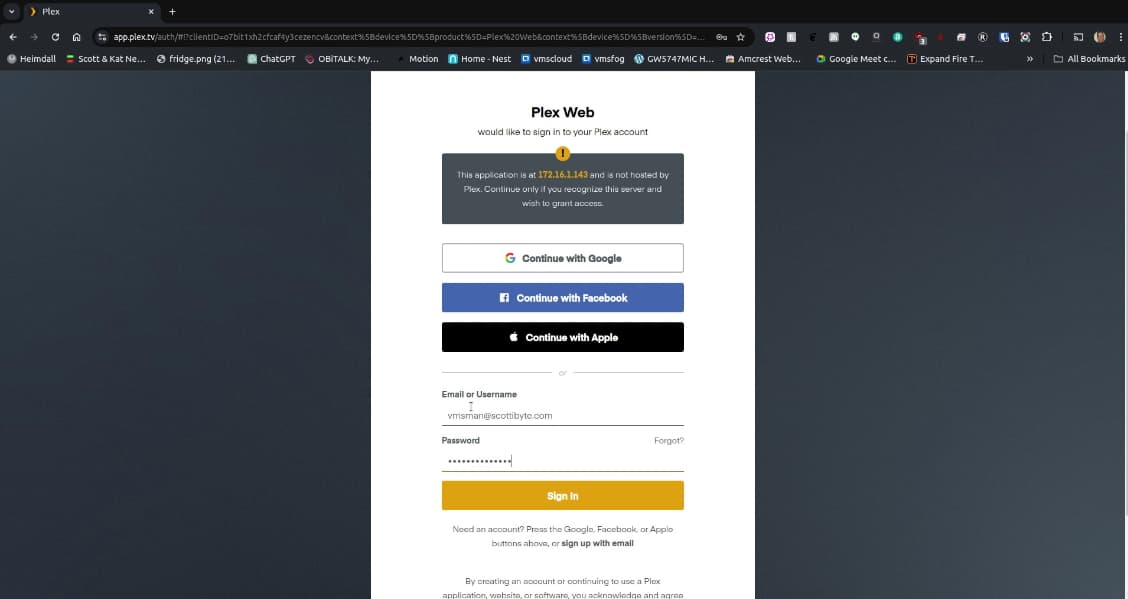
That brings us to a screen like the one below and if you do not have a Plex account, then sign up for one. In my case, I logged into an existing account.
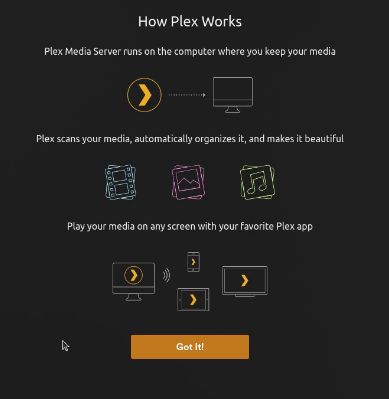
The next screen is a “How Plex Works” screen and you can click the “Got it!” button from there.
This next screen advertises the Plex Pass which adds a lot of features to the free Plex server if you decide that these are things you want. I have a Lifetime Plex Pass and it is well worth it.
The next screen is a server setup screen where you can name your Plex server.
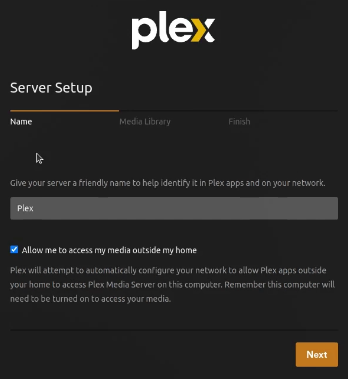
In order to access your media outside of your network, you will need a port forward for port 32400 on your router to the address of the Plex OCI container.
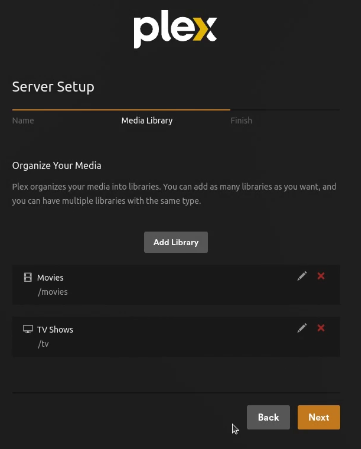
The next screen let’s you add libraries. I added one for our Movies folder and one for our TV folder and you can follow that in the video. You can always add other libraries later and other incus custom volumes for the data.
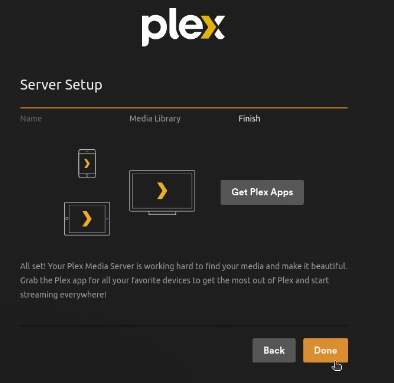
The next screen is the end of the setup.
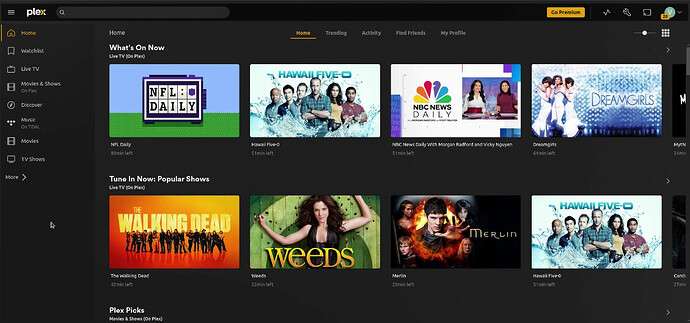
Plex has quite a bit of free streaming content even if you are not running a server which is under “Live TV” and “Movies & Shows on Plex”. In the screen below, the “Movies” and “TV Shows” are the content from our server since those are the two libraries we added.
When I click on the “Movies” folder, I can see the two videos that I copied to the Plexfiles container which is the same data that the Plex server sees.
At this point you have a fully functional Incus OCI container running a Plex media server. The files that the server sees are managed via CIFS file shares in the Plexfiles container.
Note that in my example my media is stored in volumes that are inside of the incus default storage pool. I don’t really recommend that for a production Plex server.
The Plex database and the library folders can grow quite large. You are therefore encouraged to create a LARGE dedicated storage pool out of free disks on your server or on a NAS on your network dedicated to your Plex media server data structures.
Plex media server running in this way provides the ability to export/backup and snapshot the custom storage volume data providing enhanced protection for your valuable media.

