Pinchflat is a self-hosted app for downloading YouTube content. It’s designed to be lightweight, self-contained, and easy to use. You set up rules for how to download content from YouTube channels or playlists and the program downloads the content automatically.
BIG GLARING NOTE: Downloaded content can be huge. My almost 300 videos will require about 30GB of storage. So be sure to point your downloads folder to a place with lots of storage.
Refer to the Pinchflat Github page for in depth documentation:
https://github.com/kieraneglin/pinchflat#what-it-does
Pinchflat is a docker application and I install it inside of an Incus container. Be sure to watch my “Incus Containers Step by Step” for details.
Create an Incus container for Pinchflat.
incus launch images:ubuntu/24.04 Pinchflat -p default -p bridgeprofile -c boot.autostart=true -c security.nesting=true
Move inside the new container.
incus shell Pinchflat
Update the repositories.
apt update
Install the dependencies and install docker since Pinchflat is a docker application.
apt install curl nano net-tools openssh-server -y
curl https://get.docker.com | sh
Add a user account and put the new user in the sudo and docker groups.
adduser scott
usermod -aG sudo scott
usermod -aG docker scott
Move over to the new user account:
su - scott
Create a folder for the application and move inside it.
mkdir pinchflat
cd pinchflat
Edit the compose file.
nano compose.yml
Insert the following into the editor.
services:
  pinchflat:
    image: ghcr.io/kieraneglin/pinchflat:latest
    environment:
      # Set the timezone to your local timezone
      - TZ=America/Chicago
    ports:
      - 80:8945
    volumes:
      - ./config:/config
      - ./downloads:/downloads
Change your timezone accordingly in the file. Then save the file with a CTRL O and Enter and then CTRL X to exit the nano editor.
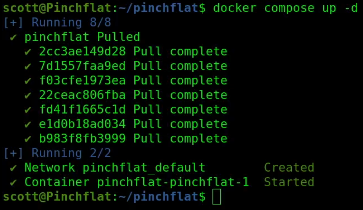
Start the Pinchflat application.
docker compose up -d
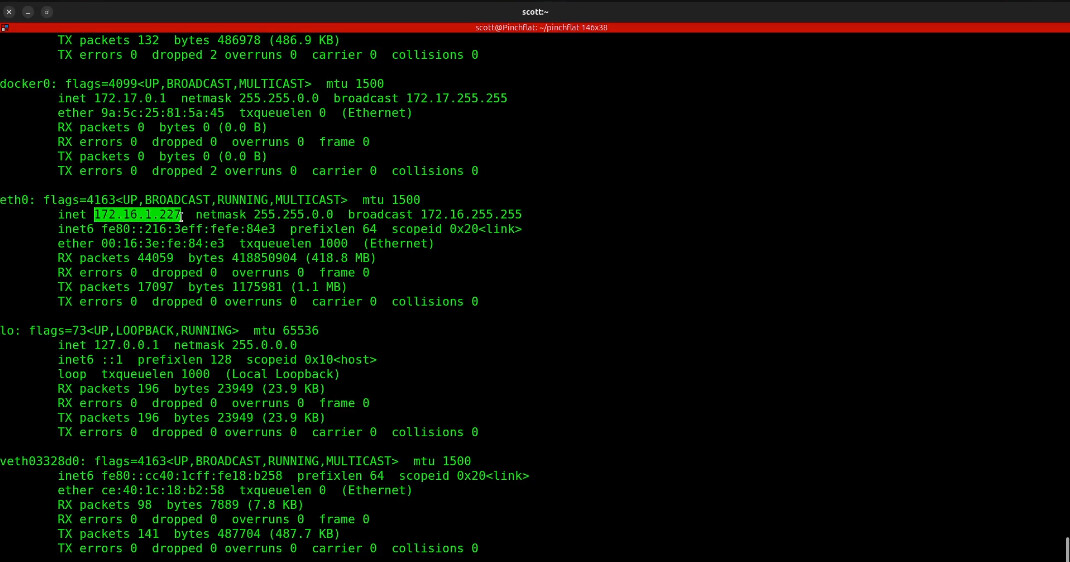
Next find out the IP address of your container by examining device eth0.
ifconfig
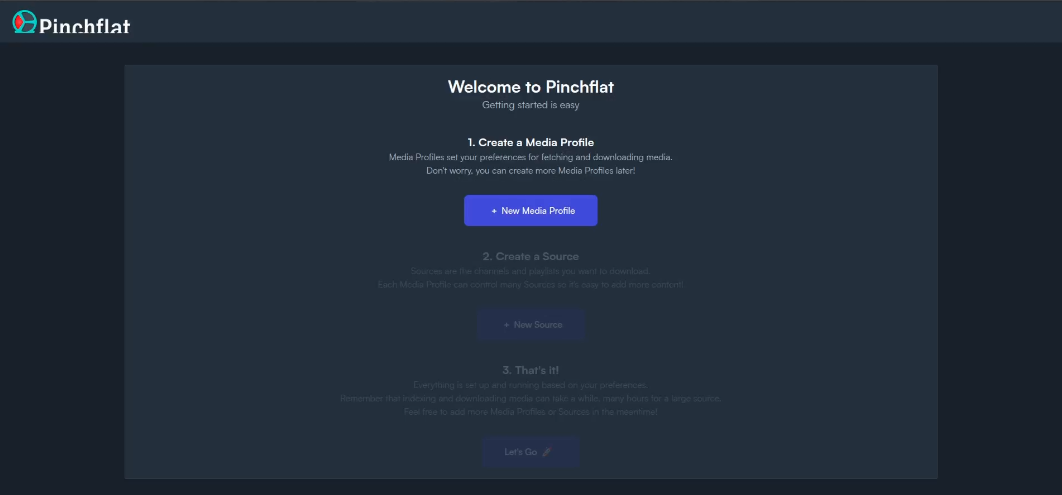
Head over to your web browser and enter the address you just found and you should see the web page for Pinchflat displayed.
Pinchflat is made to be hosted on your local network since it has no username/password security and so you won’t want to host it via NginX Proxy Manager.
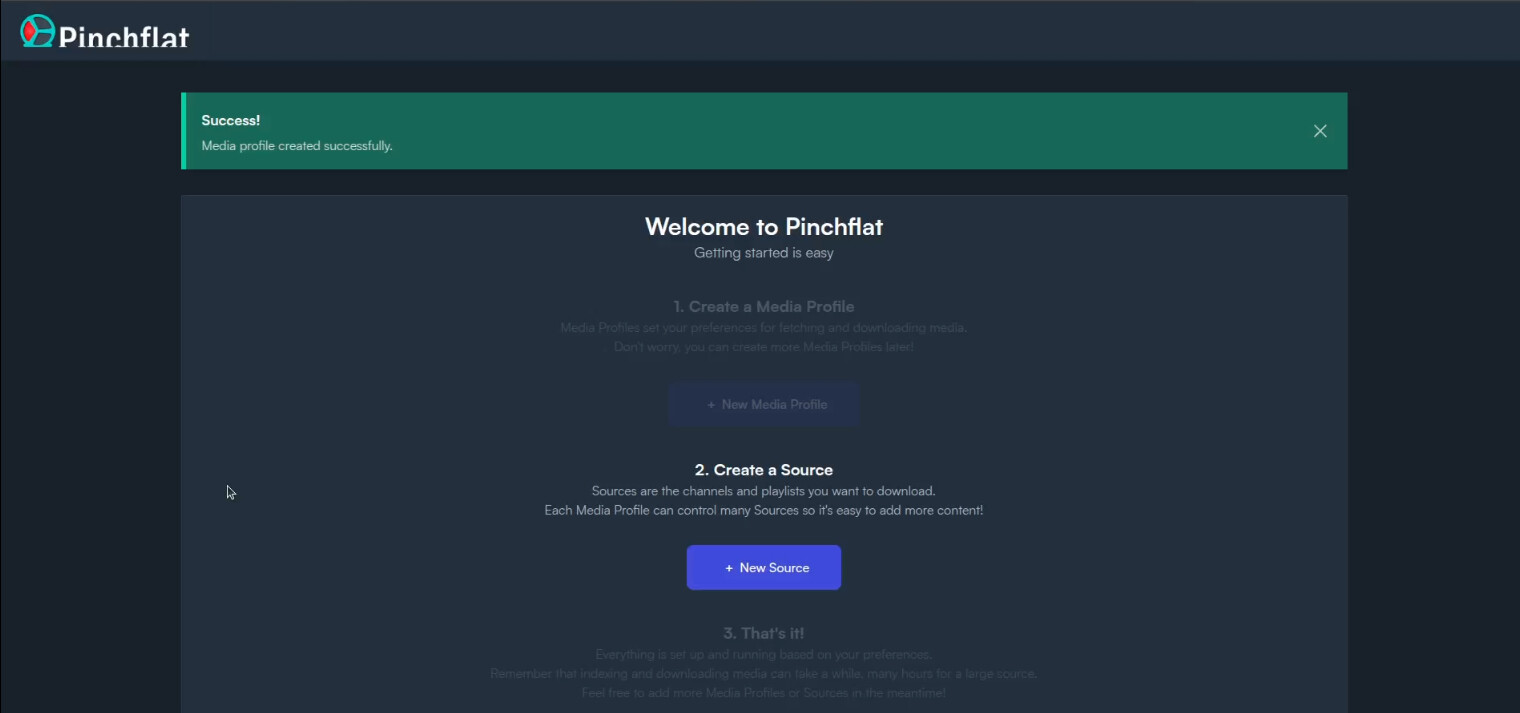
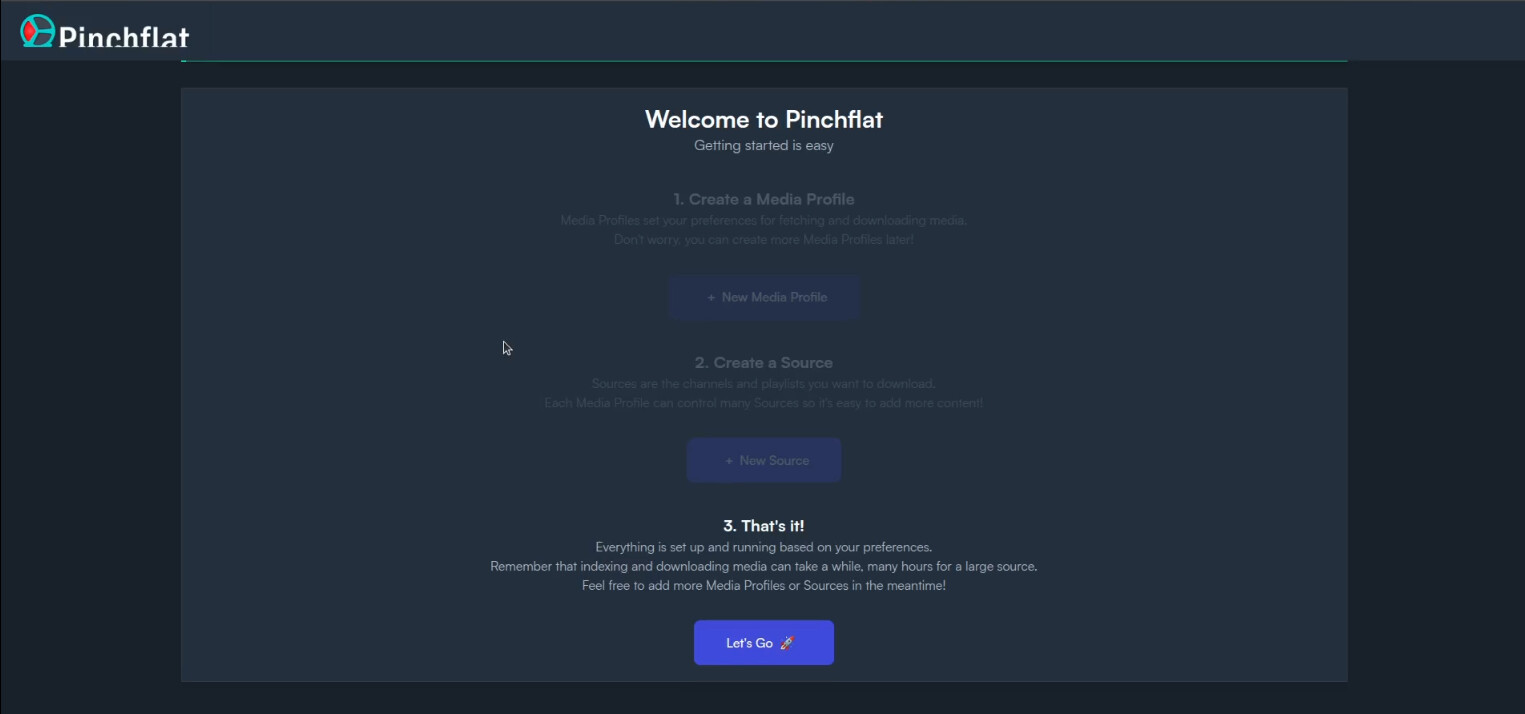
As shown in the video, you will be creating a new media profile which has a variety of options.
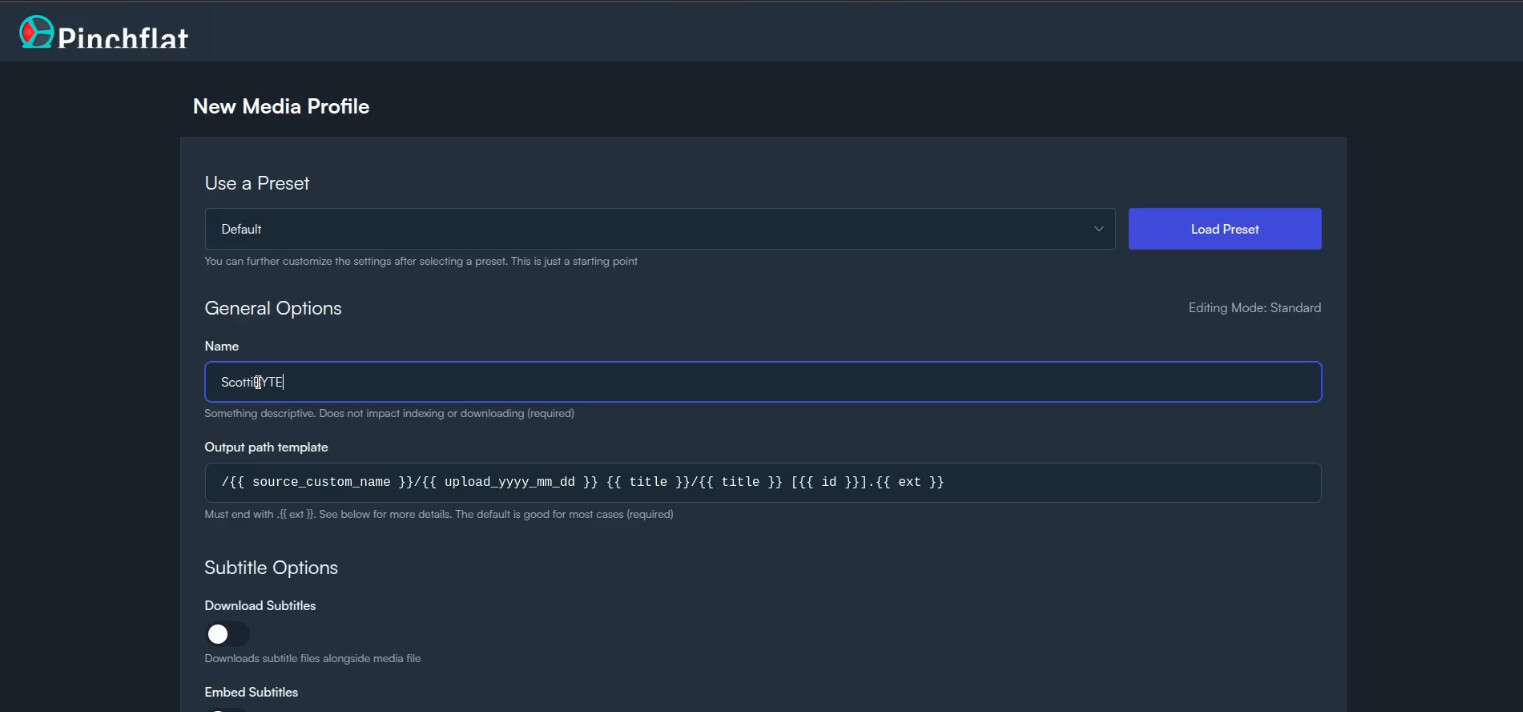
Once you complete your entries, scroll to the bottom of the page and click “Save Profile”.
Next, you will want to create a media source.
A media source will be a Youtube Playlist or an entire YouTube channel.
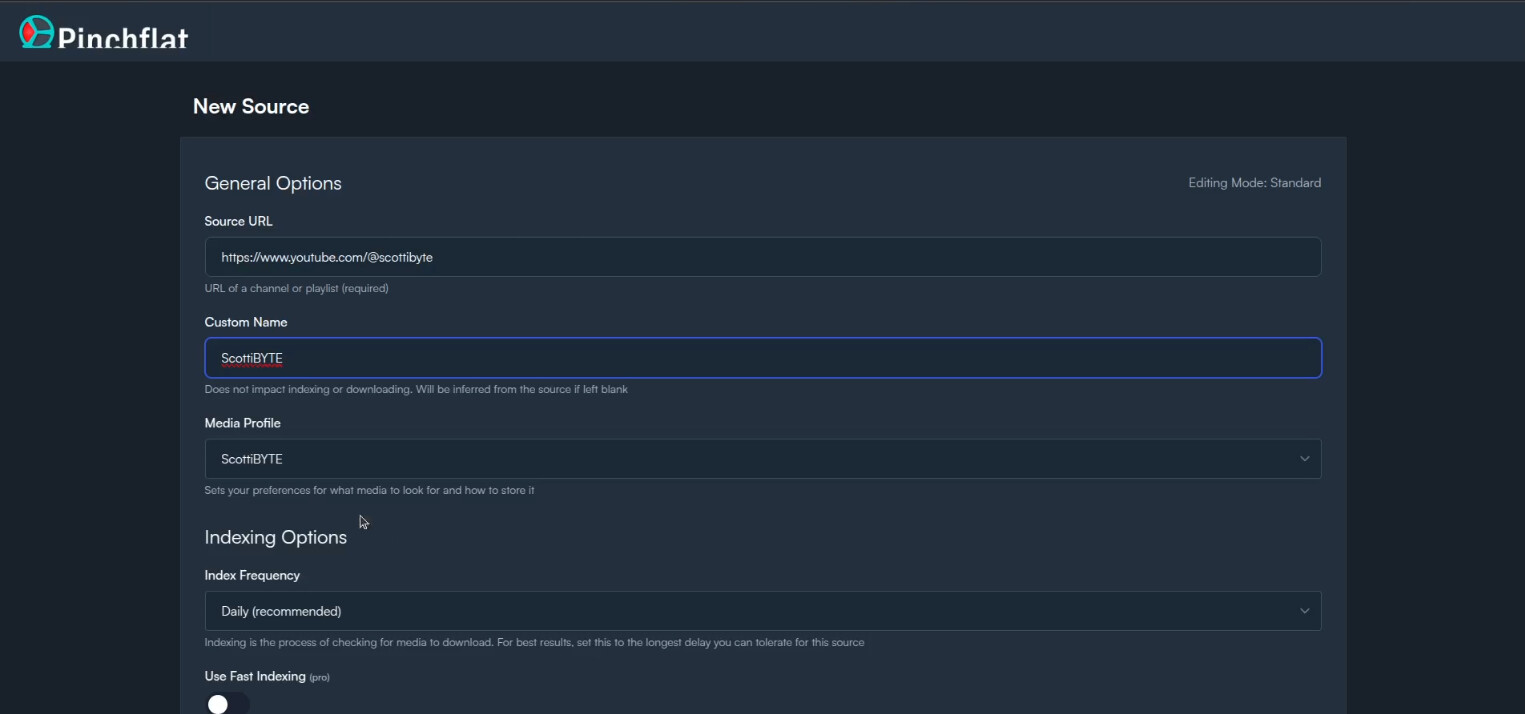
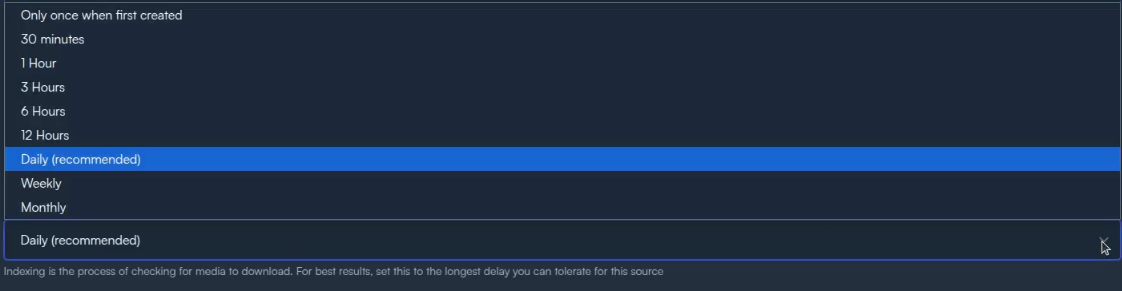
You have options when you create your sources to say how often you want to check for and download new content.
When you are done with the source, scroll to the bottom and click “Save Source”.
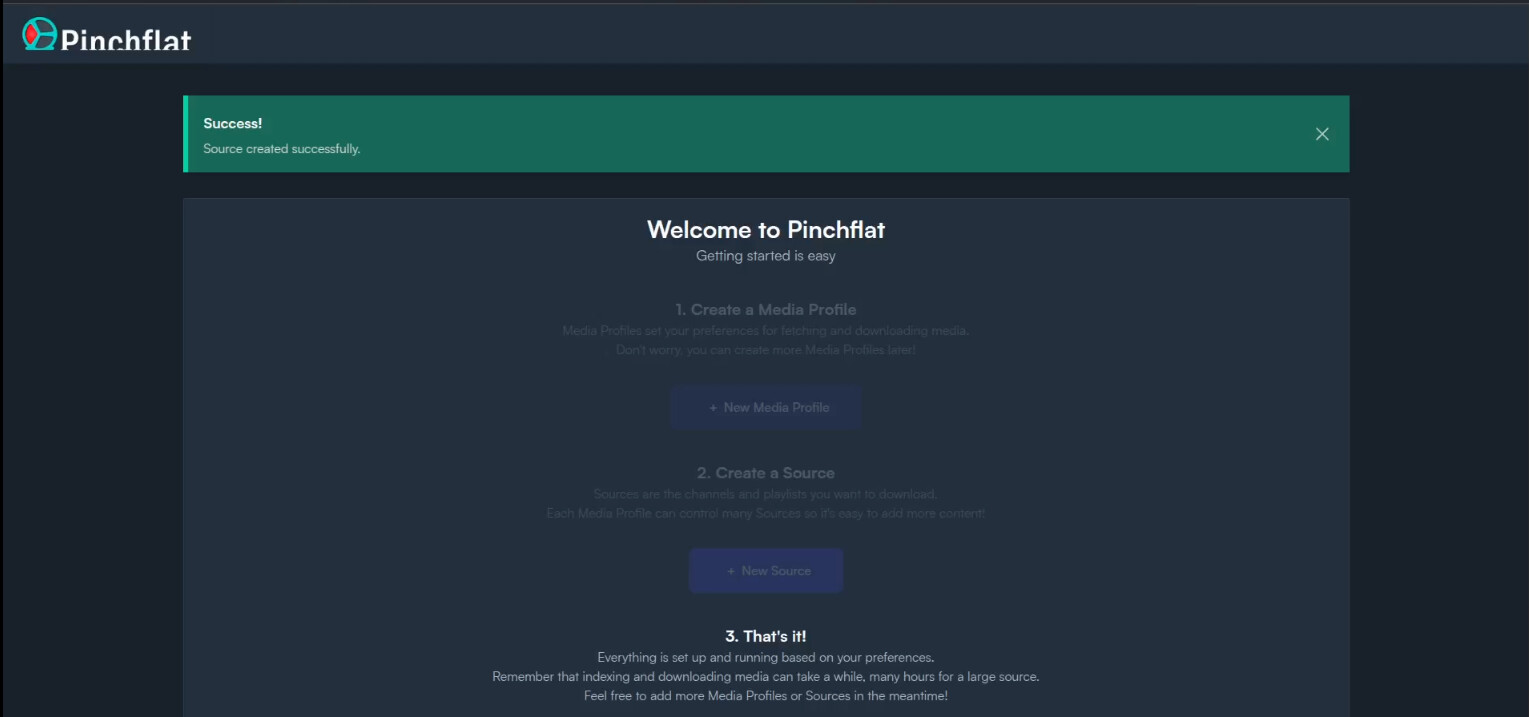
Now scroll to the bottom and click “Let’s Go”.
After awhile, the downloads add up as you can see below which is why I suggest pointing the downloads folder to a volume where you have sufficient space.
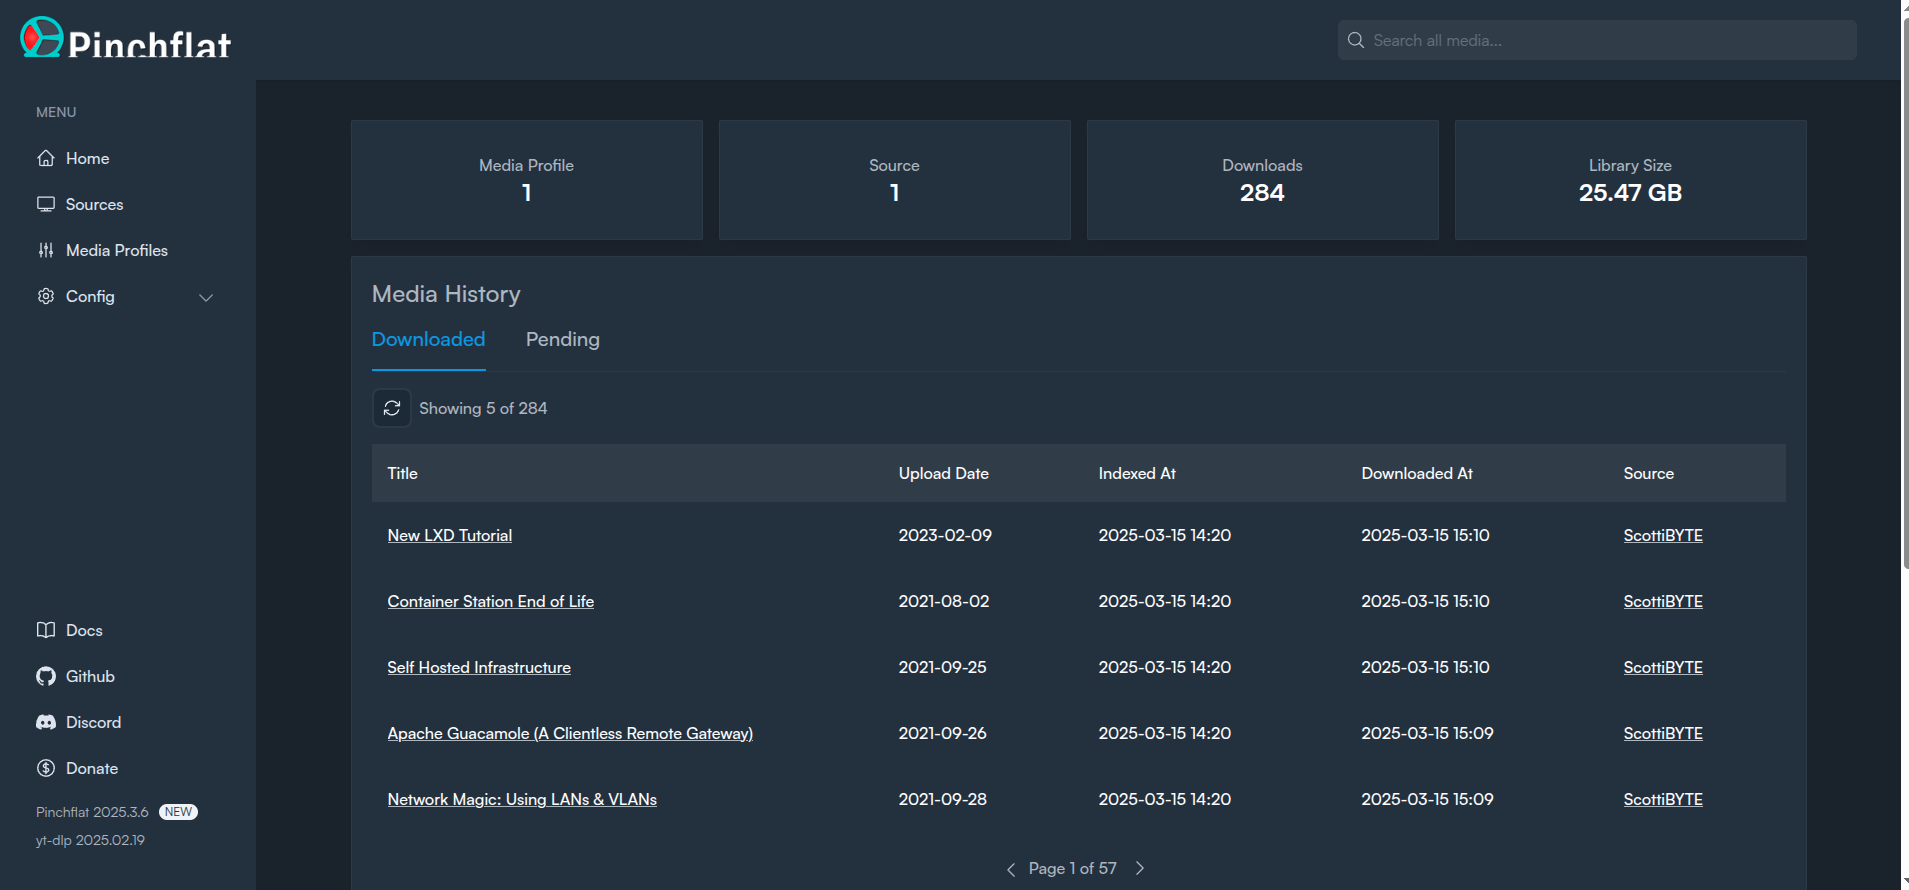
You can click any video in the list and play it via the embedded player.

The downloads folder in the container lists one folder for each source and then folders inside the source for each video and then the downloaded video, subtitles, and other content in those folders.
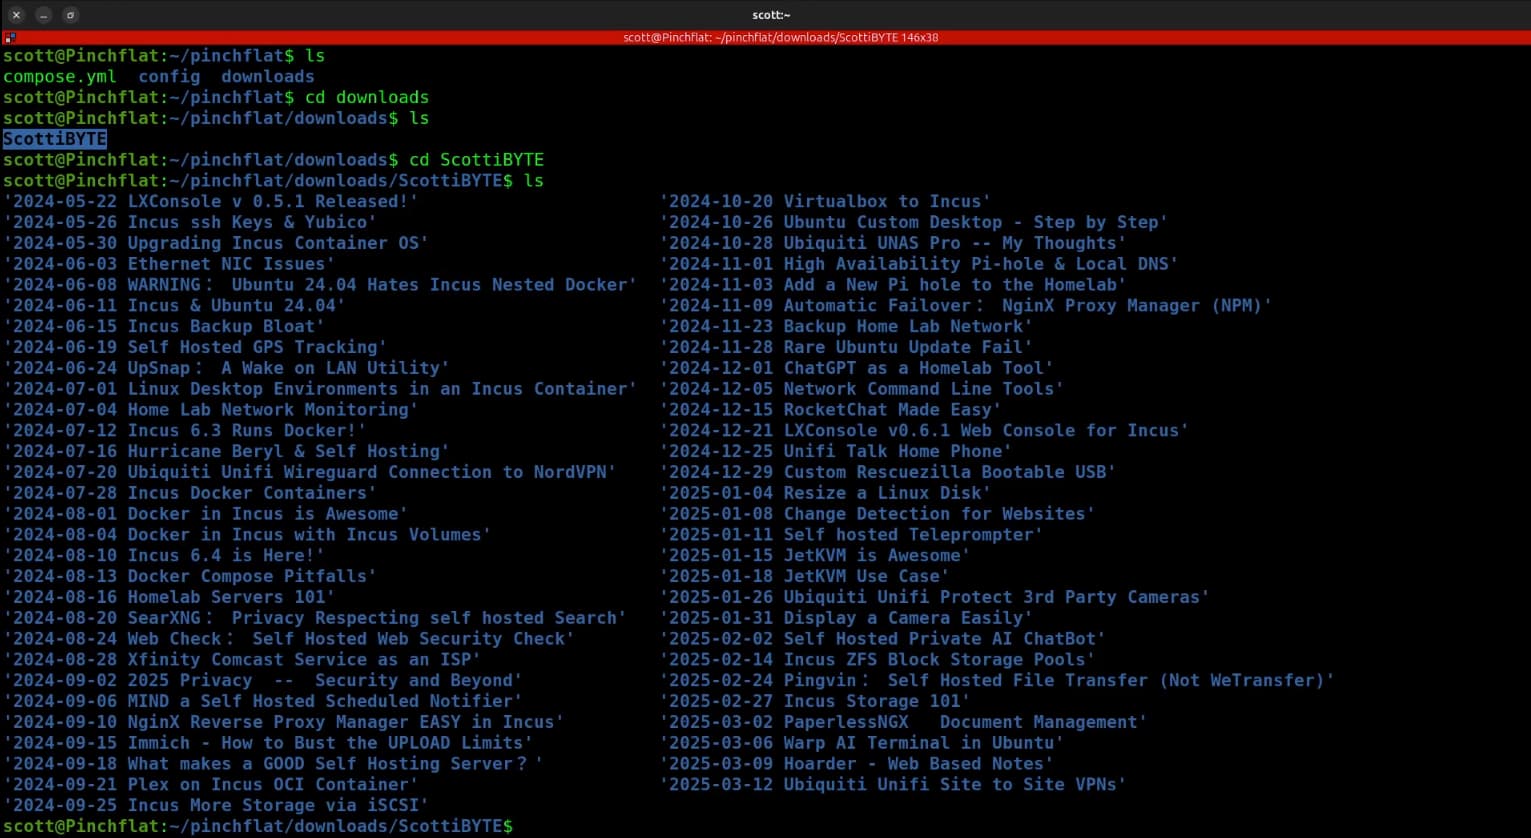
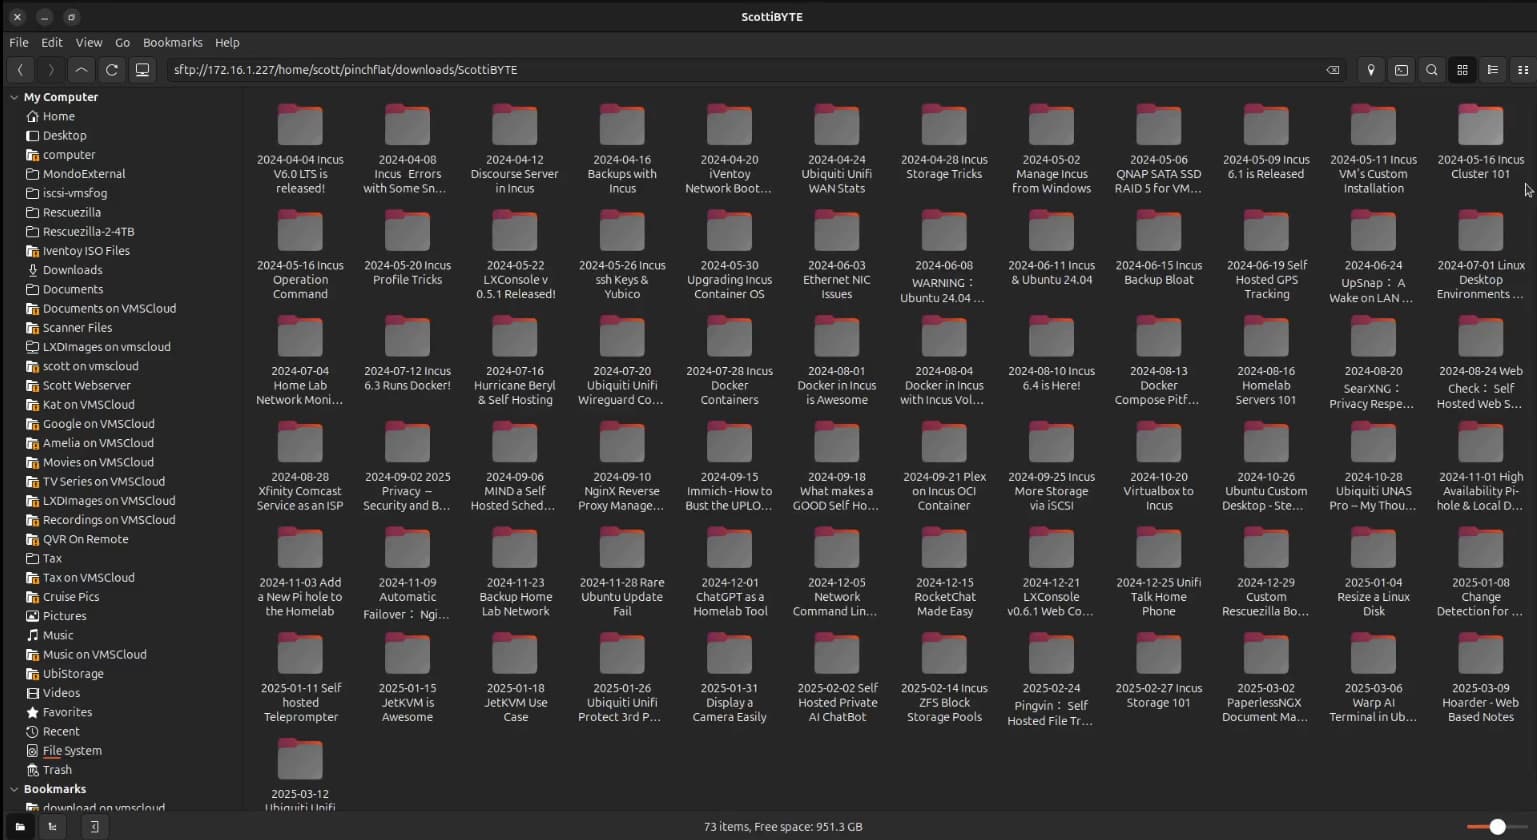
I also show in the tutorial that you can use your Linux file browser via the Secure File Transfer Protocol (SFTP) to access the downloaded files easily.
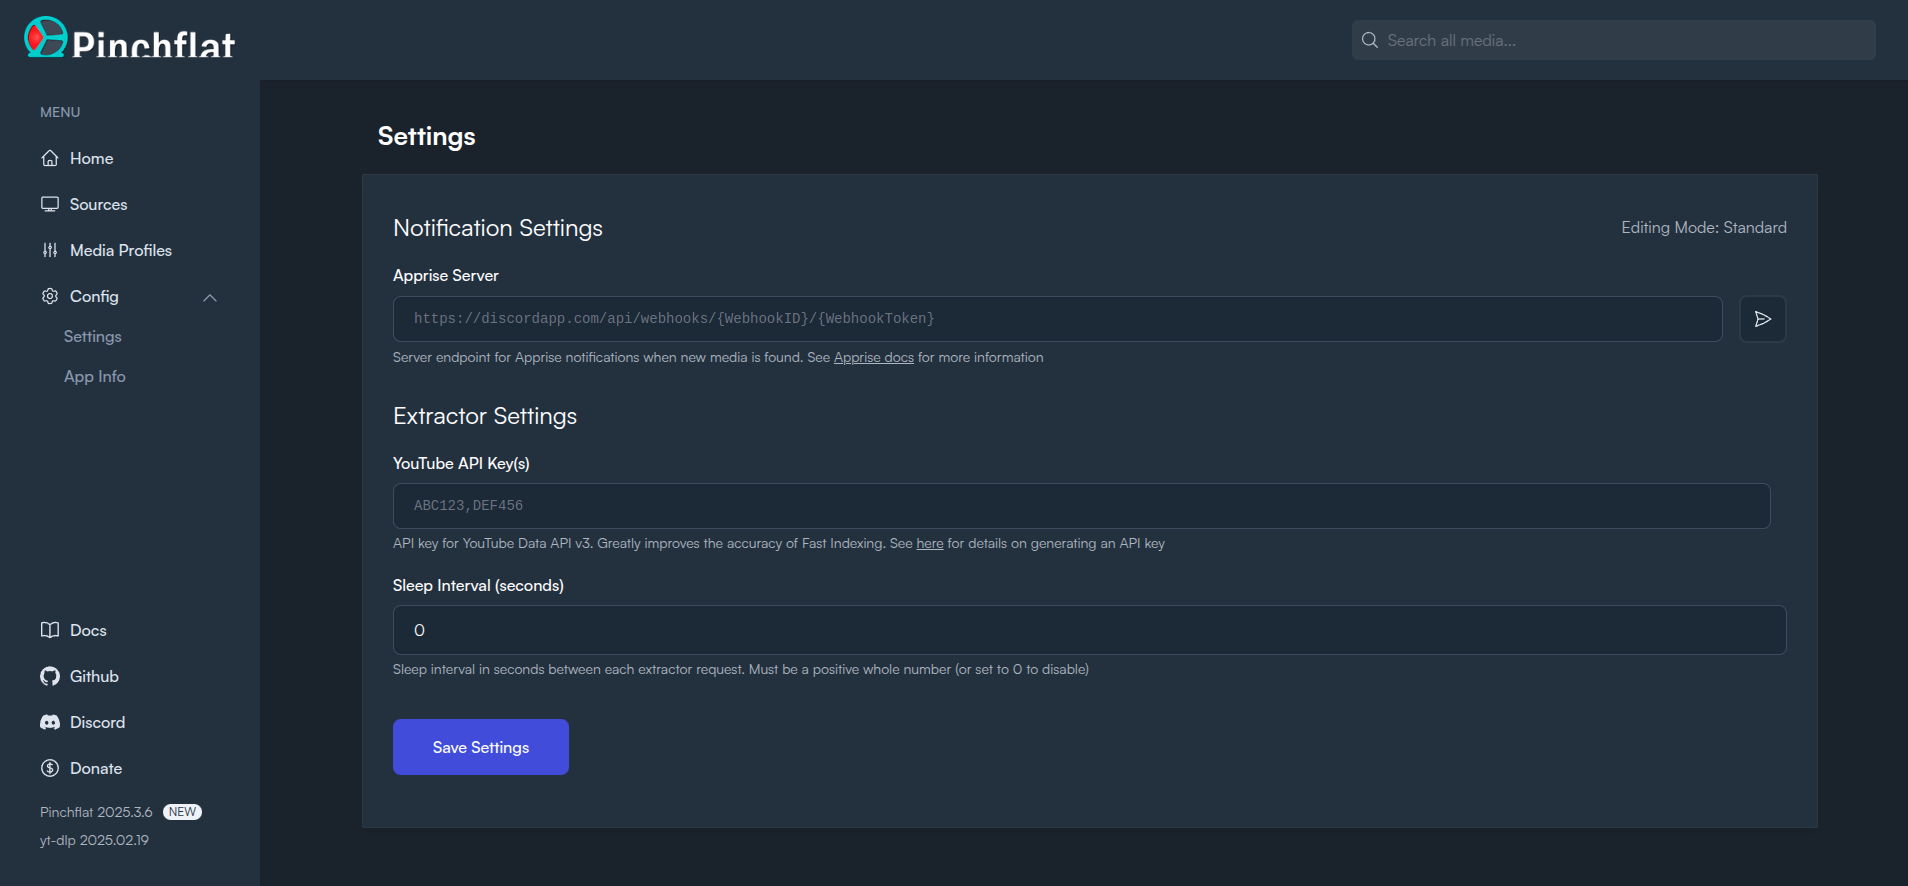
Although not covered in the tutorial, the config → settings screen provides options to configure the address of your Apprise server for notifications. I cover Apprise in my “Home Lab Network Monitoring” tutorial where I also cover NetalertX. This settings screen also has an option to use a YouTube API key for better performance for downloads which can avoid YouTube BOT detections.
Hope you enjoy Pinchflat!