If you have watched “Incus Containers Step by Step”, then this is a good tutorial to learn how to create your first Incus container.
Pi-hole is a network wide ad & malware blocker. It is also an excellent local DNS as I have discussed in “NginX Proxy Manager & Local DNS” where I show how to use Pi-hole for locally hosted services.
This is an exercise in creating your first Incus container.
Log into your Incus server with ssh (n.n.n.n is the IP address of your Incus server we created in “Incus Containers Step by Step”):
ssh n.n.n.n
Create an Incus container for your Pi-hole:
incus launch images:ubuntu/22.04 Pi-hole --profile default --profile bridgeprofile -c boot.autostart=true
Connect to the console of your new container:
incus shell Pi-hole
Since we used the “bridgeprofile” that we created in “Incus Containers Step by Step” your container will be created with an address on your main LAN.
Now that we are inside the Incus container we created, you should see a prompt similar to this:
![]()
Note that the “shell” command logs us into the root account which is fully privileged. Update the OS to the latest software updates:
apt update && apt upgrade -y
Install the open ssh server so that we can log into the container conveniently:
apt install openssh-server
Install net-tools, btop and curl as shown in the video:
apt install net-tools btop curl
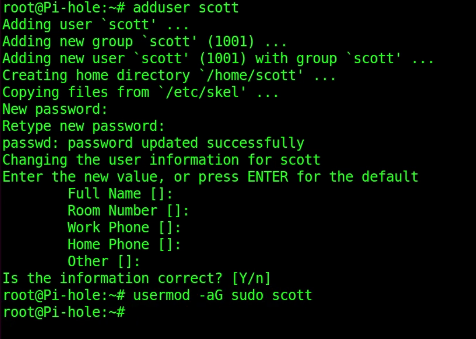
Add a user account and put it in the sudo group:
adduser scott
usermod -aG sudo scott
Log off the container and log off your Incus server to return all the way back to your desktop:
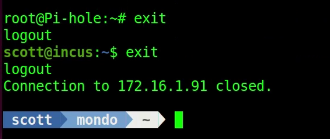
Log into your Incus Pi-hole container using ssh at the address of the Incus container. In my case, this looks like the following (Be Sure your prompt has “Pi-hole” in it letting you know you are logged into the Pi-hole instance):

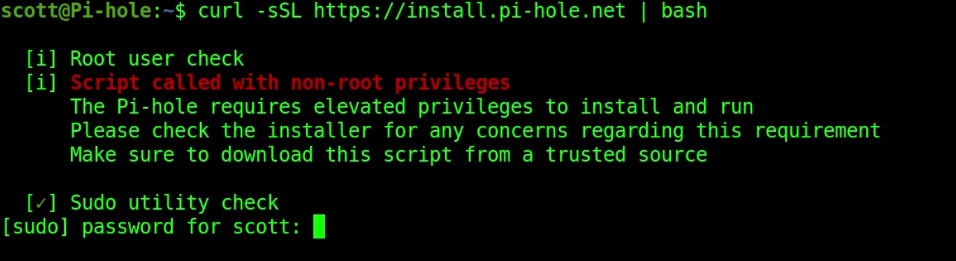
To install Pi-hole, just enter the following command:
curl -sSL https://install.pi-hole.net | bash
Enter your sudo password when prompted.
Select the OK at the first prompt by pressing the Enter key.
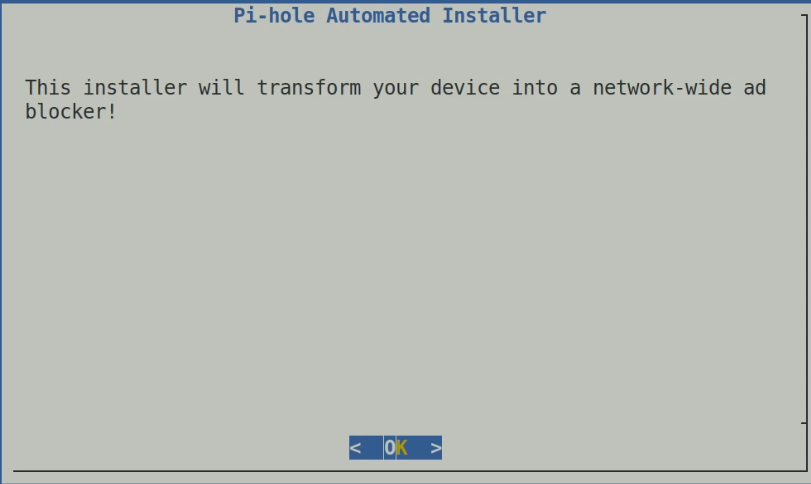
Also select OK at the next prompt.
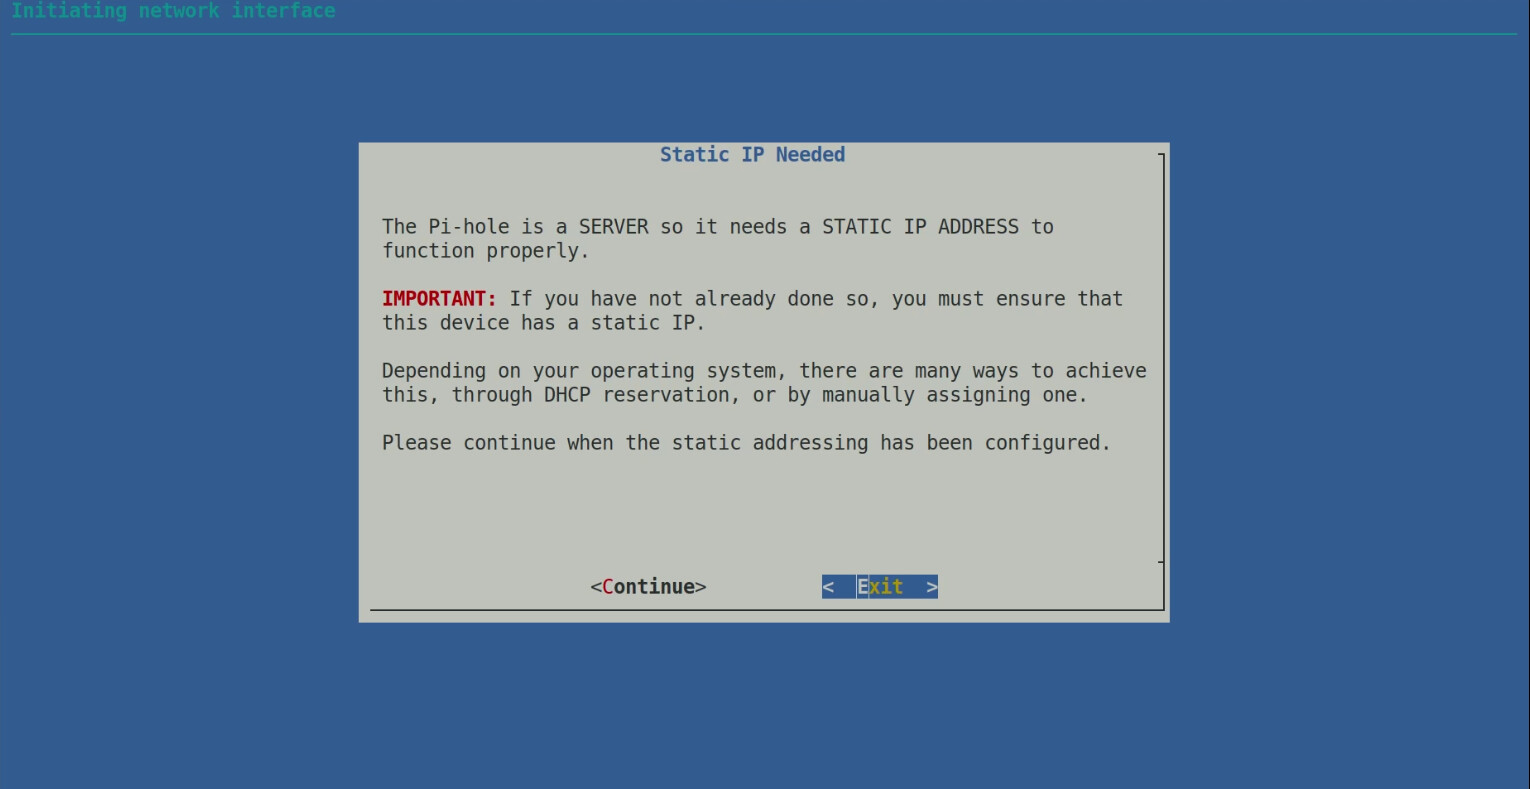
The next screen reminds you that your Pi-hole instance needs a fixed address.
After the installation is complete, assign the address of the Pi-hole Incus container a DHCP Address Reservation on your router. This is different with all routers, but will record the MAC address of the Pi-hole Incus container and always grant it the same IP Address it has now and not allow any other device on the network to use that address.
Press your left arrow to select “Continue” on the following screen and press Enter to continue.
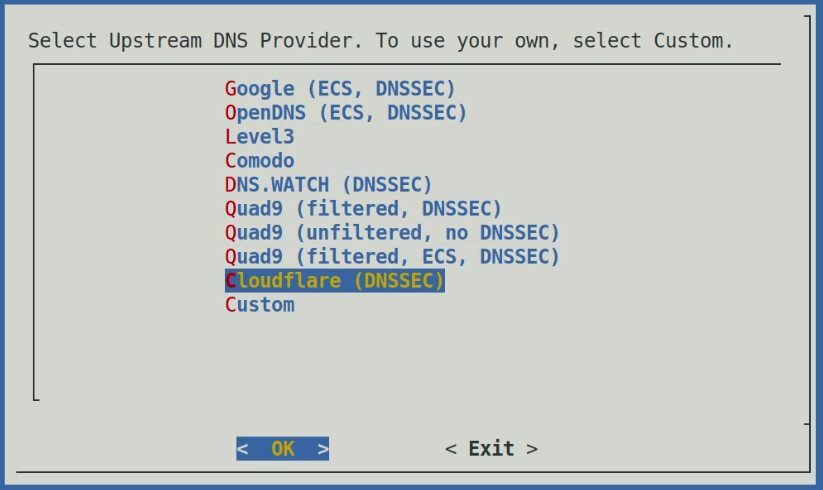
The next screen asks you which Upstream DNS server to use. When Pi-hole is used on a network, all of the network clients use the Pi-hole as its DNS resolver. Once Pi-hole has examined the DNS name, it may resolve it locally, block in by not resolving it, or pass it up to your desired DNS on the Internet for resolution. I prefer Cloudflare as my upstream DNS:
Select your desired DNS with the up/down arrows and then press enter to select.
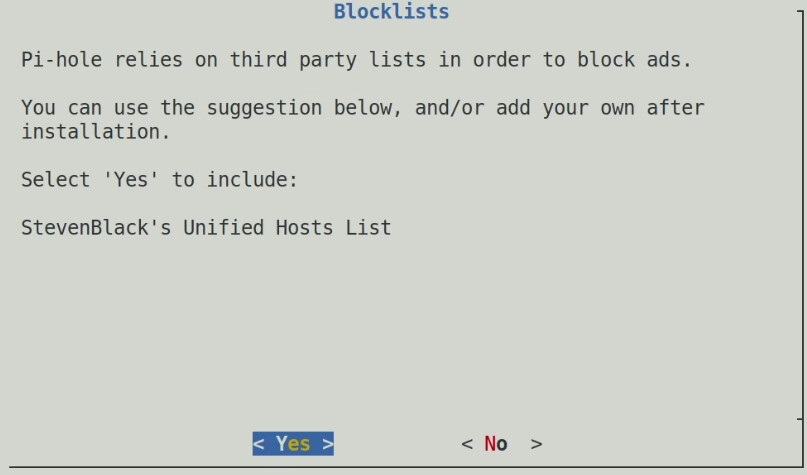
The next screen asks if you want to select a “default” block list. Go ahead and press enter to select “yes”.
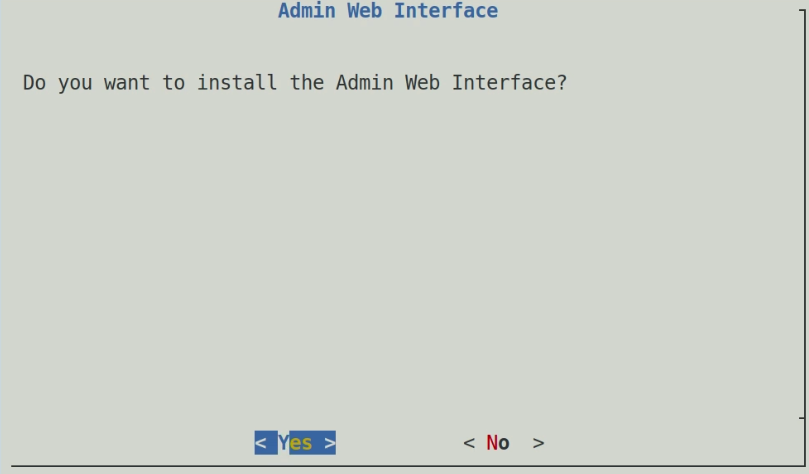
Next, select yes to install the Admin Web Interface.
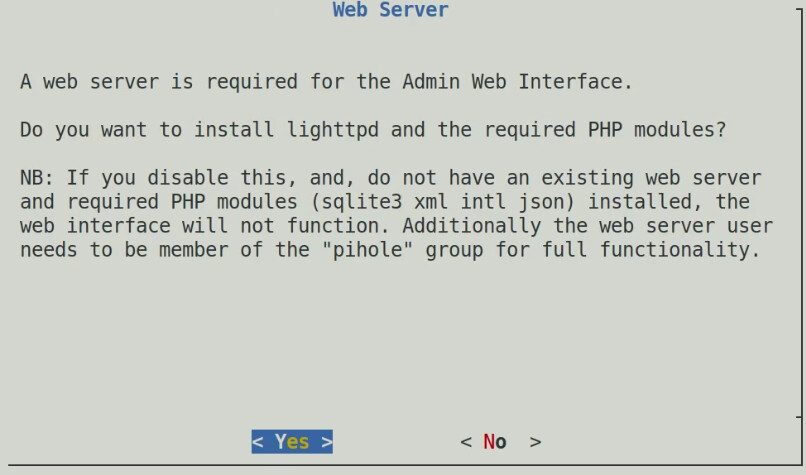
Select “Yes” on the screen below to include the modules to make the web interface function.
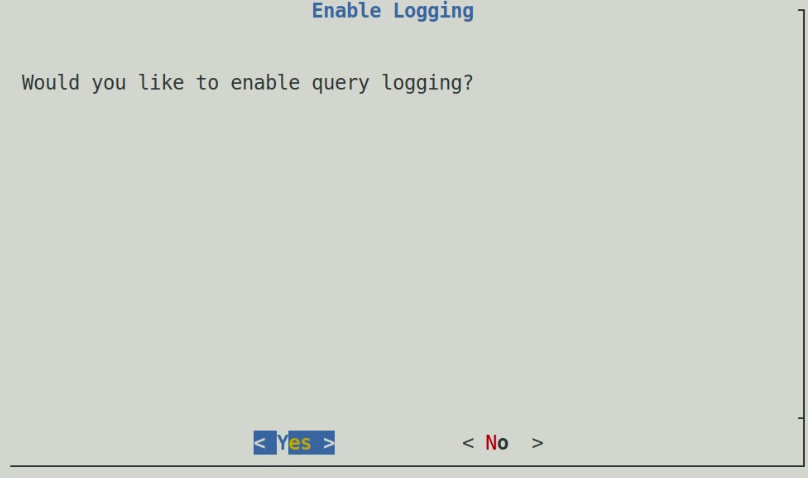
Select YES on the following screen to log your blocked and allowed queries.
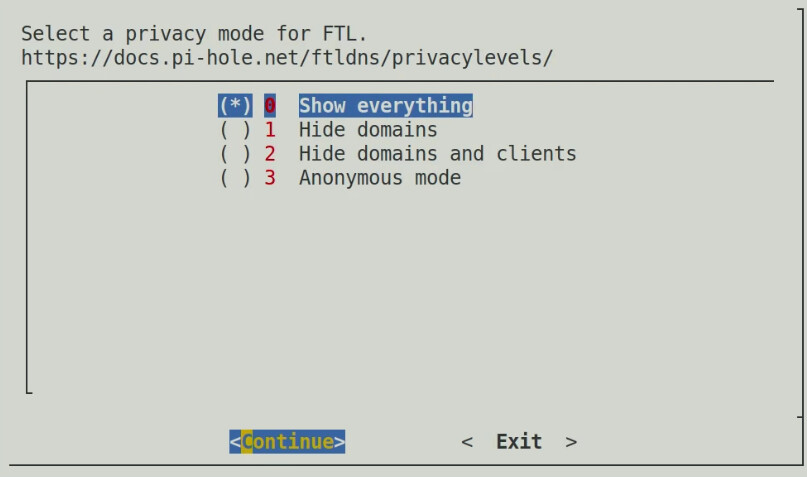
Keep the default on the following screen and continue.
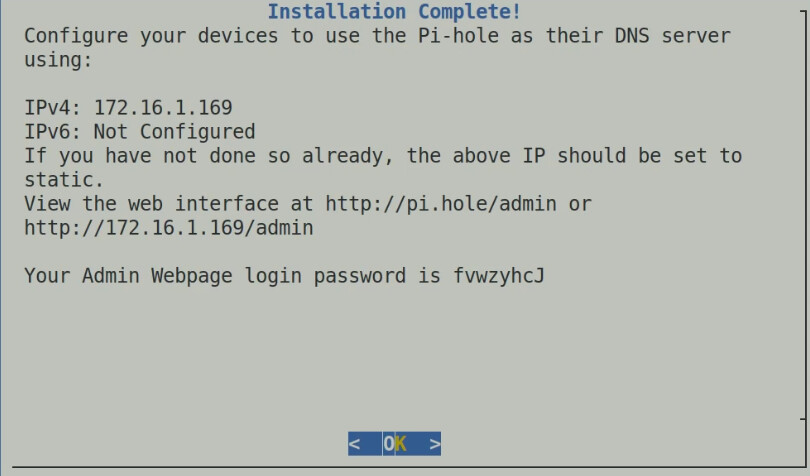
At the end of the installation, you will get a screen like the following (your address will vary), reminding you to set the address of your Pi-hole instance to be a static address. As mentioned earlier, I recommend a DHCP Address Reservation on your router to achieve this.
This screen also shows the initial Pi-hole password for the web interface which is not to be confused with the address of your Incus Pi-hole ssh login password which is different.
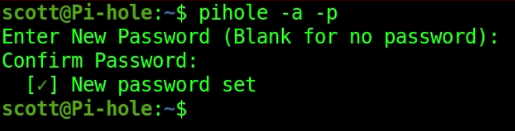
You can reset the Pi-hole web interface password at any time:
pihole -a -p
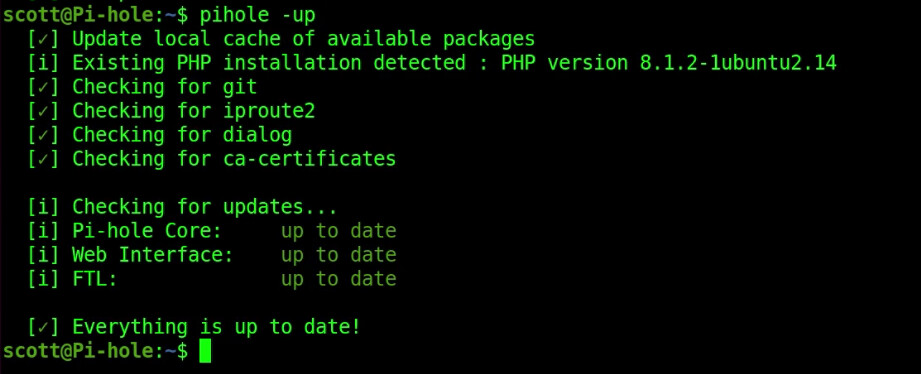
From time to time, Pi-hole gets updates. To apply them, simply log into your Pi-hole Incus container and issue the following command:
pihole -up
To go to your Pi-hole web interface, open your browser and go to the following address (n.n.n.n is your Pi-hole Incus container address):
n.n.n.n/admin
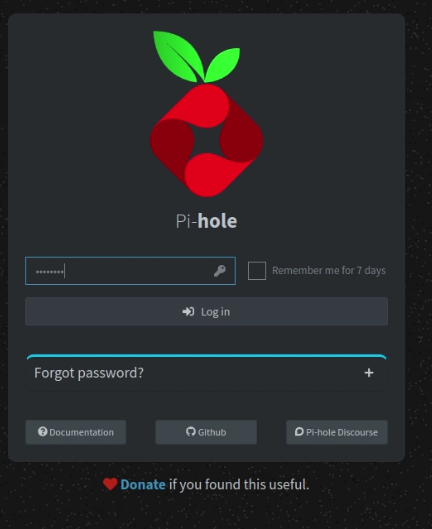
You will get a web login where you want to enter your Pi-hole web admin interface password and not the password for your Pi-hole Incus container that you used to ssh:
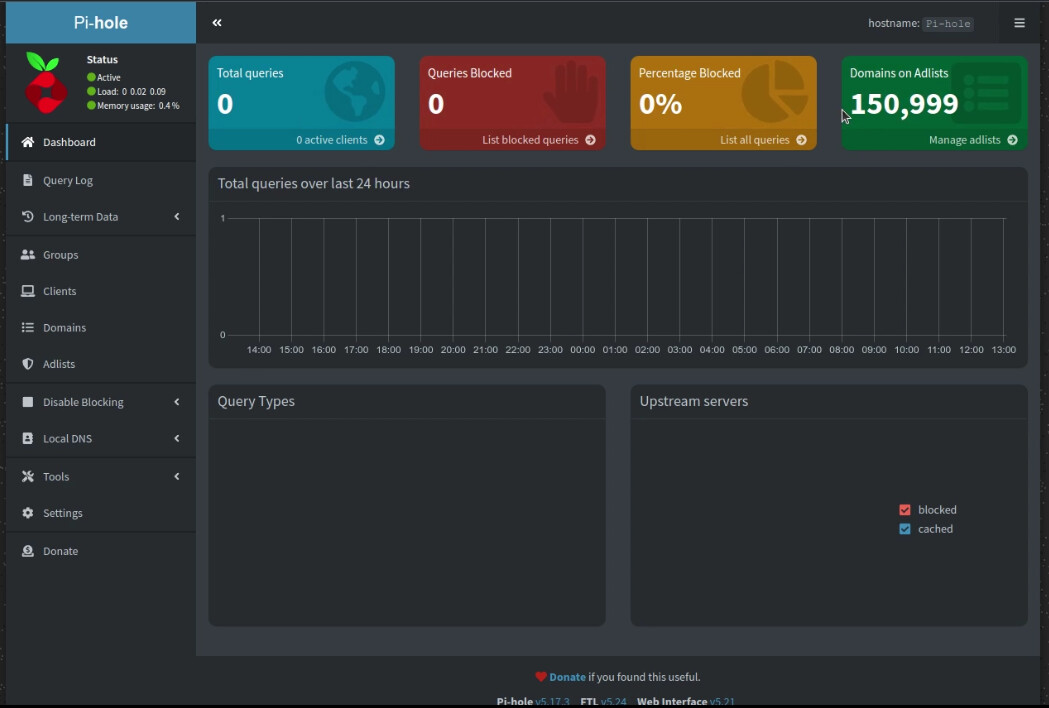
When you login, you will see the following screen.
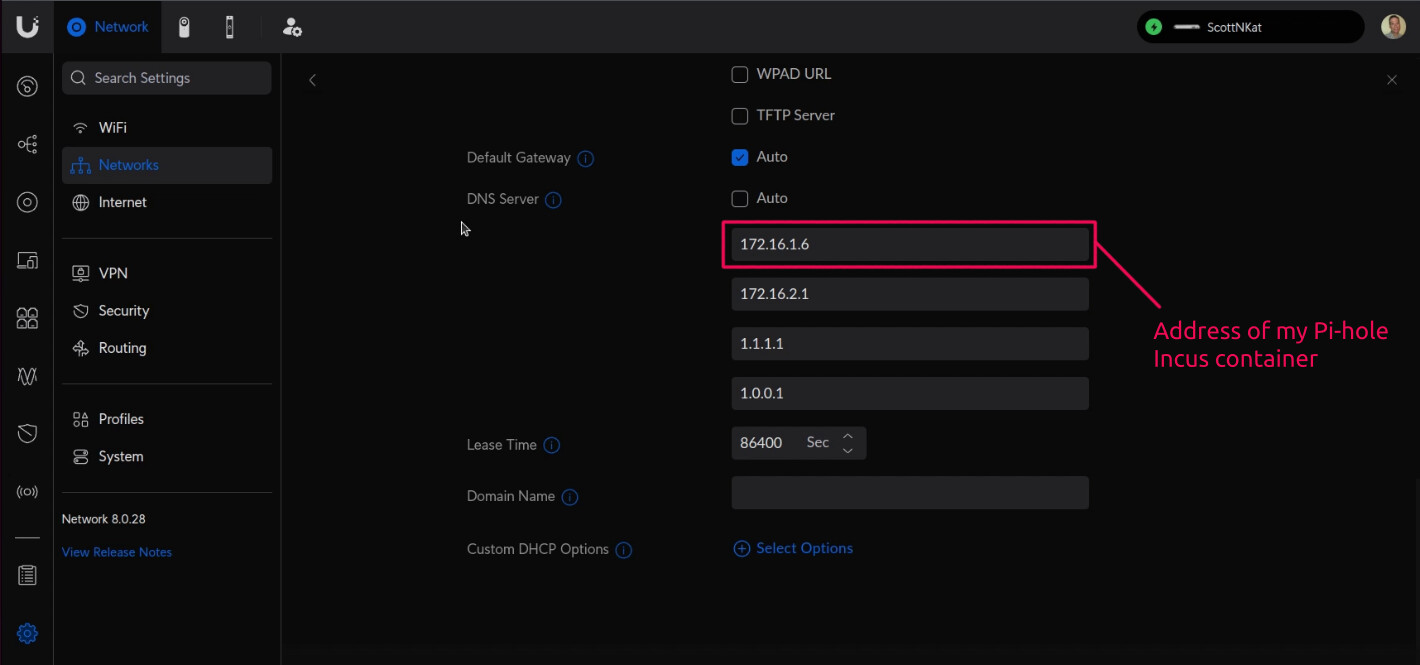
Before your Pi-hole is being actively used, you must go to your router and and change the address for your primary DNS server to be the address of your Pi-hole instance.
My router is a Ubiquiti Unifi Dream Machine Pro. The way you make this change in your router will likely be different. You must complete this step before your Pi-hole will actively work.
Here’s an example of the Pi-hole on my IoT VLAN so you can see how many queries it blocks.

I also have a video which describes how to create a second Pi-hole and mirror the configuration of your primary Pi-hole as a backup. Watch it here.