PeaNUT is a new web based open source UPS monitoring tool. In this tutorial I show how to install and configure the Network UPS Tools (NUT) and how to configure PeaNUT to monitor an Uninterruptible Power Supply (UPS) via the NUT utility.

Someone once asked me, “Scott, where do you install UPS battery backup systems”? My answer was that you put a UPS unit in front of any equipment that you care about. For me that includes my Home Lab, my computers and in front of my home entertainment system.
Most people think of a UPS as battery backup, but it is much more. A UPS system also provides protection against power spikes and brown outs. Interruptions in power, especially during storms, can result in severe damage or loss of expensive equipment.
However, most people install a UPS and never both to monitor it. Two years ago I presented a tutorial entitled QNAP UPS & More which discussed not only QNAP UPS configuration, but the general configuration of the NUT utilities and I also showed how to install UPSMON.

Desktop computer UPS Monitoring is often as simple as connecting a USB cable from the computer to the UPS device. That’s because Windows, MacOS, and Linux often have built-in tools to monitor a connected UPS.
Examples like my “Family Room UPS” and “Bedroom UPS” shown above are protecting my entertainment systems with AV receivers, TV’s and gaming consoles. There’s really no computer to plug into the UPS management port.
In those cases, I still have the need to monitor those systems and so I use a very inexpensive and low power Raspberry Pi 3B as my management device for each, which even in the post inflationary economy, is only about $50. Normally I would not recommend something as low end as a Pi 3B because it only has 1GB of memory. As it turns out, that’s perfect for this application.
We will start by configuring Network UPS Tools which is the open source package to monitor UPS systems. I am going to discuss the installation and configuration in Linux, but NUT is also available for MacOS and Windows.
The Network UPS Tools (NUT) can monitor a UPS system for status which is what we will be doing. NUT can also run on a computer without a UPS device. In that case, NUT can “listen” to a NUT server with a UPS and that system can trigger a shutdown.
A good example of how this is used is that you may have a computer connected to your UPS running NUT. You may have other computers powered by that same UPS, but without a USB connection to the UPS. This is common since a USB monitored UPS normally has only one USB port for management. In the event of a power failure, the NUT on the connected system can communicate over the network to tell the NUT client systems to power down.
That’s something useful to understand as a best practice in a Home Lab or in a data center.
For our purposes, we will only be configuring NUT for remote monitoring. This is my instance of PeaNUT and it watches five UPS systems in my home.
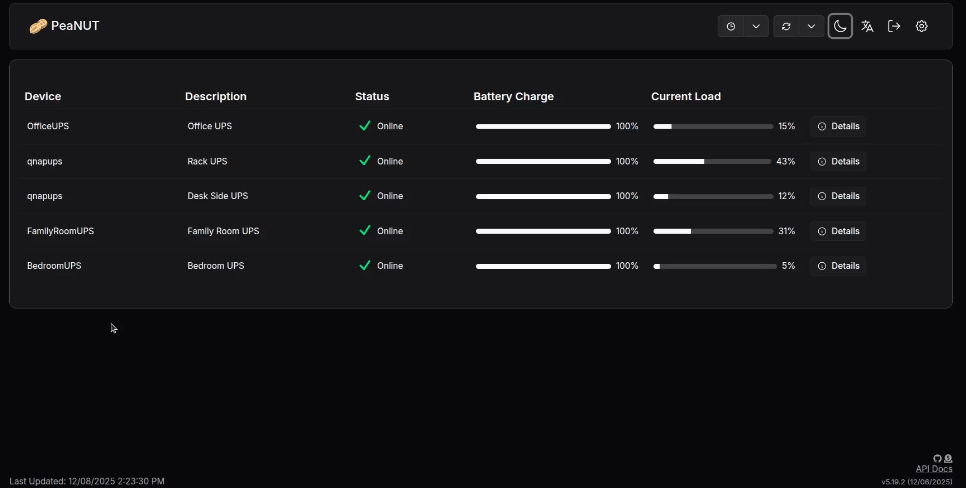
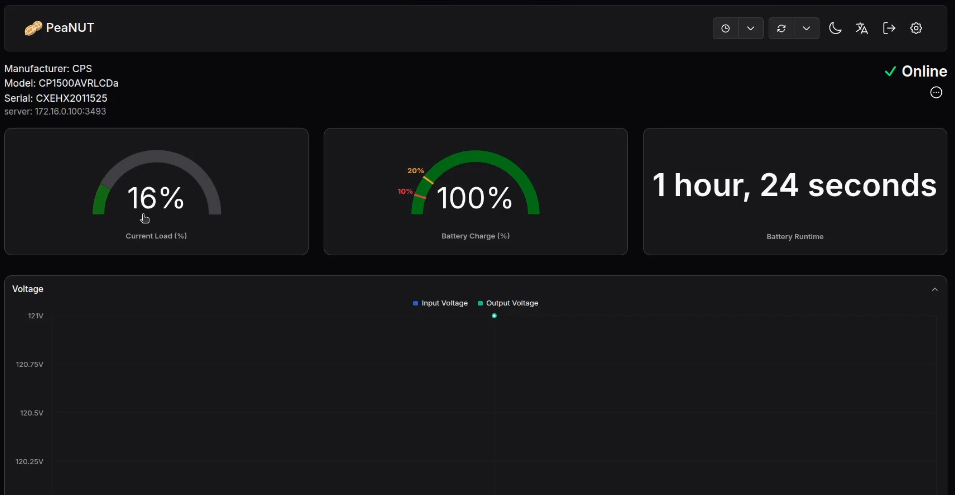
I can drill down on each UPS for more information.
I have a TV in my bedroom connected to a small APC UPS unit. I installed a Raspberry Pi 3B that connects to my network via wifi. The APC UPS has a USB cable connecting it to the Pi. We will start by configuring the NUT tools on this system as an example.
I am logged into that Raspberry Pi at this point and I start by installing the NUT utility.
sudo apt install nut
Now move over to the NUT configuration file folder.
cd /etc/nut
Make sure you can see your UPS device.
lsusb

The last device listed on Bus 001 and Device 005 is my APC UPS that we will be using.
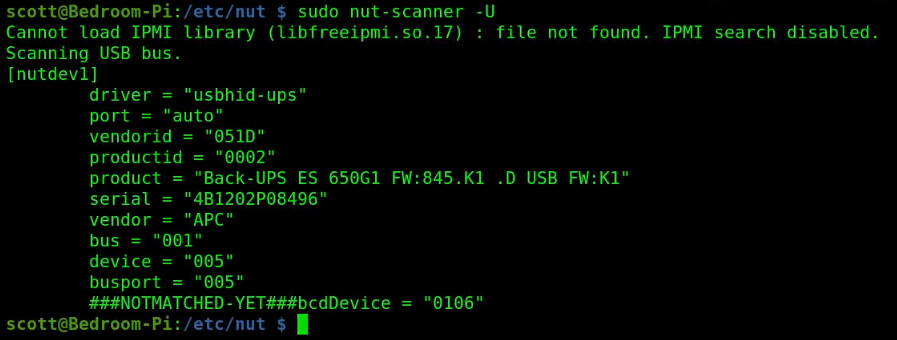
Use the “NUT scanner” to get the configuration for your UPS.
sudo nut-scanner -U
Start by editing the UPS configuration file.
sudo nano ups.conf
Insert the following (yours will differ). Use the scanner output as a guide.
pollinterval = 1
maxretry = 3

[BedroomUPS]
	driver = "usbhid-ups"
	port = "auto"
    desc = "Bedroom UPS"
    vendorid = 051d
    productid = 0002
The name within the square brackets about is what I want to call my UPS. The description is my choice also. The vendor and product IDs are from the lsusb or scan command. This is the basic requirement for what you will need. Save the file with a CTRL O and Enter to write the file out and a CTRL X to exit the editor.
Next configure the NUT configuration.
sudo nano nut.conf
Insert the following line.
MODE=netserver
This allows other NUT devices to connect to this one over the network. Save the file out with a CTRL O and enter and CTRL X to exit the nano editor.
Now configure the UPS monitor file.
RUN_AS_USER root
MONITOR BedroomUPS@localhost 1 monuser 123456 primary
Be sure that the UPS name in the monitor line matches what you put in ups.conf. The “monuser” and the “123456” are a username and a password that wil go into a file we configure after this. Save your file with a CTRL O and enter and CTRL X to exit the nano editor.
Lets set up your usernames.
sudo nano upsd.users
Insert the following.
[monuser]
  password = 123456
  upsmon primary

[peanut]
    password = peanutpass
    upsmon master
    instcmds = ALL
I have two users above. The monuser I am using for the monitor and the peanut user is the one that the peanut application will use. Make whatever changes you want for the passwords and save the file with a CTRL O and enter and then CTRL X to exit the nano editor.
Finally, set up the daemon listener file.
sudo nano upsd.conf
Insert the following.
LISTEN 0.0.0.0 3493
LISTEN ::0 3493
Save the file with CTRL O and Enter and CTRL X to exit the nano editor.
Restart the server for the configuration to take effect.
sudo systemctl restart nut-server
sudo systemctl restart nut-monitor
Create entries for the services to run when the system is rebooted.
sudo systemctl enable nut-server
sudo systemctl enable nut-monitor
You can test to see if your configuration is working by using your UPS name in the following command.
upsc BedroomUPS@localhost
If it worked, you should see output something like this.
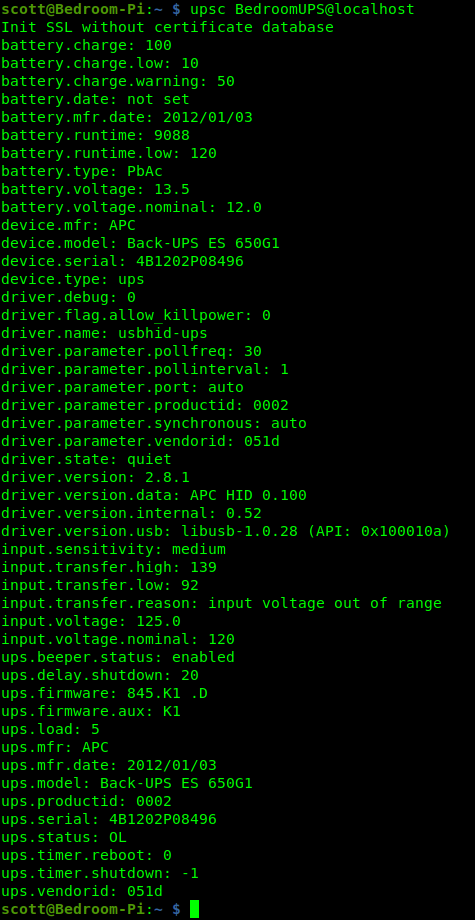
Notice that the manufacture date of the UPS above was 2012/01/03. I’ve been through a few batteries on this old low end APC UPS.

I logged into one of my Incus servers and I am creating a container for the PeaNUT application.
incus launch images:ubuntu/24.04 PeaNUT -p default -p bridgeprofile -c boot.autostart=true -c security.nesting=true
Move inside of the new container.
incus shell PeaNUT
Accept all of the updates.
apt update && apt upgrade -y
Install dependencies.
apt install curl nano net-tools openssh-server openssl -y
Install docker.
curl https://get.docker.com | sh
Add a user account.
adduser scott
Add my user to the sudo and docker groups.
usermod -aG sudo scott
usermod -aG docker scott
Log into my user account.
su - scott
Make an app folder and move inside it.
mkdir peanut
cd peanut
Generate a random secret.
openssl rand -base64 32
Edit a docker compose file.
nano compose.yml
Insert the following.
services:
  peanut:
    image: brandawg93/peanut:latest
    container_name: PeaNUT
    restart: unless-stopped
    volumes:
      - ./config:/config
    environment:
      - WEB_PORT=80
      - WEB_USERNAME=admin
      - WEB_PASSWORD=changeme
      - AUTH_SECRET=SECRET
    ports:
      - 80:80
Replace the username, password and the secret from the openssl in the file. Save the file with CTRL O and enter and CTRL X to exit the editor.l
Start the application.
docker compose up -d
Check to see it is running.
docker ps

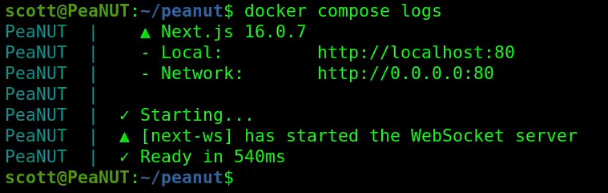
You can also check the status with:
docker compose logs
Find the local address of the incus container.
ifconfig
You are looking for the address of the “eth0” device. Use that address in your web browser to visit the PeaNUT web interface.

Enter the username and the password you entered in the compose file and click Login.

Now click the gear in the upper right to add your first UPS device and you will be at the Manage Servers screen.
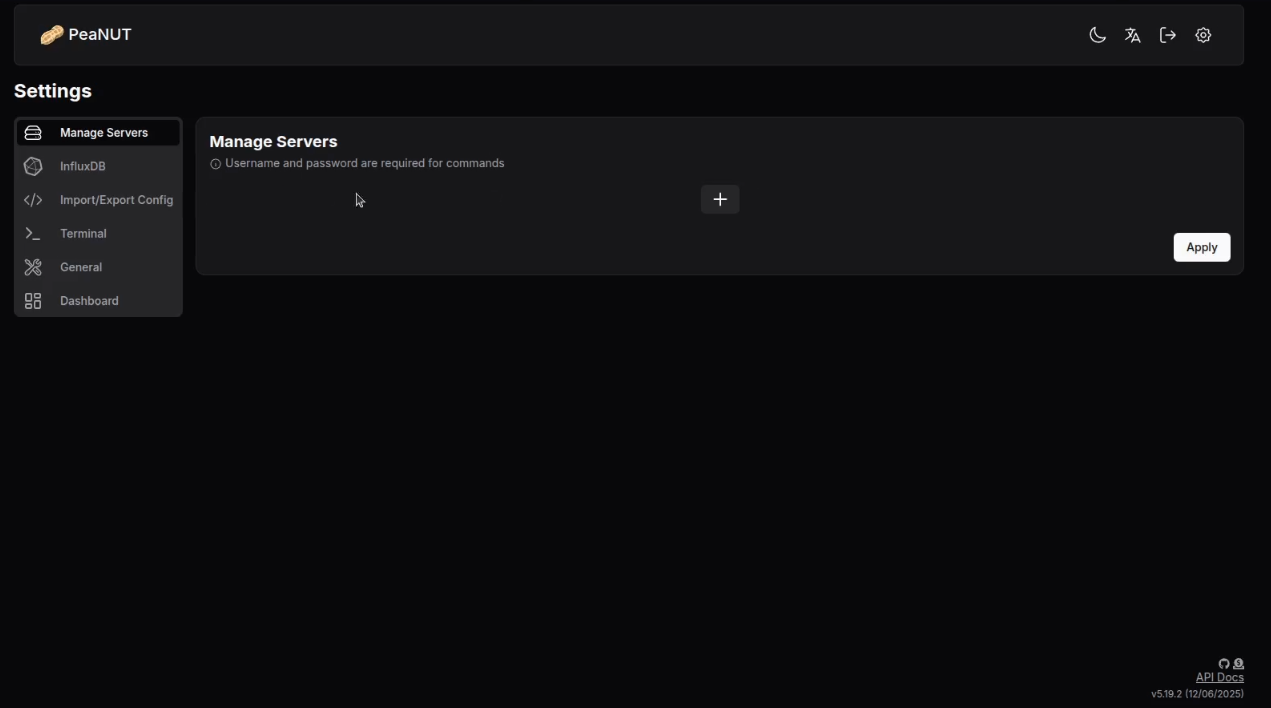
Press the +.
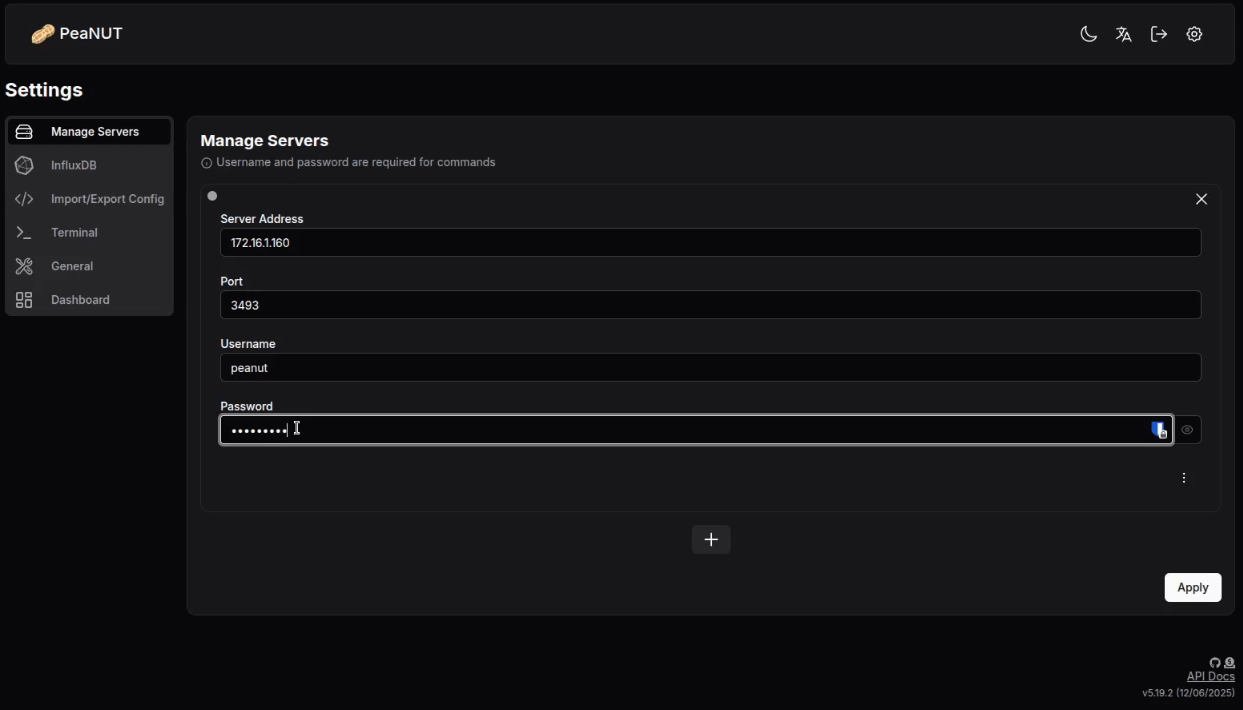
Enter the address of the system connected to your UPS device as the server address. Enter port 3493 because that is the default port that the NUT service uses. Enter the username and the password you created in the upsd.users file when you configured the NUT server.
Now click “Apply”. Next click the peanut in the upper left to go to the dashboard.
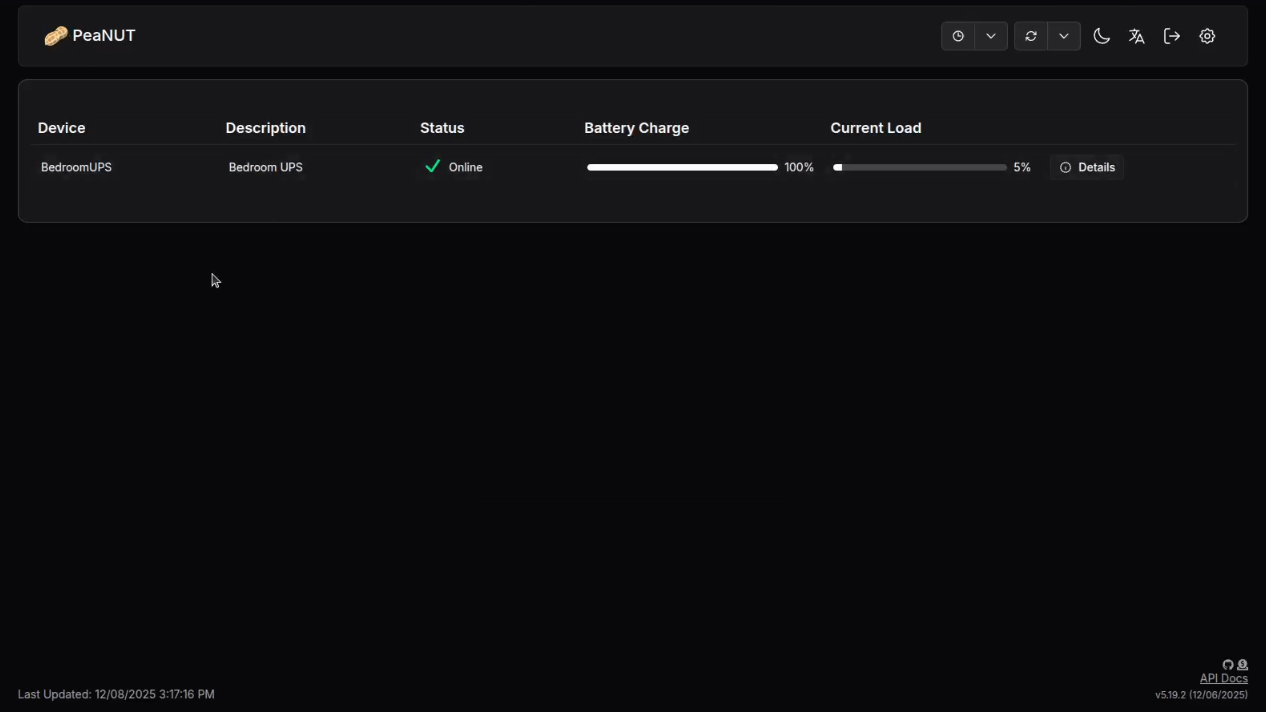
You can click the details of your UPS from the dashboard and you can add other UPS devices as detailed in the tutorial.