In this tutorial, we PXE Boot Rescuezilla from your LAN to backup a physical desktop computer.
We use Netboot.XYZ as discussed in my tutorial entitled "LXD VM with Netboot.XYZ. Once the backup is completed, we restore it to a new LXD Virtual Machine using Rescuezilla booted via PXE to the Netboot.XYZ menu.
Assuming you have followed the tutorial “LXD VM with Netboot.XYZ” and you have Netboot.XYZ installed on your LAN, you are ready to go.
NOTE: This process only works for Linux systems because Windows doesn’t like its hardware replaced after it is installed.
Netboot.XYZ should boot any of your physical computers on your LAN. You will have to press an ESC, DEL or maybe F12 key to interrupt booting from your hard drive.
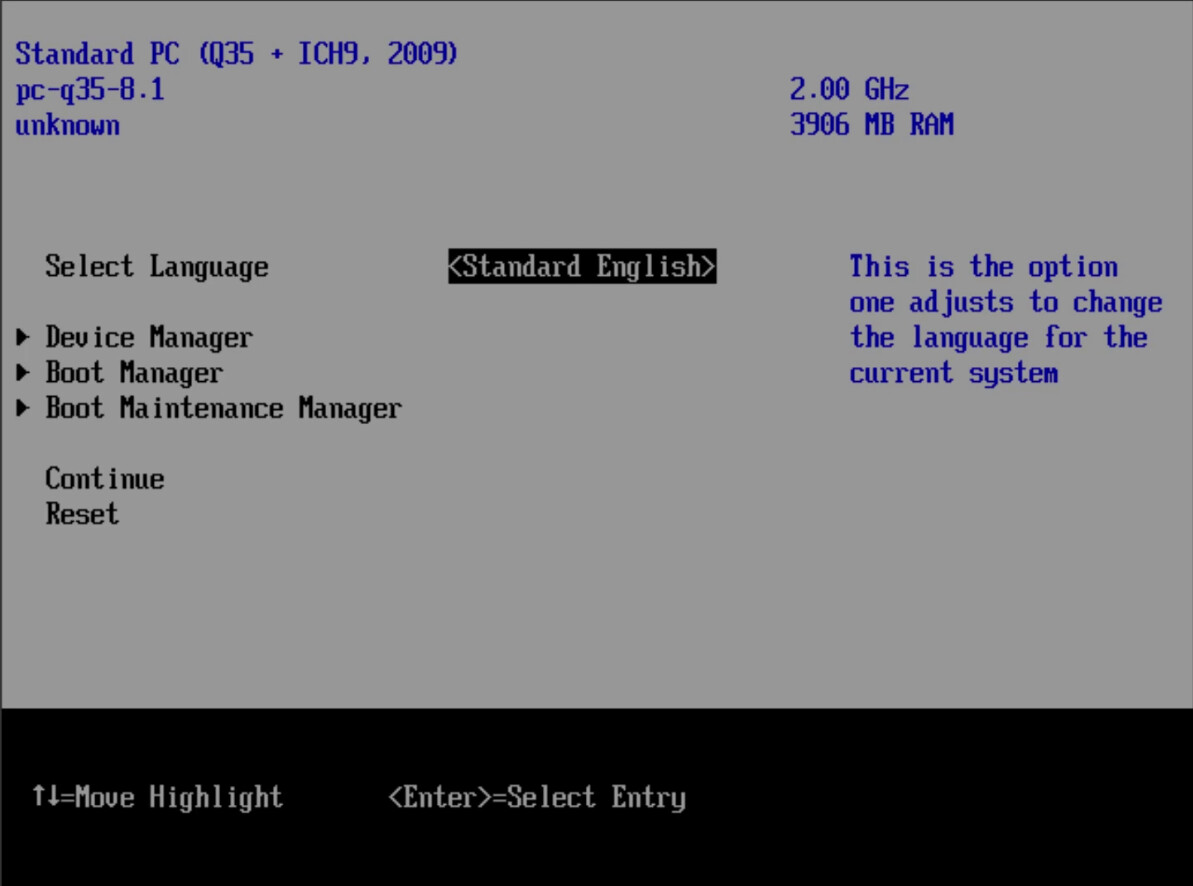
Hopefully, you will break back into your BIOS screen where you will be able to choose booting PXE. My BIOS screen looks like this on my test system.
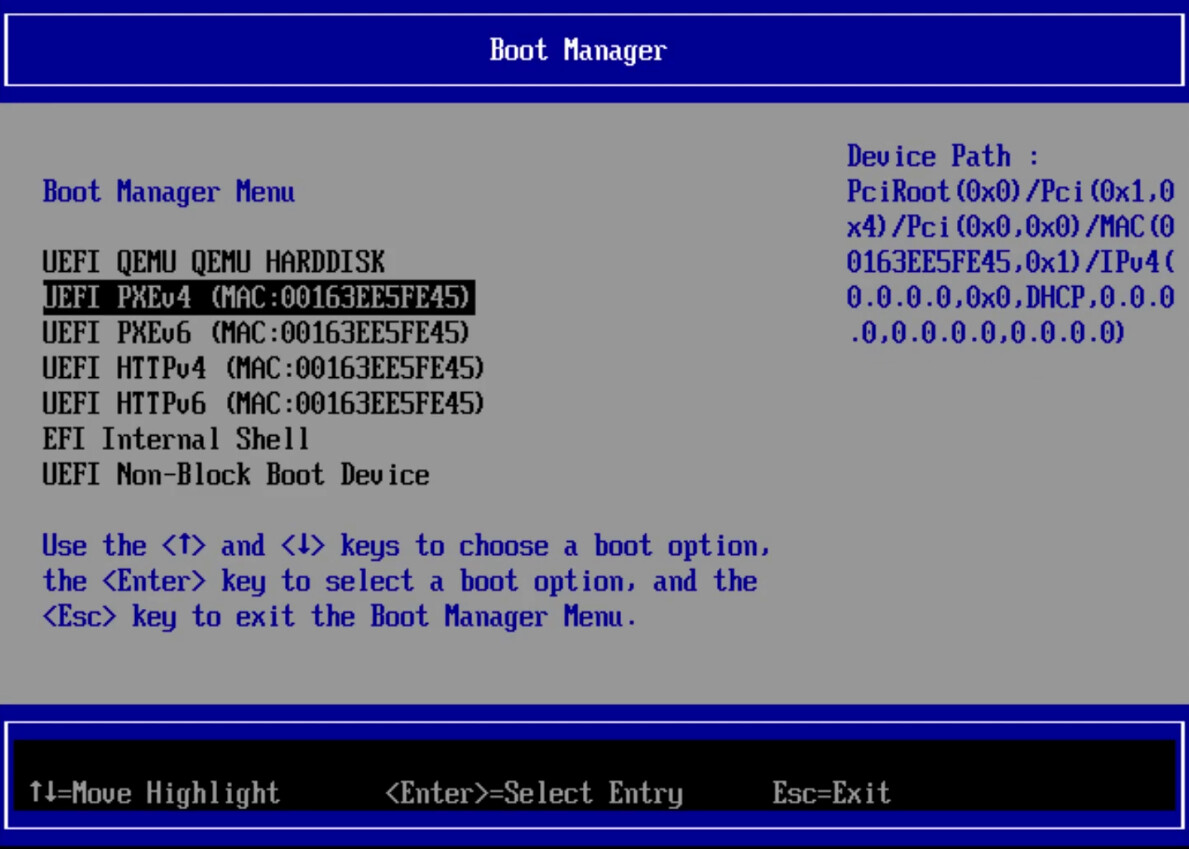
I chose my “Boot Manager” menu and I selected the option to PXE Boot via TCP/IP V4.
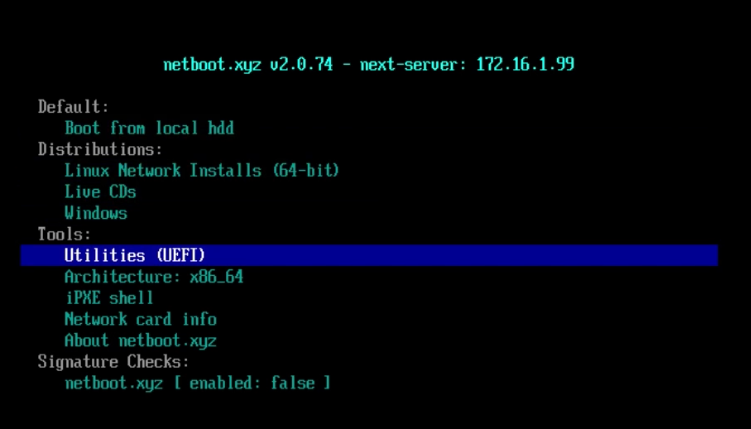
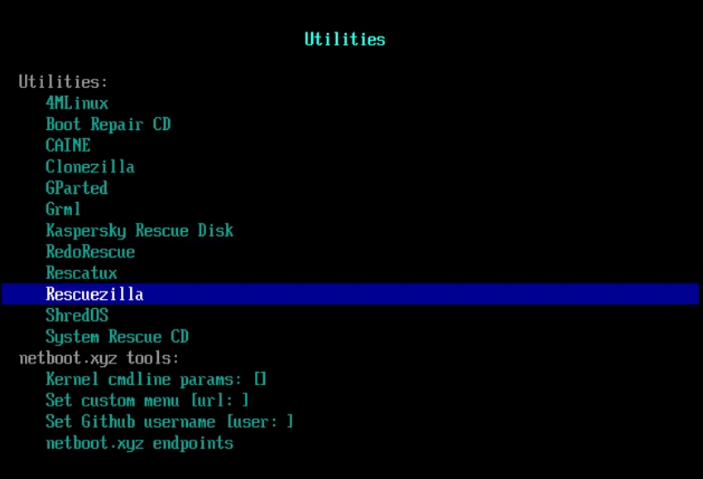
The Netboot.XYZ Menu is displayed.
I choose the Utilities (UEFI) option and in that menu I choose “Rescuezilla”:
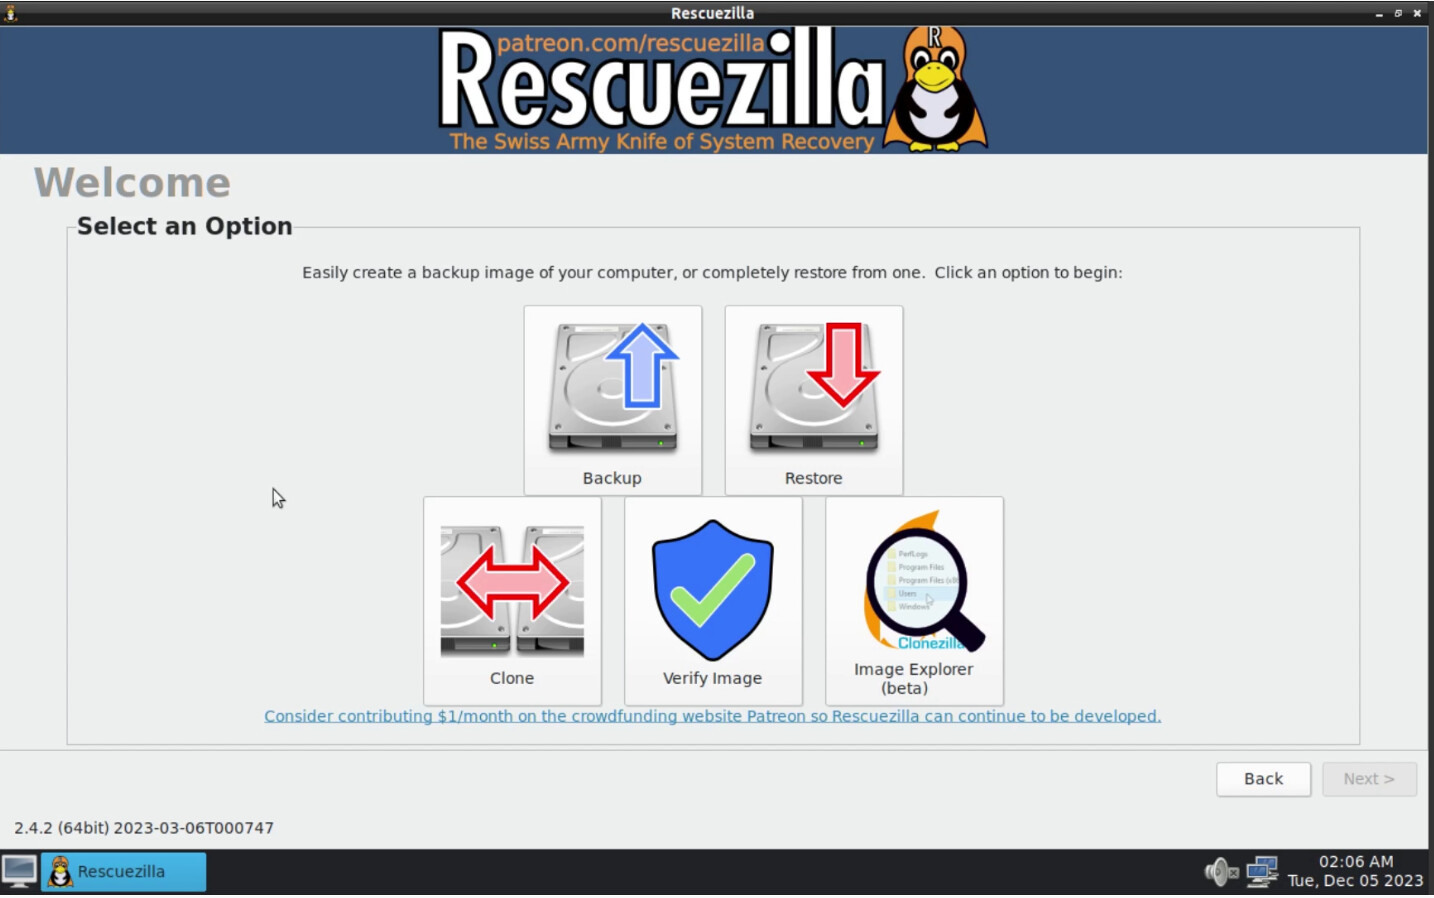
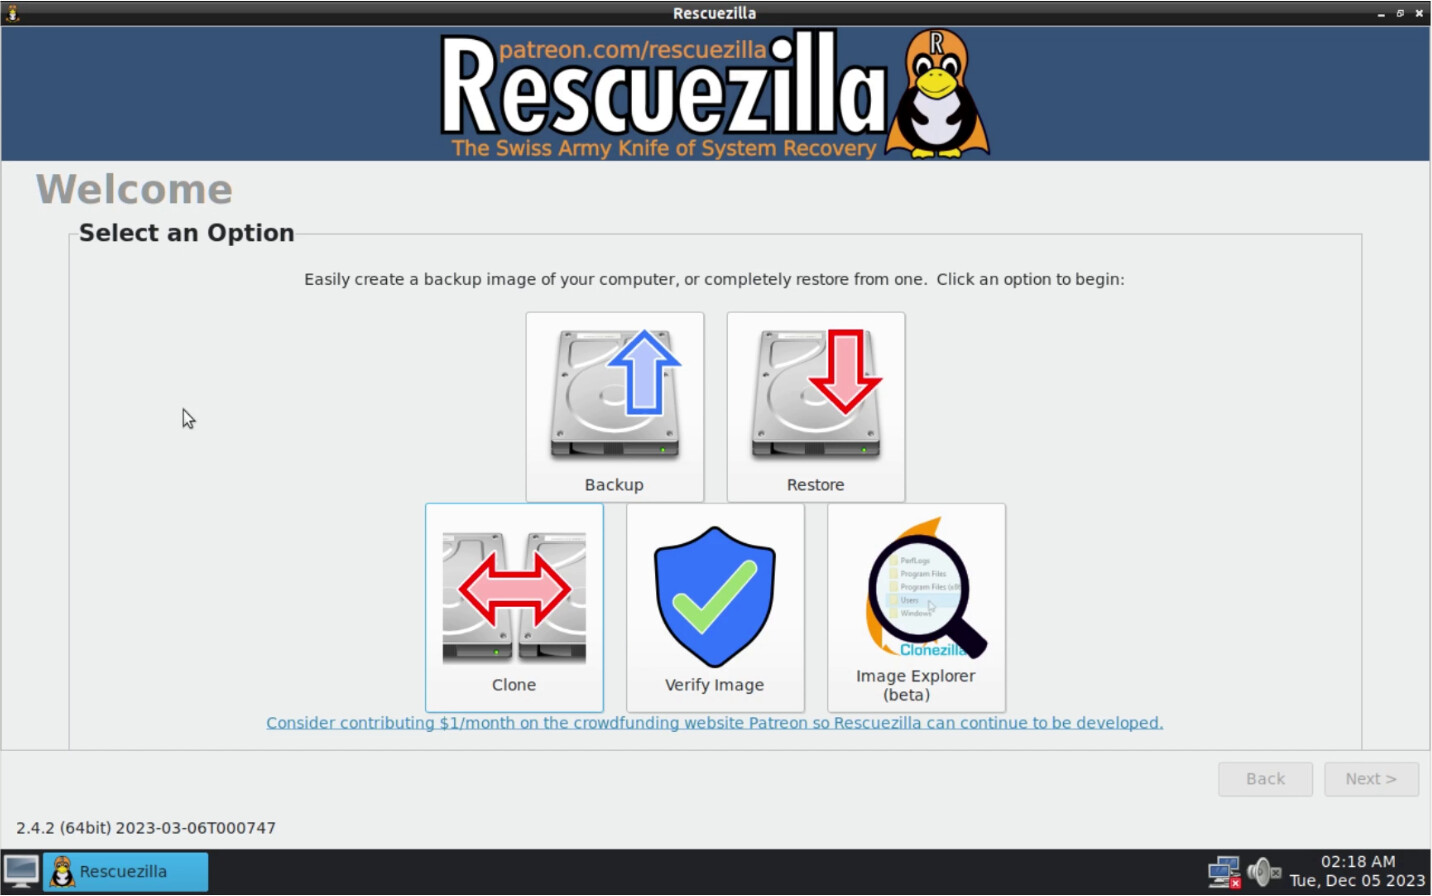
Once Rescuezilla boots, you should get a screen like this:
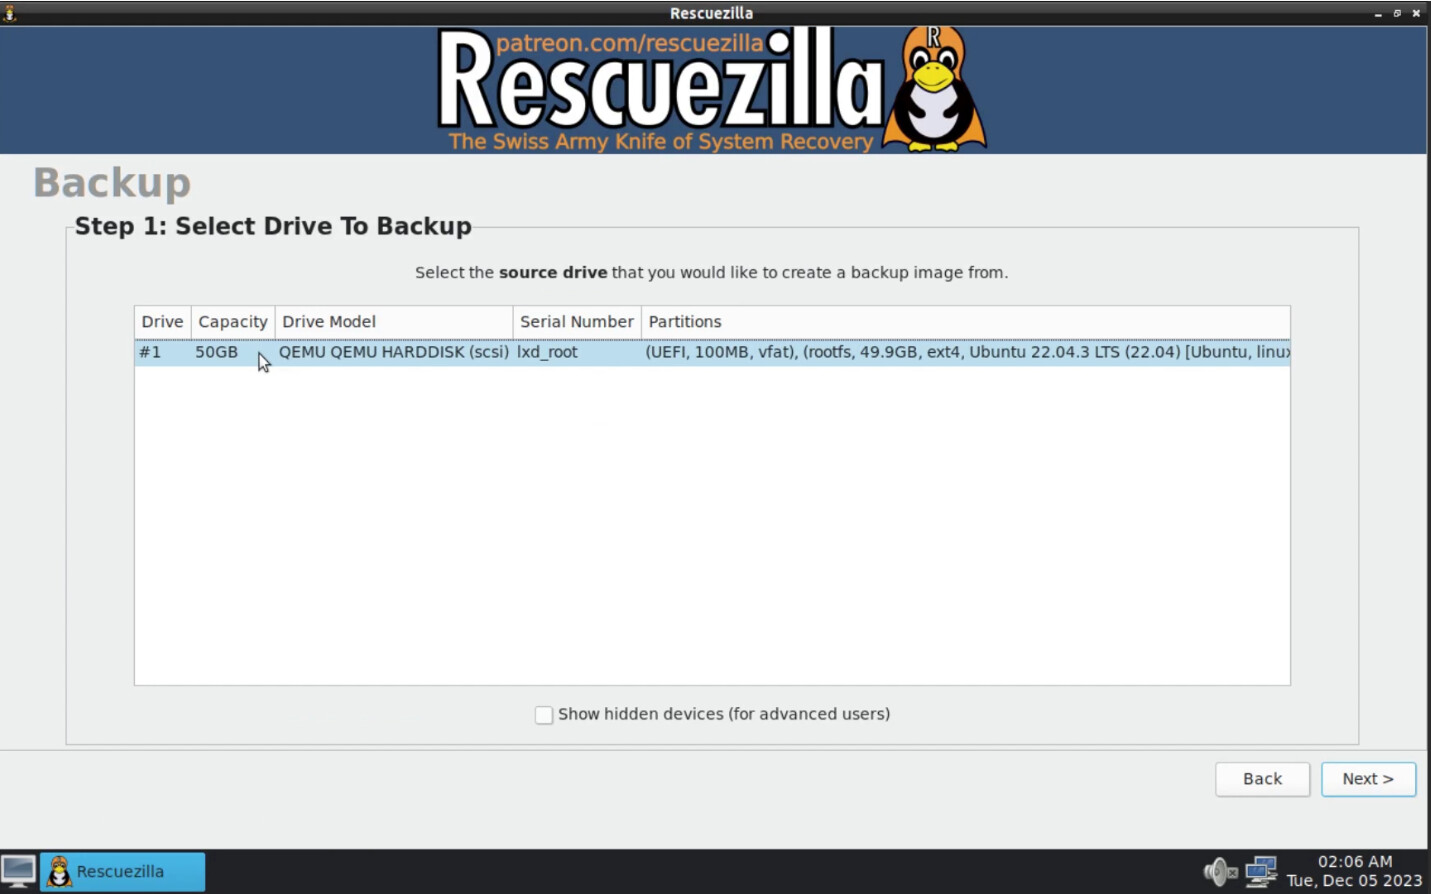
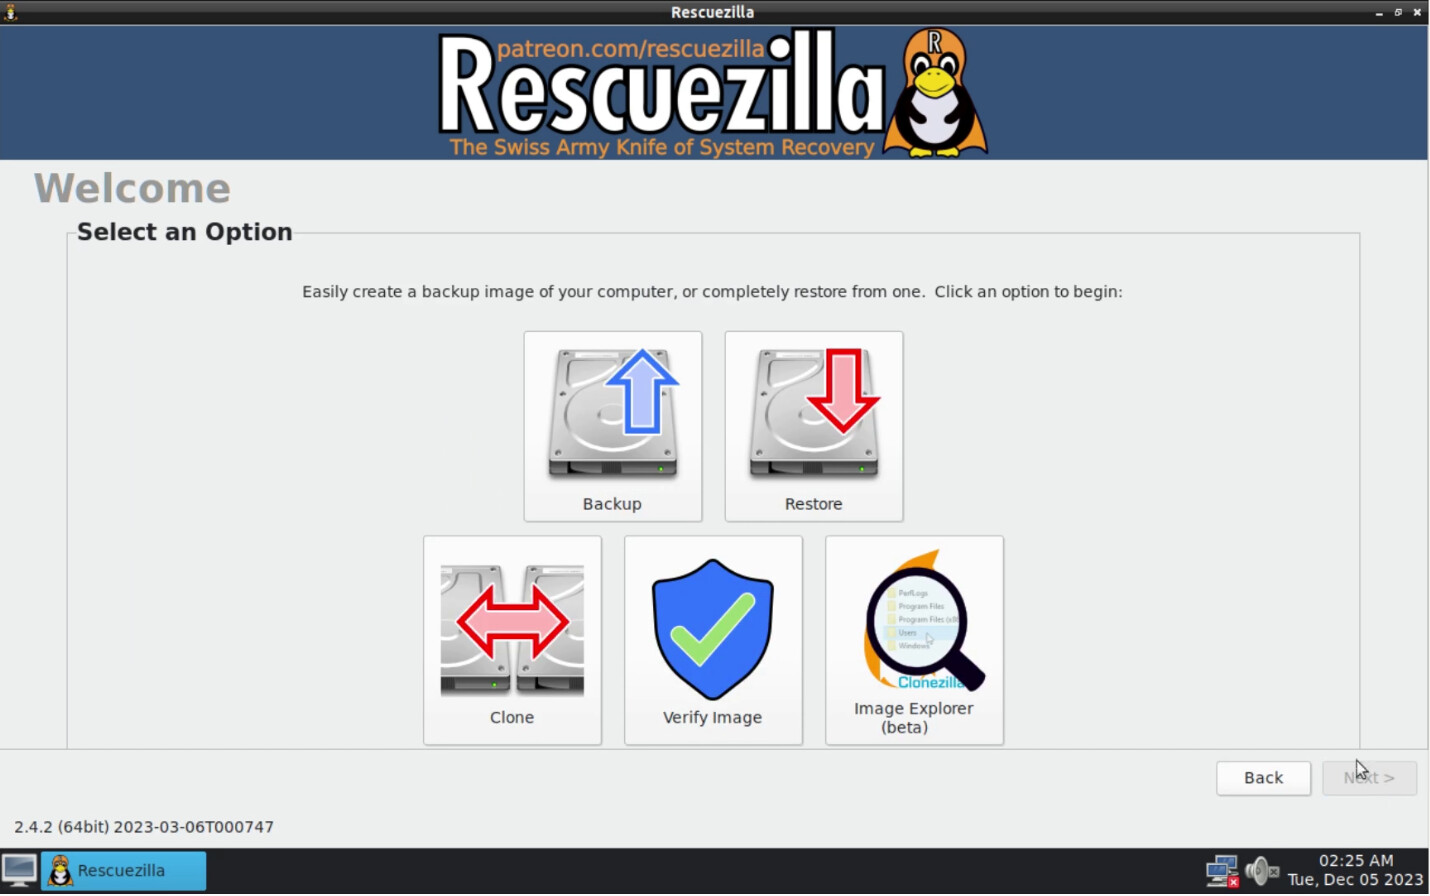
Choose the “Backup” command and select your drive to backup:
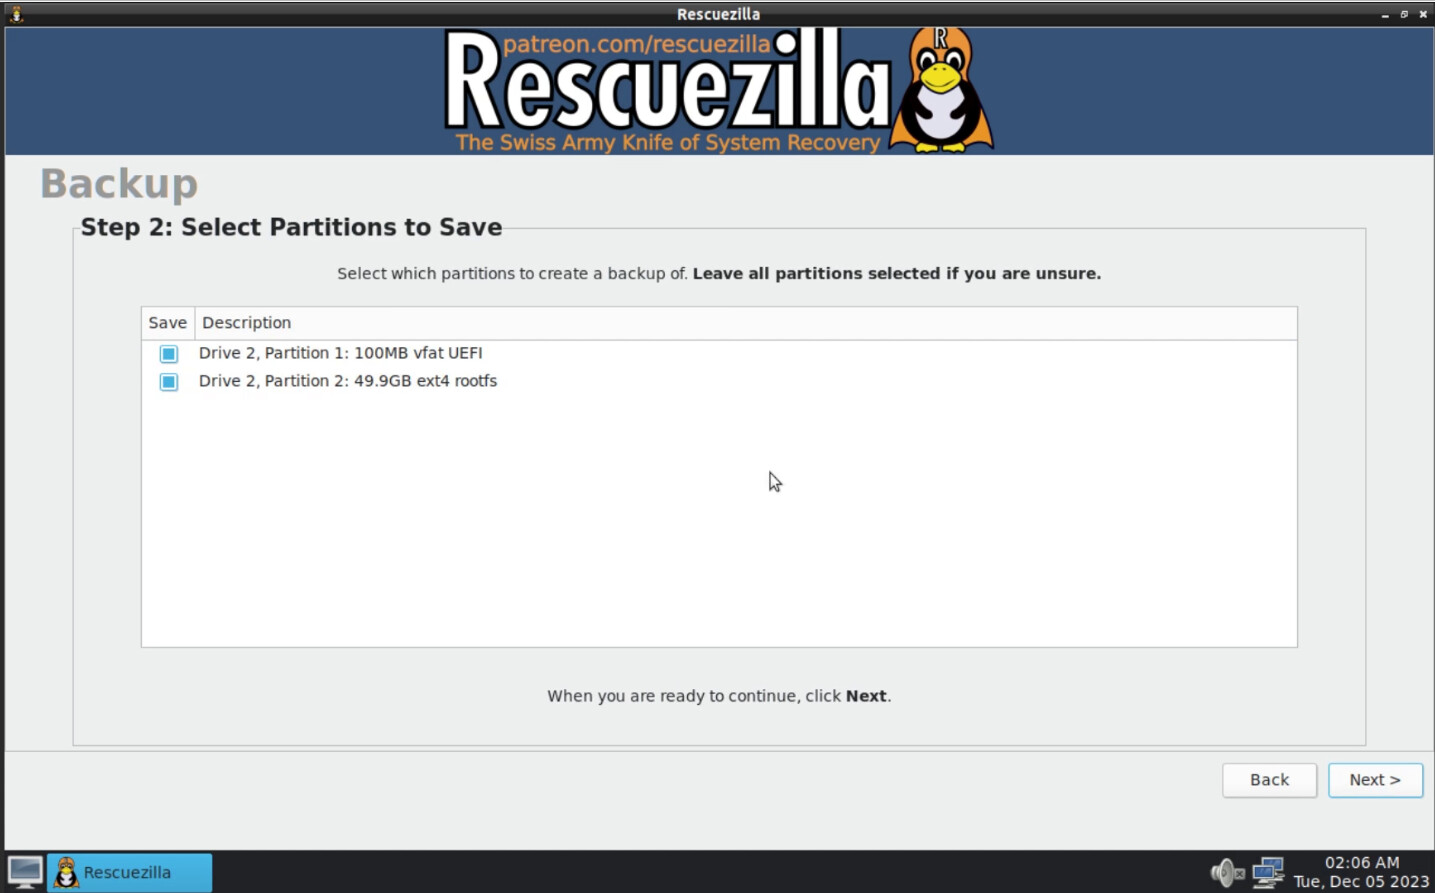
Click “Next” and you will see the partition list and all partitions are selected by default.
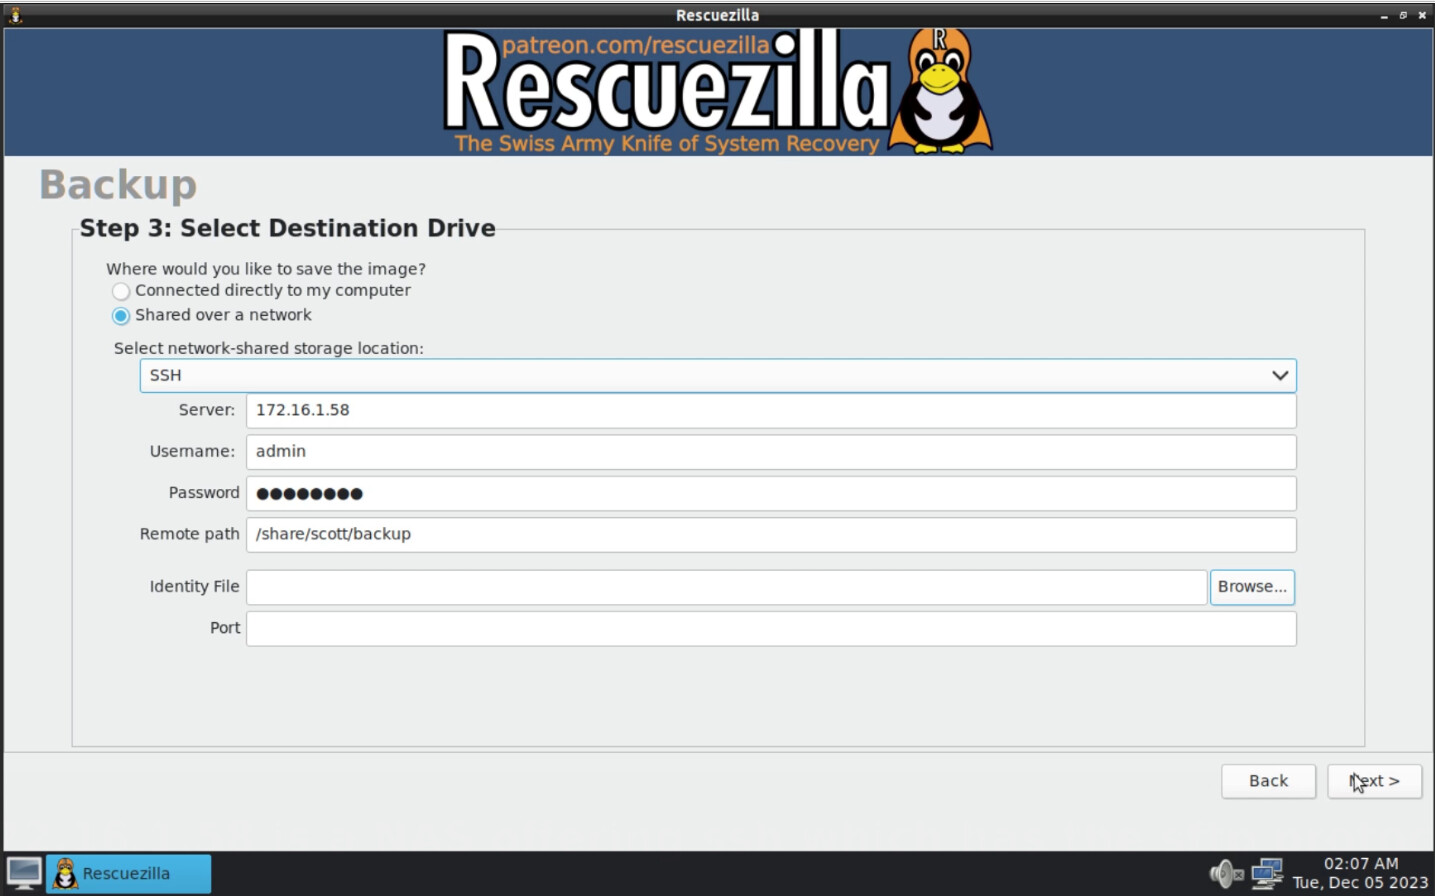
Click “Next” and select a destination drive shared over the network. I chose “ssh” as my file transfer protocol. You can also choose Microsoft CIFS/SMB, NFS or if you are creative you can configure iSCSI.
I chose my NAS address with an appropriate user account/password and remote path to store the files.
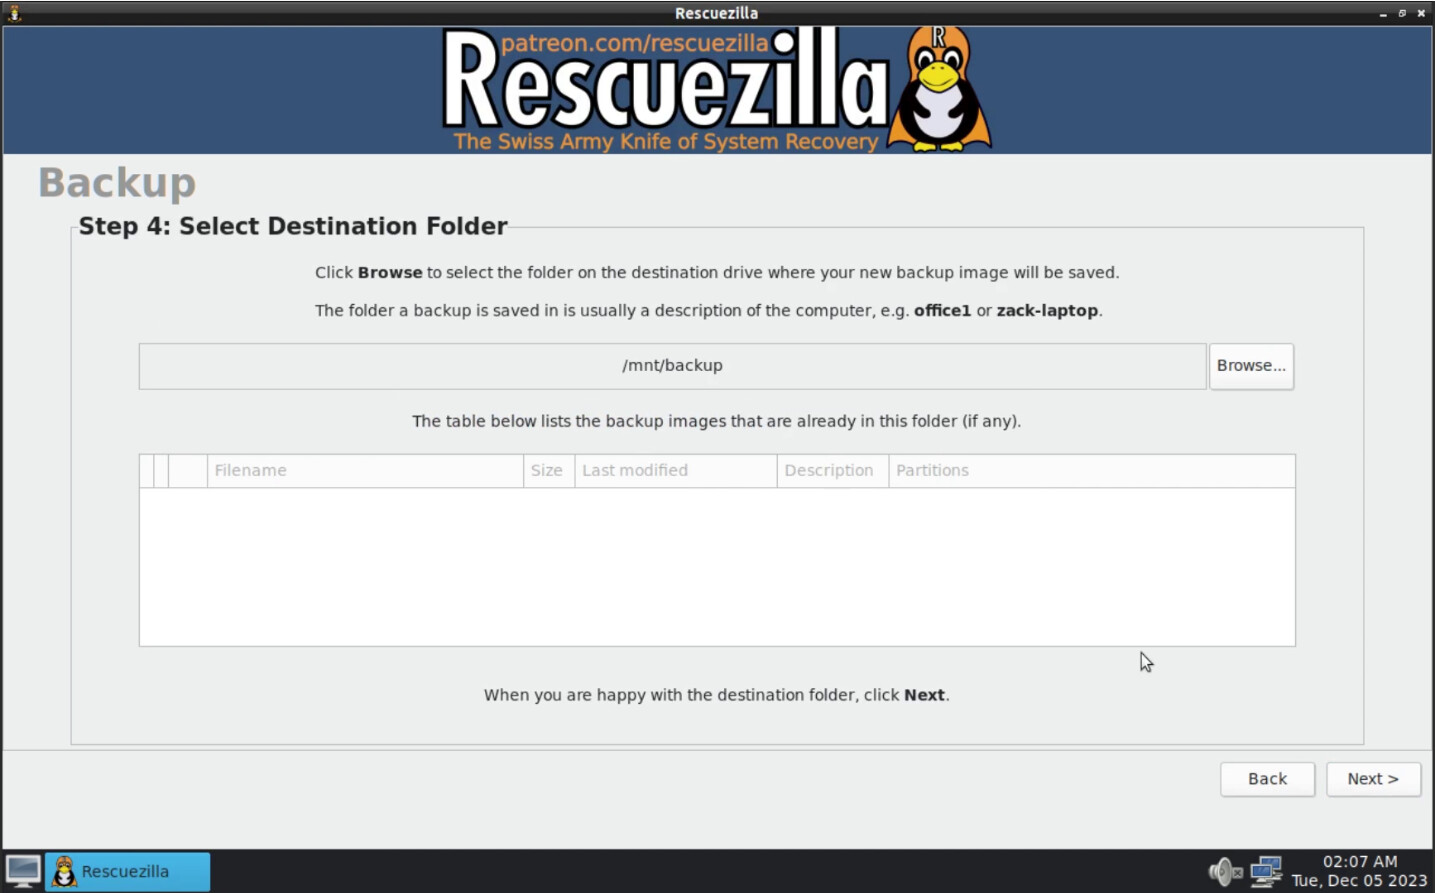
The next screen just confirms the destination and there is no reason to “Browse”.
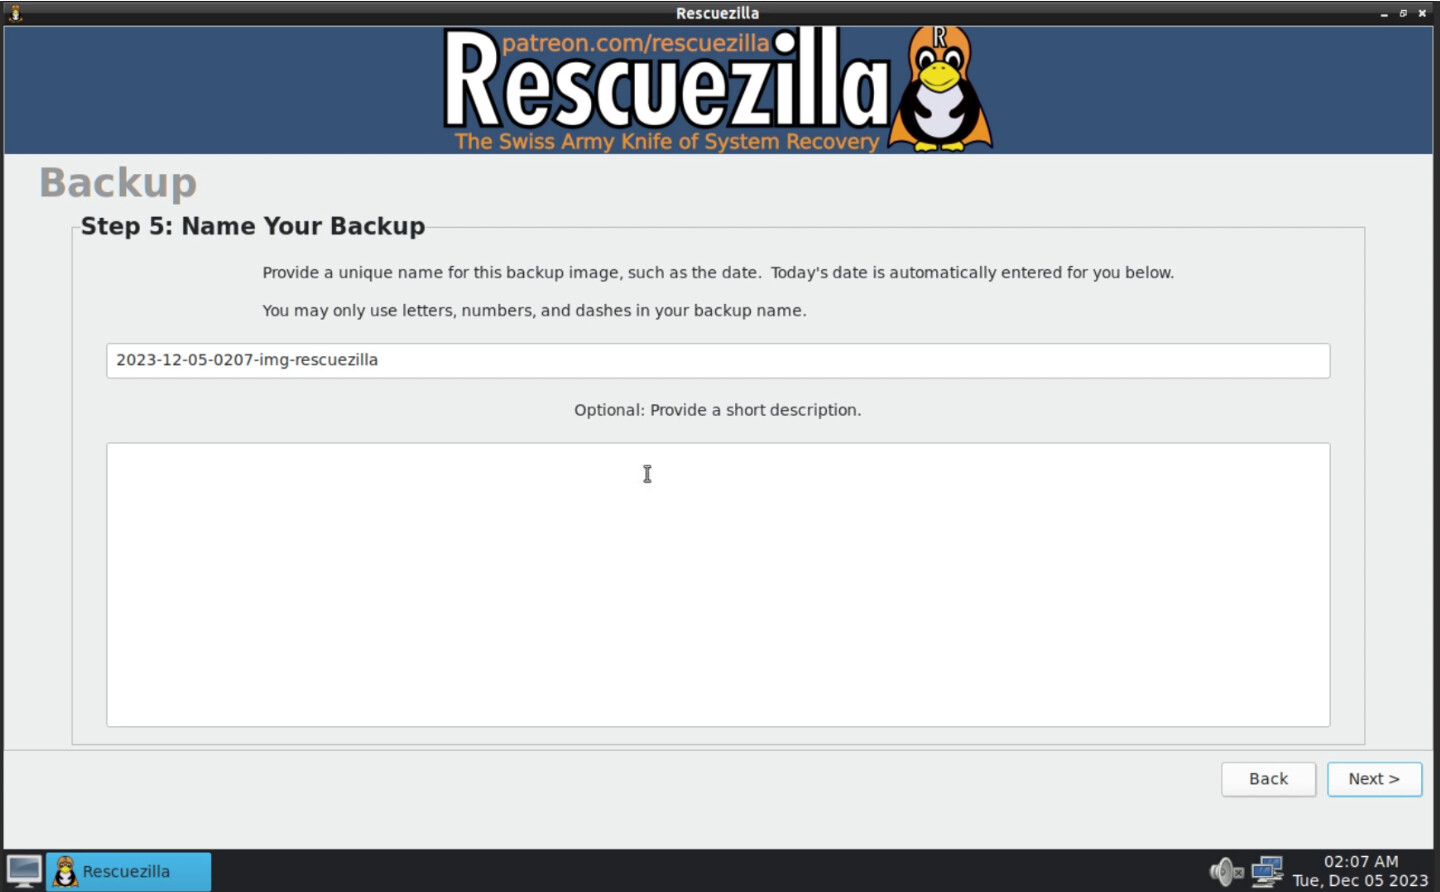
The next screen gives you the option of naming the backup folder.
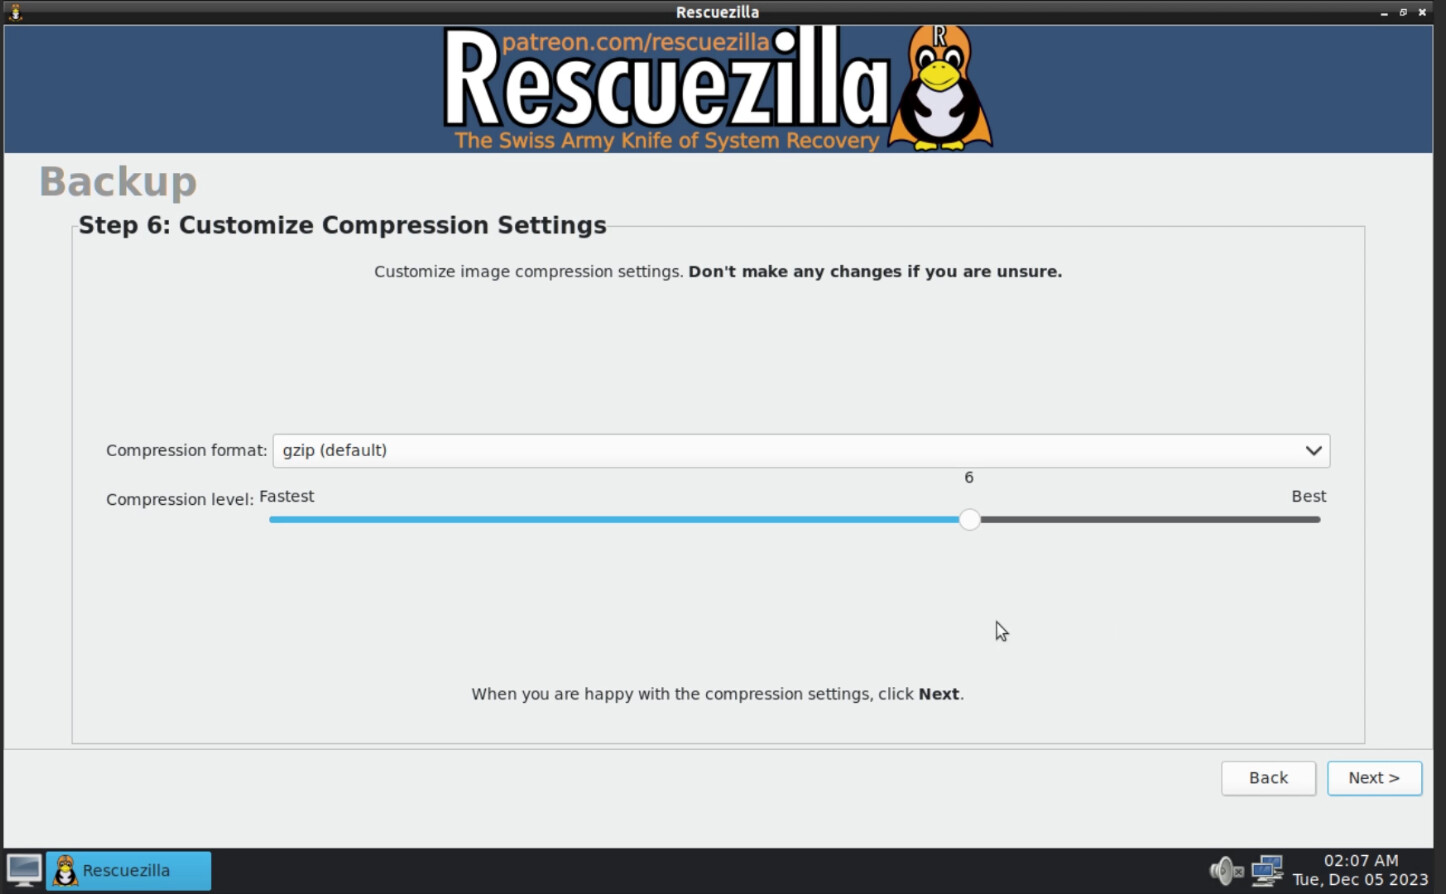
The next screen allows setting the compression type and level.
Then we have a confirmation screen.

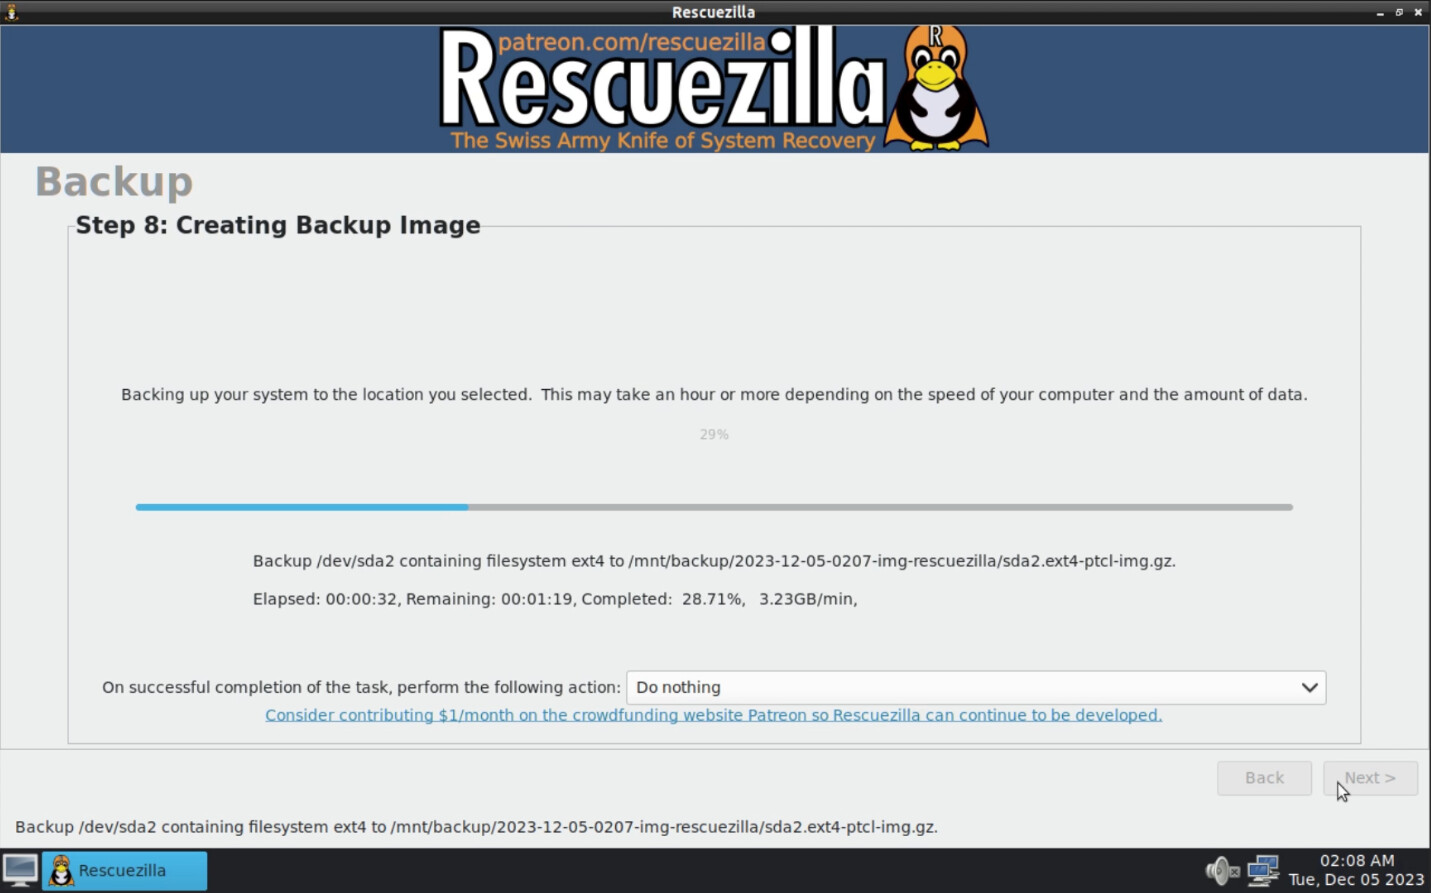
The backup will now continue.
Keep in mind that the size of the LXD Virtual Machine virtual disk that we create must be greater than or equal to the size of the physical disk that we are backing up with this operation. Also consider that in the tutorial “LXD Step by Step” we used the “lxd init” command and one of the questions you answered set the size of the zfs file pool. This virtual disk will use space in the LXD default pool that you created. If your pool is too small you can watch my tutorial entitled “LXD ZFS Pool too Small”.
You can see the utilization in this pool on your LXD Server host with this command:
sudo zpool list
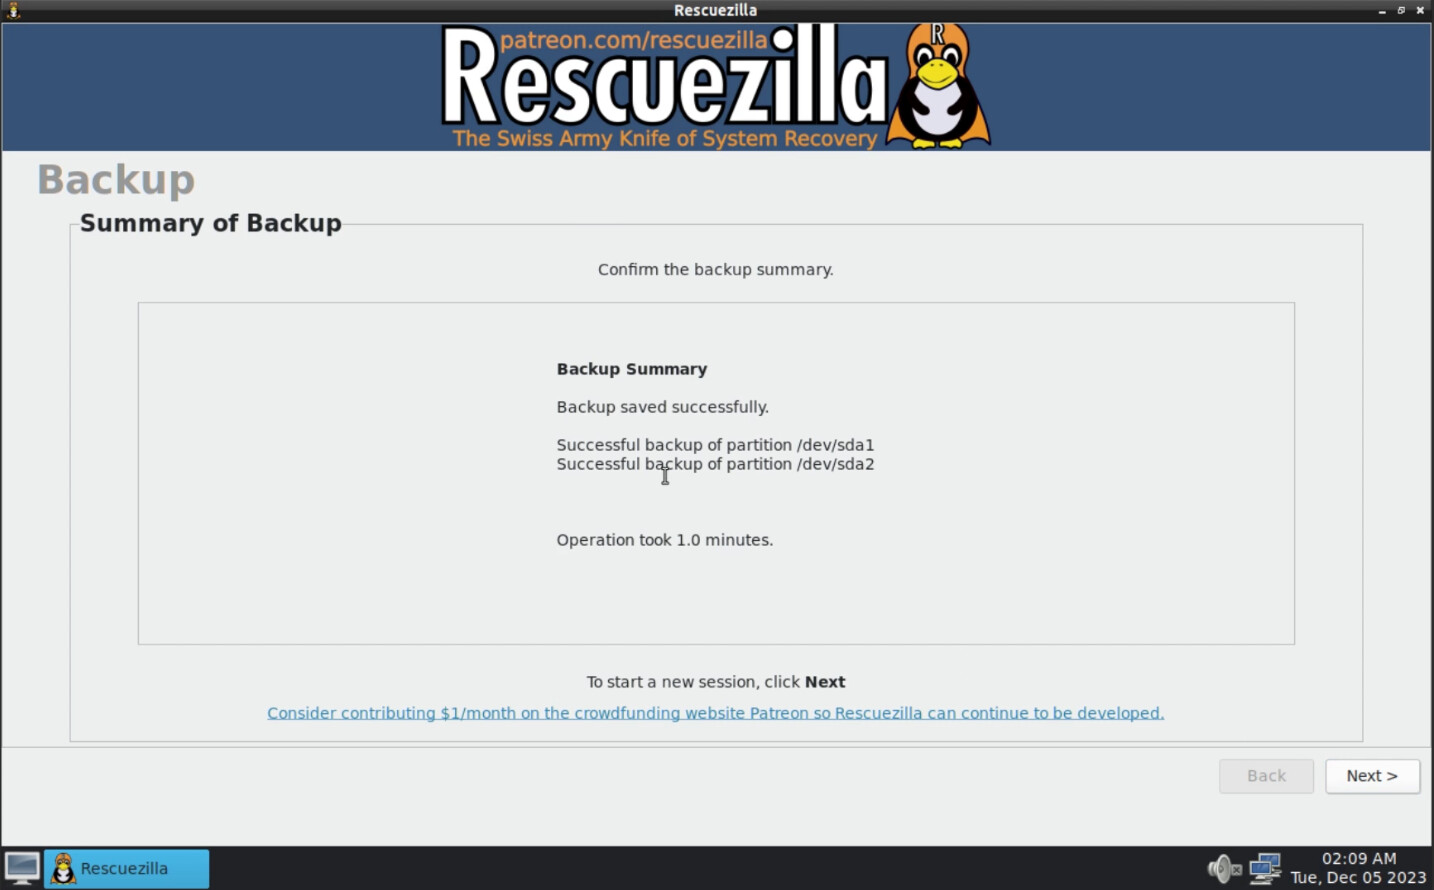
When the Rescuezilla backup is completed, you should get a summary screen similar to this:
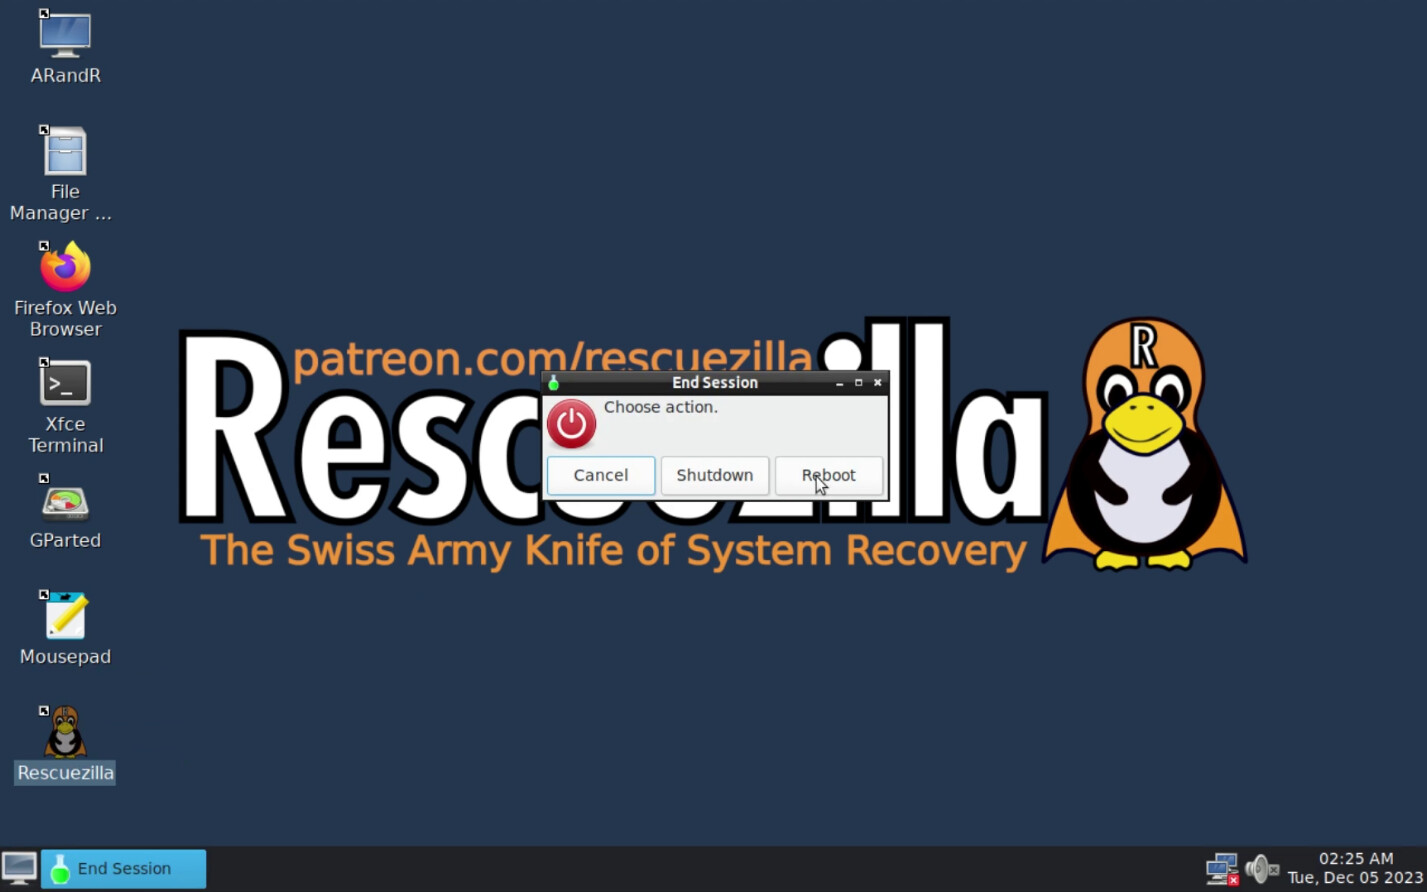
Now you can choose “Shutdown” from the Rescuezilla menu and your machine will power off.
Go over to a terminal on your LXD Server.
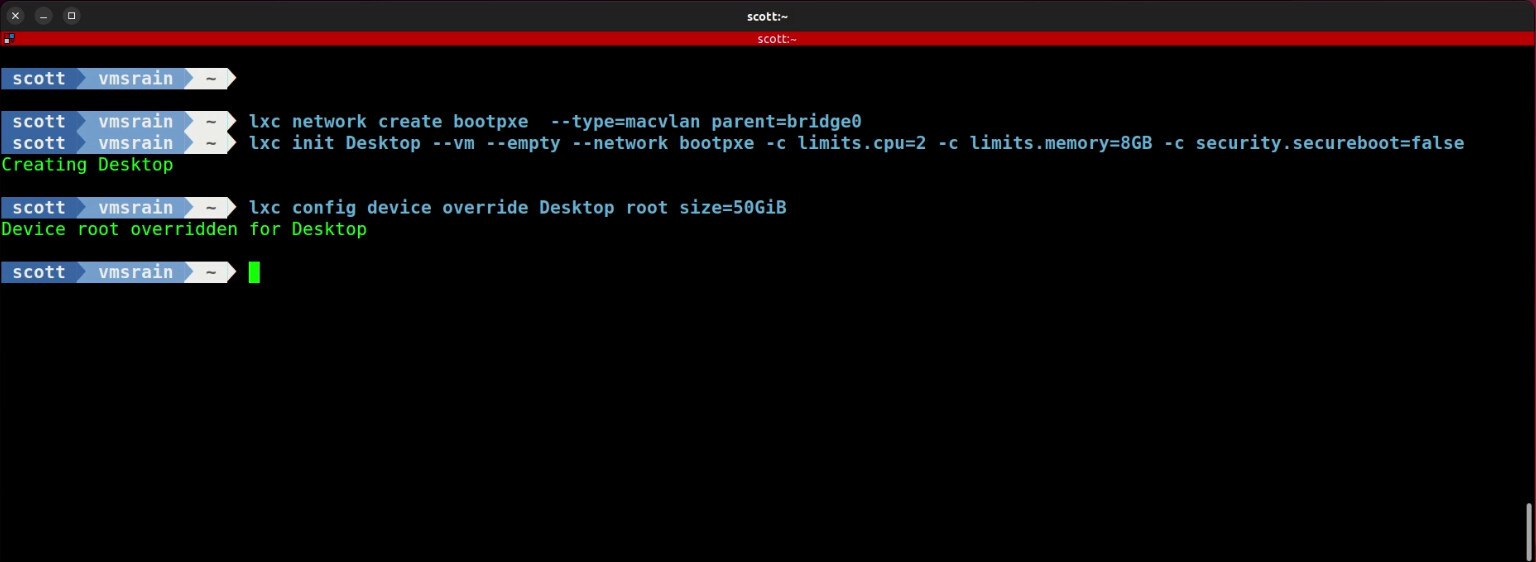
Create a LXD network device bridged to your Main LAN. The device bridge0 was created in the “LXD Step by Step” Tutorial.
lxc network create bootpxe --type=macvlan parent=bridge0
Create an “empty” LXD Virtual Machine which is where we will restore our backup to. Notice that the memory is set to 8GB to support PXE booting the Rescuezilla live CD which uses a memory disk. Also note we use the “pxeboot” network we just created because it is active at the beginning of the boot process and note that secureboot is set to false:
lxc init Desktop --vm --empty --network bootpxe -c limits.cpu=2 -c limits.memory=8GB -c security.secureboot=false
Change the size of the virtual disk for your LXD Virtual Machine to be equal to or larger than the physical disk we just backed up or the restore operation will fail. Note that your zfs default file pool must be large enough as mentioned earlier.
lxc config device override Desktop root size=50GiB
Boot up the LXD VM and it will boot to Netboot.XYZ since the virtual hard drive does not have any operating system on it yet.
lxc start Desktop --console=vga
As mentioned in the video, the server where the Rescuezilla backup is stored cannot share the same NIC controller where this LXD VM is running. The reason is that two macvlan devices cannot communicate with each other over the same NIC.
After starting the LXD VM, it boots directly into Netboot.XYZ.
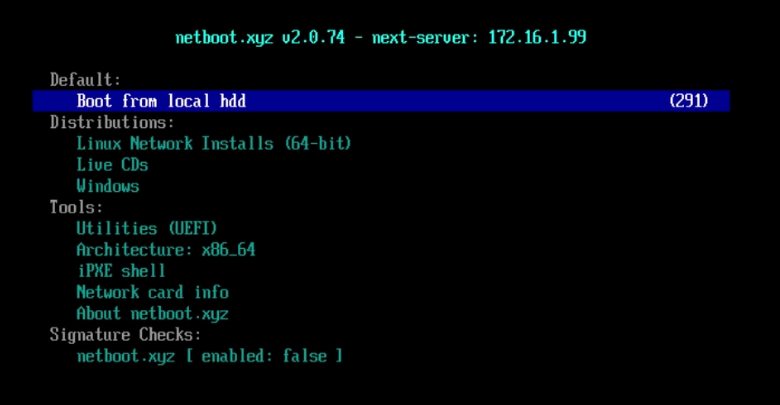
Go to the Utilities menu and then start Rescuezilla as we did earlier for the backup.
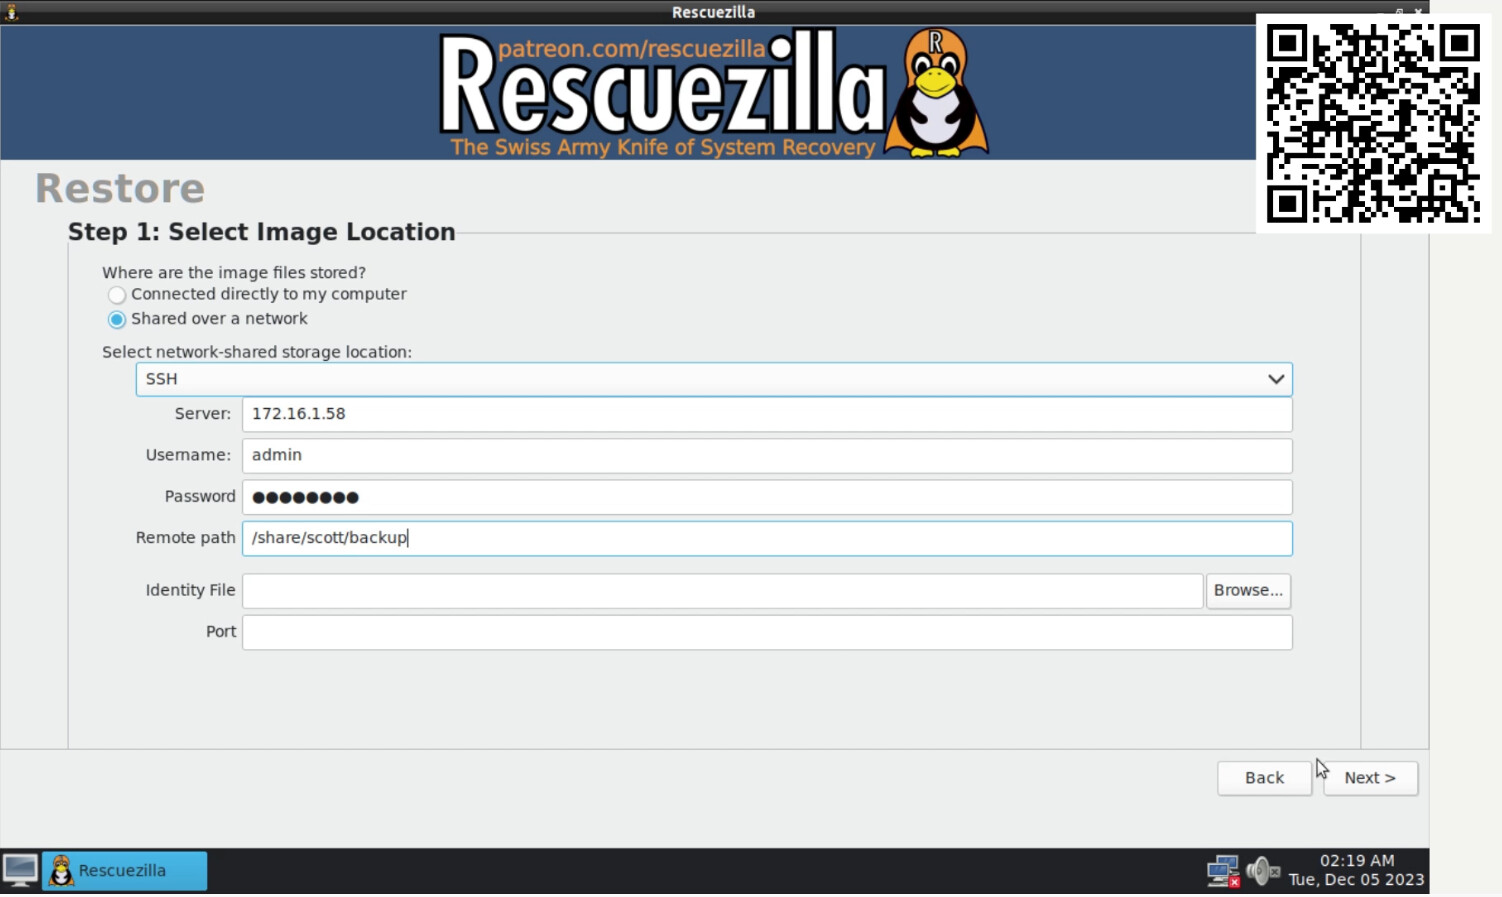
Choose the “Restore” operation this time and choose that the image location is shared over the network. Once again, I selected the “ssh” protocol which uses the embedded Secure File Transfer Protocol (SFTP) and I entered the server address, my credentials and the path to where the backup was stored.
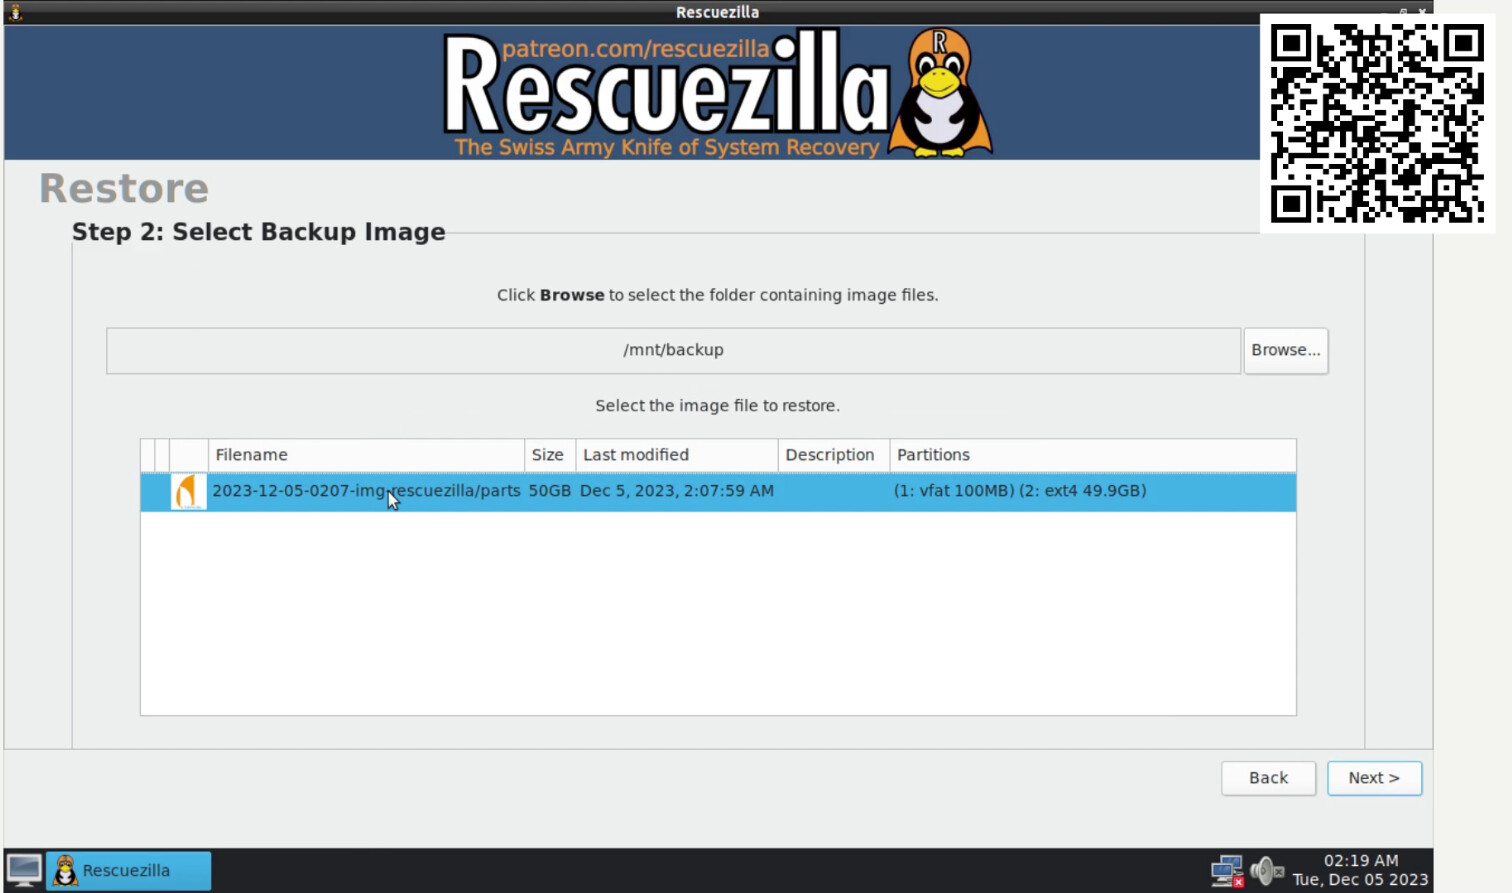
When you click “Next” it will locate the backup image.
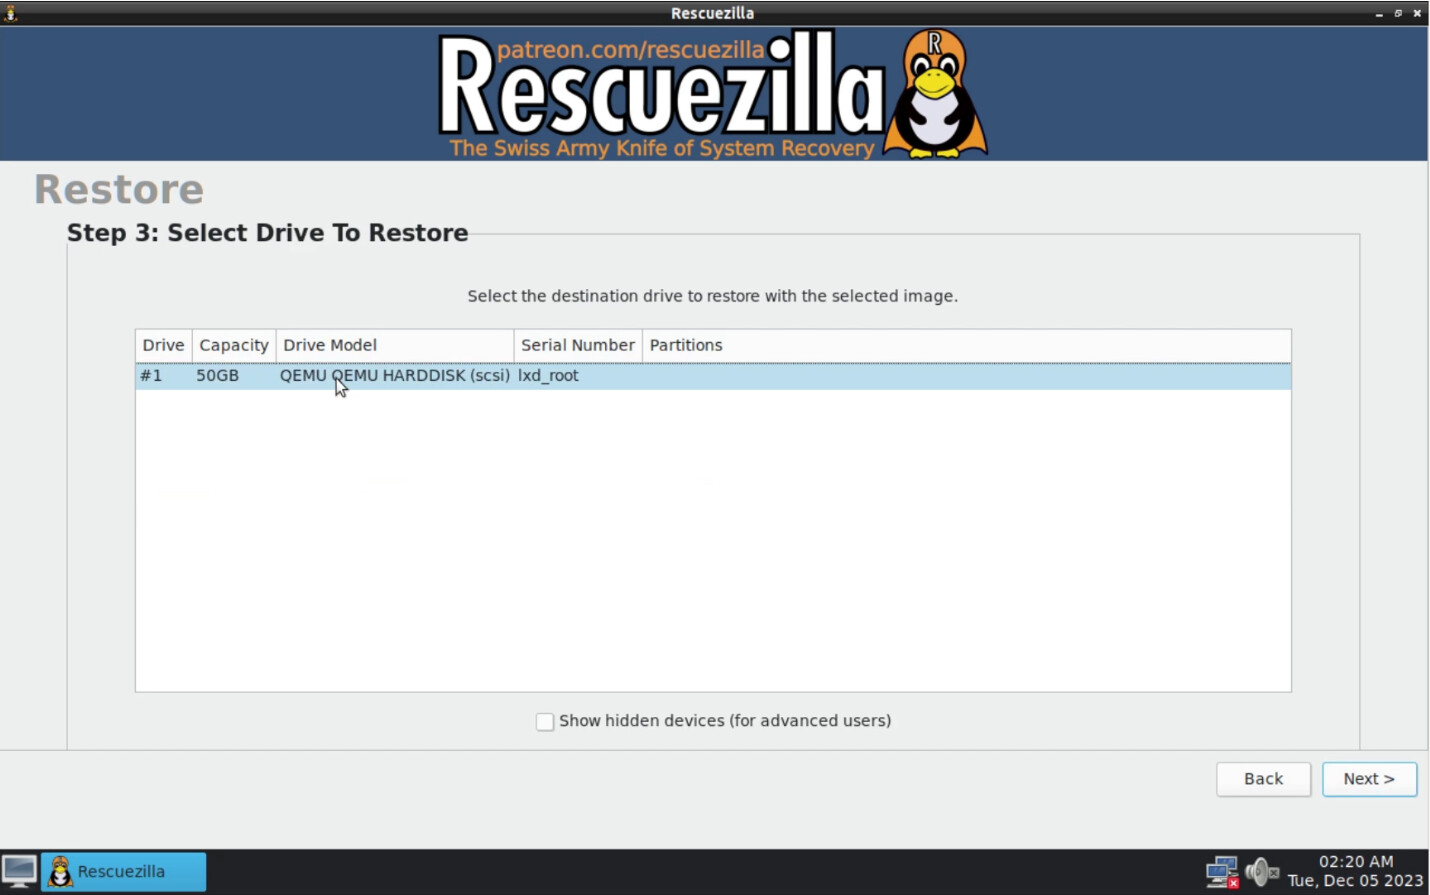
Then click next the the local LXD VM Virtual disk drive will be listed.
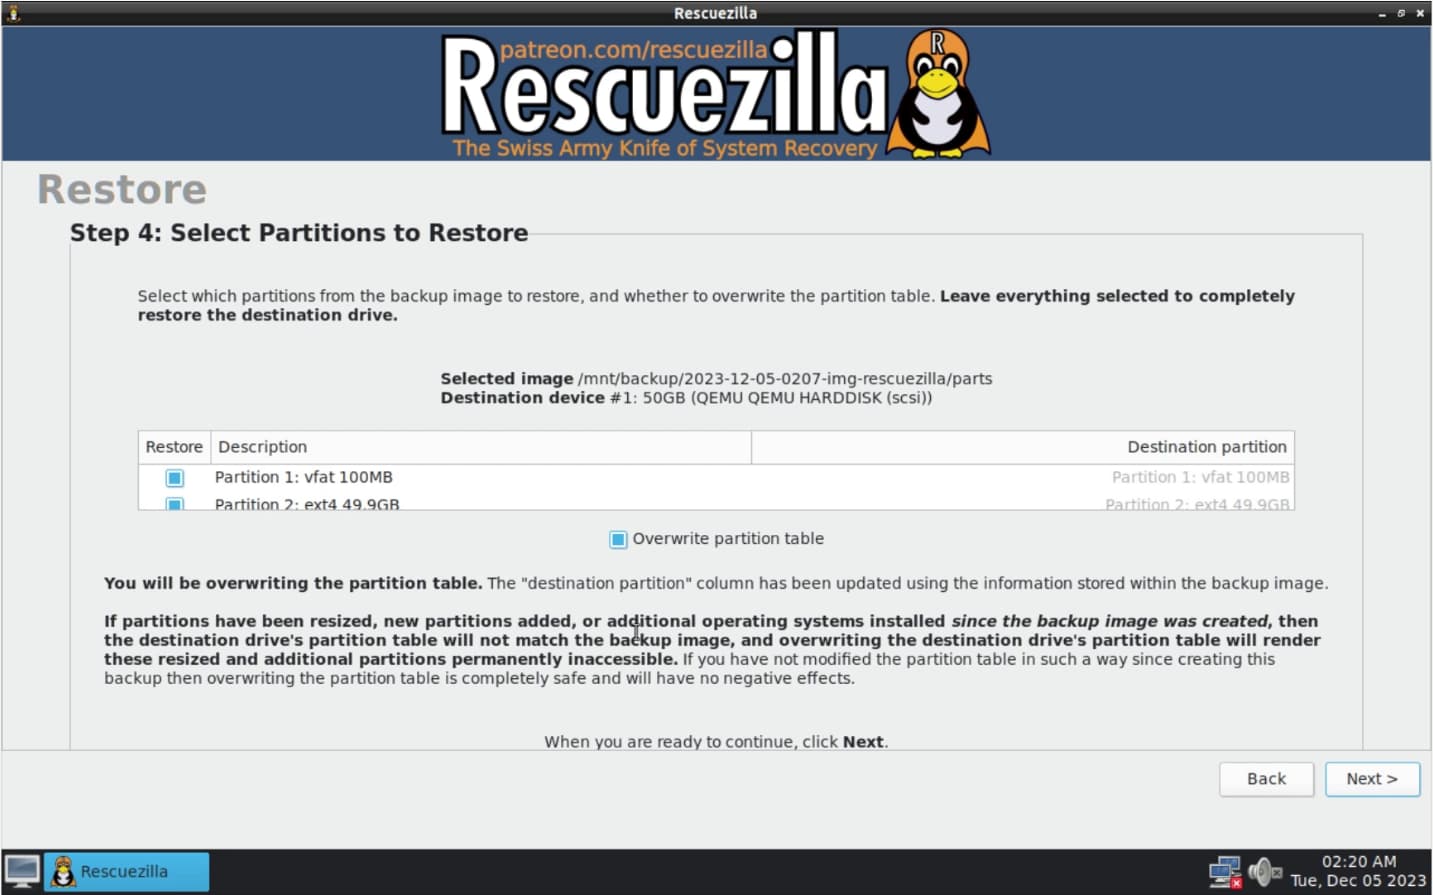
Click on “Next” again and you will see a screen indicating the partitions to restore.
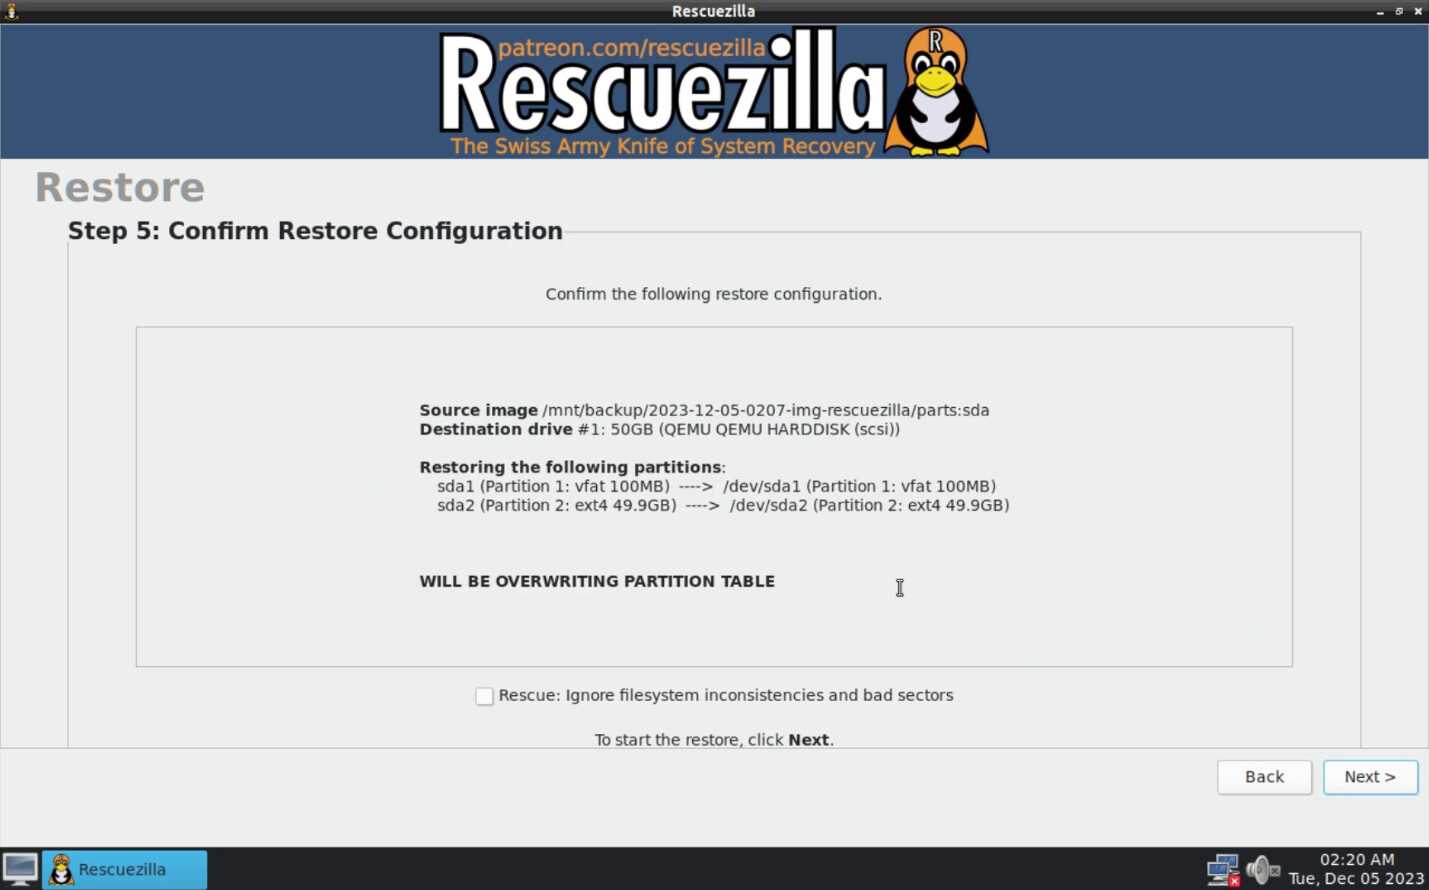
Next there is a confirmation screen.
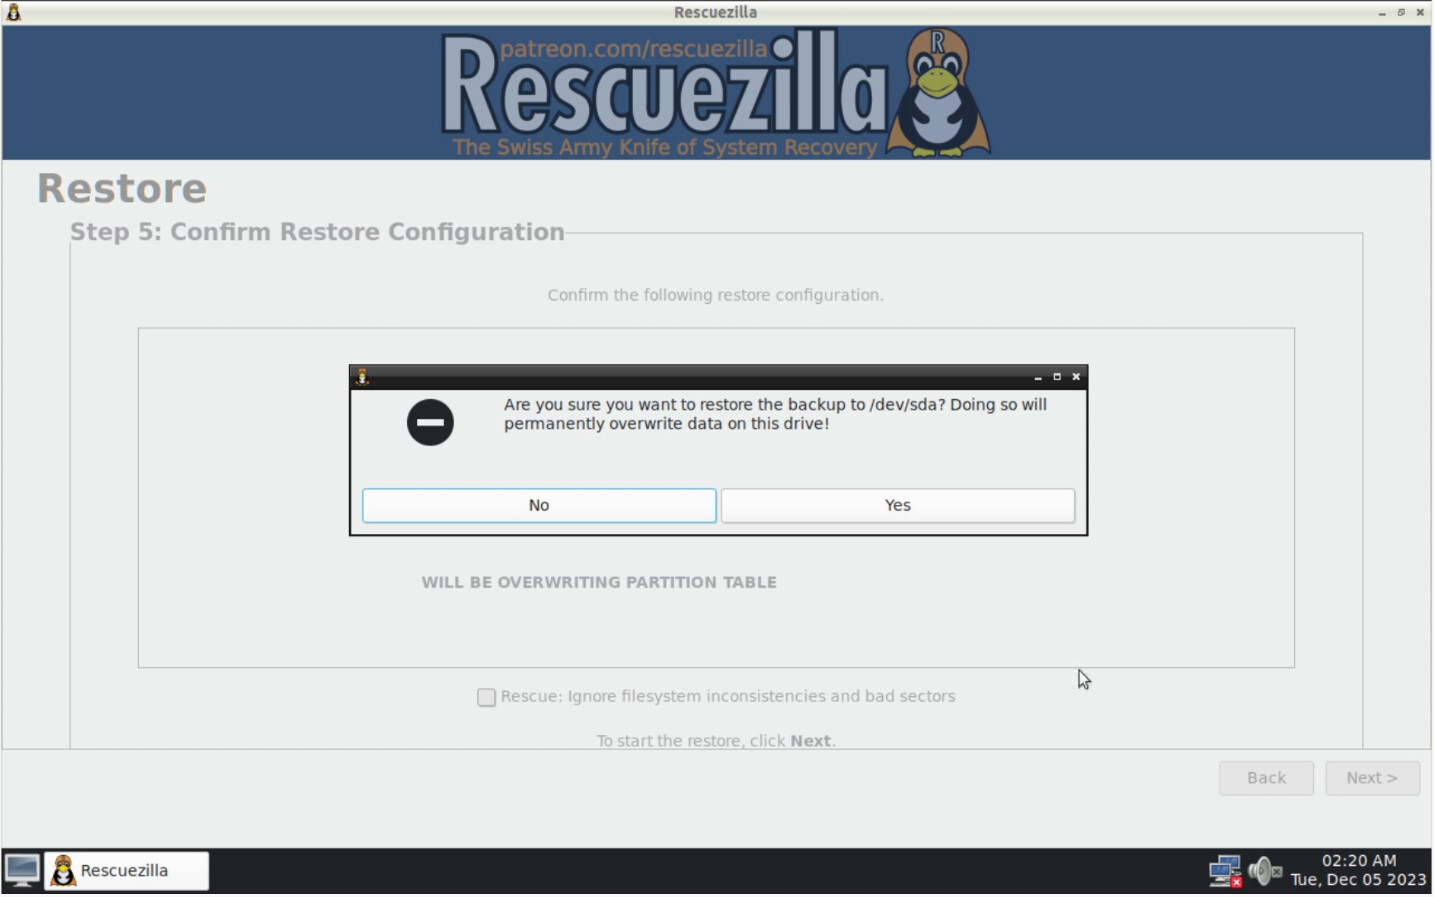
You get one final warning that you are about to overwrite the LXD VM virtual disk.
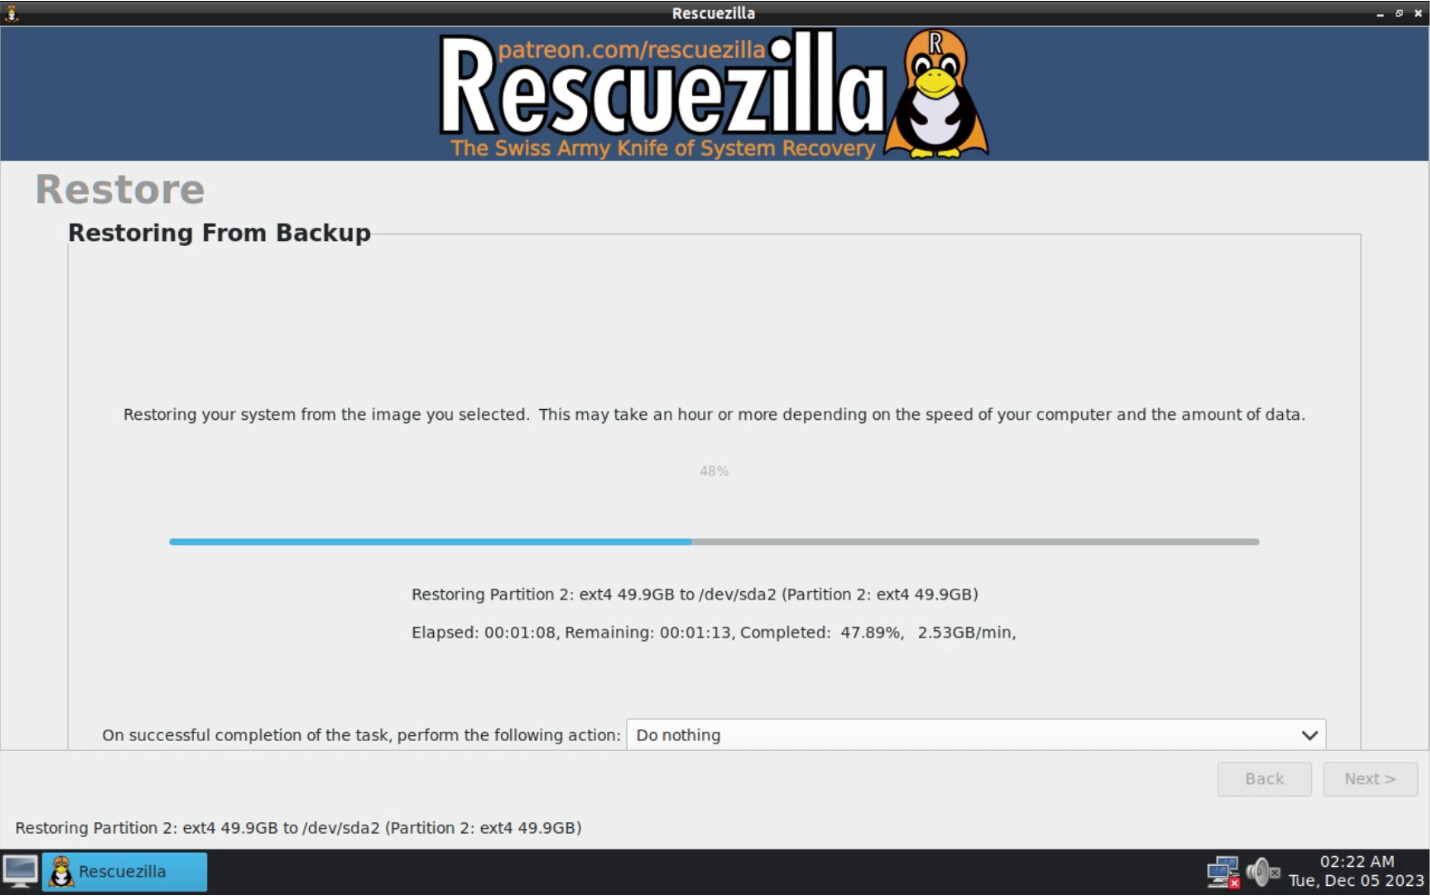
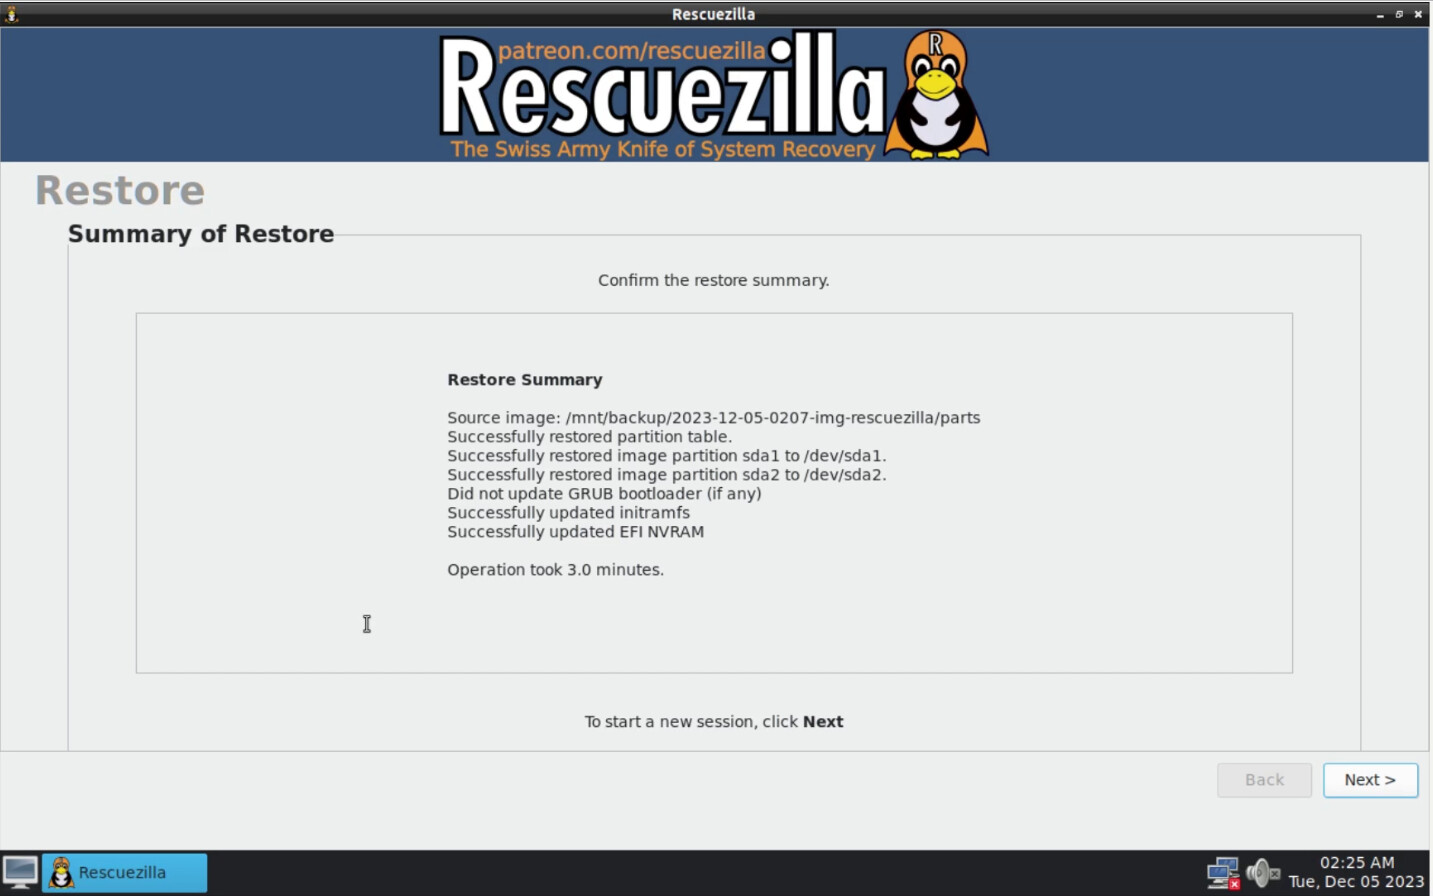
My backup on the 50GB drive took 1 minute and the restore took three minutes. Here’s what it looked like in progress. At this point in the video, I accidentally said ssh uses Simple File Transfer Protocol and that is incorrect. It is “Secure File Transfer Protocol (SFTP)”. I know someone will say that in the comments.
When the restore is finished, you should see a summary screen.
When you click next from the summary screen you are returned to the main Rescuezilla screen.
Choose the “Reboot” option from the Resuezilla menu.
The “Remote Viewer” screen will exit back to your terminal. Enter the following command to get back into the console:
lxc console Desktop --type=vga
When the system reboots, it will not boot PXE since the virtual hard drive of the LXD VM now has an operating system on it. You should see your regular login prompt that you had on your physical machine and when you login, everything should be the same as on the physical machine that we made a backup from.
We have a successful P2V migration!