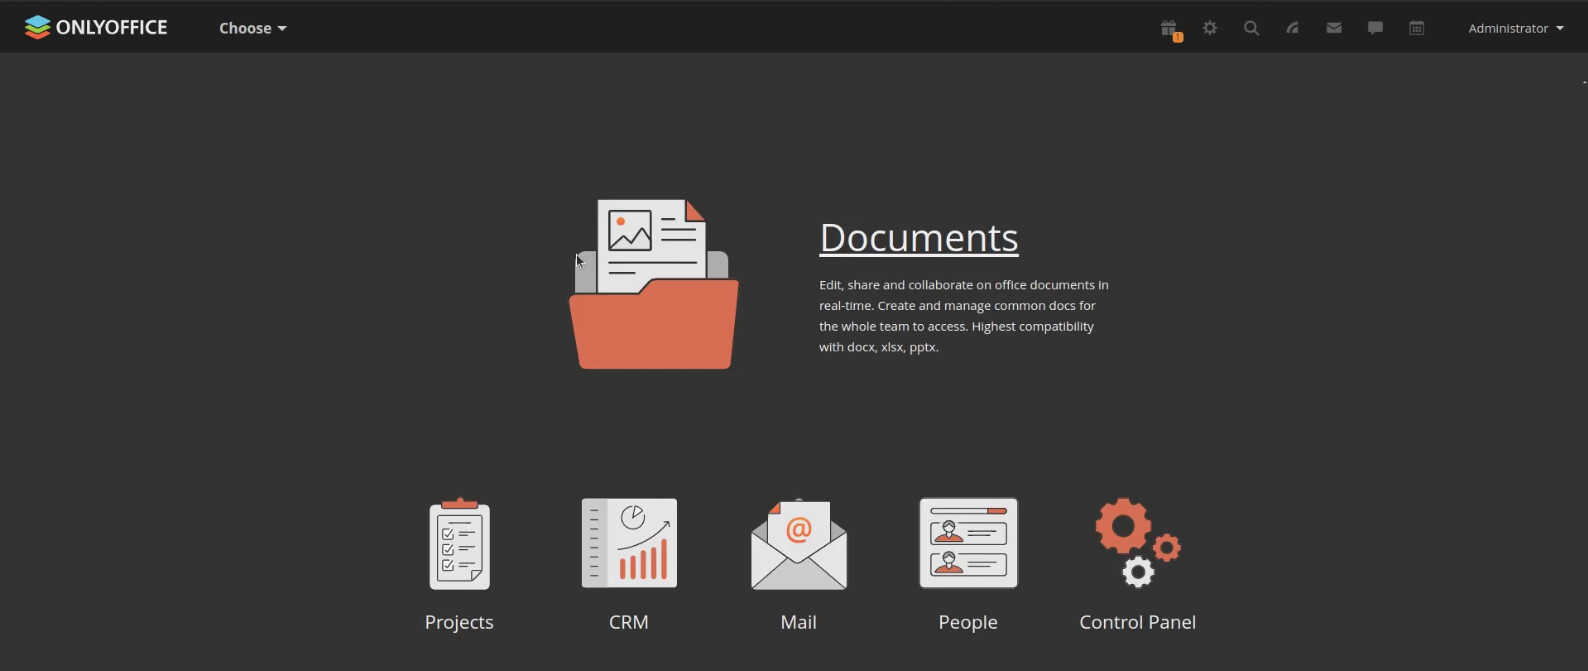
Image your very own self-hosted, web based Office Suite. That’s what OnlyOffice is and it had features similar to Office 365 or NextCloud.
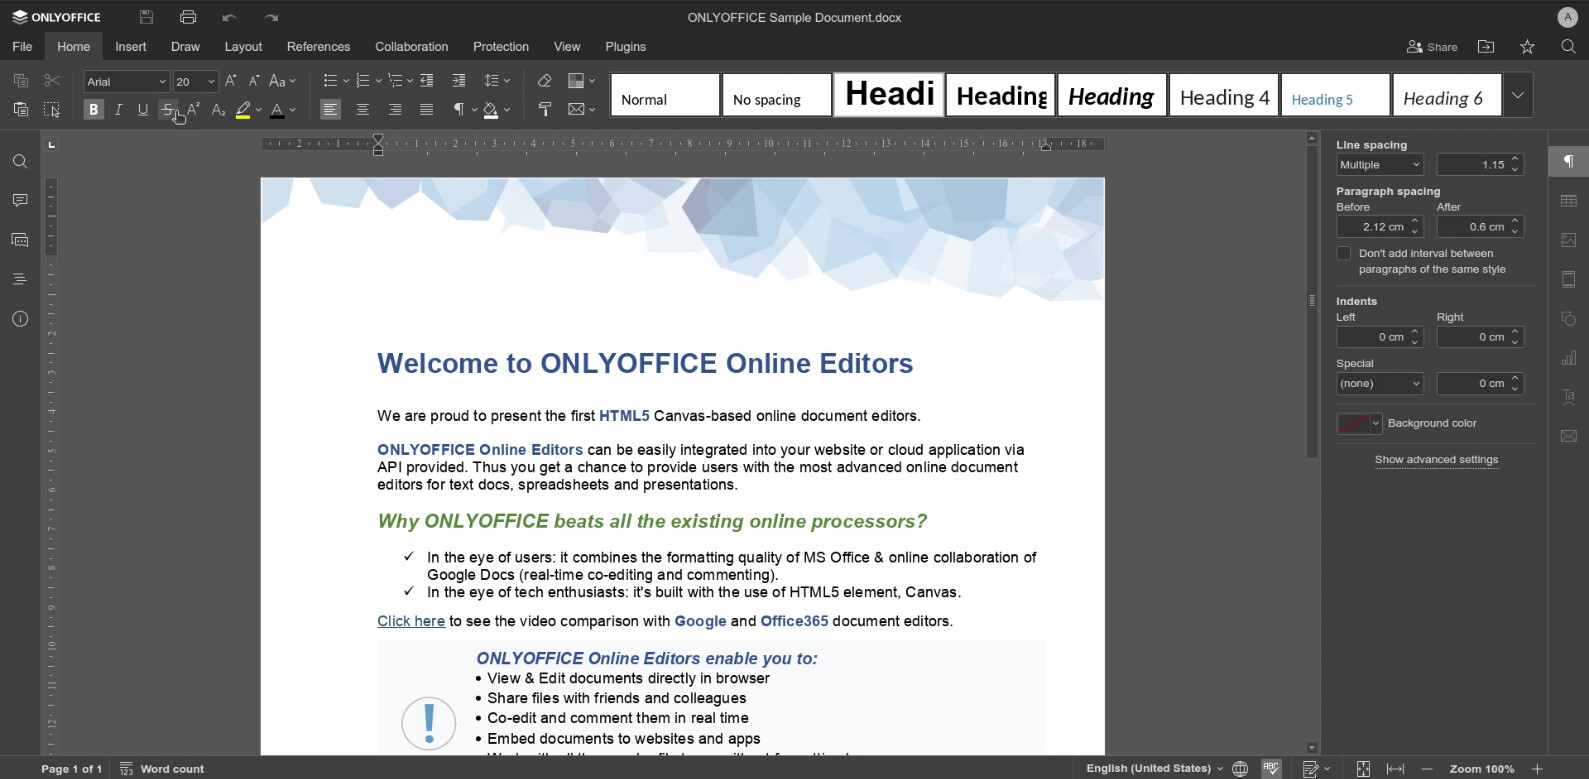
As an example of what to expect, here is the OnlyOffice Document editor.
Since my channel emphasizes the use of LXD & Incus containers, we are going to create an Incus container:
incus launch images:ubuntu/22.04 OnlyOffice --profile default --profile bridgeprofile -c limits.memory=8192MB -c limits.cpu.allowance=30% -c boot.autostart=true
Move inside of the Incus container:
incus shell OnlyOffice
Take the latest upgrades as a best practice:
apt update && apt upgrade -y
Install the dependencies:
apt install openssh-server curl wget -y
Create a user account and grant it privilege:
adduser scott
usermod -aG sudo scott
Move over to the “scott” account:
su - scott
Download the installation script for OnlyOffice:
wget https://download.onlyoffice.com/install/workspace-install.sh
Change the script to be executable:
chmod +x workspace-install.sh
Make ourselves the superuser:
sudo su
Execute the installation procedure:
./workspace-install.sh
When the script executes, replace “N” to not install with Docker. Docker installation in an Incus container for OnlyOffice has problems with “cgroups” that prevent proper operation. Most applications are able to run in docker nested inside of an incus container. This is not one.

The installation will proceed for around 30 minutes.
After the installation completes, find out the address of your OnlyOffice container which is the address of your “etho” device inside of your incus container.
ip a
Go to your web browser and enter this address and you should see the registration screen as follows:
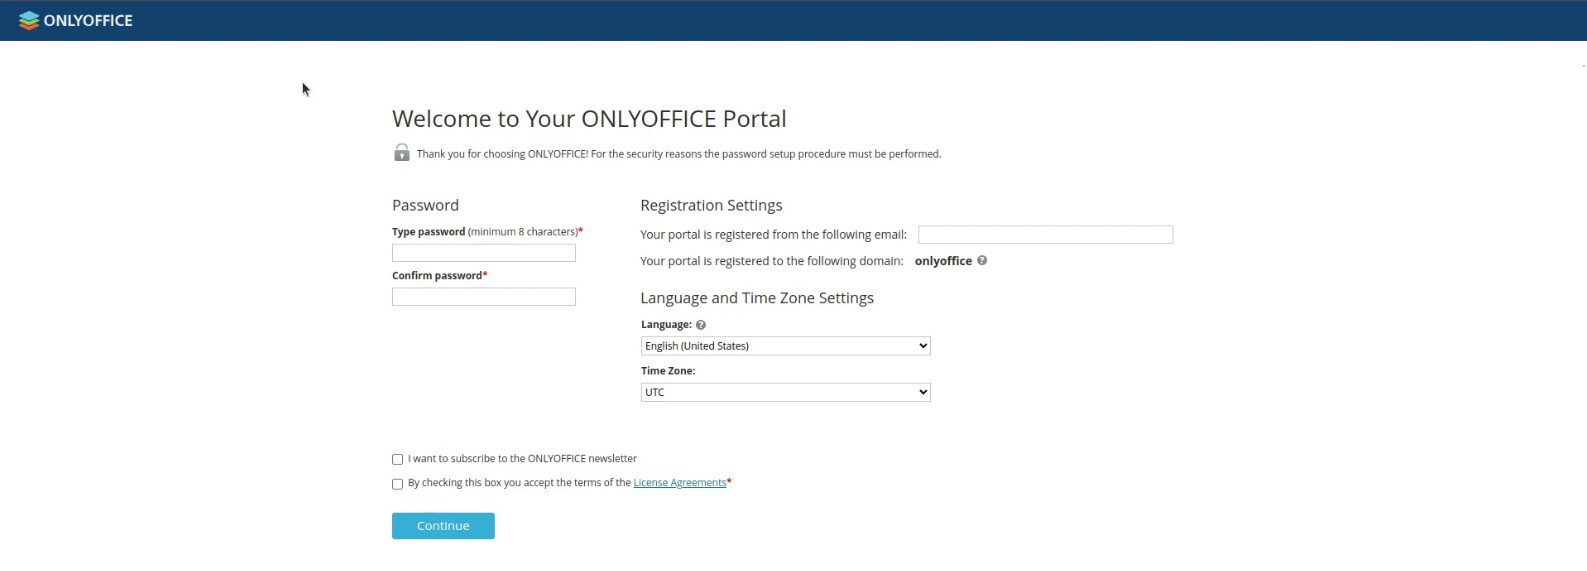
Fill in and verify the password you want the administrator account to have. It is very important to provide your email because that will be your username. Set the language and time zone if desired and accept the license agreement and click “continue”.
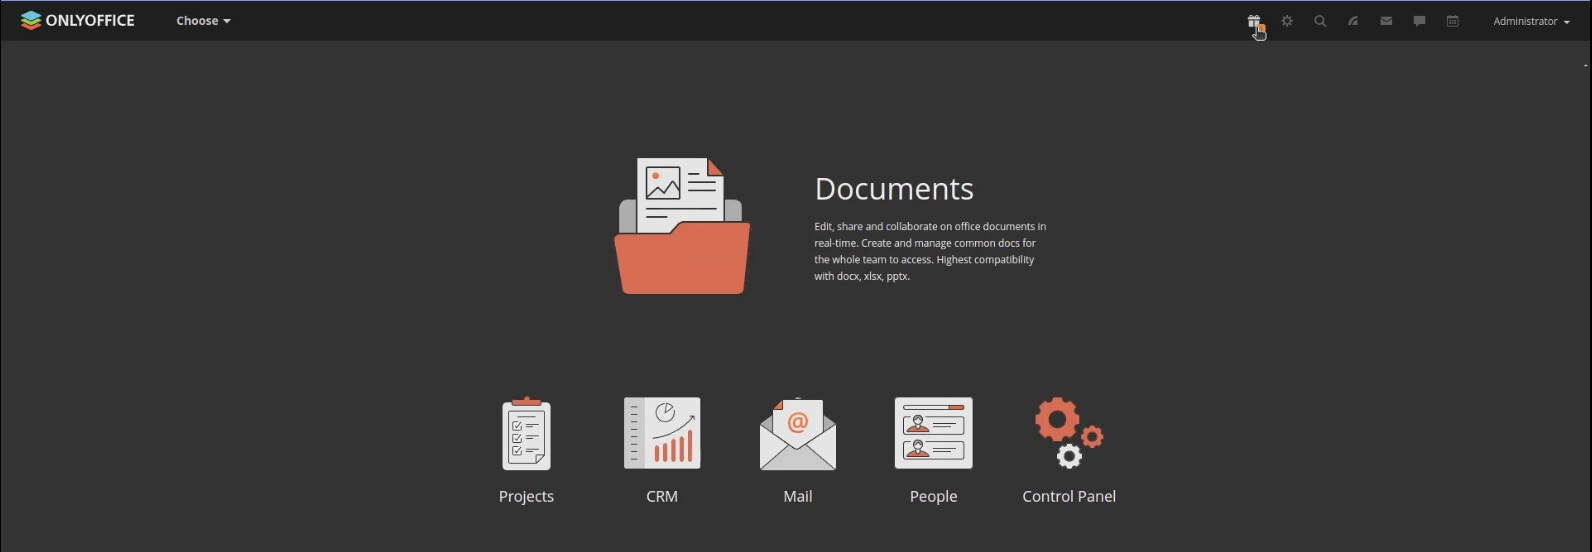
At this point you have a fully functional OnlyOffice web based instance running in your home lab.
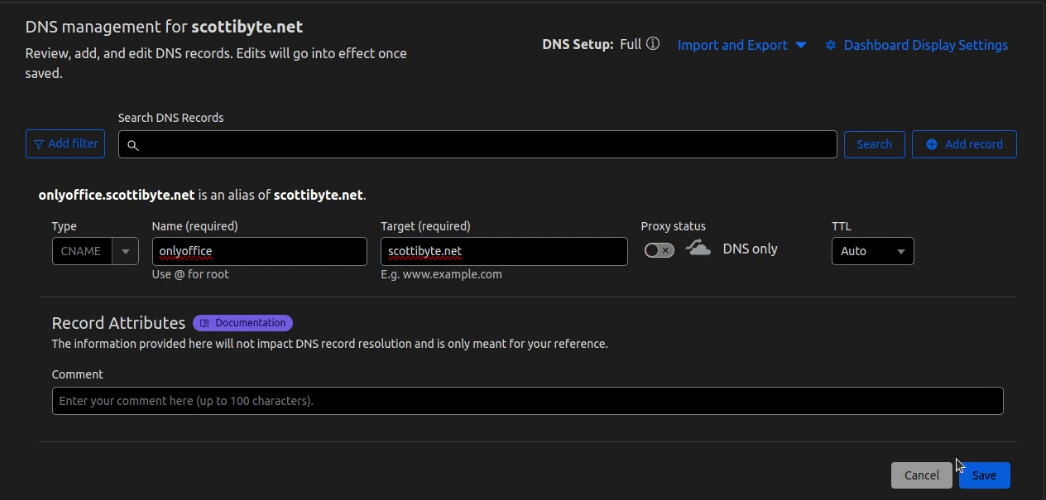
If you want this OnlyOffice instance to be available on the public Internet, you need to go to your DNS provider and create a CNAME record that points to your domain name assuming your domain name points to the WAN address of your router. In my case, I use Cloudflare as my DNS Provider.
Next you will need to create a proxy entry in your NginX Proxy Manager to reverse proxy the subdomain name you choose at your DNS Provider to point to the local LAN address of your OnlyOffice instance.
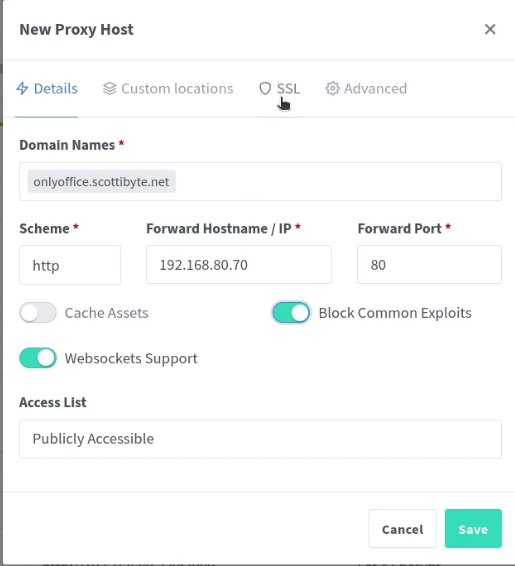
After entering the appropriate address for the new Proxy Host for your OnlyOffice Instance, move to the SSL tab and request a Let’s Encrypt SSL certificate.

After pressing “SAVE” and after the proxy entry is created, come back into the entry you just made and edit it to add “Force SSL” and save it again.
At this point, you can go to your subdomain name for your service and you will be presented with an SSL connection to the OnlyOffice Login screen.
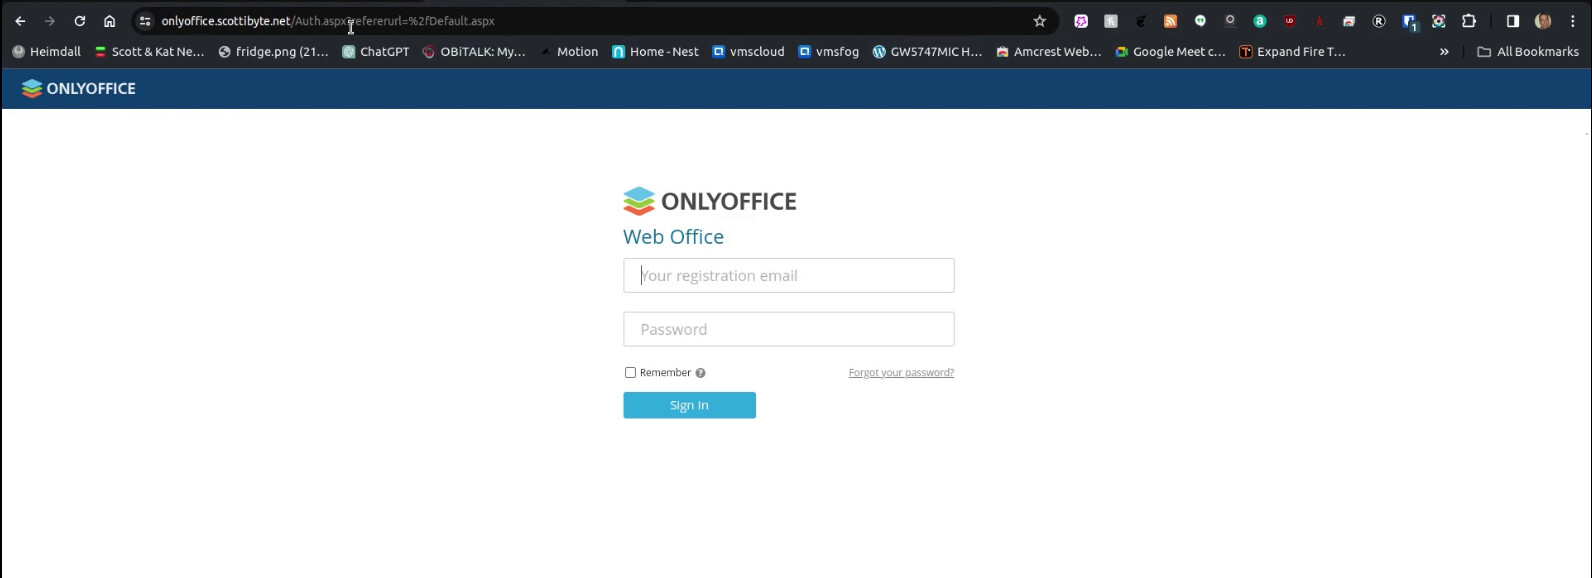
Your OnlyOffice instance is now reachable from the Internet and you can invite users to your instance.