The ScottiBYTE MultiView Server coupled with the ScottiBYTE Android TV Client application provides a completely private self hosted, high performance RTSP camera viewing solution with all your credentials secured on your server and not on any TV device.
For the last eight years I have used TinyCam Pro on my phone, tablets, and Fire TV devices. TinyCam Pro is a flexible and powerful Android application and it usually performs rather well. The issue I have had with it is that whenever I add or modify a camera configuration, I have to visit every device with TinyCam Pro and make changes. There is an option to store the camera configuration to Google Drive or NextCloud, but that option does not always work well.
Worse yet, all your camera credentials are a part of each TinyCam Pro configuration and so your configuration including passwords are on every phone, tablet and Android TV box on which you use the application.
The other issue is that newer cameras are now 4k, have higher bitrates and use h.265 compression. This means that those Fire TV devices which have minimal CPU resources are quickly overwhelmed. I had my cameras displayed on my Fire TV in a 2x2 Matrix on the main screen and TinyCam Pro would frequently lock up or crash entirely.
I developed Multiview as a Client/Server application to solve these problems. The Multiview Server stores all of your camera credentials and manages all of your camera stream configurations.
At the core of the Multiview server is the Stream Engine which is powered by MediaMTX. MediaMTX is a lightweight live video/audio streaming server and proxy. Think of it as a media router: cameras, FFmpeg, OBS, or other devices can publish streams into it, and clients can read those streams back using different protocols. Multview uses FFmpeg to transcode streams and publish them using MediaMTX.
Here’s the data flow.
Camera → Stream URL → MediaMTX/Stream Relay → Multiview Backend → Android TV App
Start by creating an Incus Container for the MultiStream Server. Since MultiStream is a docker application, you can also just load it on your existing docker server.
incus launch images:ubuntu/26.04 MultiviewServer -p default -p vlan30 -c boot.autostart=true -c security.nesting=true
My vlan30 profile above is for my IoT vlan since that is where my cameras are located. You can use “bridgeprofile” like my other projects to create your container if your cameras are not on any special vlan.
Move inside of the new container.
incus shell MultiviewServer
Accept the updates.
apt update && apt upgrade -y
Install some dependencies.
apt install nano curl net-tools openssh-server -y
Install docker from the script on the docker website.
curl https://get.docker.com | sh
Add a user.
adduser scott
Put the user in the sudo and docker groups.
usermod -aG sudo,docker scott
Log into the new user account.
su - scott
Create the application folder and move inside it.
mkdir multiview-server && cd multiview-server
Edit a docker compose file.
nano compose.yml
Put the following text into the editor.
services:

  mediamtx:
    image: bluenviron/mediamtx:latest
    container_name: multiview-server-mediamtx
    restart: unless-stopped
    network_mode: host
    volumes:
      - ./mediamtx/mediamtx.yml:/mediamtx.yml:ro

  multiview-server:
    image: scottibyte/multiview-server:latest
    # For local development, comment the image line above and uncomment:
    # build: .
    container_name: multiview-server
    restart: unless-stopped
    network_mode: host
    environment:
      - NODE_ENV=production
      - PORT=8080
      - TZ=${TZ}
      - MULTIVIEW_PUBLIC_URL=${MULTIVIEW_PUBLIC_URL}
      - MULTIVIEW_DATA_DIR=/app/data
      - MEDIAMTX_API_BASE=${MEDIAMTX_API_BASE}
      - MEDIAMTX_HLS_BASE=${MEDIAMTX_HLS_BASE}
    volumes:
      - ./data:/app/data
      - ./logs:/app/logs
Do a CTRL O and enter to save the file and a CTRL X to exit the nano editor.
Edit the environment variables file.
nano .env
Insert the following into the editor.
# ScottiBYTE MultiView Server local configuration

TZ=America/Chicago

# Public URL for the protected MultiView Server web UI/API.
# Example:
# MULTIVIEW_PUBLIC_URL=https://multiview-server.example.com
MULTIVIEW_PUBLIC_URL=http://serverip:8080

# MediaMTX API is normally local to the host-network containers.
MEDIAMTX_API_BASE=http://127.0.0.1:9997

# HLS base URL used by web/TV clients.
# Keep this LAN-only unless you intentionally expose/protect HLS separately.
MEDIAMTX_HLS_BASE=http://serverip:8888
Change your timezone accordingly. Change the MULTIVIEW_PUBLIC_URL serverip value to the address of your incus container or your docker server. The public URL can also be served via NginX Proxy Manager if desired. Set the MEDIAMTX_HLS_BASE serverip to the address of your incus container or docker server. MEDIAMTX_HLS_BASE must be a local address.
Save the file with CTRL O and enter and CTRL X to exit the nano editor.
Make a folder for MediaMTX.
mkdir mediamtx
Edit the MediaMTX configuration file.
nano mediamtx/mediamtx.yml
Insert the following text.
logLevel: info

api: yes
apiAddress: 0.0.0.0:9997

rtsp: yes
rtspAddress: 0.0.0.0:8554

hls: yes
hlsAddress: 0.0.0.0:8888
hlsVariant: mpegts
hlsSegmentCount: 6
hlsSegmentDuration: 2s
hlsAlwaysRemux: yes

webrtc: yes
webrtcAddress: 0.0.0.0:8889

paths:
  all_others:
    source: publisher
Save the file with CTRL O and enter and CTRL X to exit the nano editor.
Start the Multiview Server.
docker compose up -d
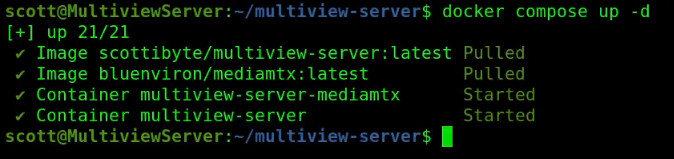
Check to see that it is running.
docker ps

Also the logs…
docker compose logs
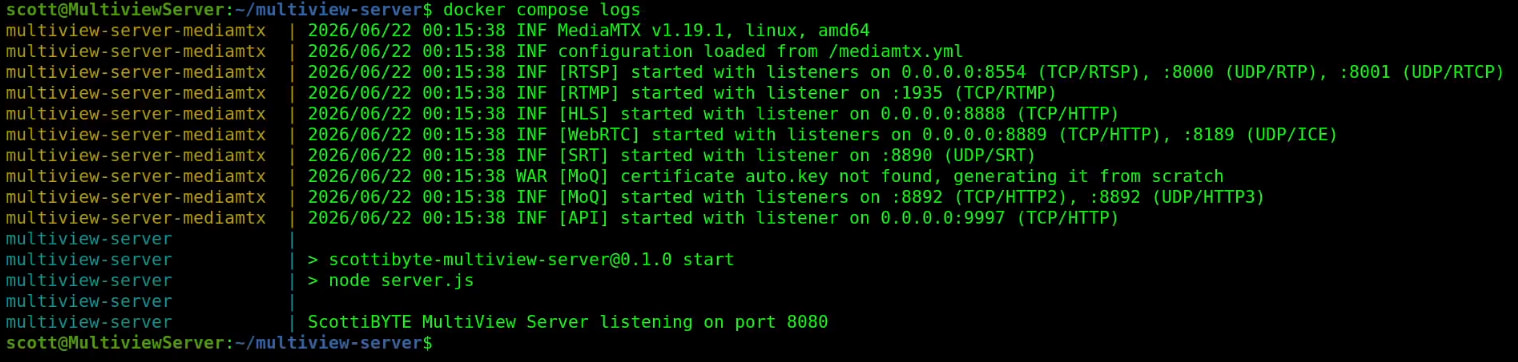
Find out the address of the incus container (yours will differ).
ifconfig
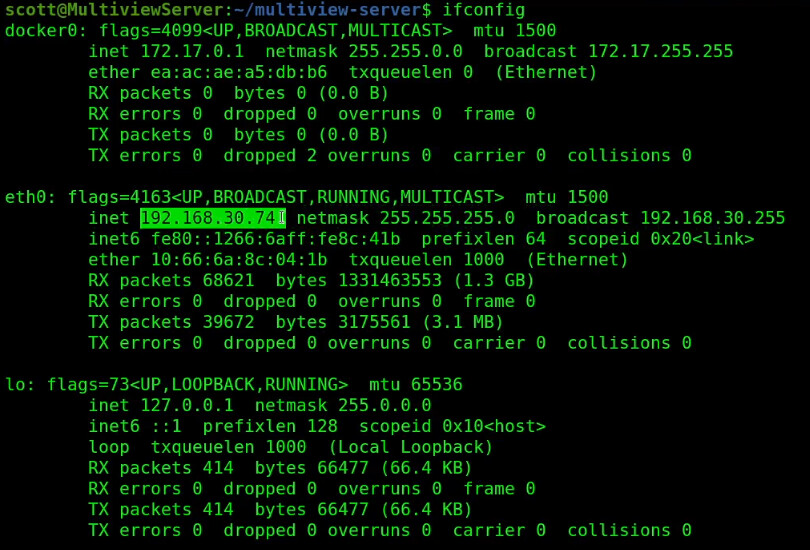
Go to your web browser at the address you found at port 8080.
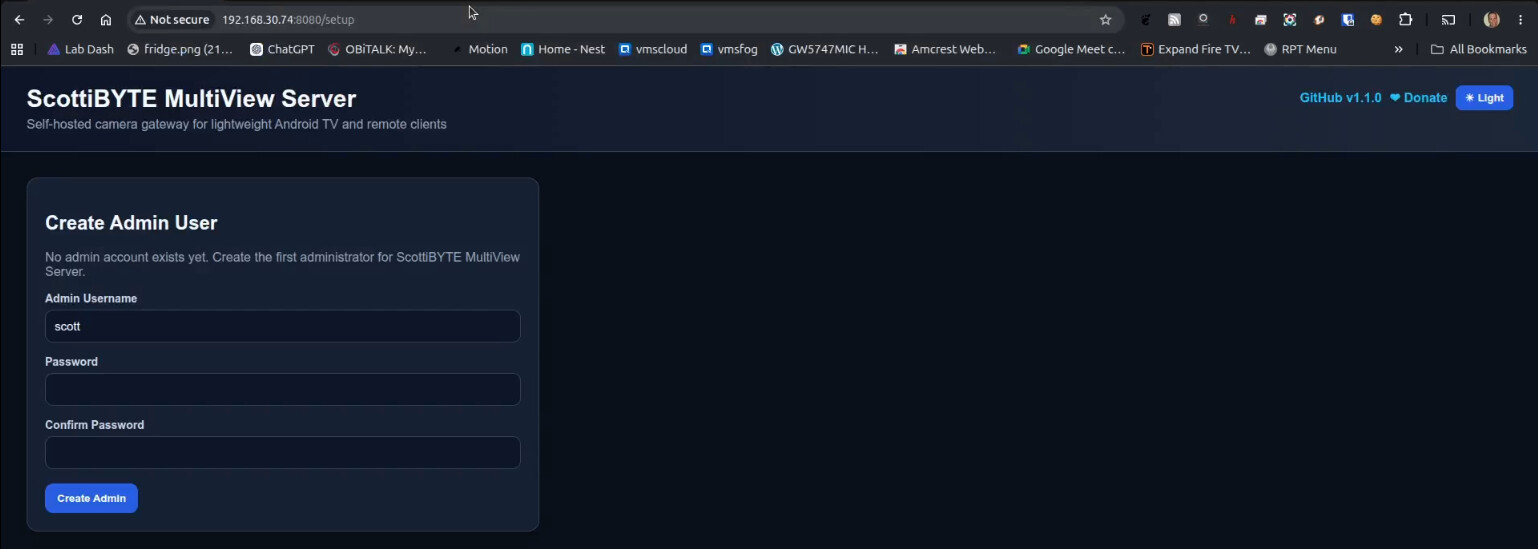
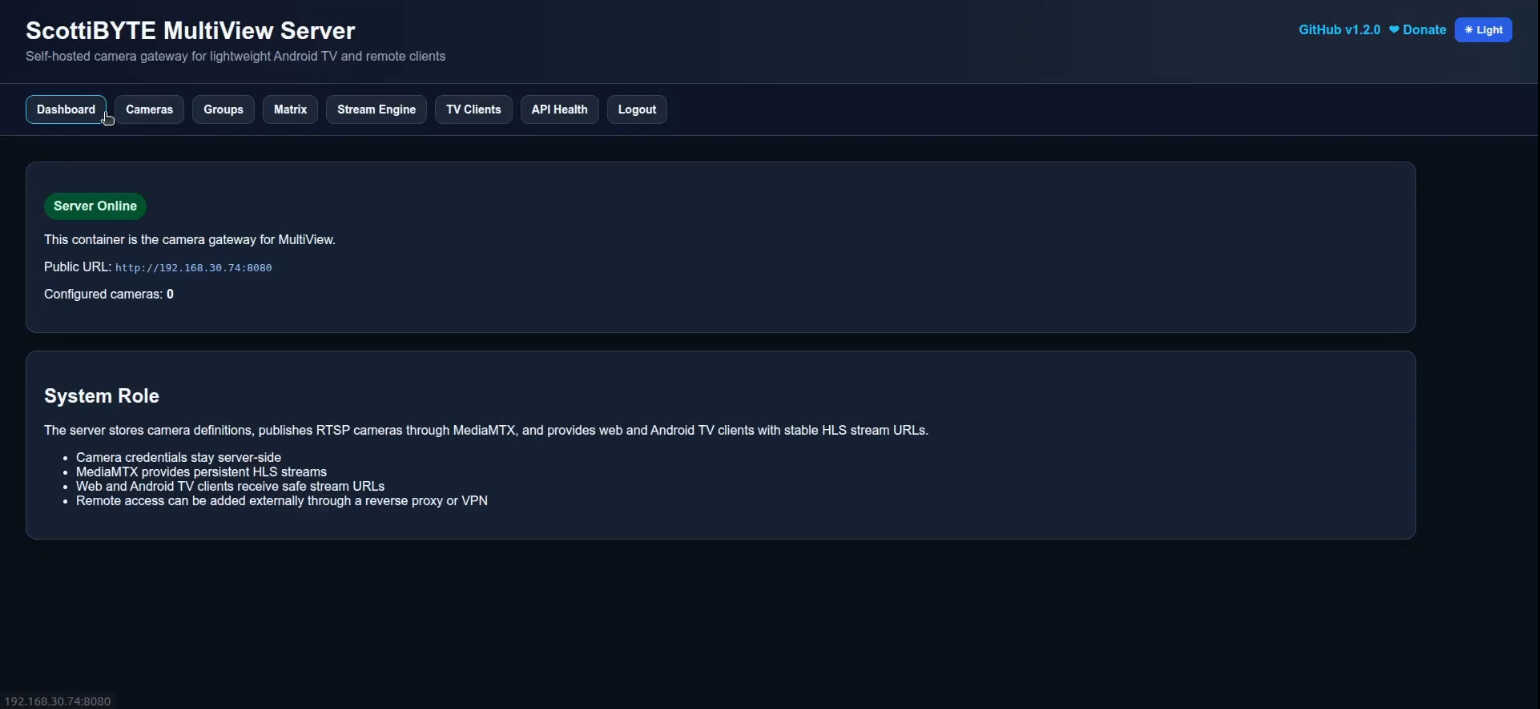
Once you create the admin user you are logged in on the dashboard.
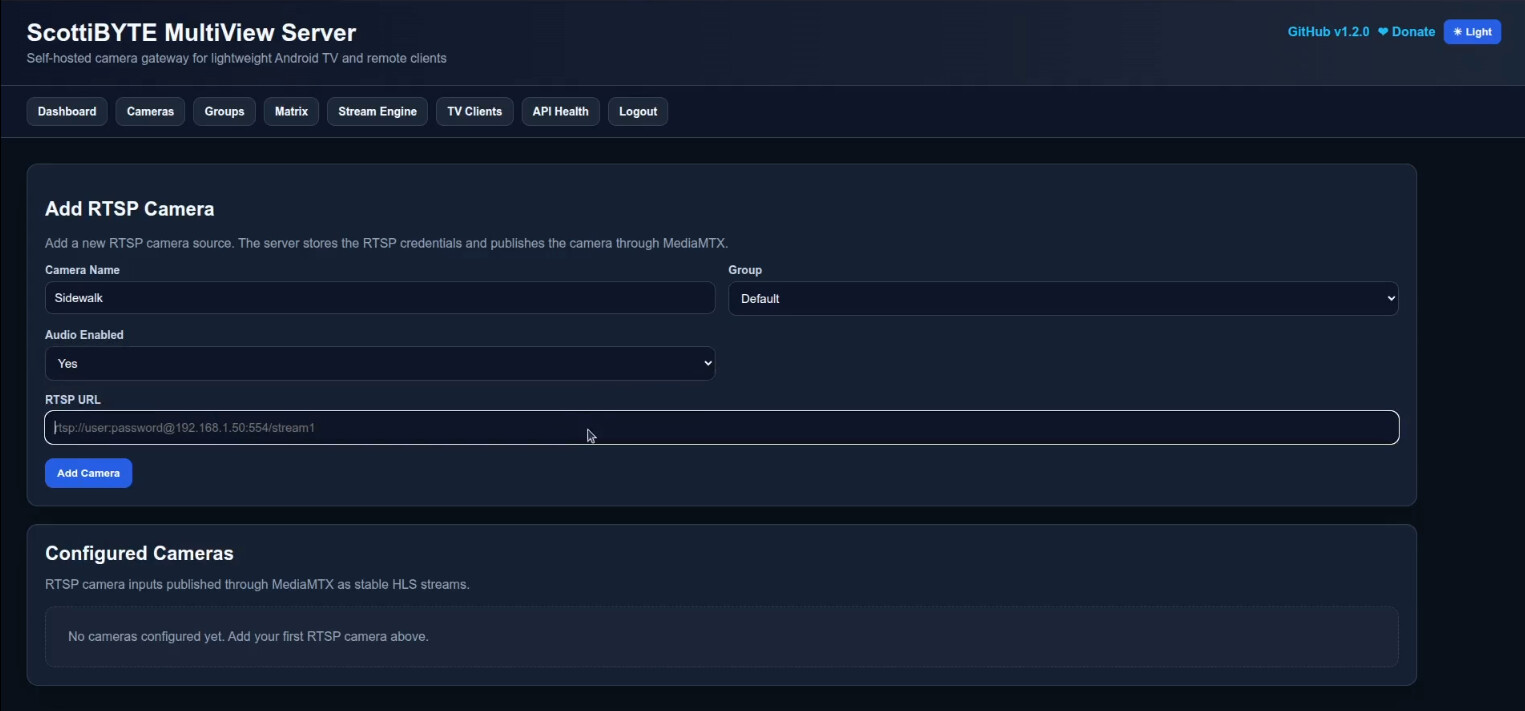
Go the the Cameras button and enter one or more cameras with their RTSP URL as documented by each camera manufacturer.
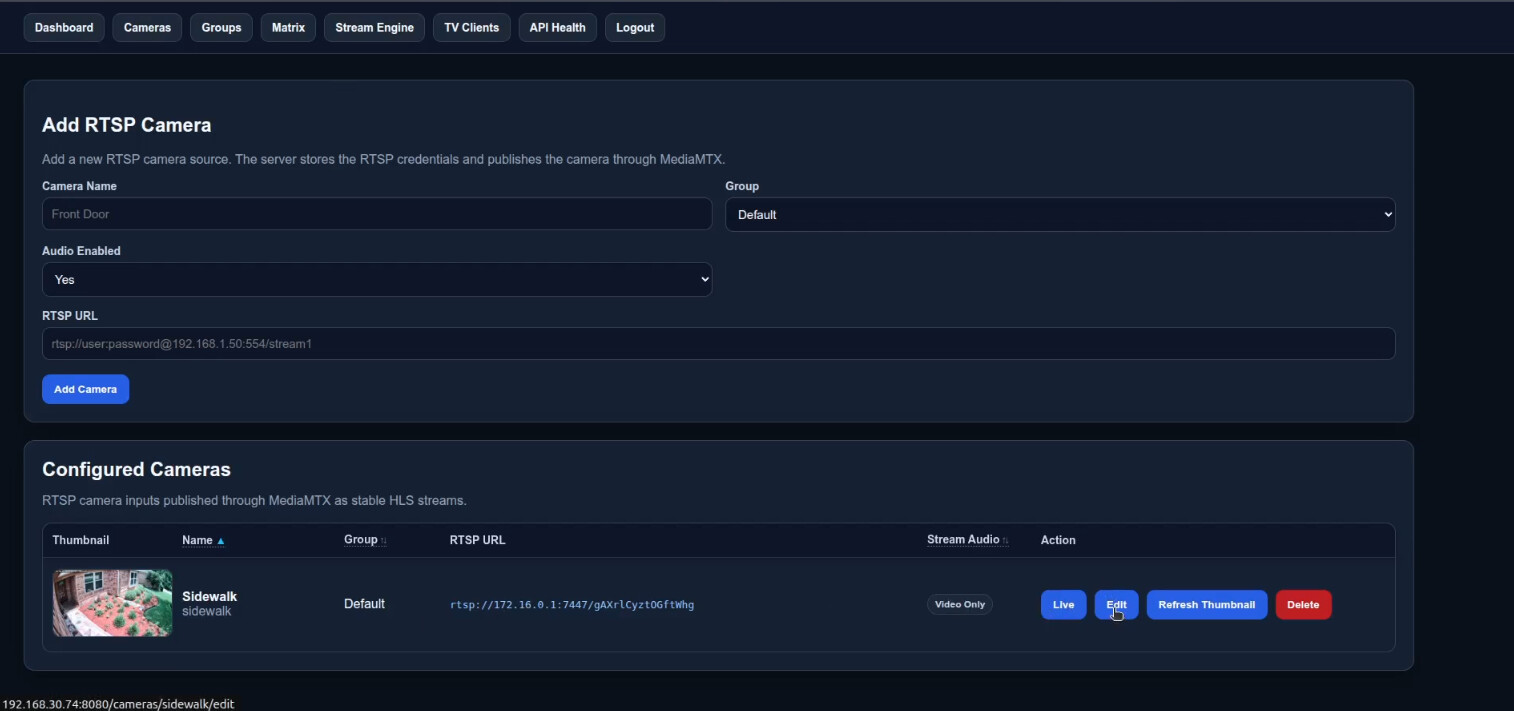
Once you add a camera, if it properly connects, it will display a thumbnail picture to the left of its name.
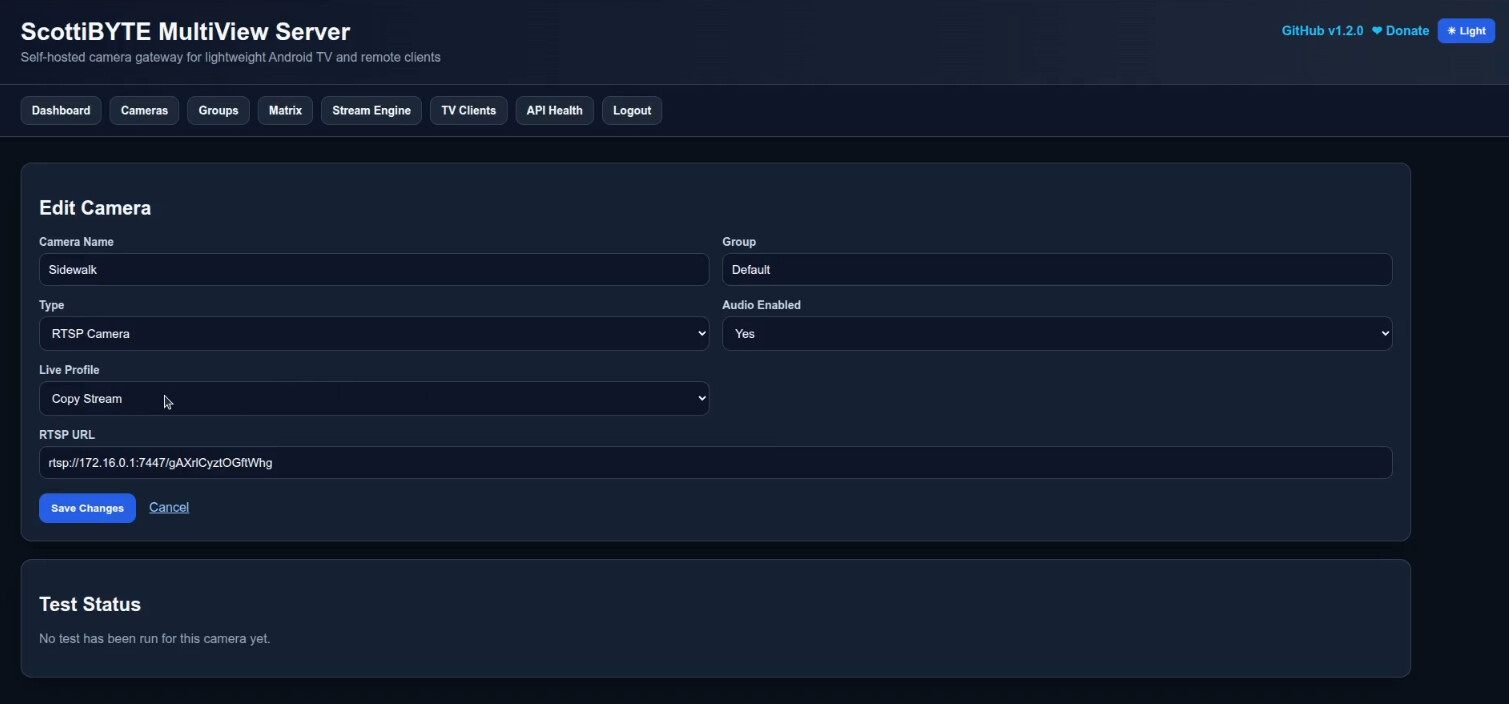
If you go back and edit the camera settings with the edit button, there are a few more options.
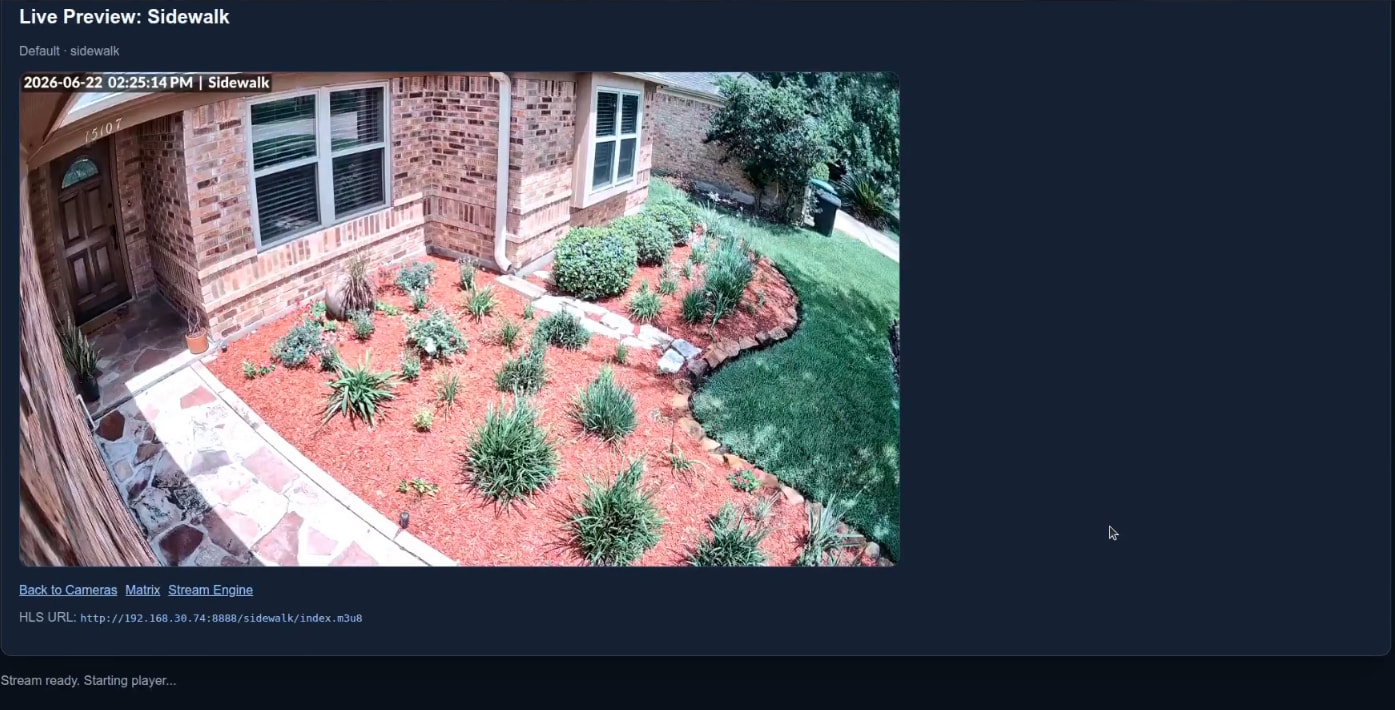
If you click on the “Live” button you will see the live stream from that camera.
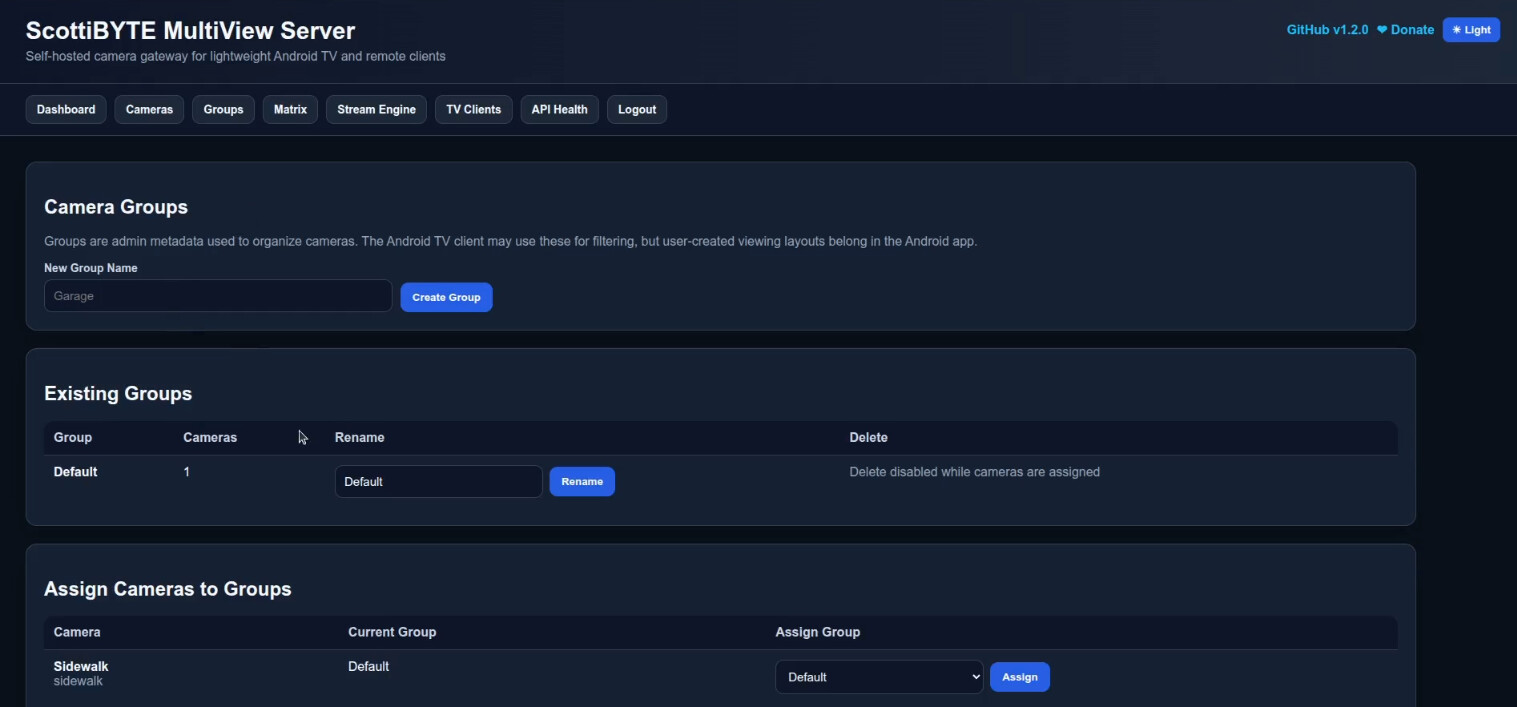
The “Groups” menu lets you optionally organize your cameras into groups just for your own reference.
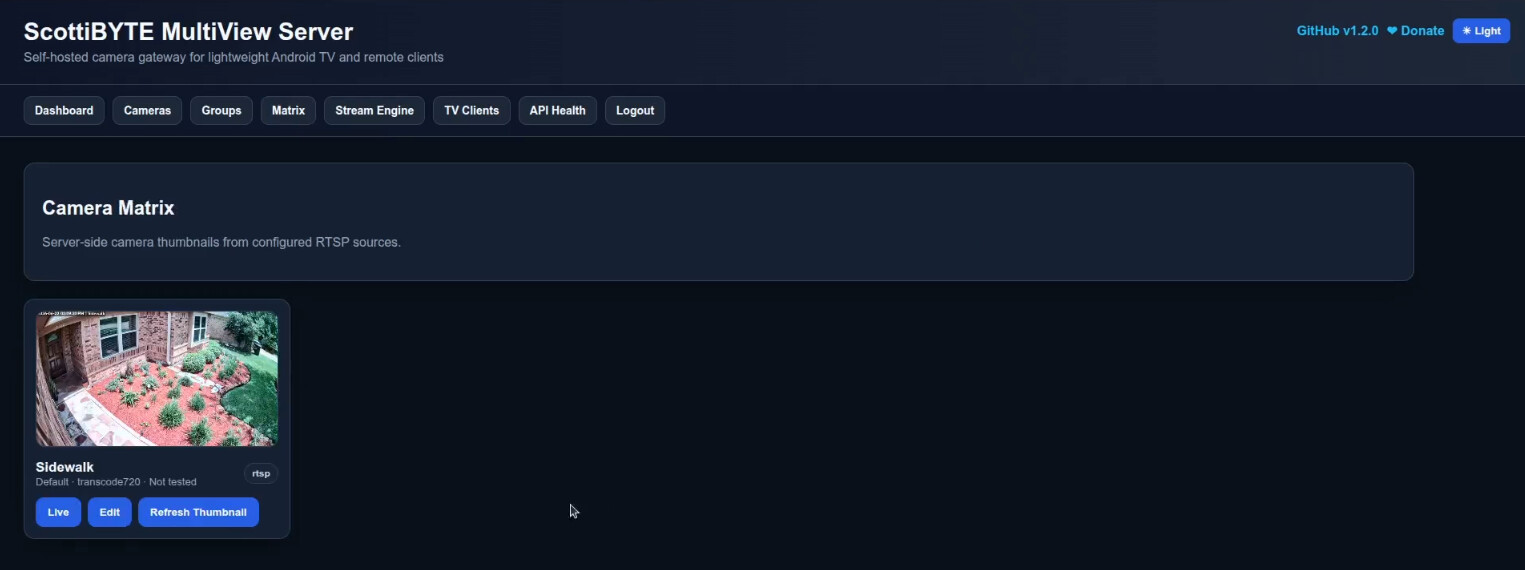
The Matrix menu option displays your cameras in a Matrix with dedicated cards for each.
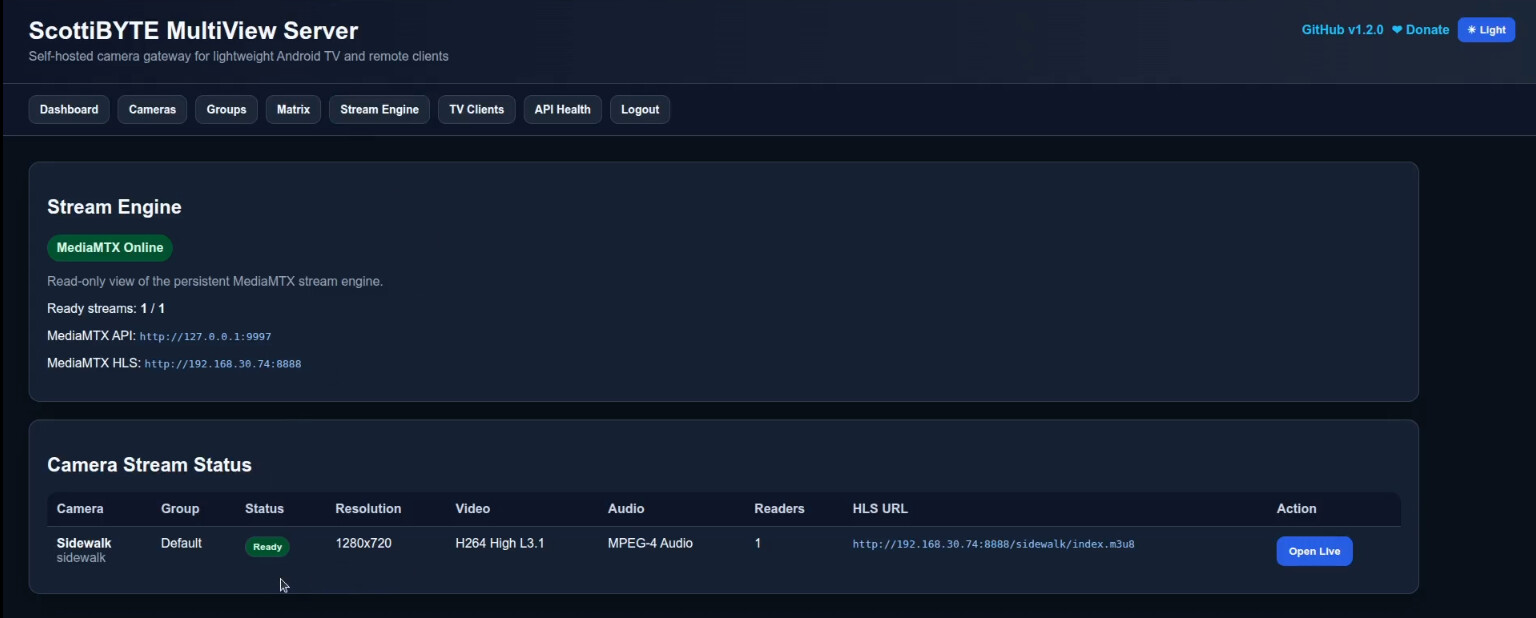
Stream Engine shows the status of your camera streams.
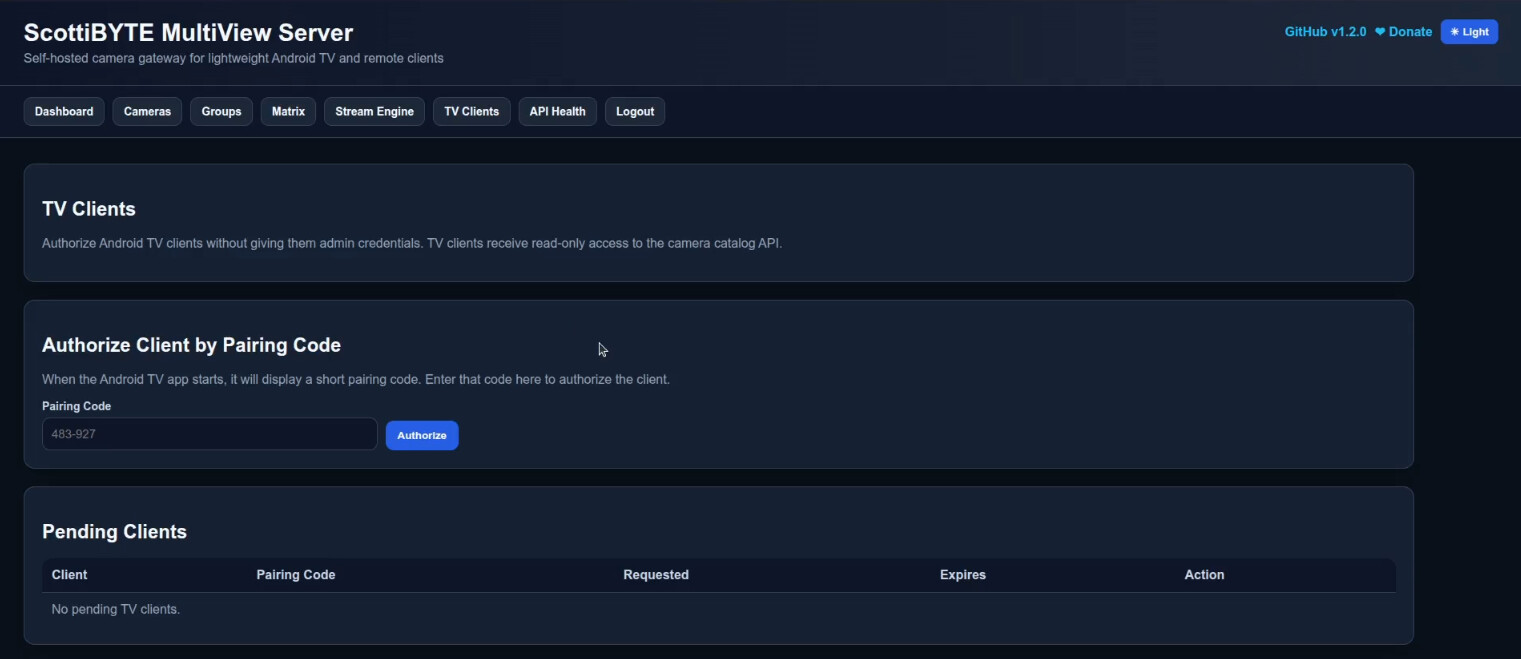
TV Clients is the menu where you authorize & de-authorize the clients allowed to access your cameras.

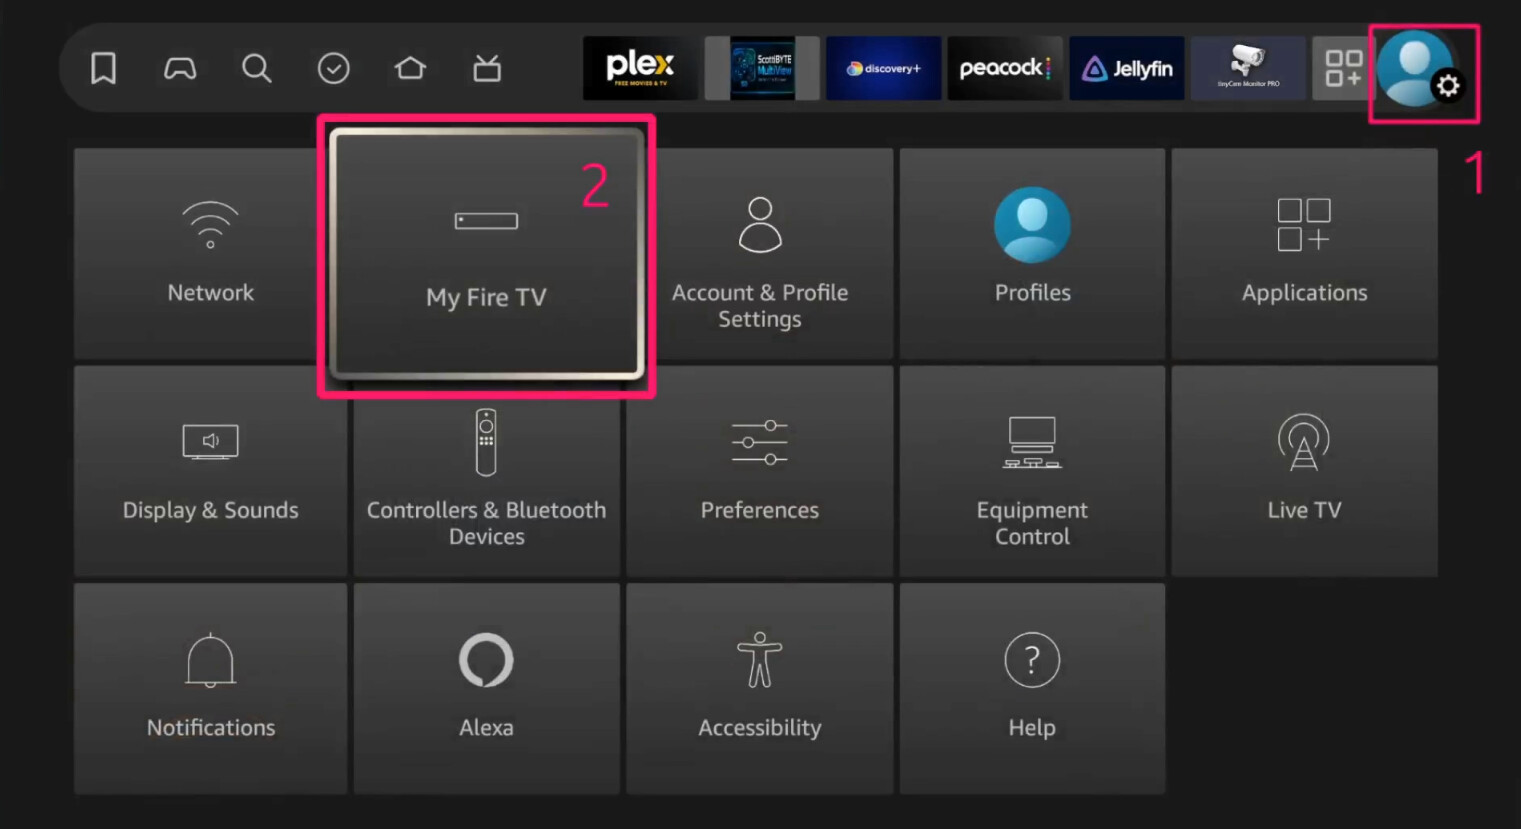
Now that we have the MultiView Server application installed and configured, it’s time to head over to your Fire TV. Start by going into “My Fire TV”
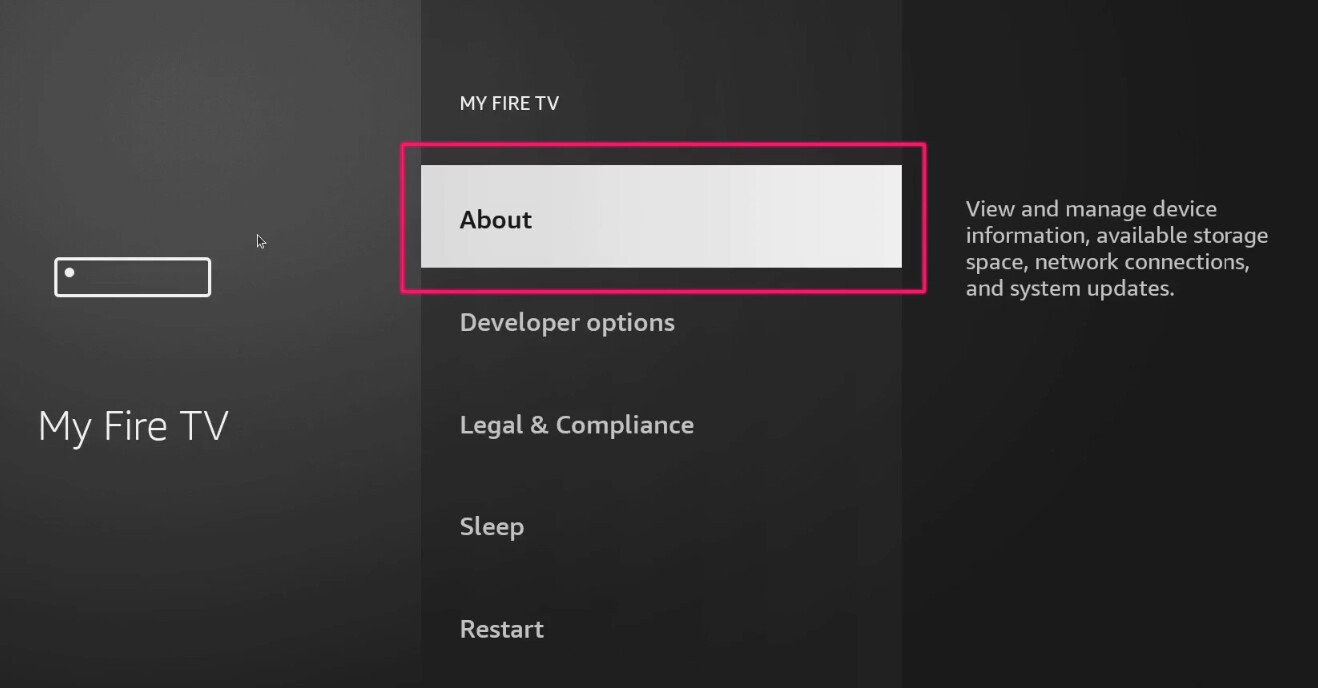
On the next screen, click “About”.
On the next screen shown below, tap on “Fire Stick 4k” five times until it says you are a developer.
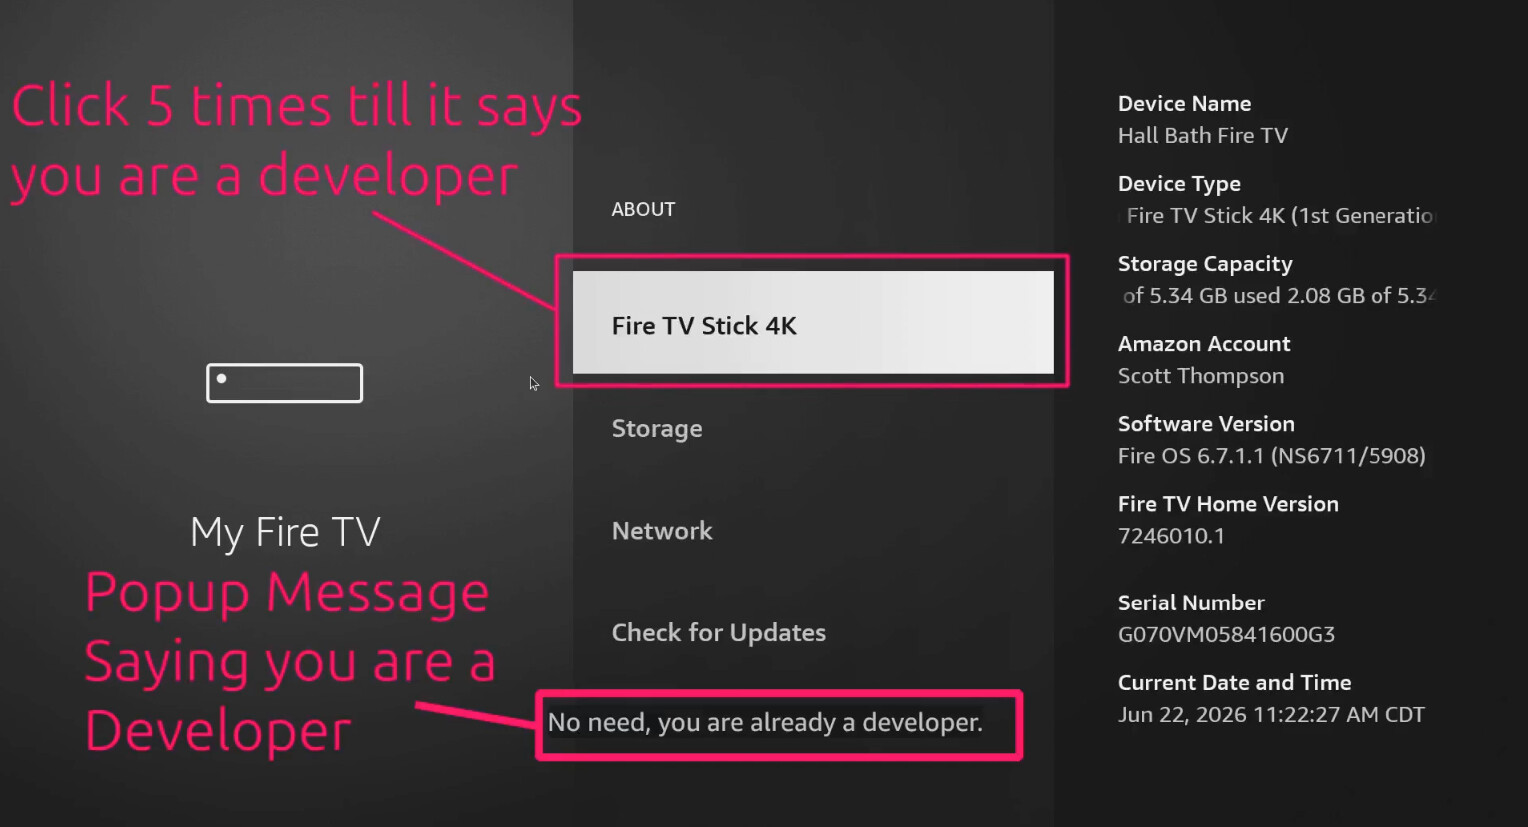
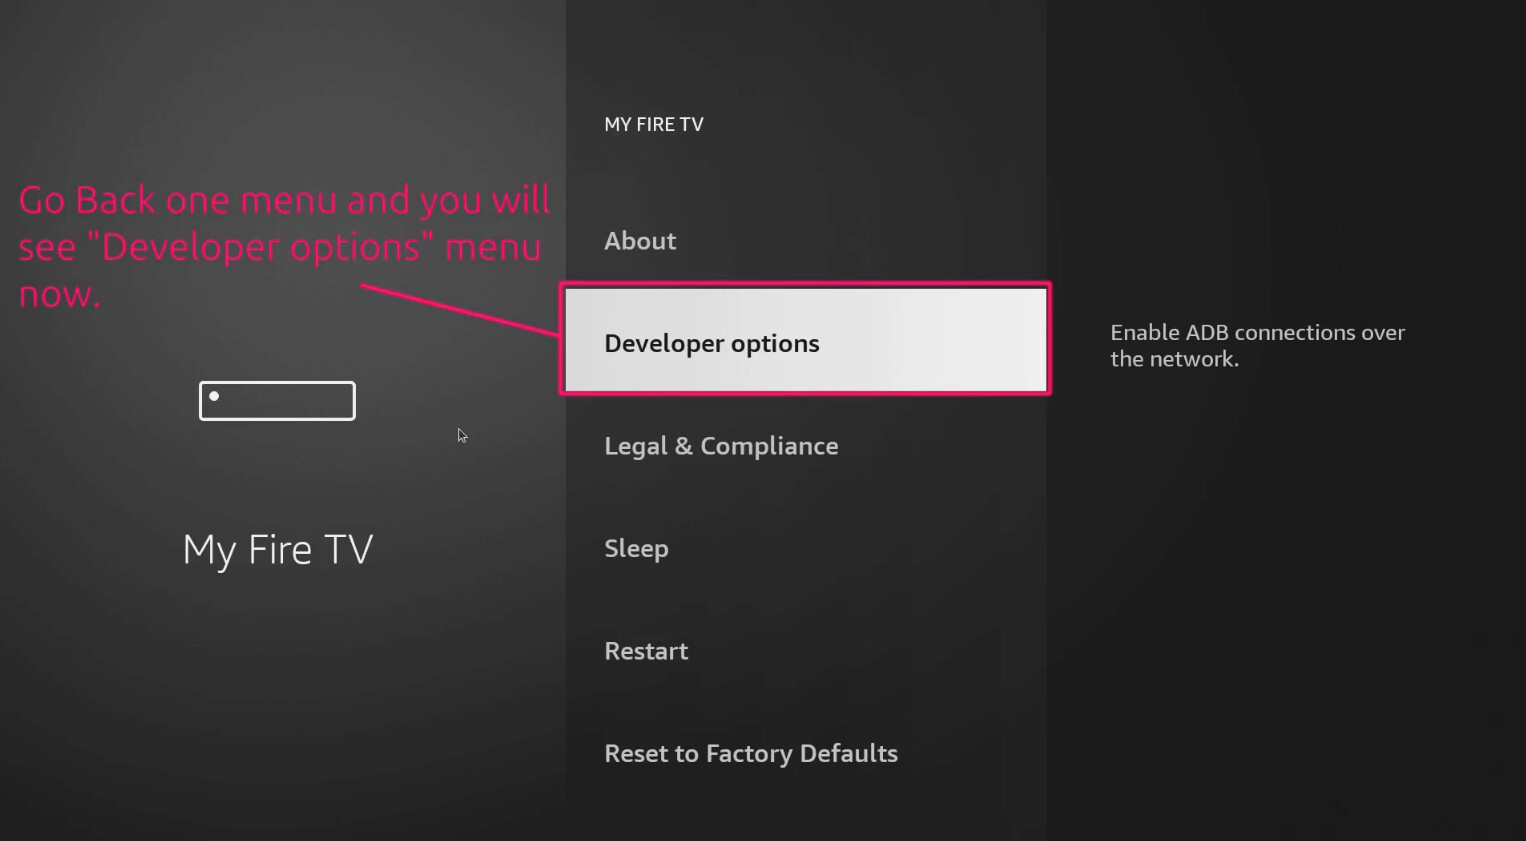
Go back one menu level to the “MY FILE TV” menu and you should see a “Developer Options” menu item.
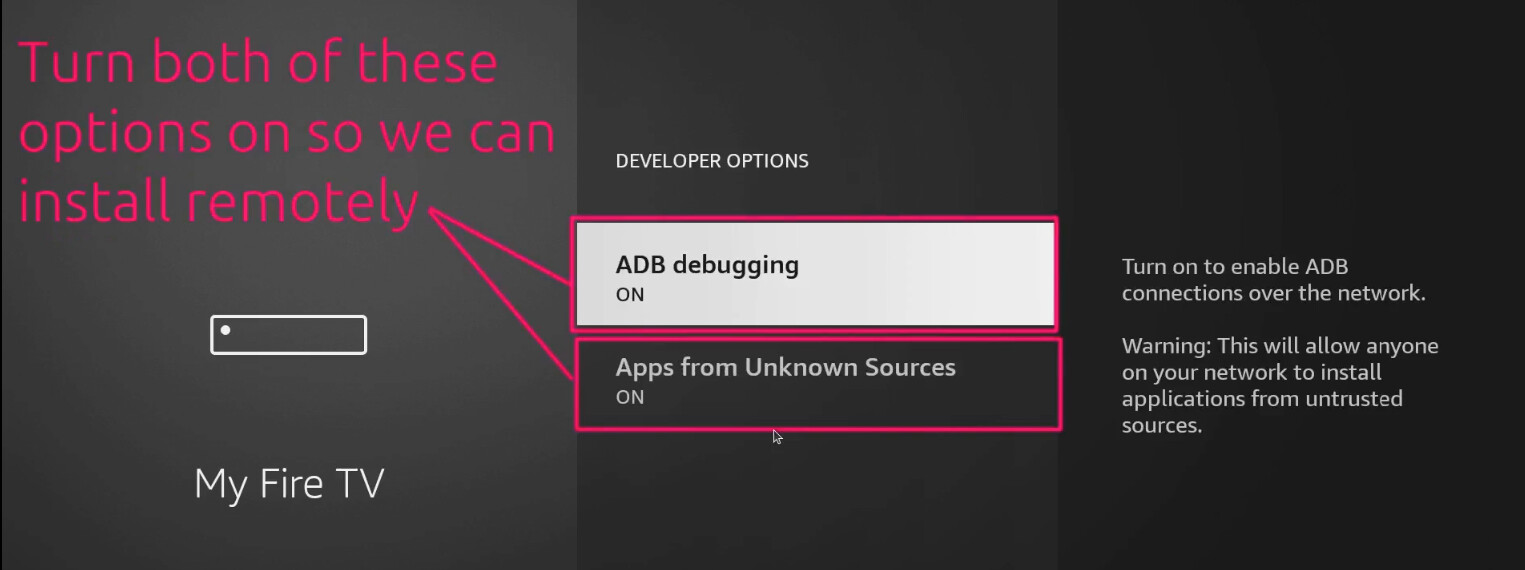
Choose “Developer Options” and turn on both options.
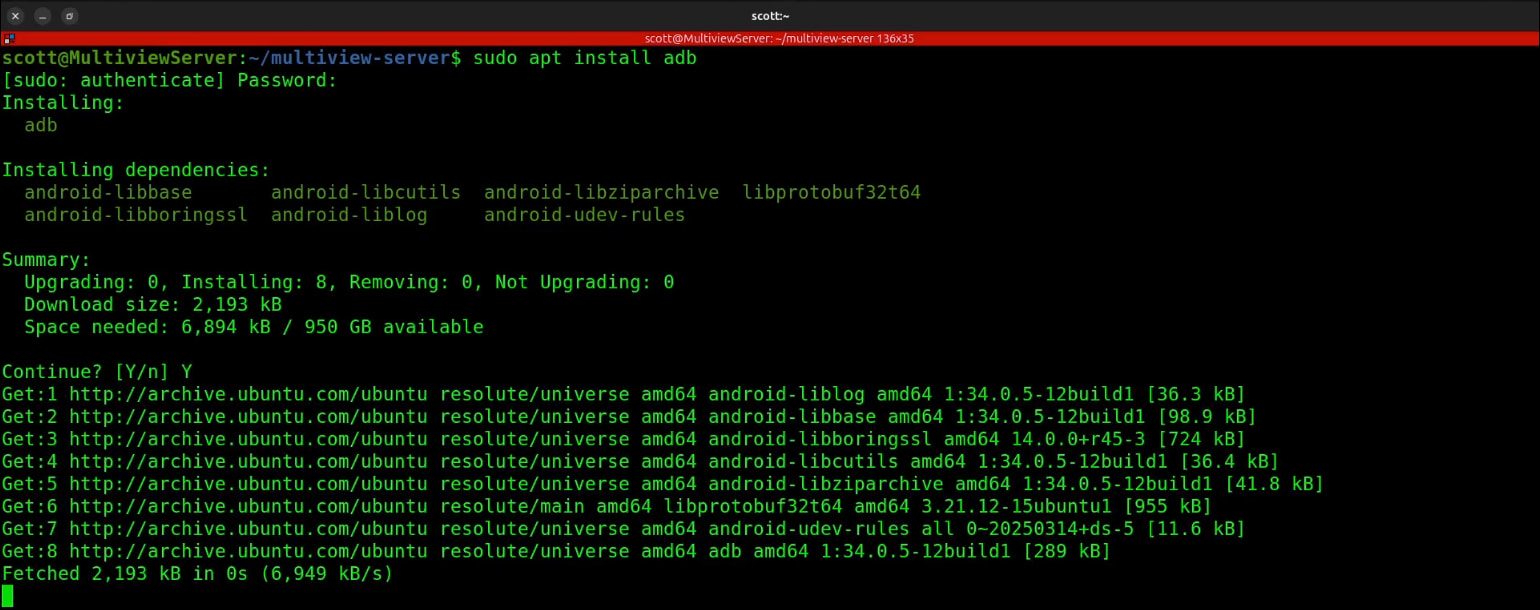
Go back to the command line on your MultiView Server we just built and install the Android Debug Bridge (ADB) tool.
sudo apt install adb
Look at your network router or your Fire TV network options to find the IP address of the Fire TV/Android device.
Start the adb server.
adb start-server

Use adb connect to connect to your Fire TV at the address of your Fire TV. It will fail.

If you go to your Fire TV device, it will have flashed up a message to accept a connection. Follow the video tutorial and provide the authorization.
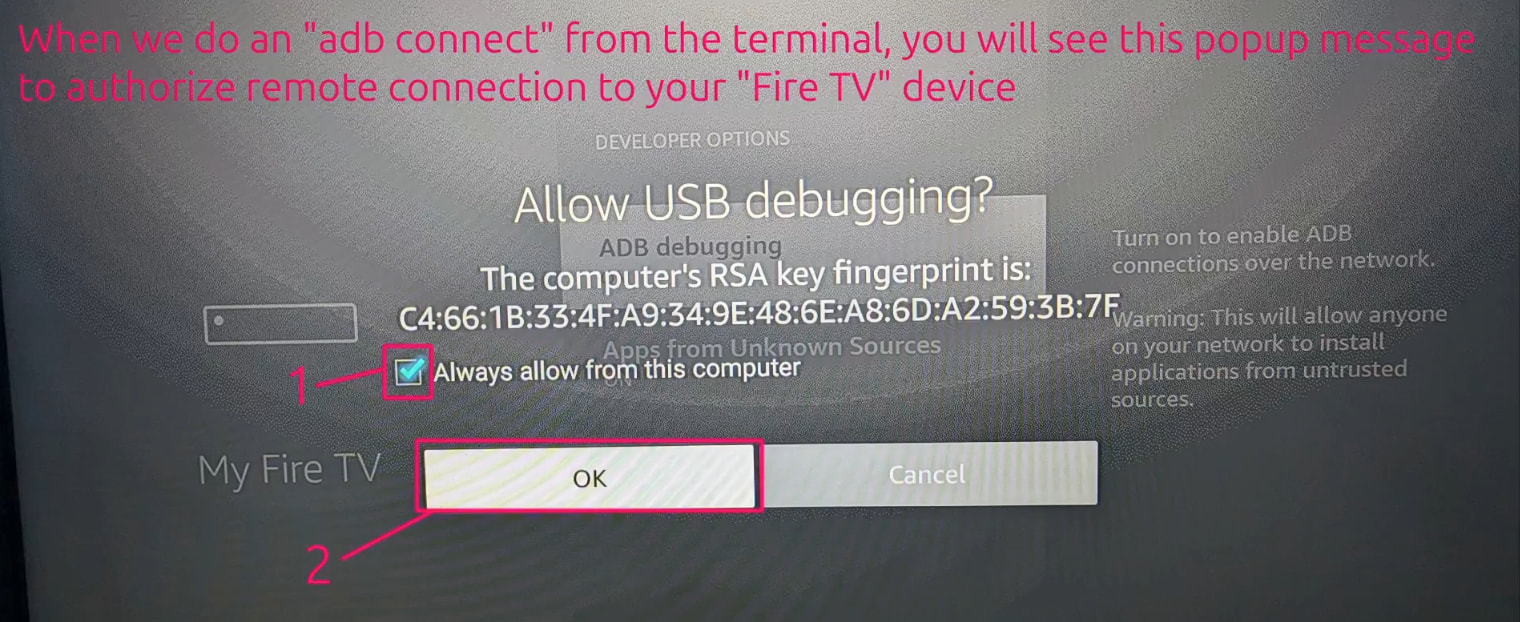
Back at the MutiviewServer command line if you reissue the command, you will see that you are now connected. Be sure to use your Fire TV IP address and not the one I am showing.

Download a copy of the ScottiBYTE MultiView for Android TV client.
wget https://github.com/ScottiBYTE/multiview-android-tv/releases/download/v1.0.0-rc30/ScottiBYTE-MultiView-AndroidTV-FireTV-v1.0.0-rc30.apk
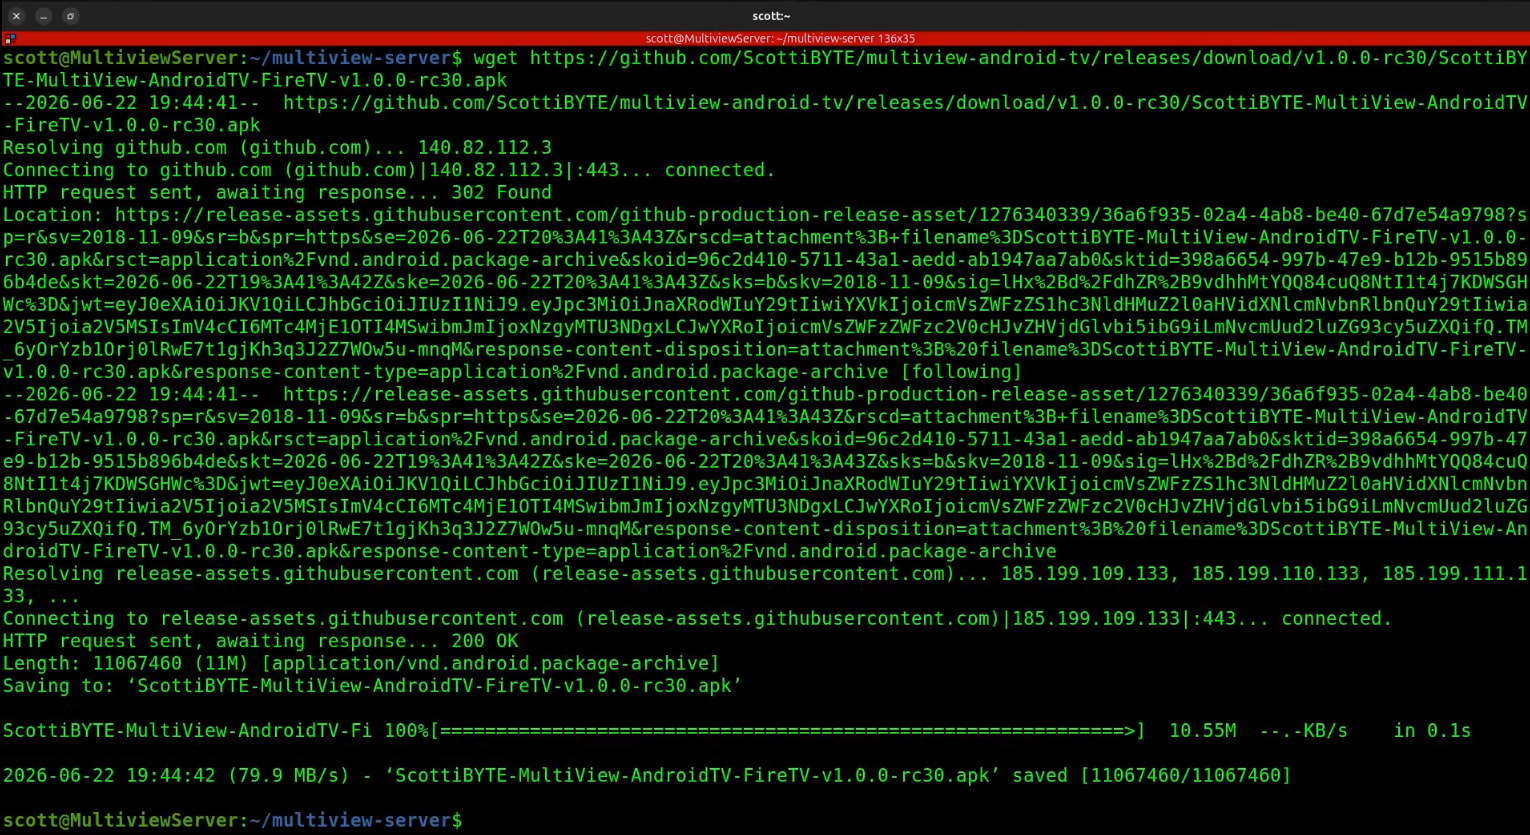
You can list the file to see that it has been downloaded.
ls -al
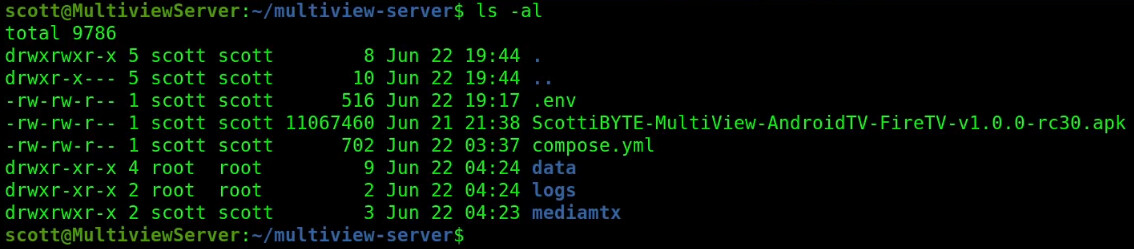
Since we are already connected to the Fire TV, the command to install the package follows. Again, be sure to change the IP address. The port 5555 will be the same.
adb -s 192.168.30.26:5555 install ~/multiview-server/ScottiBYTE-MultiView-AndroidTV-FireTV-v1.0.0-rc30.apk

At the bottom of the application list on your Fire TV device you should see “ScottiBYTE Multiview”.
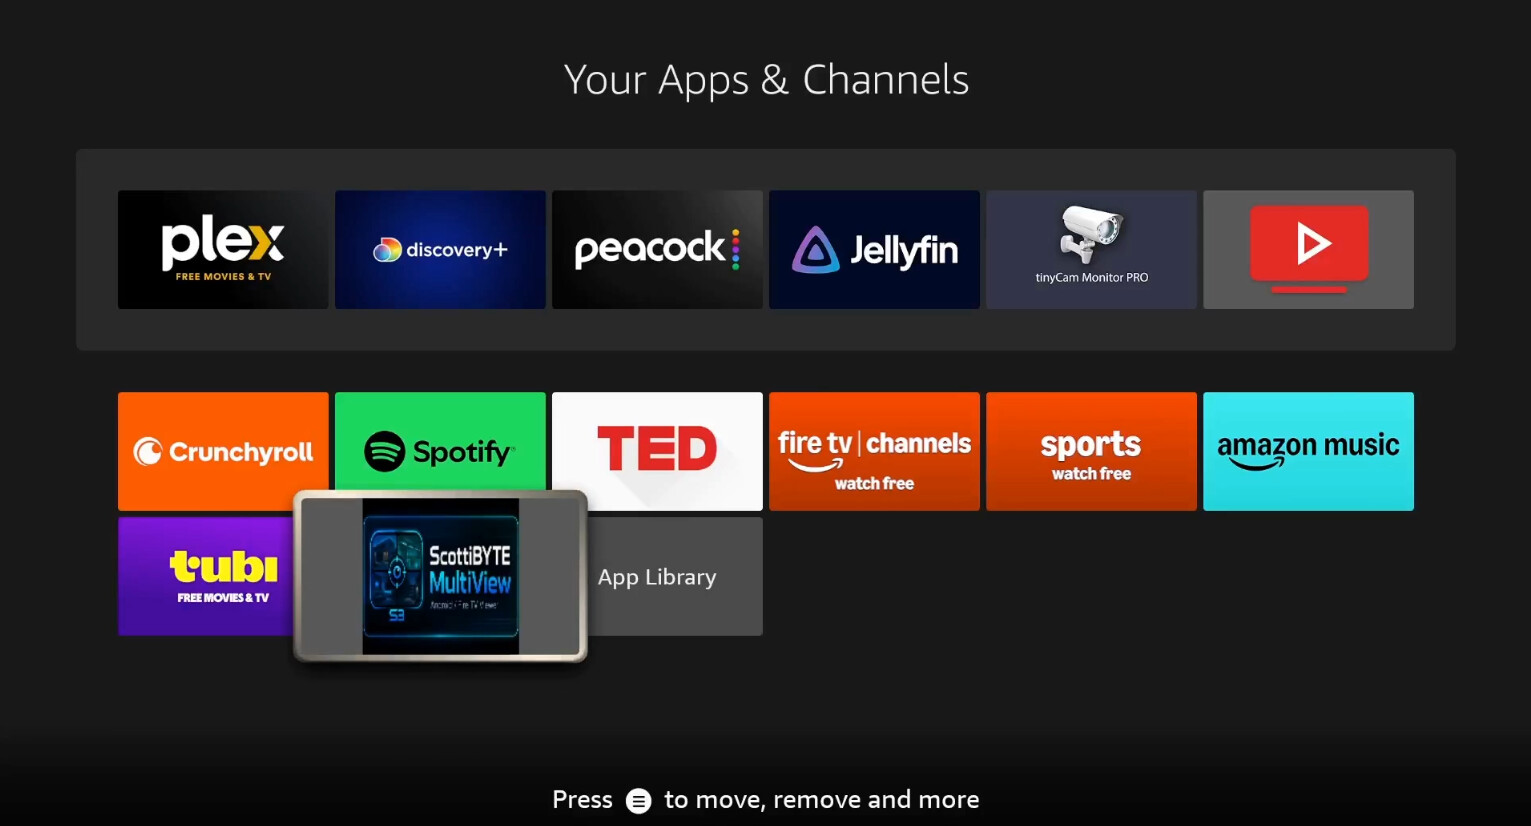
When you launch the application, enter the address of your Multiview Server container. Don’t forget the port 8080 at the end like I did in the tutorial.
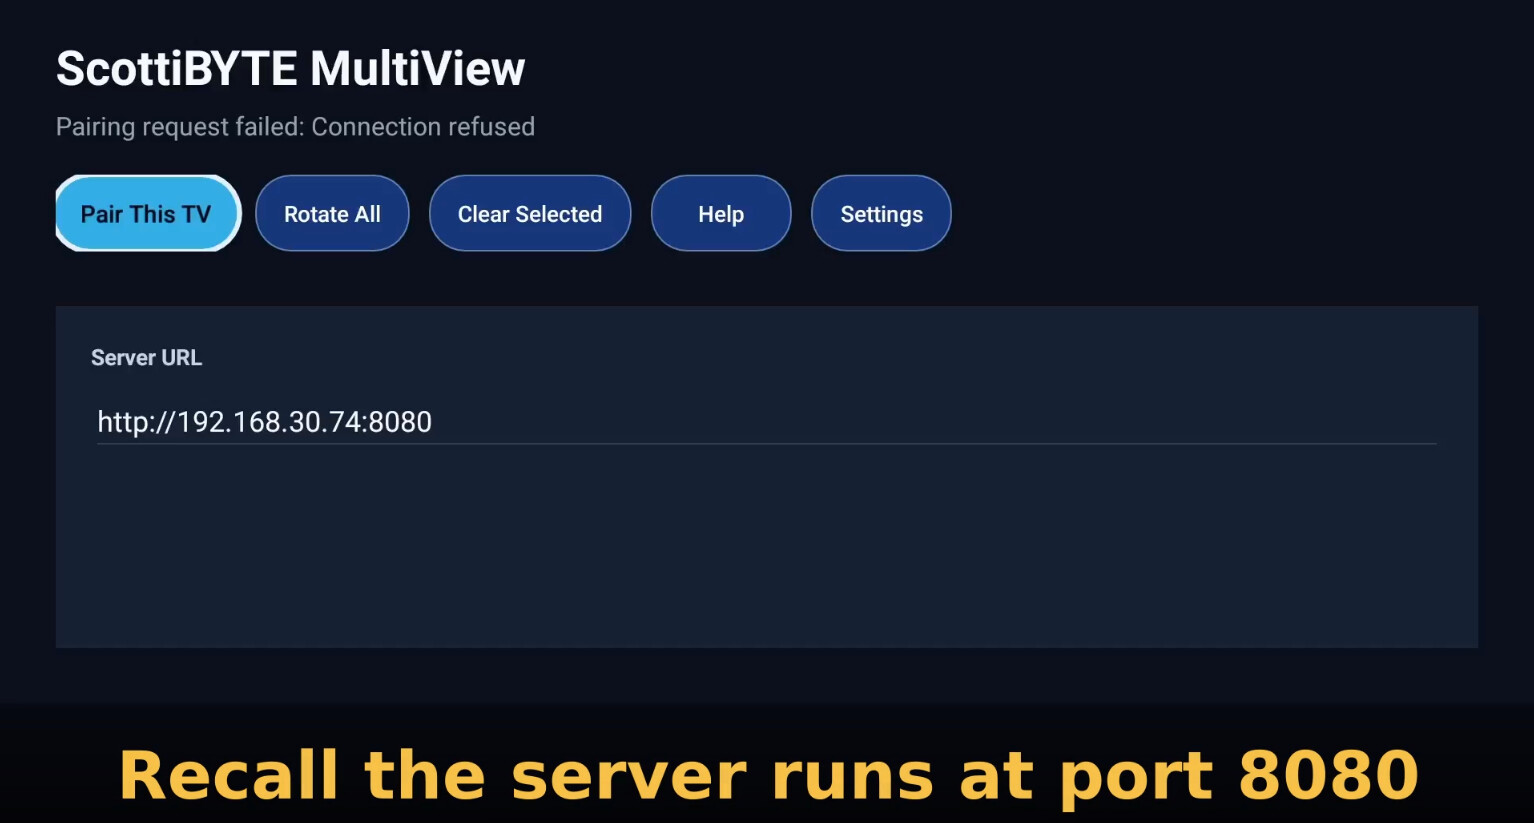
Once the address is correct with the port number as shown above, click “Pair This TV”.
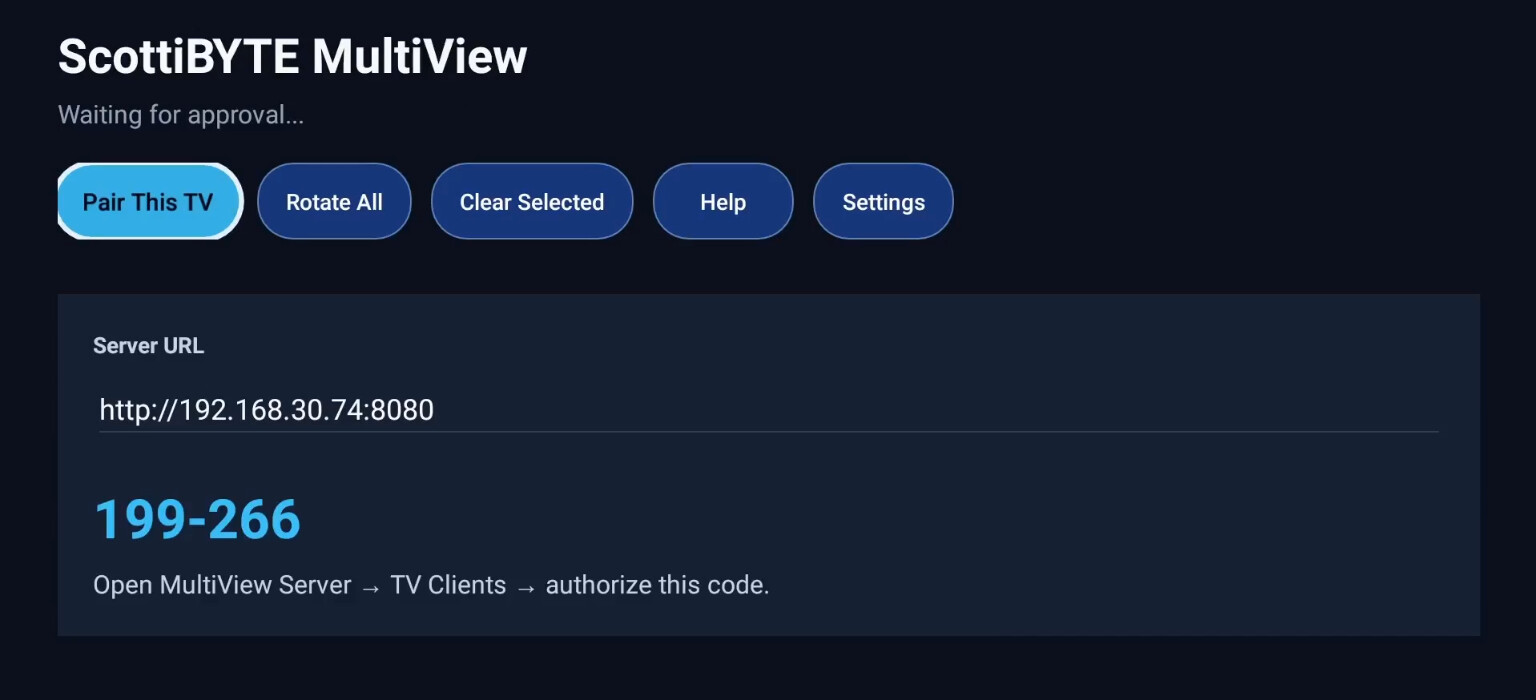
Over on the ScottiBYTE MultiView Server, you will see a client is pending approval.
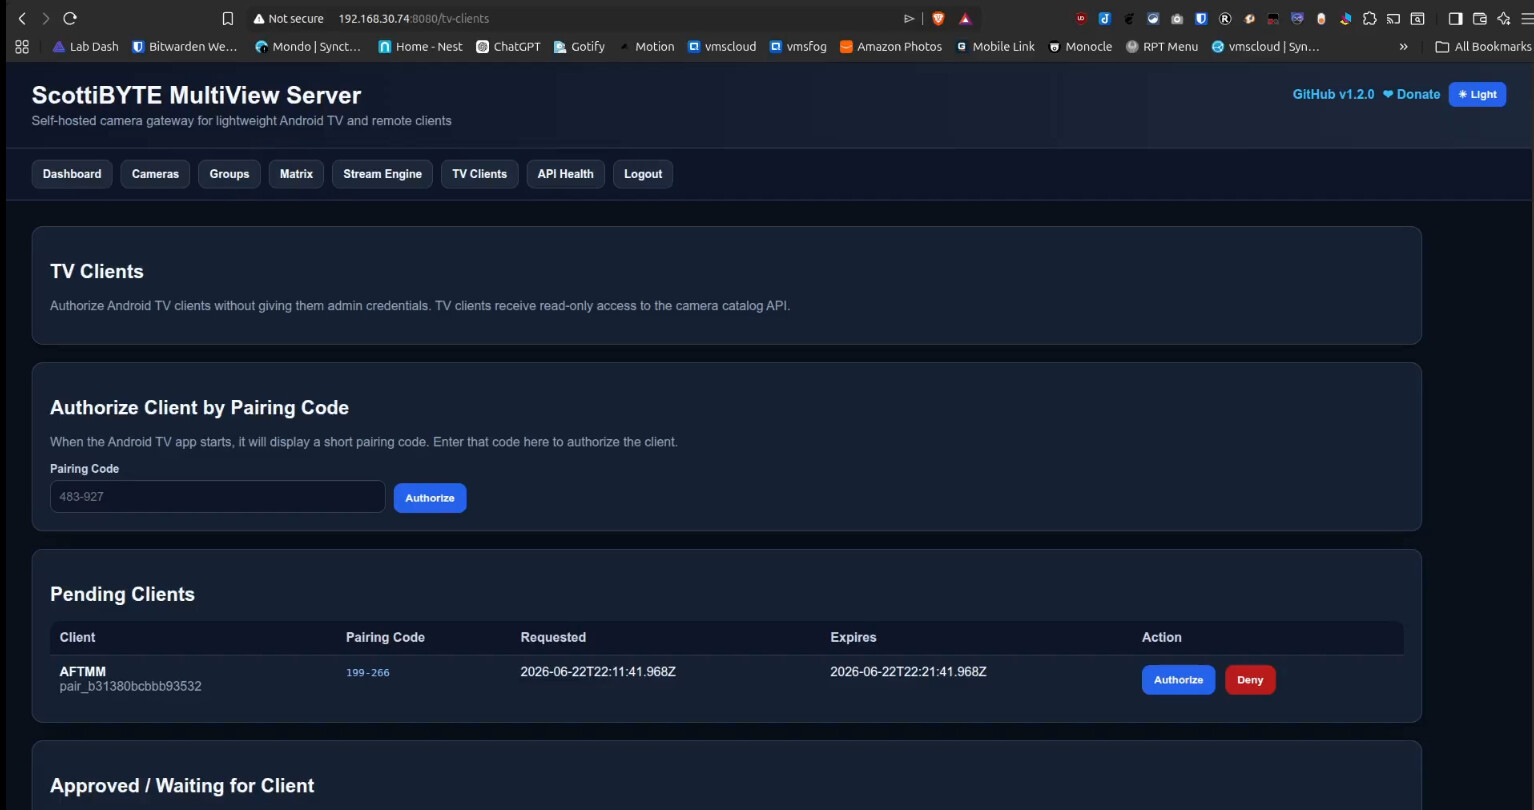
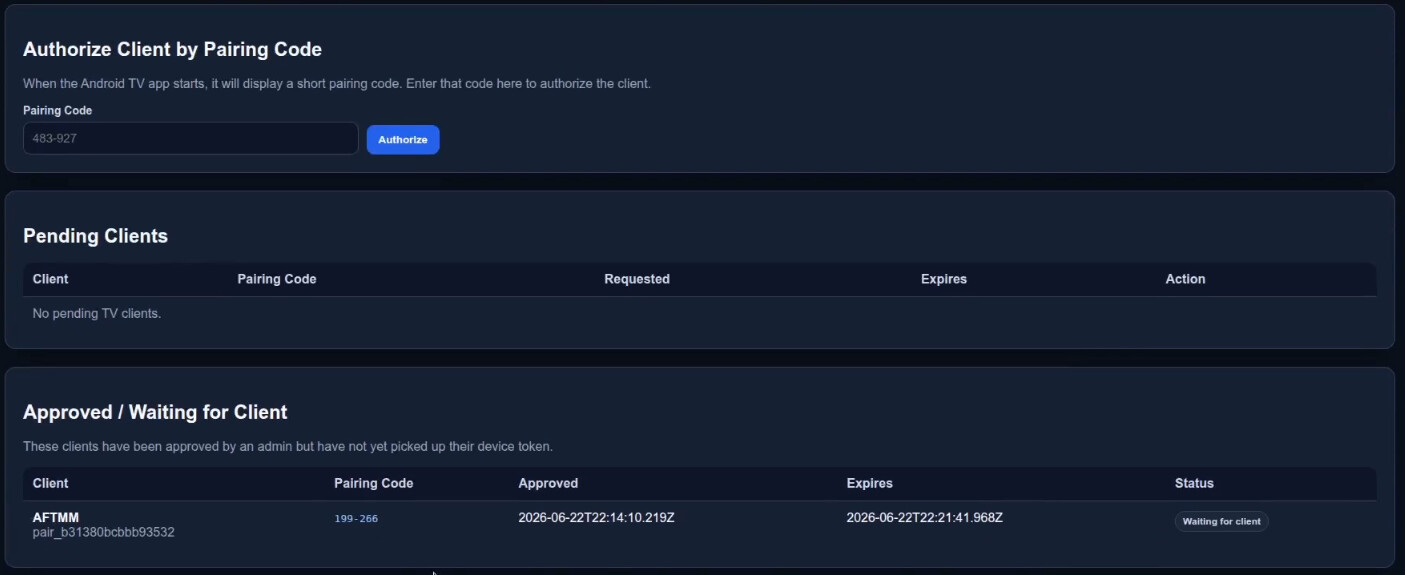
Click the “Authorize” button and the request moves to "Approved/Waiting for Client briefly.
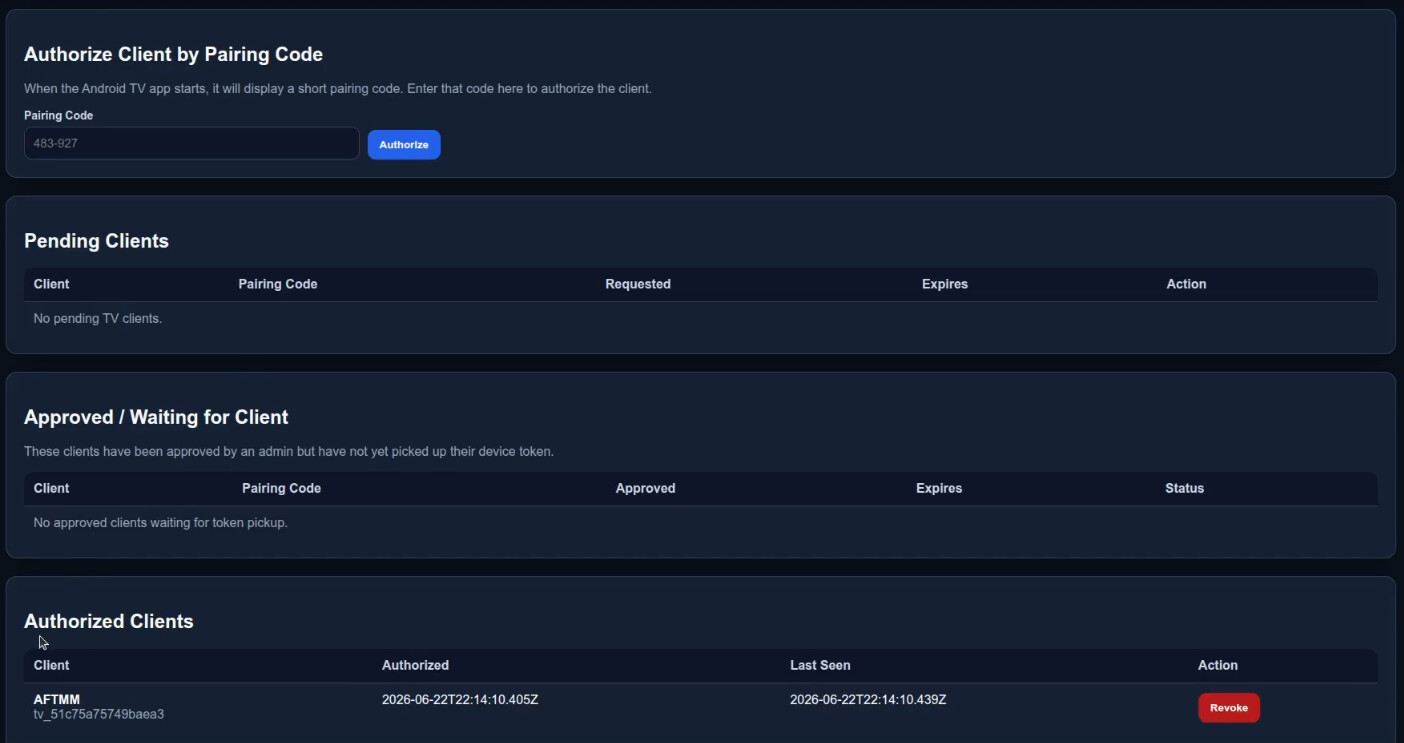
Refresh the web screen and you will see it is an authorized client now.
Now when you go back to your Fire TV, the pairing is processed and your camera(s) thumbnails are displayed.
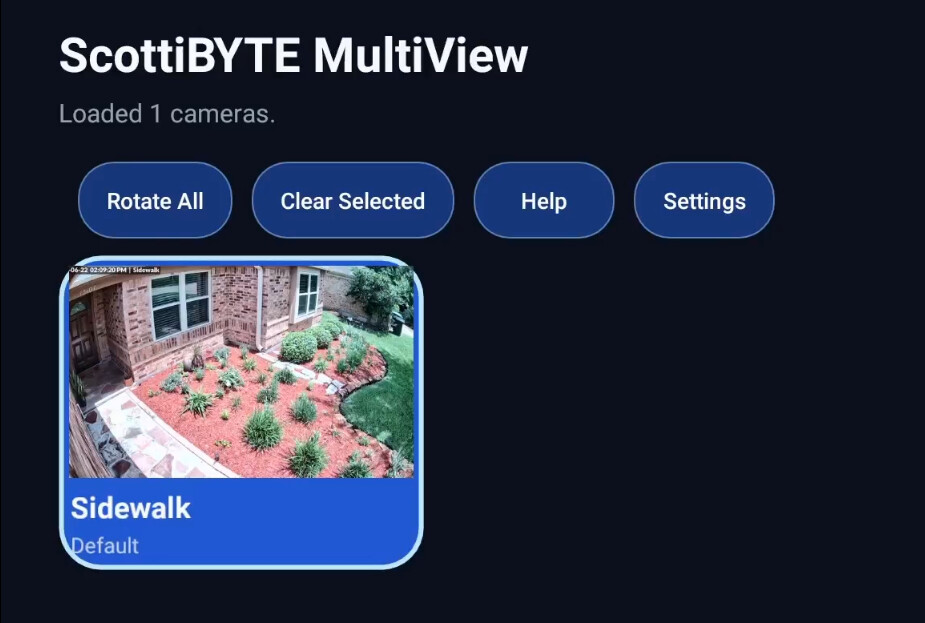
I only configured a single camera and I didn’t create any groups, so the Sidewalk camera is in the default group. Once I click on the Sidewalk camera, it displays. It was at an extreme sun angle, so it looks washed out.
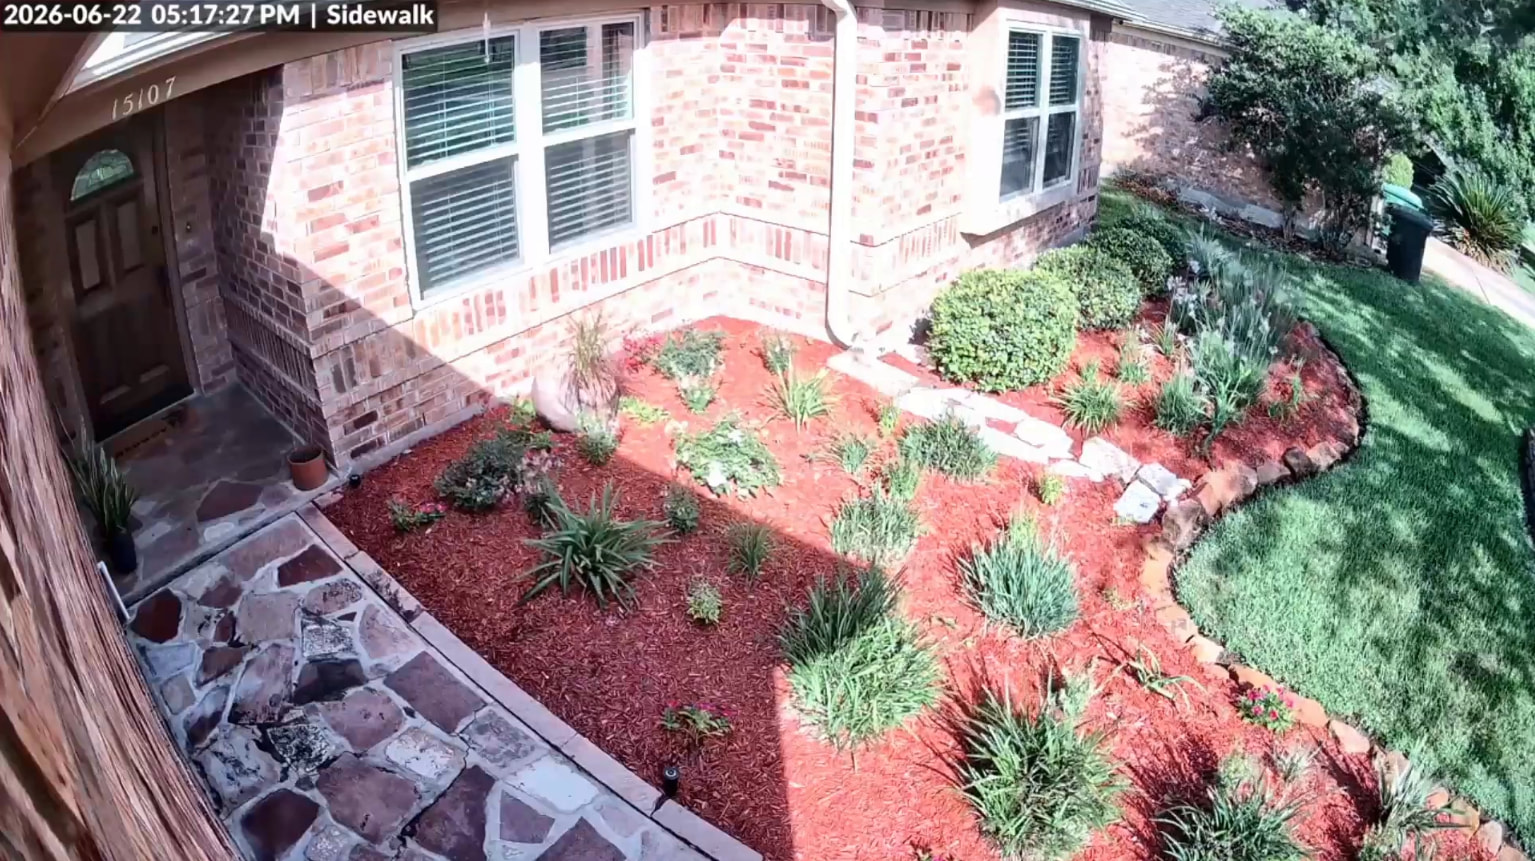
The real power of the app is the ability to instantly access your cameras with no waiting and to automatically cycle/rotate through cameras that you select.
I hope that you like ScottiBYTE Multiview Server & the Multiview Android viewer. This took me more time than you can imagine and donations are very much appreciated.