The Pi-Hole software is well known as a network-wide adware and malicious domain site blocker. Although Pi-Hole can run on a Raspberry Pi, I run Pi-Hole on a LXD container. In my “NginX Proxy Manager Local DNS” video and my “Windows DHCP & Local DNS” video, I focused on how Pi-Hole can provide a great local DNS utility for your network. This tutorial focuses on how to make a Pi-Hole installation redundant on your network for higher availability.
If you are interested in the server that I featured in my tutorial “Cheap Self-Hosting Server”, you can purchase one at my Amazon Affiliates Store to help out the channel. There is no additional cost to you, but Amazon pays me a commission.
In the video, I launch a LXD server to host a Pi-hole. Note: Watch my LXD tutorials to learn how to bridge your LXD container to your LAN.
lxc launch ubuntu:22.04 Pihole --profile default --profile bridgeprofile -c boot.autostart=true
Connect to the console of the new LXD container:
lxc exec Pihole bash
Install the updates:
apt update && apt upgrade -y
Create a user account and grant it sudo privilege:
adduser scott
usermod -aG sudo scott
Move to the scott account:
su - scott
Install Pi-Hole:
curl -sSL https://install.pi-hole.net | bash
Follow the above procedure to add a second, backup Pi-Hole if this is your first Pi-hole as I did in the video.
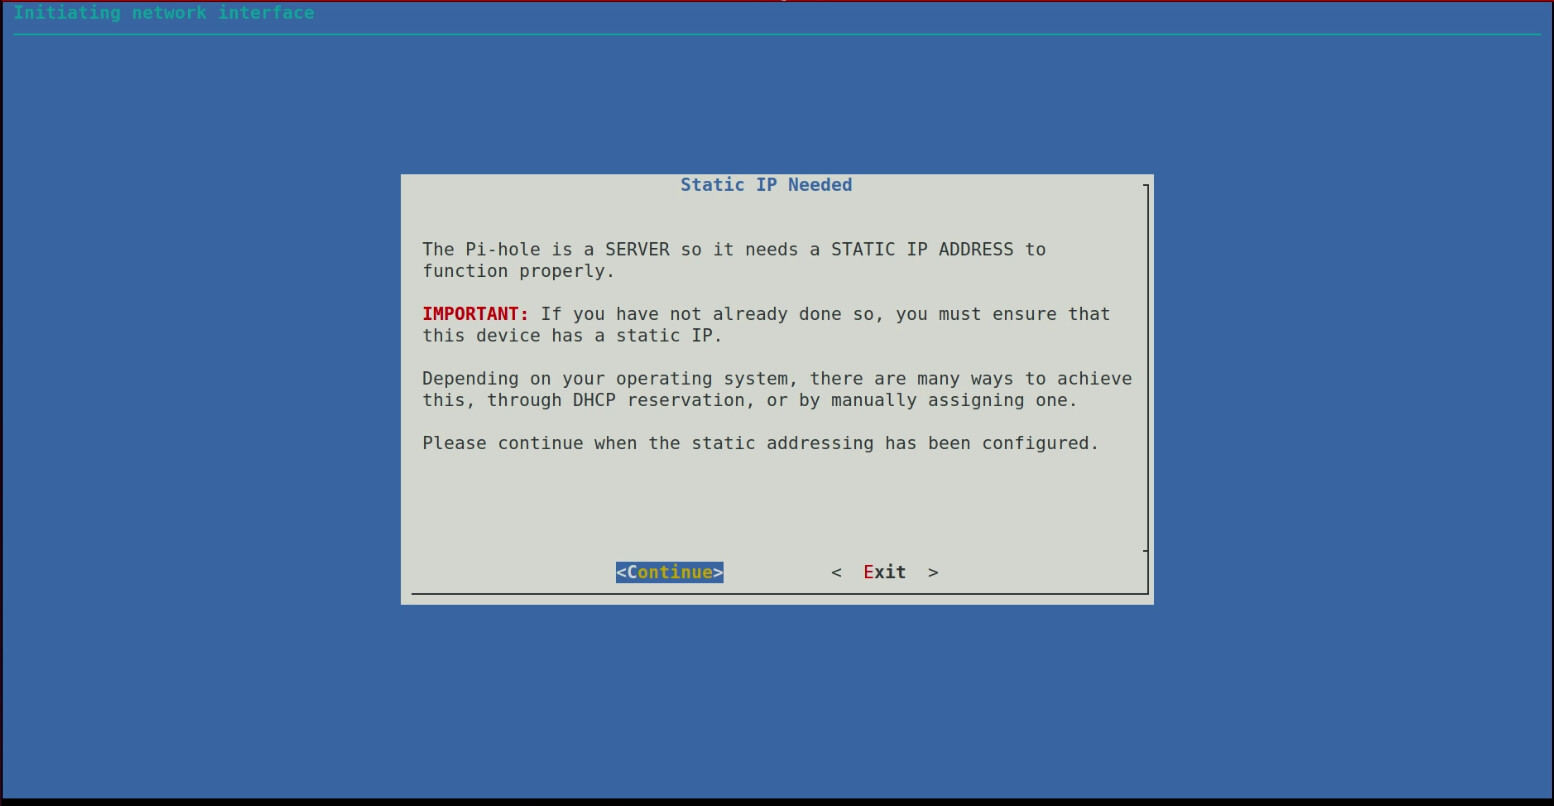
Pi-Hole requires a static address and my advice is to set a DHCP Address reservation on your router which will provide the same TCP/IP address to your Pi-Hole each time it boots and it does that by recognizing the hardware MAC address of your Pi-Hole server instance.
Once installation completes, you will get a screen like the one below indicating the address of your Pi-Hole and also providing the password for the web interface.
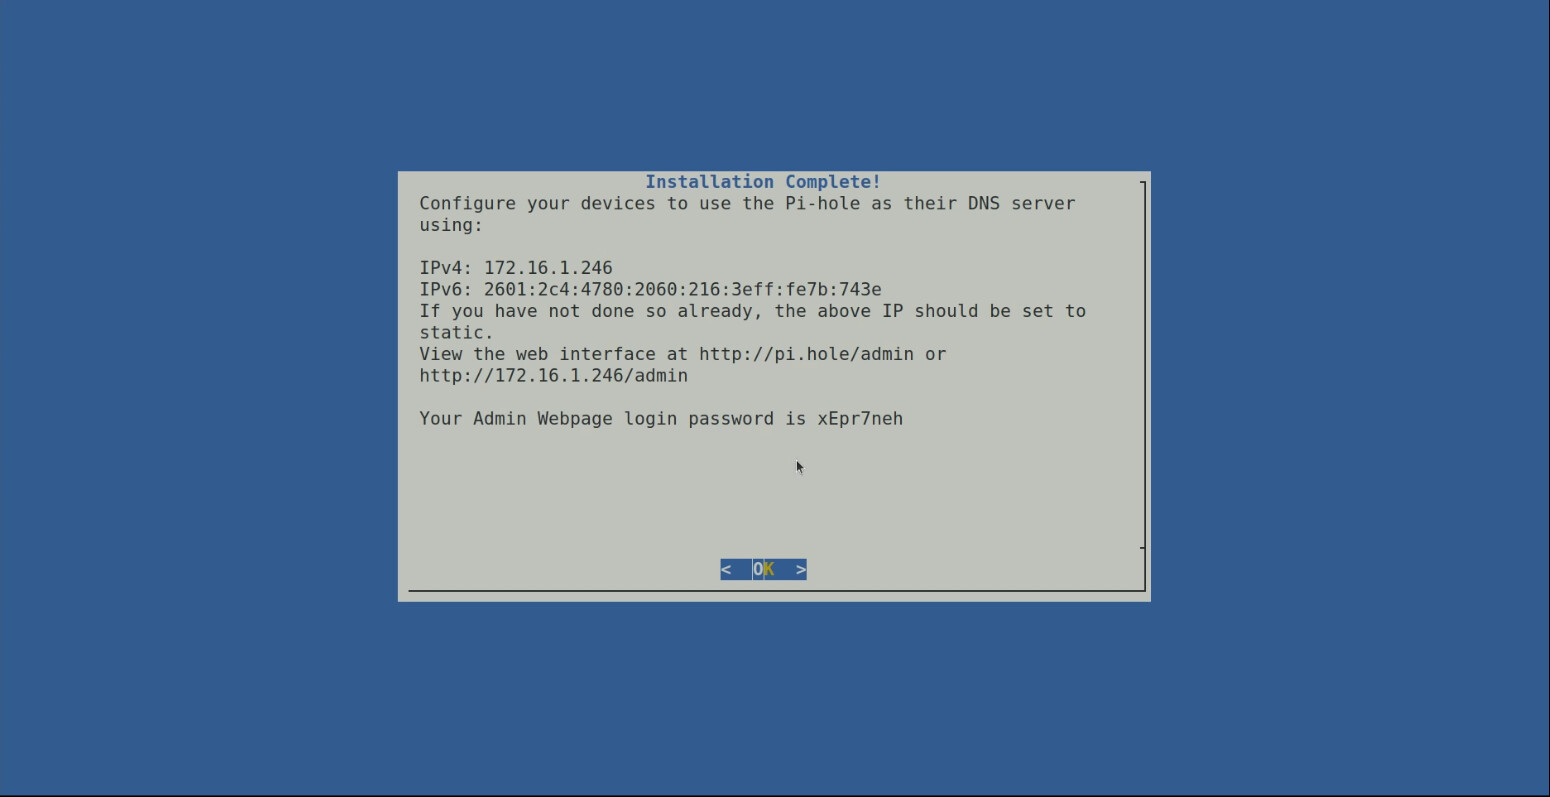
Once you return to the command prompt, you can change the password for the Pi-Hole web Interface (not the same as the Pi-hole server password) with the following command:
pihole -a -p
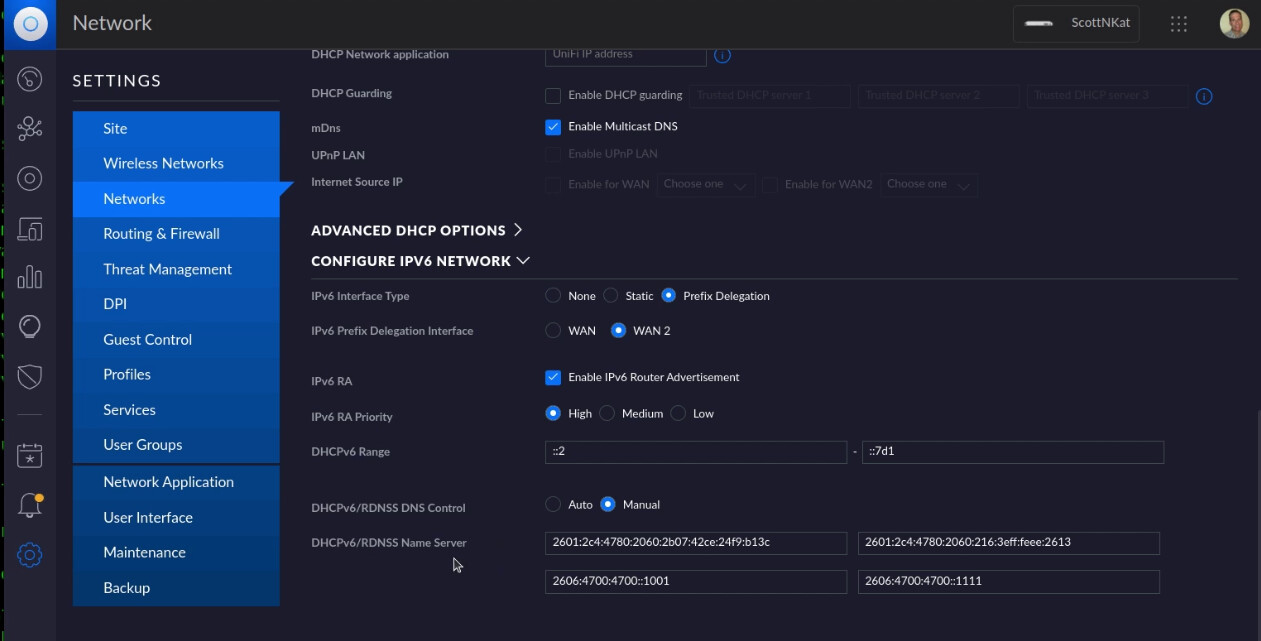
Now head over to the configuration page on your router. This will be different for all routers. You are looking for a setting that allows you to configure your primary and secondary DHCP Name Server (DNS) addresses. In my case, I am using a Ubiquiti UDM Pro and my primary Pihole address is 172,16,1,6 and my backup Pihole address is 172.16.2.1 and so here is what that looks like on my router.
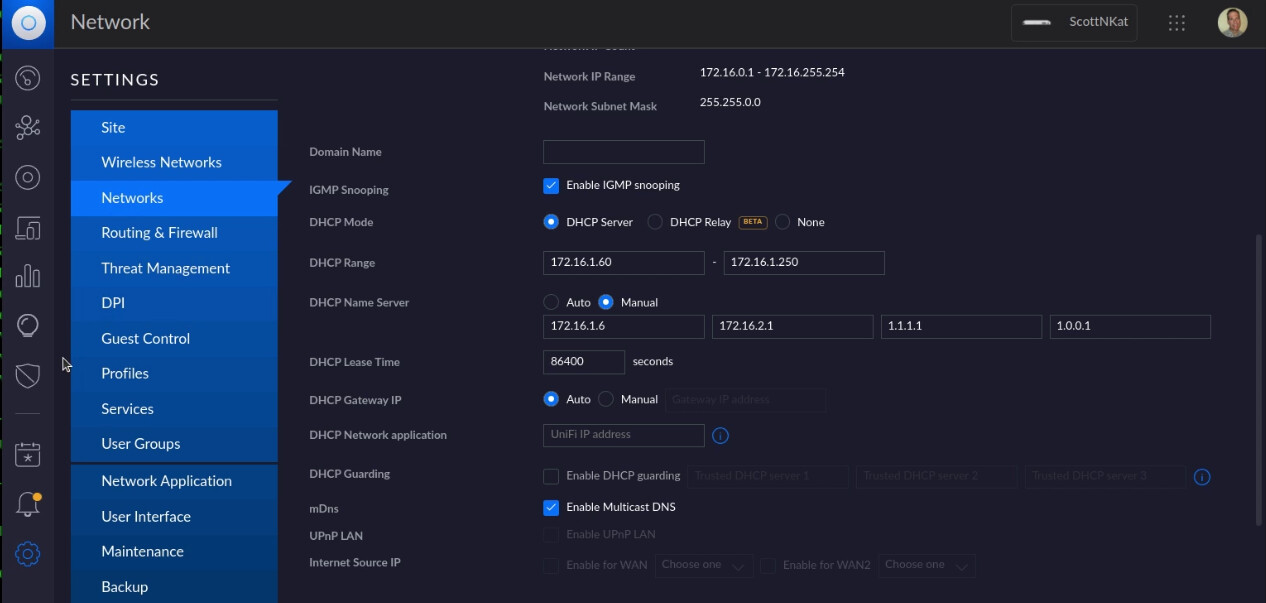
Since I also have IPv6 enabled on my LAN, I also configure the IPv6 DNS addresses on my router. Note that Windows 10/11 use IPv6 DNS server lookups before IPv4 DNS servers and so you will have to configure this if you have IPv6 and Windows.
The gravity-sync project uses the Linux rsync service to synchronize the data from your main Pihole to your backup Pi-hole. In order to do this, the user account that you create and granted the sudo privilege to must be able to issue sudo commands without entering a password. To enable this feature:
sudo edit=nano visudo
Now move close to the end of the file and locate the following code:
# Allow members of group sudo to execute any command
%sudo   ALL=(ALL:ALL)  ALL
You should edit/change this to look like the following:
# Allow members of group sudo to execute any command
%sudo   ALL=(ALL:ALL) NOPASSWD:ALL
Save the file out with a CTRL O and press ENTER and then a CTRL X to exit the editor.
You will want to perform this same procedure to allow sudo without a password on the backup Pihole as well.
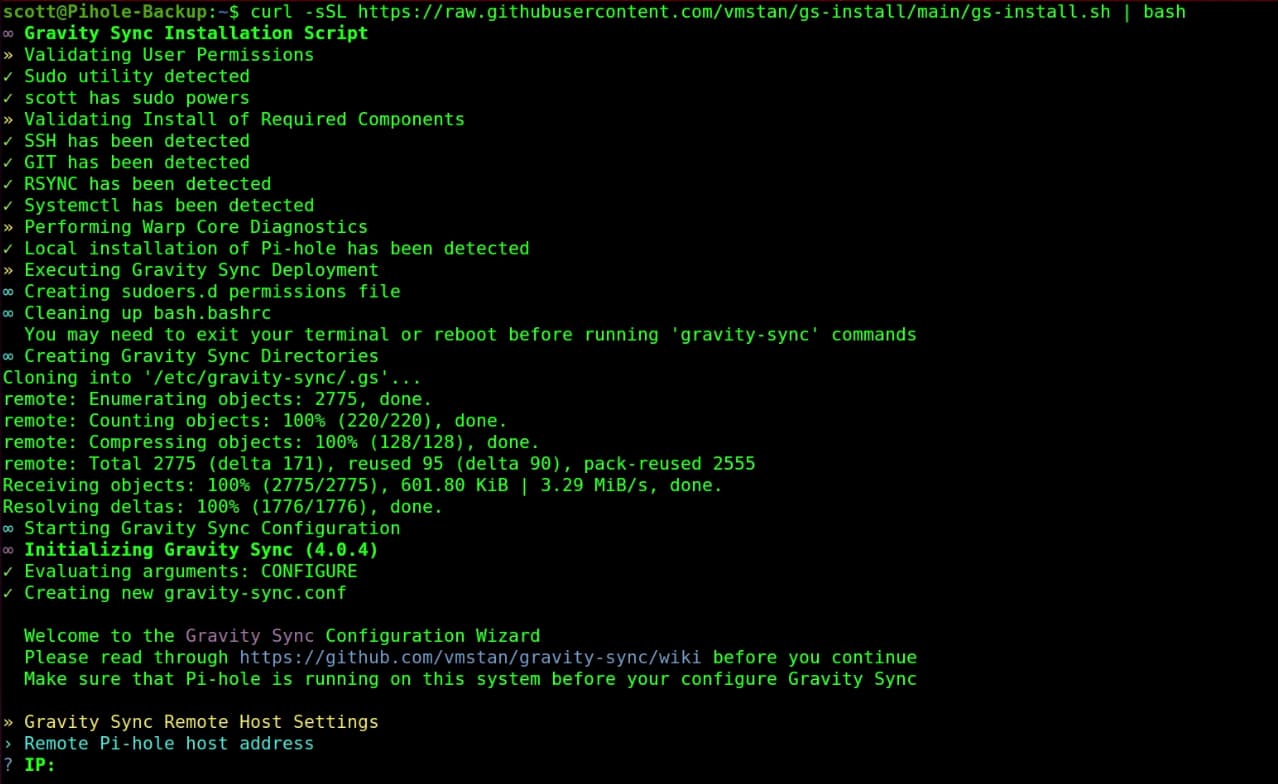
Go back to your main Pihole and execute the following script to install gravity-sync:
curl -sSL https://raw.githubusercontent.com/vmstan/gs-install/main/gs-install.sh | bash
During the gravity-sync installation, you will be prompted for the IP password for the backup Pihole server.
You will also be prompted for the remote username and password for the remote Pihole server as follows:

You will not have the errors I had above because my .ssh file already existed.
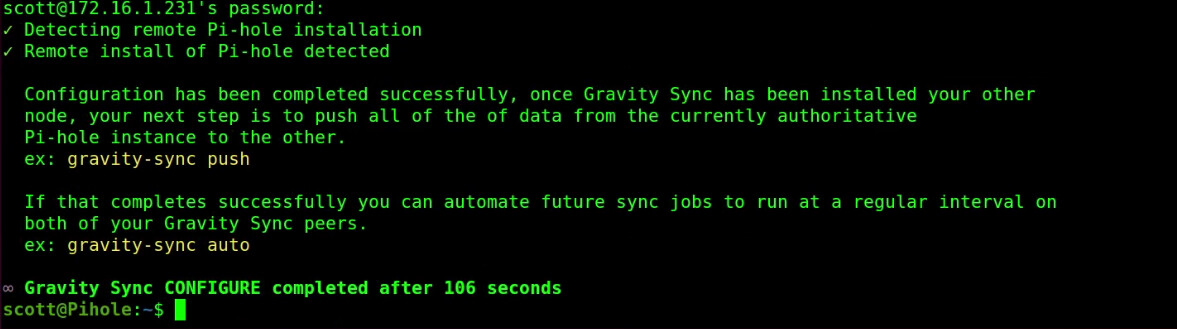
In any event, the configuration should complete as follows.
You will also want to login to the Backup Pihole server and execute the same gravity-sync script over there and provide the IP address of the main Pihole server, the username and the password:
curl -sSL https://raw.githubusercontent.com/vmstan/gs-install/main/gs-install.sh | bash
After you complete the installation on the Backup Pihole server, sign back into the main Pihole server.
At the command prompt, initiate the first sync:
gravity-sync push

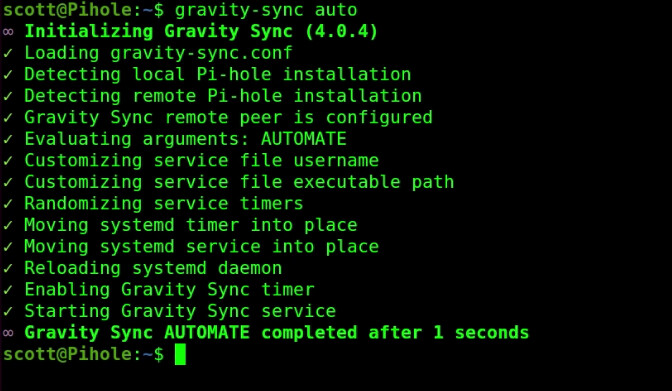
Finally, when the command prompt returns, execute the following command which will establish automate syncing of the two servers any time you change a DNS entry on the main Pihole:
gravity-sync auto
There is a help menu:
gravity-sync help

At this point, your Main Pihole and your Backup Pihole should remain in sync in regards to DNS records and your block lists. NOTE: I had to add at least one CNAME record on the Backup server before CNAME records started to replicate from the main Pihole to the Backup Pihole.
Gravity-sync on Pihole is a great solution for providing your LAN with local DNS with a redundant backup.