Did you know that it is possible to turn a Virtualbox VM or even a physical machine into a LXD Container or a LXD VM? In this tutorial we learn how to use a utility called “lxd-migrate” to move an Ubuntu Desktop VM in Virtualbox to a LXD container.
To obtain a copy of the lxd-migrate utility, navigate to:
https://github.com/canonical/lxd/releases
Scroll down the web page to the “Assets” section. Download a version of “bin.linux.lxd-migrate” that closely matches the version of LXD on your LXD server and download it.
Grant the image execute as a program privilege.
chmod +x bin.linux.lxd-migrate
Execute the migrate utility:
sudo ./bin.linux.lxd-migrate
After providing your “sudo” password, the utility will ask for the LXD Server URL. You should provide the address of your LXD host and include port 8443 which should be your management port for LXD which you specified when you performed your “lxd init” to set up LXD. Watch my video “LXD Step by Step”.
https://172.16.1.51:8443
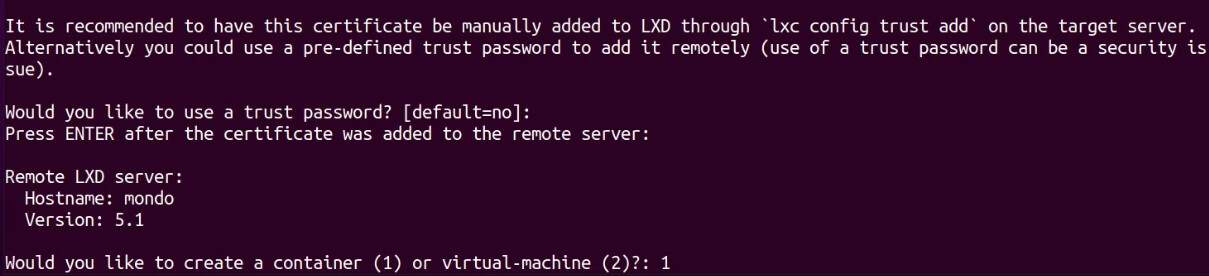
Next, you will be asked to accept a certificate fingerprint and you should say yes.
A list of three options will be provided. Choose option 3 to generate a temporary TLS authentication certificate.

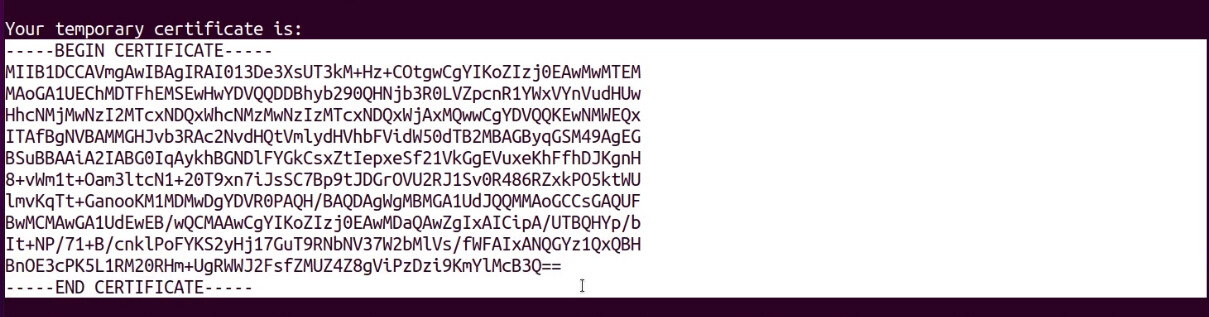
Select and cut a copy of the temporary certificate that you see on the screen including the “BEGIN CERTIFICATE” and “END CERTIFICATE” lines. Note that your certificate will be different from what is shown here.
Now sign onto your LXD server host and create a file for the certificate:
nano certifcate.crt
Use the Shift CTRL V to paste the certificate contents into the file and then CTRL O and Enter to save the file and CTRL X to exit the nano editor.
Now apply the certificate to your LXD server so that the lxd-migrate utility will be able to access your LXD server host.
lxc config trust add certificate.crt
Now go back to your machine where the lxd-migrate utility is running. Choose the default to not provide a trust password and then you can press ENTER since the certificate was already added at your LXD Server. The “lxd-migrate” utility should identify your remote LXD Server and then ask you if you want to create a container or a VM. In my example, we selected the option to create a container.
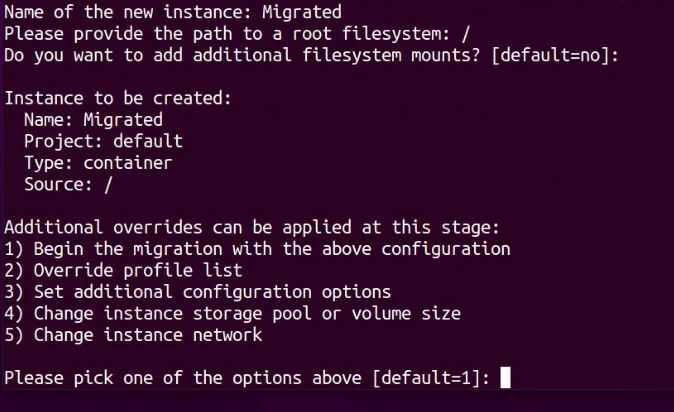
You will now be asked for the name of your container instance. Choose a name for your LXD container.
You also need to provide the path to the root file system which will normally be root (/).
Generally, you will not need to provide any other file system mounts.
Lastly, you will see a list of five options for how you want to proceed with the migration. Choose option 1 which is the default.
The migration (copy) will now continue until it is completed.

Sign on to your LXD host and list your LXD Containers. You should see the container that we migrated and in my case I named it “Migrated”. The container will be stopped.
If you watched my “LXD Step by Step” video, you will have a profile called “bridgeprofile” that will allow your container to get an address on your main LAN. To apply this profile:
lxc profile assign Migrated default,bridgeprofile

Start the container:
lxc start Migrated
Once the container starts after a minute or so, connect to the console of the container:
lxc shell Migrated
Move over to your netplan folder so that we can change the network configuration so that our container can get an IPv4 address.
cd /etc/netplan
List the files in the netplan folder and we want to edit the file that you find there (your yaml file name may differ):

Clear out the contents of the file in the nano editor with a bunch of CTRL K’s to delete all of the lines and paste in the following:
network:
  version: 2
  ethernets:
    eth0:
      dhcp4: true
      dhcp-identifier: mac
CTRL O and Enter to write out the file and CTRL X to exit the nano editor.
Now apply the new network configuration:
netplan apply
You may receive an error similar to the following in red when you apply the network configuration.
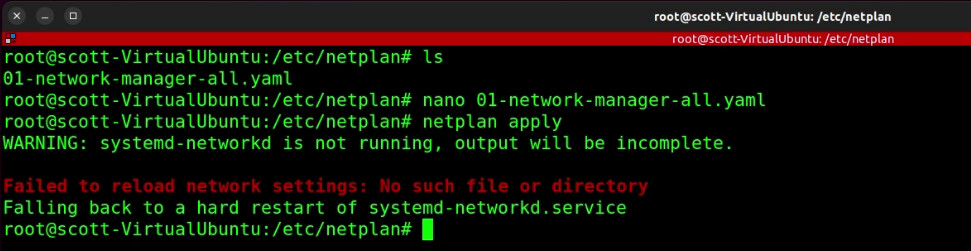
If you do receive an error then issue the following:
systemctl daemon-reload
netplan apply
Your network should now be configured without any errors.
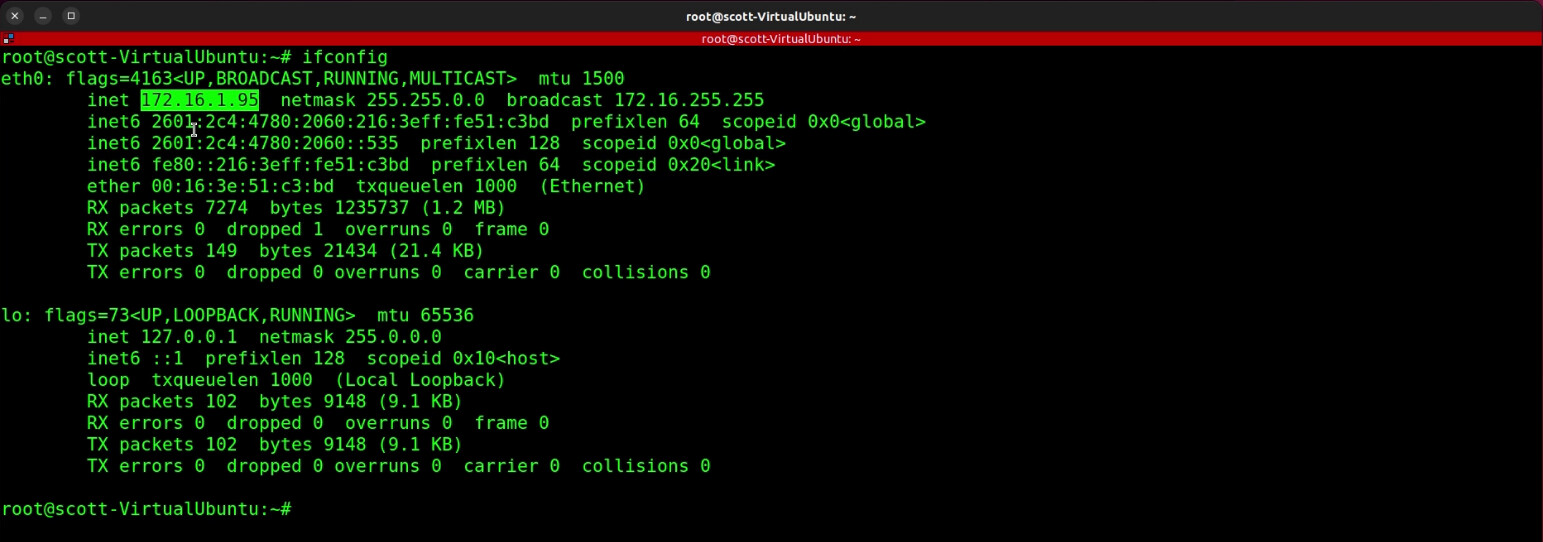
At this point, ifconfig should show that you have an IPv4 address on your LAN.
Exit the shell which returns you to your LXD server host and you should be able to list your containers and see your IPv4 address here also.

Go back into your container and install openssh-server.
lxc shell Migrated
apt install openssh-server
Your Ubuntu Desktop that we migrated should have a user account and so you should be able to exit the console again and now “ssh” into your desktop. Your username and address will differ.
exit
ssh scott@172.16.1.95
Once you are logged in, download this “xrdp” installer script which has to run from a user account with sudo privilege, but not from a root prompt which is why we signed into my user account.
wget https://c-nergy.be/downloads/xRDP/xrdp-installer-1.4.8.zip
Unzip the script:
unzip xrdp-installer-1.4.8.zip
Run the script:
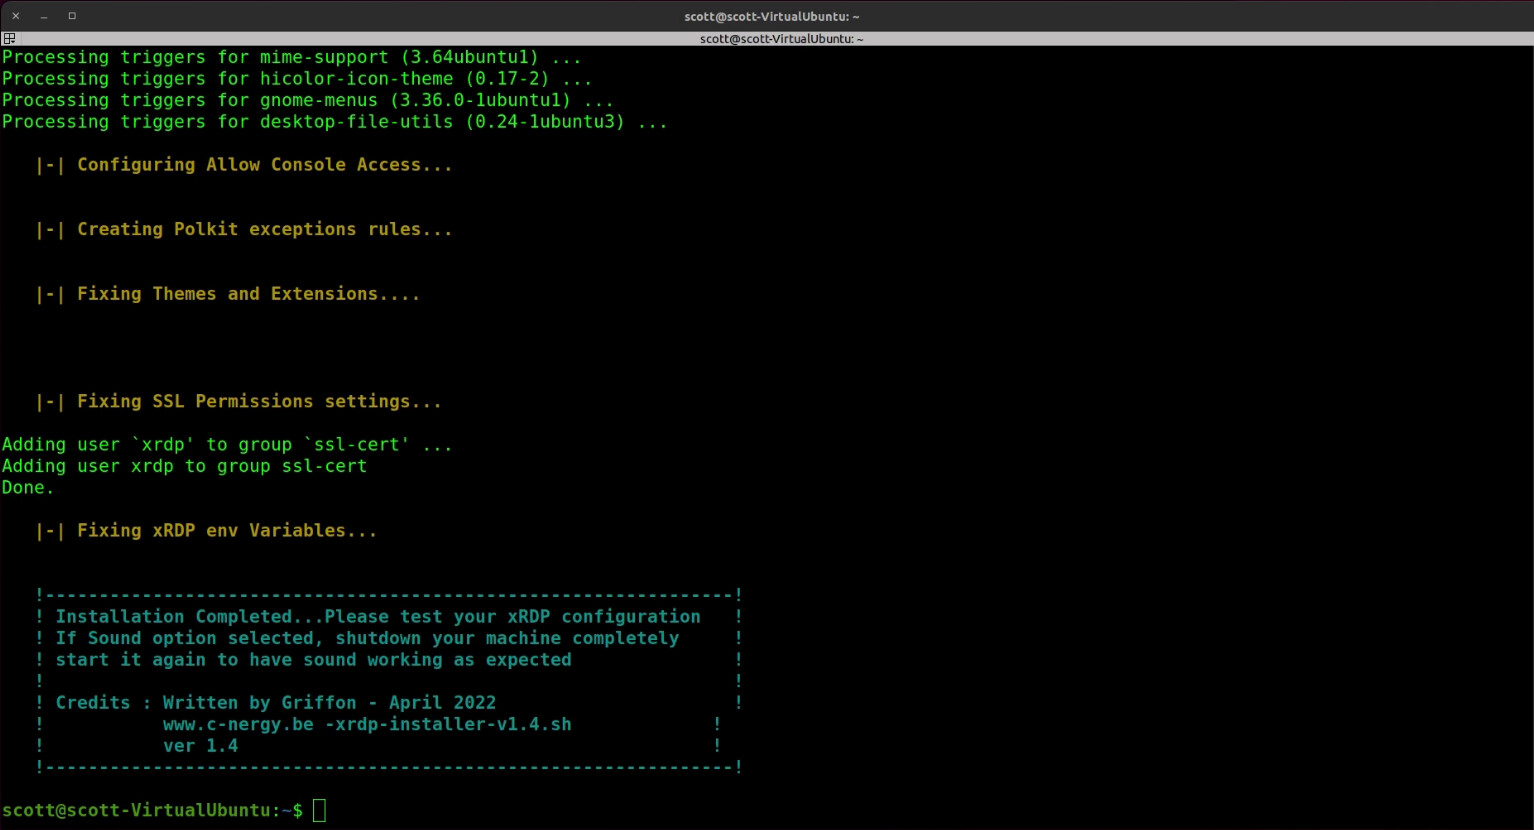
bash xrdp-installer-1.4.8.sh

The script will ask for your sudo password and it will continue.
The xrdp script will complete and you will have a screen somewhat like the following.
Test your RDP by connecting to your migrated desktop with something like Linux Remote Desktop Viewer or Windows Remote Desktop.
When you sign in, you will most likely receive an error about the VirtualBox kernel service not running since we migrated from VirtualBox and the VirtualBox Guest additions are no longer required.

Open a terminal and change to the folder where the guest editions were installed. The name of the folder is named according to the version of VirtualBox that your VM came from and should look something like this:
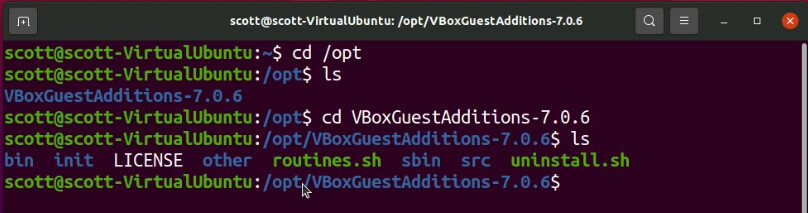
Once you navigate to this folder as above, run the uninstall script:
sudo ./uninstall.sh

So now you have a full Ubuntu Desktop running in a LXD container that was migrated from a VirtualBox virtual machine and you can use both ssh and RDP to connect to it.
As an optional footnote, you really don’t need the mount commands inside of your LXD Container. You can remove them as follows:
sudo rm /etc/fstab
This may speed the startup of the container. If you migrated to a LXD VM, the mounts would still be needed.