The LXD Init command sets of your storage pool to store your LXD containers and images. The default is to create a storage pool as a virtual ZFS container as a loop device.
This tutorial addresses how to expand the size of that ZFS pool hosted in a file.
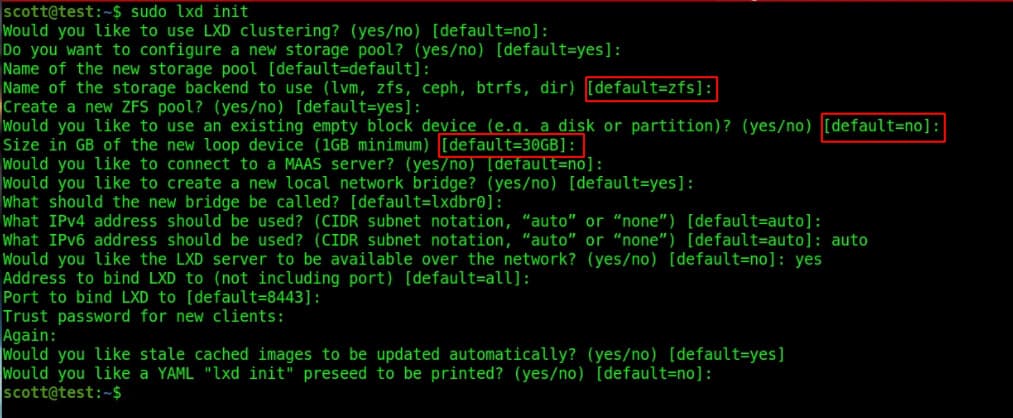
This is an example of the typical defaults when initializing ZFS:
You can list the size of your zfs pool with the command:
zpool list
You can see where the image pool file is stored:
zpool status
Creating new LXD containers uses space in your storage pool.
Create a simple container and do a “zpool list” afterwards to see storage used:
lxc launch ubuntu:18.04 test1 --profile default -c boot.autostart=true -c security.privileged=true -c limits.memory=2048MB -c limits.cpu.allowance=20%
You must stop all of your LXD containers before expanding your storage pool.
lxc stop --all
Use “zpool status” to find out the location of your storage pool and its name. In my example below, I am using the storage pool named “default” and I am expanding my pool by 10GB more than I had. Do not forget the “+”!
sudo truncate -s +10G /var/snap/lxd/common/lxd/disks/default.img
sudo zpool set autoexpand=on default
sudo zpool online -e default /var/snap/lxd/common/lxd/disks/default.img
sudo zpool set autoexpand=off default
You can now see your larger zfs storage pool size:
sudo zpool list
Finally, restart all of your containers:
lxc start --all