In “LXD Step by Step” we installed an Ubuntu server, configured a bridge, installed and configured the LXD server. We also created a LXD container on your main LAN using the bridge and a bridge profile. In this video, we expand on some of the basic LXD commands to begin using containers.
You can create LXD containers using many different images that are offered on the LXD repository. To list all of these images, use this command:
lxc image list images:
Here’s a script to list just the names of the images available:
lxc image list images: |\
awk -F'|' '{ print $2}' |\
sed '/^[[:space:]]*$/d' |\
awk -F'/' '{ print $1"/"$2 }' | sort | uniq | egrep -v 'more|ALIAS'
The “lxc launch” command downloads an image and then starts/boots the image up for immediate use. The following command downloads the image for Ubuntu Mantic (23.10) and then starts it.
lxc launch images:ubuntu/mantic Test
You can list your containers:
lxc list
In the last tutorial “LXD Step by Step” we created a bridge profile to offer a container out on your main LAN. To modify the container above from using a LXD NAT address to using an address on your main LAN using the bridge we created in the last video:
lxc profile assign Test default,bridgeprofile
There is a command called “lxc init” that downloads an image and creates a container, but does not start the container:
lxc init ubuntu:22.04 Test2 --profile default --profile bridgeprofile -c boot.autostart=true
The “boot.autostart=true” starts the container any time that the LXD host server is booted.
You can list basic information about your container:
lxc info Test2
If the container is started, you get more detailed information.
Another command to see information about how your container is configured:
lxc config show Test2
The above commands will also list which profiles are applied to the container if it is started.
To start a container:
lxc start Test2
You can alter the configuration of an existing container with the “lxc config set” command. One powerful feature using this command is setting a cap on the maximum percentage of the LXD host CPU that can be used. Another great command is setting a cap on the maximum memory that a container can allocate. LXD containers, unlike virtual machines do not allocate memory unless they are using it.
lxc config set Test2 limits.cpu.allowance=20% limits.memory=4GiB
You can see the changes we made to these limits with the command:
lxc config show Test2
To remove the memory cap that we set above:
lxc config set Test2 limits.memory=
Another way to modify settings on a container is the “lxc config edit” command which enters the “nano” editor and lets you make changes:
lxc config edit Test2
If you want a GUI to manage your LXD containers, watch my tutorial on “LXDWare LXD Dashboard”.
You can install docker inside of a LXD container. However, first you must allow “nesting” in the container that will run docker.
lxc config set Test2 security.nesting=true
To connect to the shell prompt of a container:
lxc exec Test2 bash
You can also use the command:
lxc shell Test2
After you enter a new container for the first time:
apt update && apt upgrade -y
Notice that I did not use “sudo” because you are connected to the root account by default. You will want to create a user account for your container. Here are the commands I used to create an account for myself and grant it sudo privilege:
adduser scott
usermod -aG sudo scott
To install docker on the container:
curl https://get.docker.com | sh
Also install docker compose:
apt install docker-compose
Put my user account in the docker group so that I don’t have to use the sudo command to perform docker commands:
usermod -aG docker scott
Now, sign into my user account:
su - scott
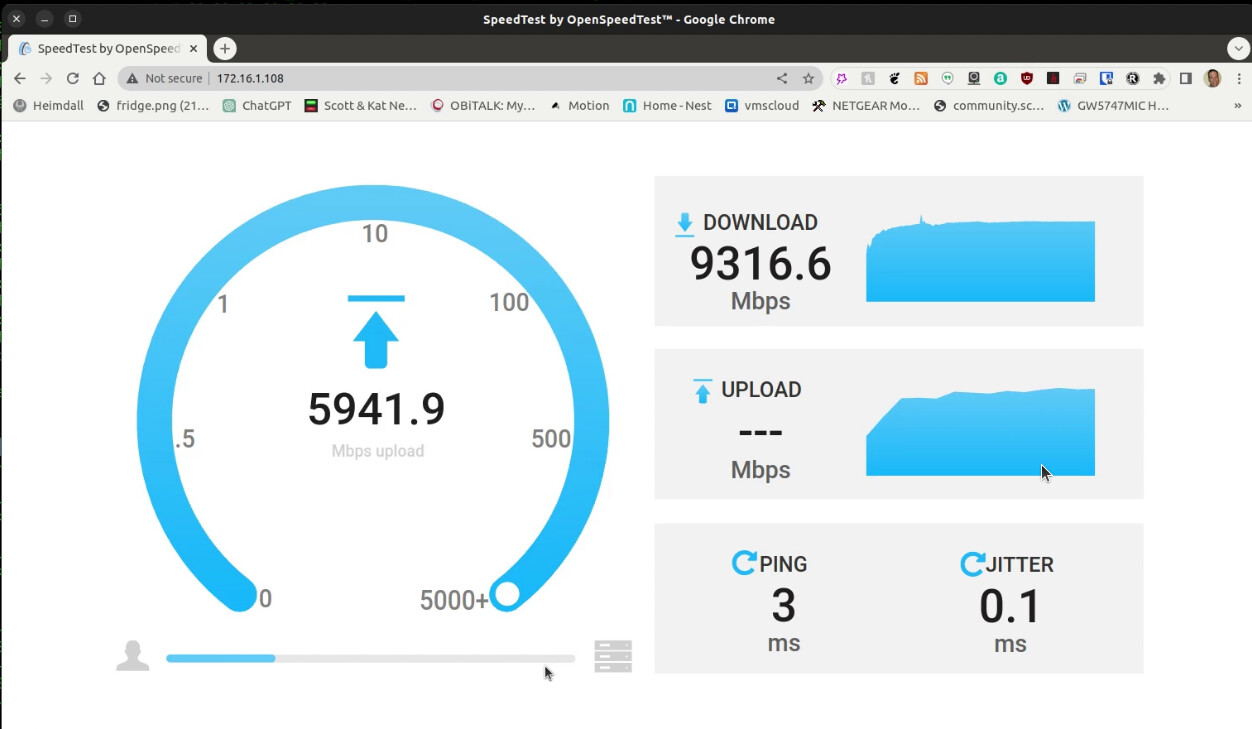
In the video, I install the docker application for openspeedtest. A best practice is to create a folder for the application and move into it:
mkdir openspeedtest
cd openspeedtest
Edit a docker-compose file:
nano docker-compose.yml
Insert the following into the file:
version: '3.3'
services:
    speedtest:
        restart: unless-stopped
        container_name: openspeedtest
        ports:
            - '80:3000'
            - '443:3001'
        image: openspeedtest/latest
Do a CTRL O and Enter to write out the file and a CTRL X to exit the nano editor.
Start the application:
docker compose up -d
Find the address of your container “eth0” device with the following command:
ip a
You can also type two “exit” commands to exit back to the root account and then back to the LXD host server where you can list the container to find the IP address also:
lxc list
To launch the application, simply enter the IP address of the container that you just found into your web browser and the openspeedtest application will be accessible.
Going back to your LXD Host, you can stop a container:
lxc stop Test2
You can also completely delete a container once it is stopped:
lxc delete Test2
This should get you started with the basic LXD commands. I have over 70 videos devoted to various LXD features and functions.
LXD containers are faster and more efficient because they use images and do not require an OS installation. Also, LXD containers do not need to virtualize any hardware and share the kernel of the host OS.