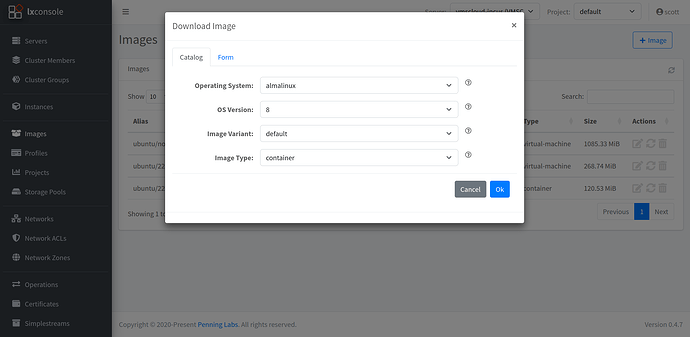
I have covered LXD Dashboard many times before. LXD Dashboard cannot manage Incus Servers and so you must use LXConsole which is also a product of Penning Labs. LXConsole supports both Incus and LXD Servers and has lots of great new features.
If you have not yet watched “Incus Containers Step by Step”, then go review that before attempting this.
Go over to your Incus server and create a container for lxconsole:
incus launch images:ubuntu/22.04 LXConsole --profile default --profile bridgeprofile -c security.nesting=true -c boot.autostart=true
Connect to the container:
incus shell LXConsole
Update your new container:
apt update && apt upgrade -y
Add a user account and grant it “sudo” privilege:
adduser scott
usermod -aG sudo scott
Install “curl” and “nano” and then install docker and docker-compose:
apt install curl nano
curl -sSL https://get.docker.com | sh
Put my user account into the docker group and move over to my account:
usermod -aG docker scott
su - scott
Create a folder for the application (lxconsole) and a folder for container backups/exports (lxcbackups):
mkdir lxconsole lxcbackups
Move into the lxconsole folder and then edit a docker-compose file with nano:
cd lxconsole
nano docker-compose.yml
Insert the following code into the editing session:
services:
  lxconsole:
    image: 'penninglabs/lxconsole:latest'
    restart: unless-stopped
    ports:
      - '80:5000'
    volumes:
      - /home/scott/lxcbackups:/opt/lxconsole/backups
      - ./certs:/opt/lxconsole/certs
      - ./server:/opt/lxconsole/instance
Save the file out with a CTRL O and Enter and then CTRL X to exit the nano editor.
Launch the application:
docker compose up -d
Find out the address of your lxconsole container by looking for the address of eth0:
ip addr show dev eth0
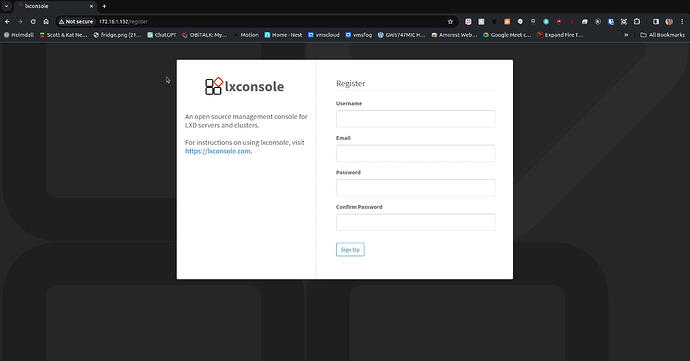
Go into your favorite web browser and type in the address we just found and you will be taken to the lxconsole registration screen. Provide your desired username, email, and password info:
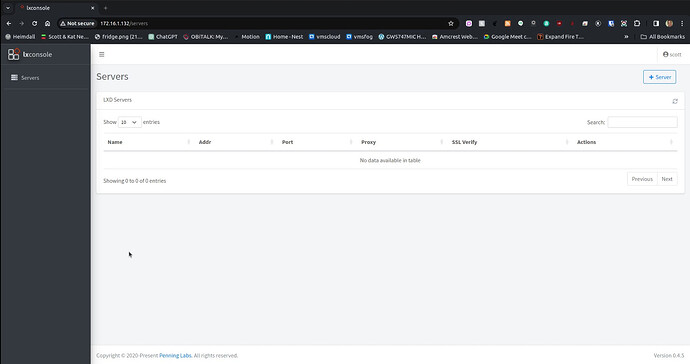
Next, you will be presented with the “servers” screen:
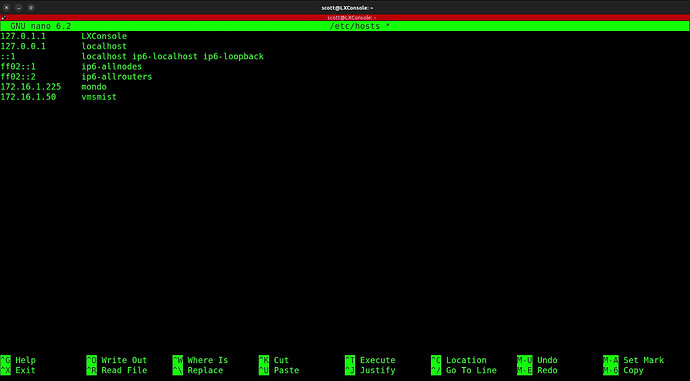
For convenience, go back to your terminal screen for your lxconsole container and edit the hosts file:
sudo nano /etc/hosts
Add the names and addresses for your “incus” server(s) to this file (I added my mondo and vmsmist servers as an example):
Save the file with a CTRL O and enter and a CTRL X to exit the nano editor.
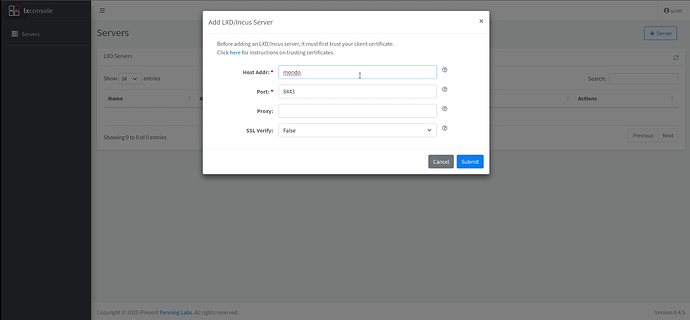
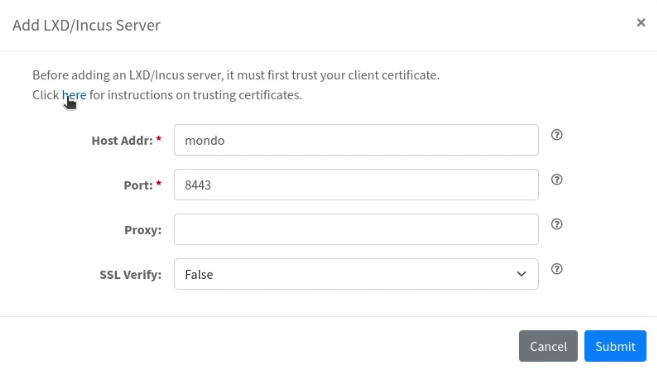
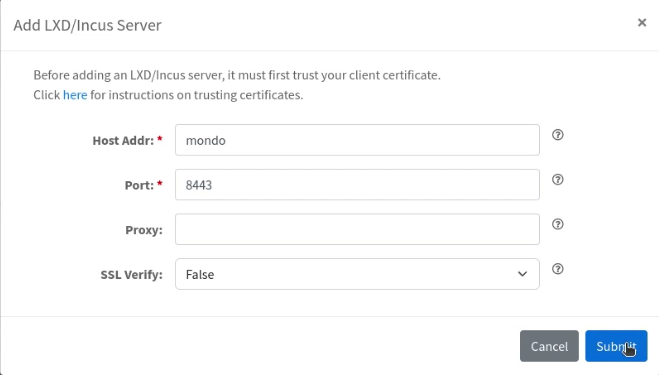
Go back to the lxconsole web interface and click “+ Server” and enter the name of your server:
Click the “here” highlighted in blue for instructions on how to add a certificate trust for the server we are adding:
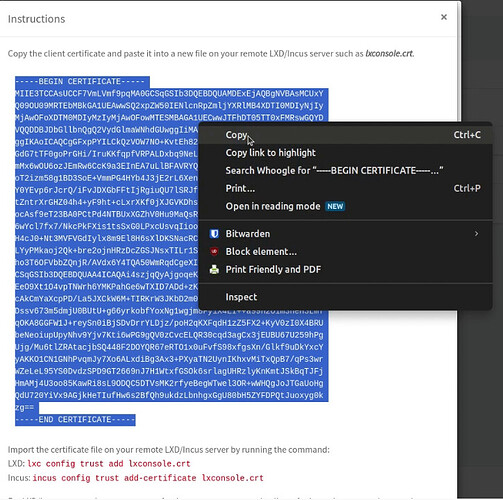
On the next screen that is displayed, select everything from and including —BEGIN CERTIFICATE— to —END CERTIFICATE— and copy as shown:
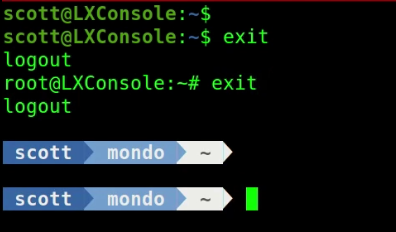
Go to a terminal on your incus host that we want to manage. Do NOT go to the lxconsole command line. You can actually log off of the lxconsole incus container because we won’t need to access it anymore.
At your incus host that we want to manage:
nano lxconsole.crt
Paste the certificate into the editor session that we cut above with a Shift CTRL V.
Do a CTRL O and Enter to save the file and a CTRL X to exit the nano editor.
Add the trust:
incus config trust add-certificate lxconsole.crt
Also, set the management port number access:
incus config set core.https_address=[::]:8443
Although unnecessary, you can list the trusts on your incus server:
incus config trust list
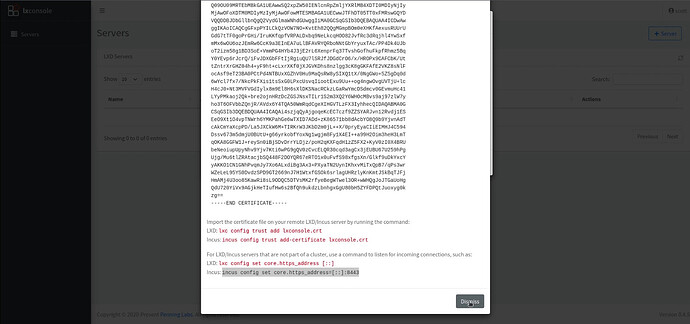
Back at the web interface, you can dismiss the “instructions” screen:
Now, you can click the “Submit” button on the “Add LXD/Incus Server” screen:
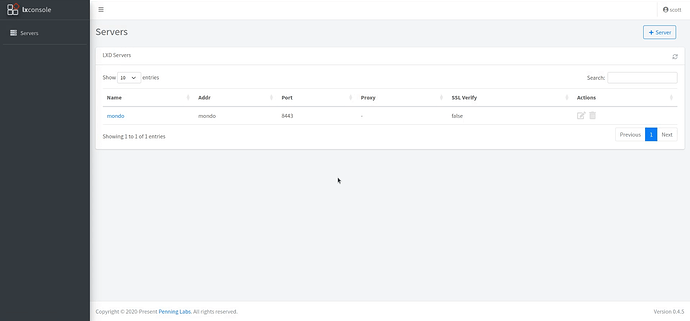
Now your server will be listed on the “Servers” screen.
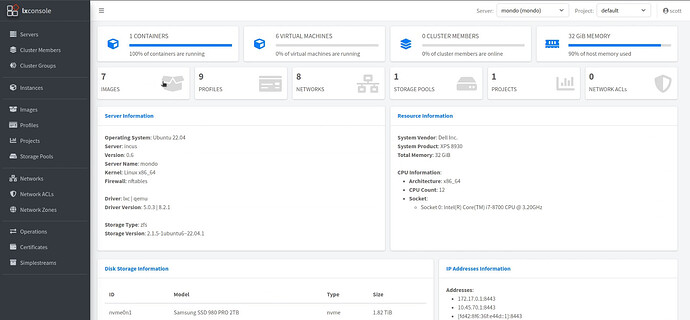
You can now click the blue highlighted name of your server on the Servers screen and you will have a summary screen for that incus server:
The lxconsole interface is different from LXD Dashboard interface that I have covered many times. I also have another lxconsole video I did for LXD many months ago. You should be able to explore and learn the interface.
In the video, I added my vmsmist incus server by adding a trust for it as well.
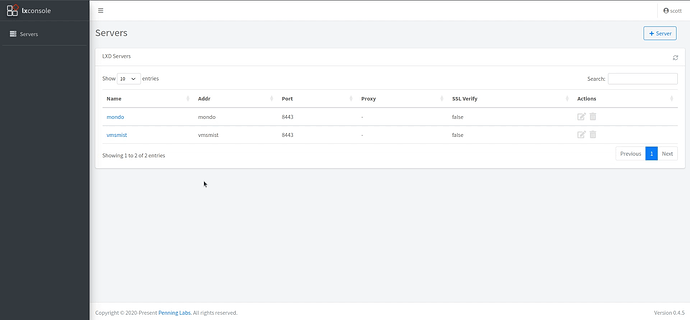
I ended up with two incus servers being managed by lxconsole and you can add more if you have others:
To update your lxconsole when there are new releases, simply connect to your lxconsole incus container:
incus shell LXConsole
Move into the folder and update the docker application:
cd lxconsole
docker compose pull
docker compose up -d
