LXConsole v0.6.1 was just released. It is mainly a maintenance release, but offers a couple notable additions. If you are new to LXConsole, you will want to watch LXConsole Web Interface for Incus.
The release notes for LXConsole are here.
To upgrade your LXConsole, connect to the server/container on which it is installed. In my case:
ssh lxconsole
If you followed my installation guide, you will want to move into the folder where LXConsole is installed.
cd lxconsole
Pull the new container:
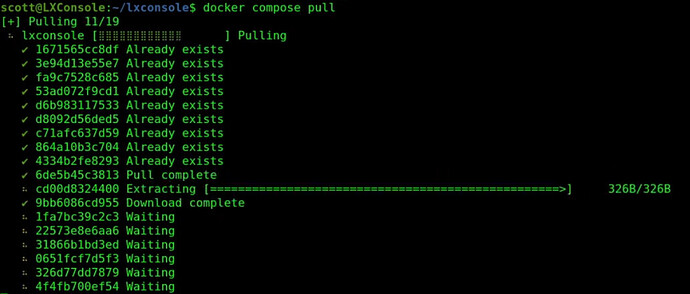
docker compose pull
Rather than simply launching the new container, I stopped and deleted the old container to cleanup the server and avoid old versions from lingering. First, see the currently running docker:
docker ps
![]()
Next, stop the container using either its name or the container ID:
docker stop lxconsole-lxconsole-1
![]()
Delete the container since the old one is no longer needed:
docker rm lxconsole-lxconsole-1
![]()
Restart the new application.
docker compose up -d

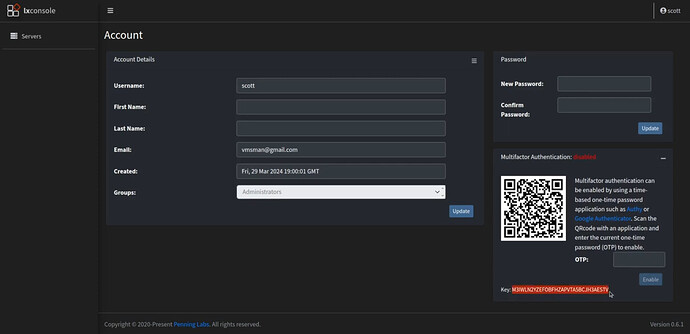
In v0.6.1, if you decide to enable mutifactor authentication (2fa TOTP), you will now see the encryption key as an option rather than just the QR Code. To access the Multifactor Authenitcation option, click on your username in the upper right hand corner of the web interface and select the “account” option. This new capability to access the 2fa key is helpful for recording 2fa authorization keys in programs like Bitwarden.
I don’t personally enable 2fa TOTP for my primary LXConsole installation because it is only available inside my private LAN and so I use a VPN to access it if I am external to the network. If you are managing a business or you decide to offer your LXConsole on the web, it is advisable to enable 2fa.
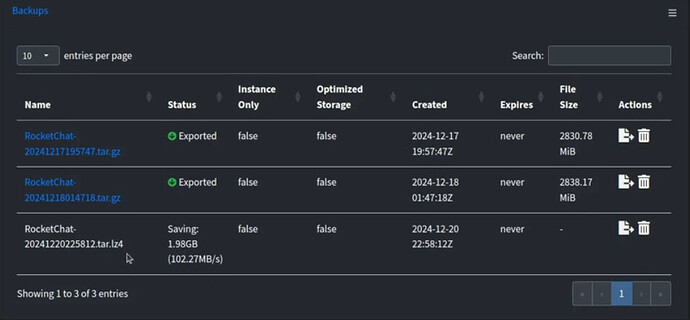
The “Backup” option in LXConsole is the GUI equivalent of the “incus export” or “lxc export” commands to perform a standalone backup that can be imported into a another server or which can be restored in the event of a catastrophic loss.
The difference is that the “incus export” or “lxc export” commands create the backup file and export it outside of the server data structures in one operation. In contrast, the LXConsole Backup command performs only the backup. LXConsole provides an additional option to export a completed backup to a file.
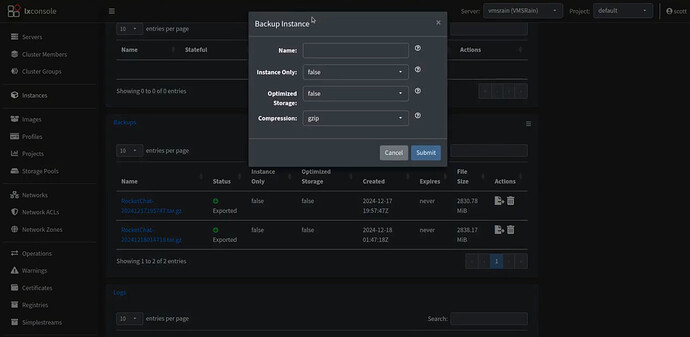
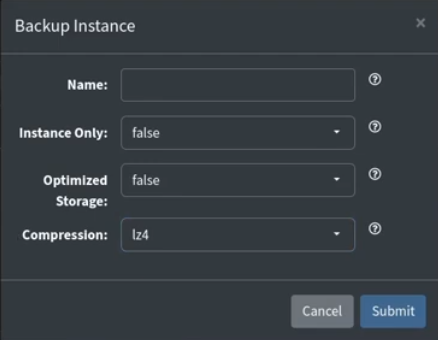
By default, LXConsole uses gzip compression to perform backups. Gzip works great, but can be very slow on larger containers. Incus containers support LZ4 compression which is considerably faster and more efficient. I asked Matthew Penning to add an option to the compression drop down in the backup instance menu to incude LZ4 as an option. This is new to LXConsole 0.6.1.
Before you can perform a backup using lz4 compression, you must have installed it on your incus server. Go to your incus server and install lz4 from the terminal prompt:
sudo apt install lz4
With lz4 installed, I can go back to LXConsole and initiate a backup using lz4 compression.
On average, I have found that a backup using lz4 is 5-10 times faster than a backup using gzip compression.
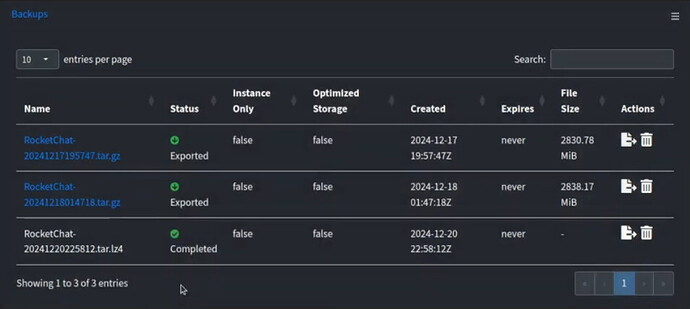
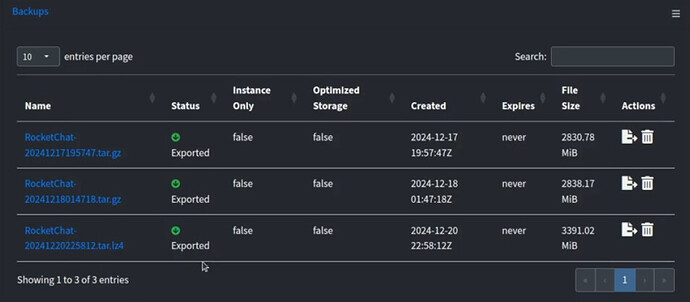
When your backup has been completed, it will show “completed”, but it still needs to be exported to a file that you will want to store externally to your server.
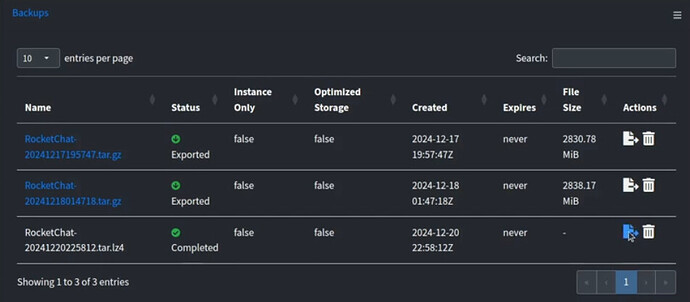
Click on the icon of the document with the arrow to the right of the backup you just completed under the actions column and that will initiate the export.
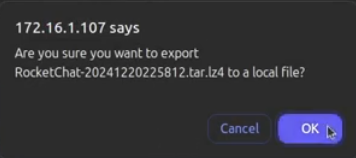
This will pop up an acknowledgment window.
After a minute or so, you will see that your backup has been exported to the folder you specified in the docker-compose file.
Please support Matthew Penning at Penning Labs for the hard work that he continues to provide on this excellent open source project.
