LXConsole is a new GUI for LXD containers that supports both LXD and Incus Servers. Matthew Penning is doing some great work. Support him if you can at Penning Labs.
LXConsole covered in this tutorial is a follow-on project to LXD Dashboard that I have featured many times in the past. LXConsole is able to manage both LXD and Incus containers, whereas LXD dashboard only manages LXD containers.
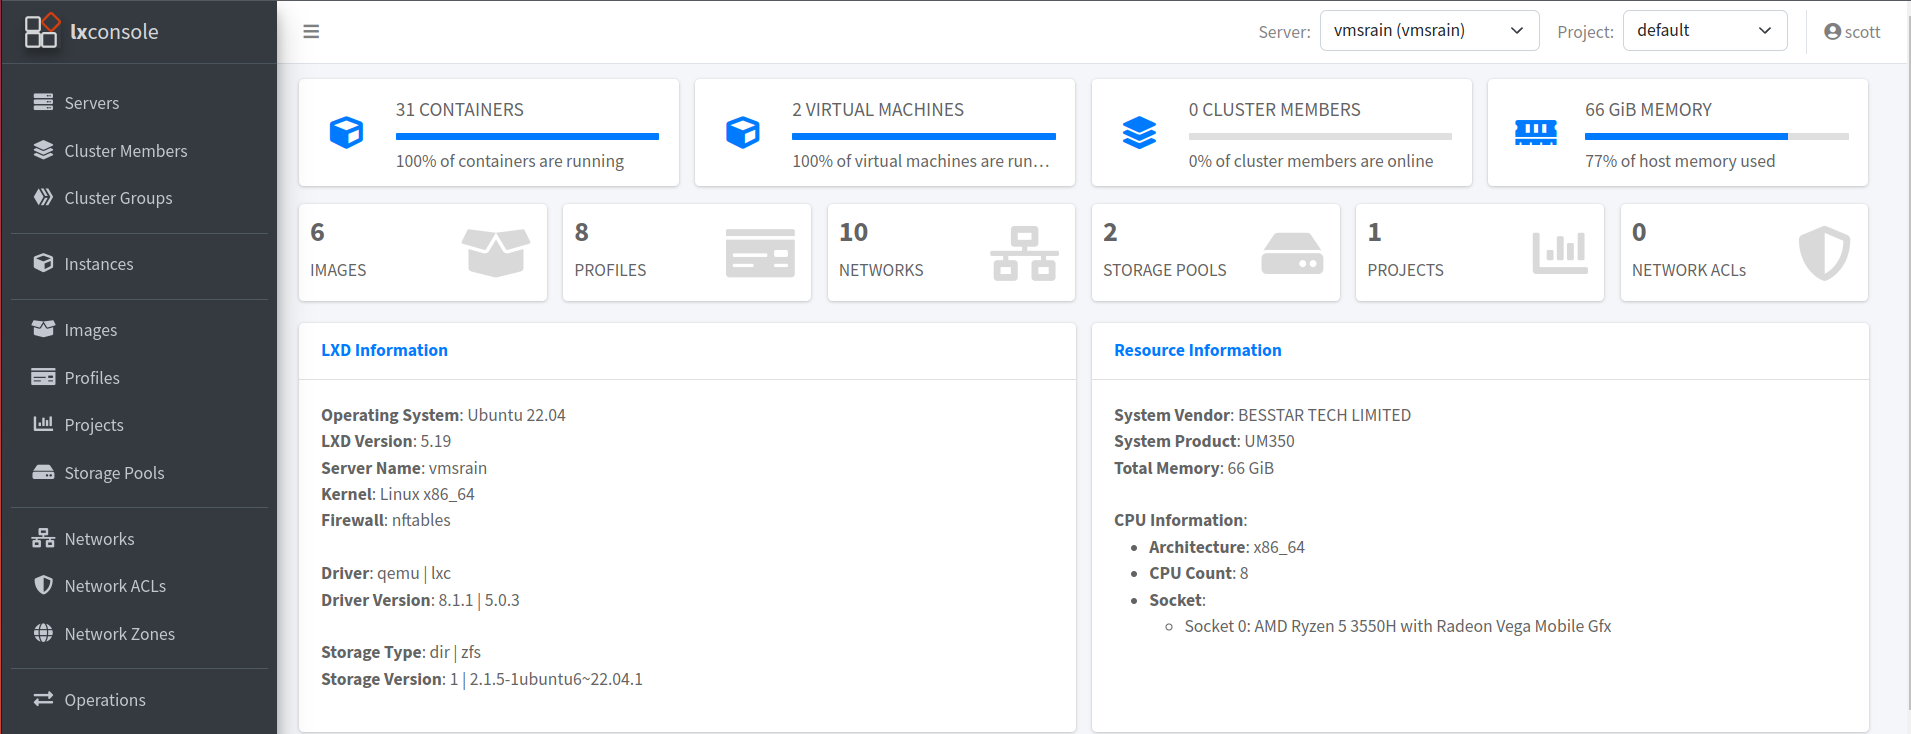
Here’s an example of a server screen from LXConsole.
I am Installing LXConsole inside of a LXD Container. Be sure to watch “LXD Step by Step” to learn how to set up the bridge profile used in the following command:
lxc launch ubuntu:22.04 LXConsole --profile default --profile bridgeprofile -c boot.autostart=true -c security.nesting=true
Connect to the container console:
lxc shell LXConsole
Apply the latest updates:
apt update && apt upgrade -y
Add a user account and put it in the sudo group:
adduser scott
usermod -aG sudo scott
Move over to the new account:
su - scott
Install docker and docker compose:
curl -sSL https://get.docker.com | sh
sudo apt install docker-compose -y
Put the current user account in the docker group:
sudo usermod -aG docker $user
newgrp docker
groups
Download the LXConsole Github Project and move into the folder:
git clone https://github.com/PenningLabs/lxconsole.git
cd lxconsole
Build the image for the project (Note the trailing period):
sudo docker build --no-cache -t penninglabs/lxconsole:v0.0.0 .
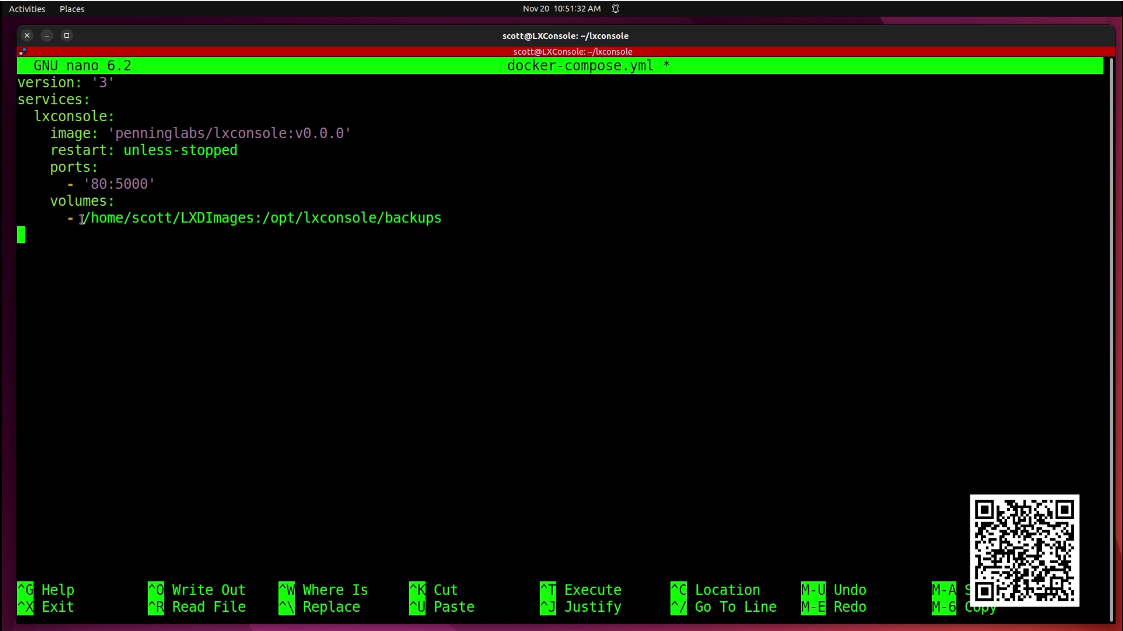
Create a docker compose file:
nano docker-compose.yml
Insert the following into the file and adjust the left side of the volume/ports directives for your requirements. In my example below, I point the container backups out of the docker container to the folder /home/scott/LXDImages.
NOTE: After my video and discussions with the author, I needed to add persistent volume mounts for the certificates and the server instances which I have now included below.
version: '3'
services:
  lxconsole:
    image: 'penninglabs/lxconsole:latest'
    restart: unless-stopped
    ports:
      - '80:5000'
    volumes:
      - /home/scott/LXDImages:/opt/lxconsole/backups
      - ./certs:/opt/lxconsole/certs
      - ./server:/opt/lxconsole/instance
CTRL O and enter to the save the file and a CTRL X to exit the editor.
To launch the application:
docker compose up -d

Find out the address of your LXD container which is the address of your LXConsole applicaiton:
ip a
In the command above, look for the IP address of the “eth0” device and enter it into your web browser.
Log out of the terminal we have been using because the installation is completed.
By default, you will not need a port number unless you changed to a port other than 80.
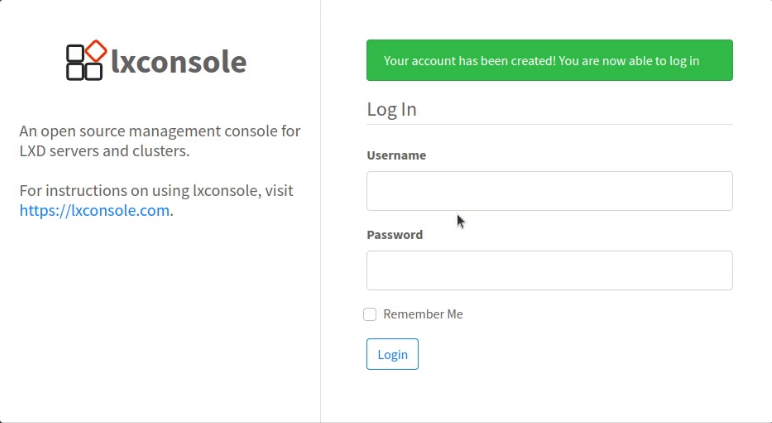
This will access the LXConsole registration screen and you should fill in your data and click “sign up”.

Next you will see the login screen where you can enter your username/password you chose on the previous screen and click “login”.
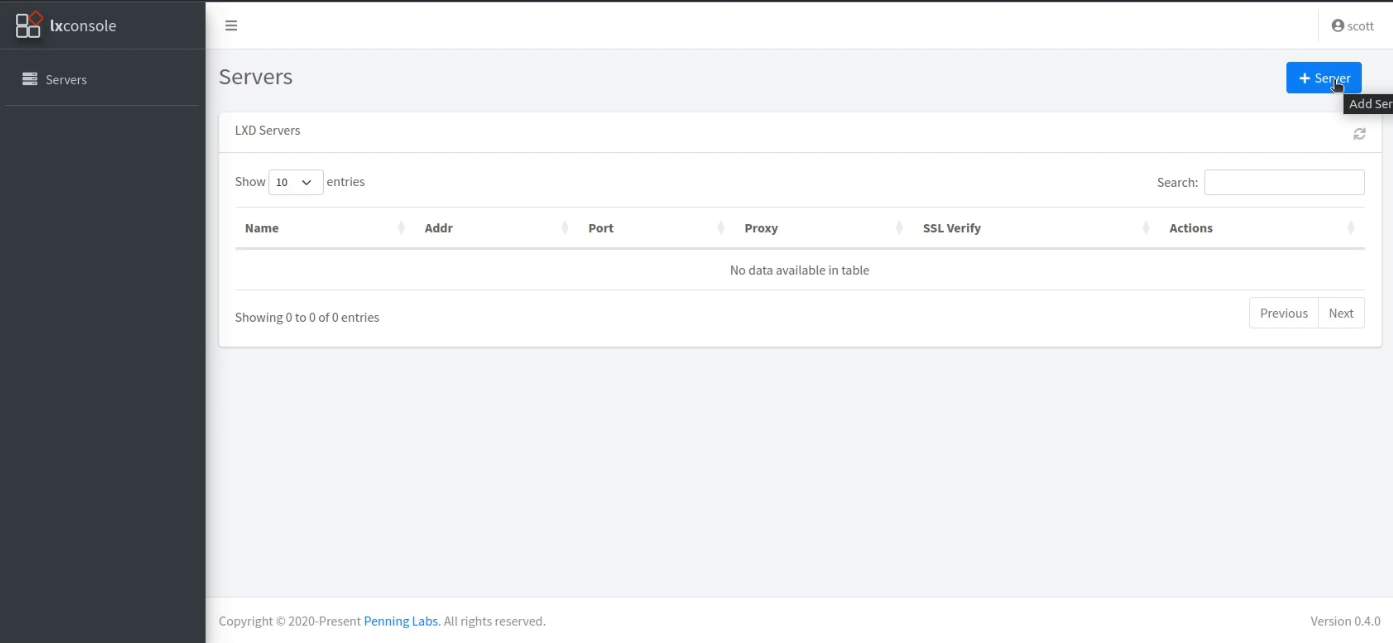
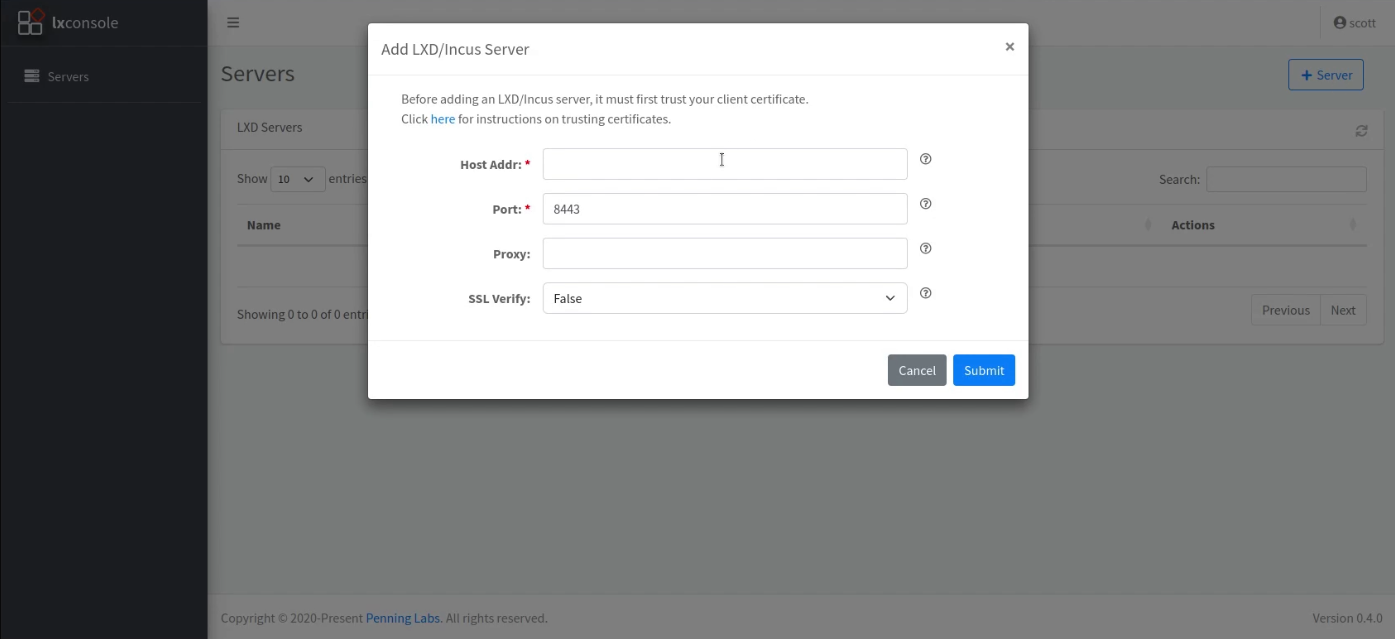
On the next screen (pictured below) press the “+server” to add a server to manage:
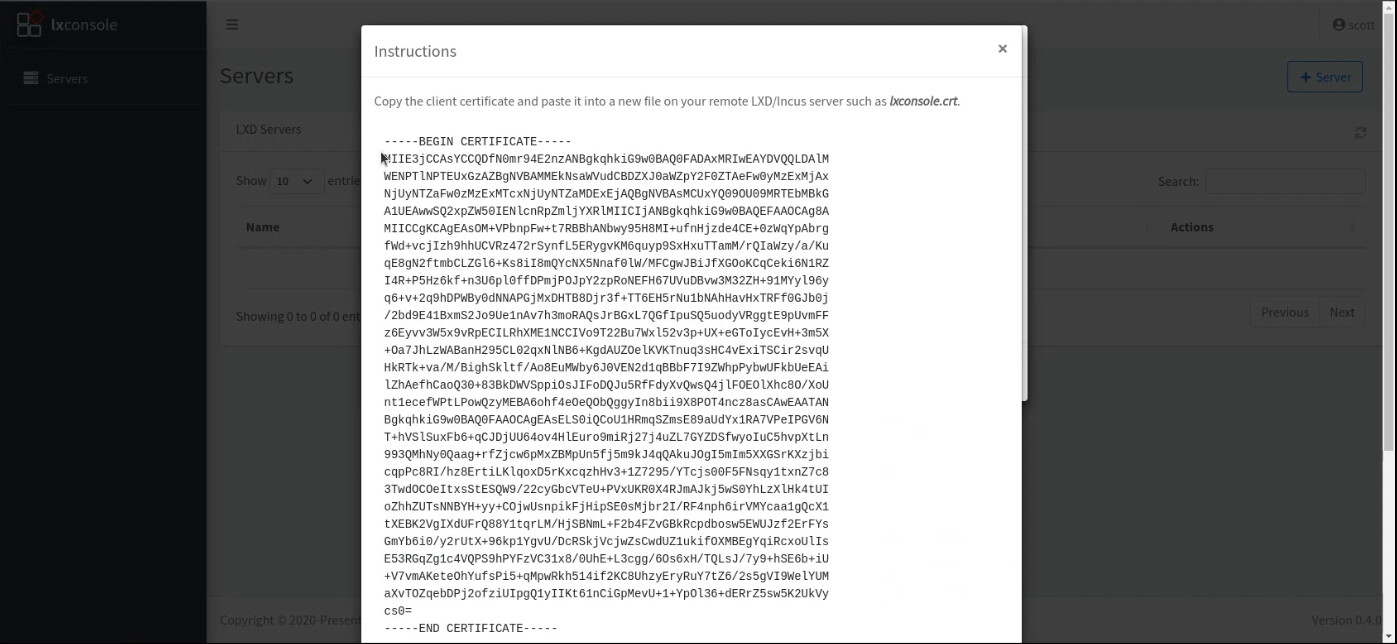
You will see the following screen, but before you can add a server, you must click the highlighted “click here” text.
You will see the instructions screen pop up and you want to copy the certificate data it lists including the start/end.
Log into a terminal session on the LXD/Incus host that you want LXConsole to be able to manage and create a certificate file.
nano lxconsole.crt
Paste the certificate data into the file that you cut above (Your data will be different from my test server).
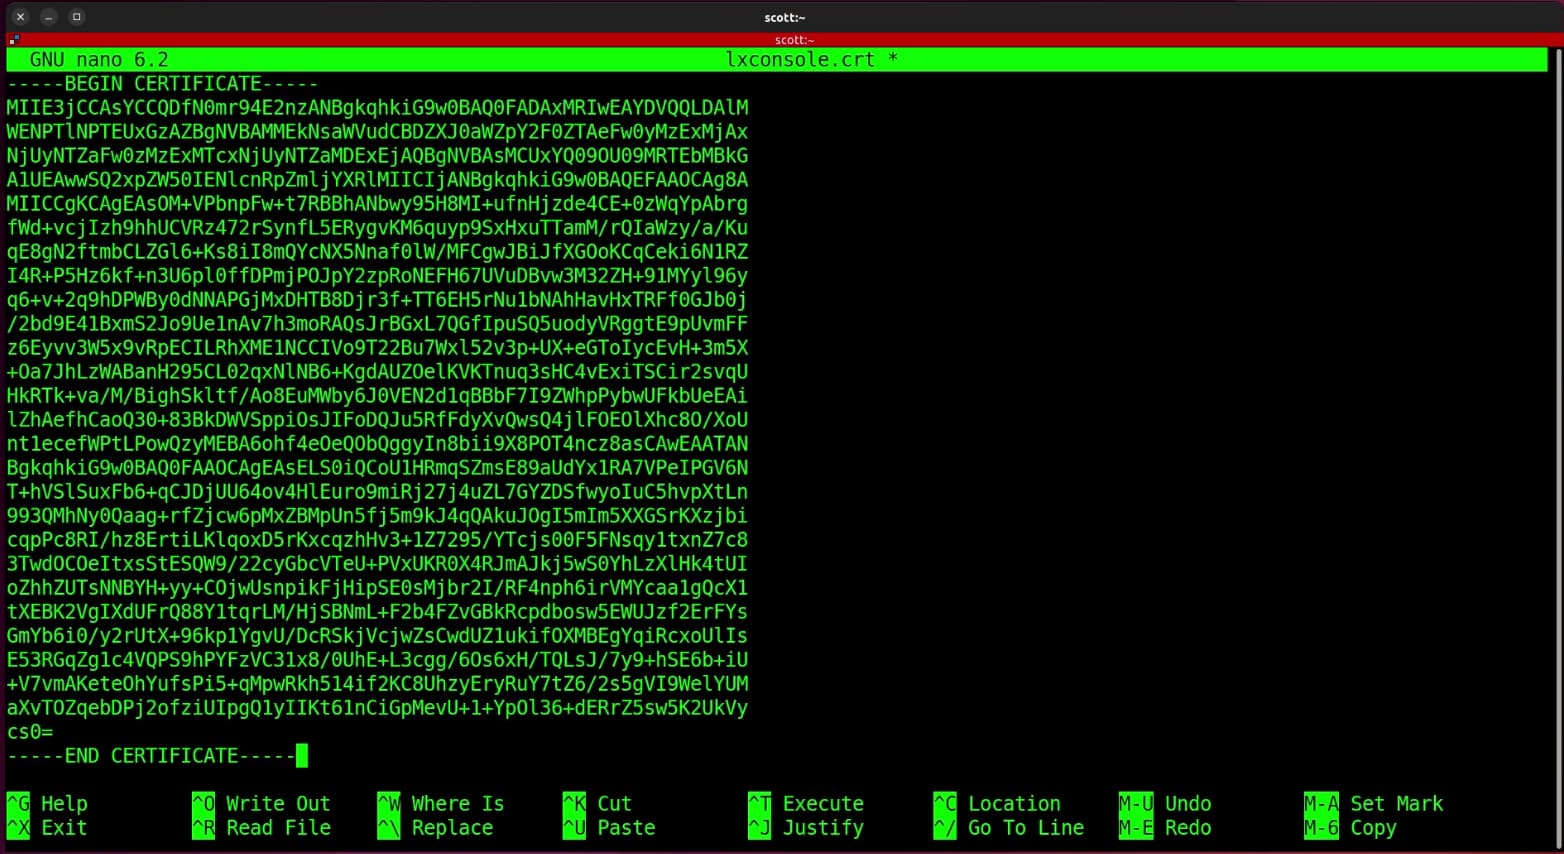
CTRL O and enter to save the file and CTRL X to exit the nano editor.
Back on the “instructions” page in your web browser at the bottom are displayed the commands to import the certificate to your LXD/Incus server.
Go back to the terminal session on your LXD/Incus server.
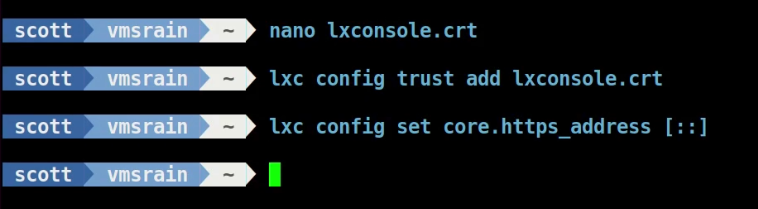
If you want to add a LXD Server to LXConsole:
lxc config trust add lxconsole.crt
lxc config set core.https_address [::]
If you want to add an Incus Server to LXConsole:
incus config trust add-certificate lxconsole.crt
incus config set core.https_address=[::]:8443
Here I import the certificate for a LXD server.
You can now press the “dismiss” button on the web interface and it will go back to the “Add LXD/Incus” screen. Here you can enter the local DNS name or the IP address of the server we just trusted.

You will need to trust each LXD or Incus server that you have by importing the certificate on each server and then you can add the server to be managed by LXConsole.