Jellyfin is a great Open source media server. In this tutorial we learn how to install Jellyfin and configure an HDHomeRun tuner for live TV with TV Guide data from Schedules Direct that automatically stays up to date.

If you are not familiar with the HDHomeRun line of digital TV tuners, read about them here. You will need a digital TV tuner to receive broadcasts and to set up the guide which is the topic of this tutorial.
I am implementing this solution in an Incus container. If you are unfamiliar with Incus, then watch my tutorial entitled Incus Containers Step by Step.
If you are not a user of Incus, all the other steps besides creating the container and moving inside of it still apply. Create and start a container for Jellyfin.
incus launch images:ubuntu/24.04 Jellyfin -c boot.autostart=true -p default -p bridgeprofile
Move inside of the container:
incus shell Jellyfin
Take all of the updates:
apt update && apt upgrade -y
Install all of the dependencies:
apt install net-tools openssh-server nano xmltv-util libxml2-utils jq curl -y
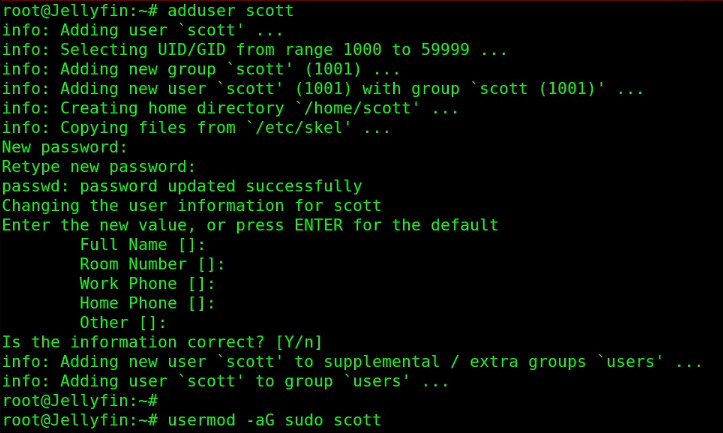
Add yourself a user account and put it in the sudo group:
adduser scott
usermod -aG sudo scott
Add the Jellyfin repository with the following command:
echo "deb [signed-by=/etc/apt/keyrings/jeyllyfin_team.gpg.key arch=$( dpkg --print-architecture )] https://repo.jellyfin.org/ubuntu $(lsb_release -cs) main" | sudo tee /etc/apt/sources.list.d/jellyfin.list
Add the GPG signing key:
wget --quiet -O - https://repo.jellyfin.org/jellyfin_team.gpg.key | sudo tee /etc/apt/keyrings/jeyllyfin_team.gpg.key
Move over to the new user account.
su - scott
Update the repositories to include the newly added Jellyfin.
sudo apt update
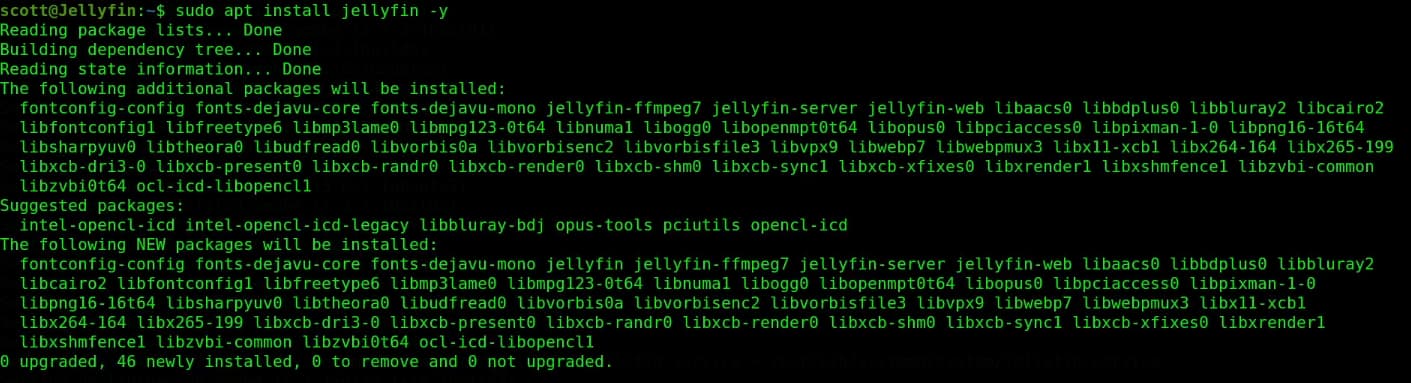
Install Jellyfin.
sudo apt install jellyfin -y
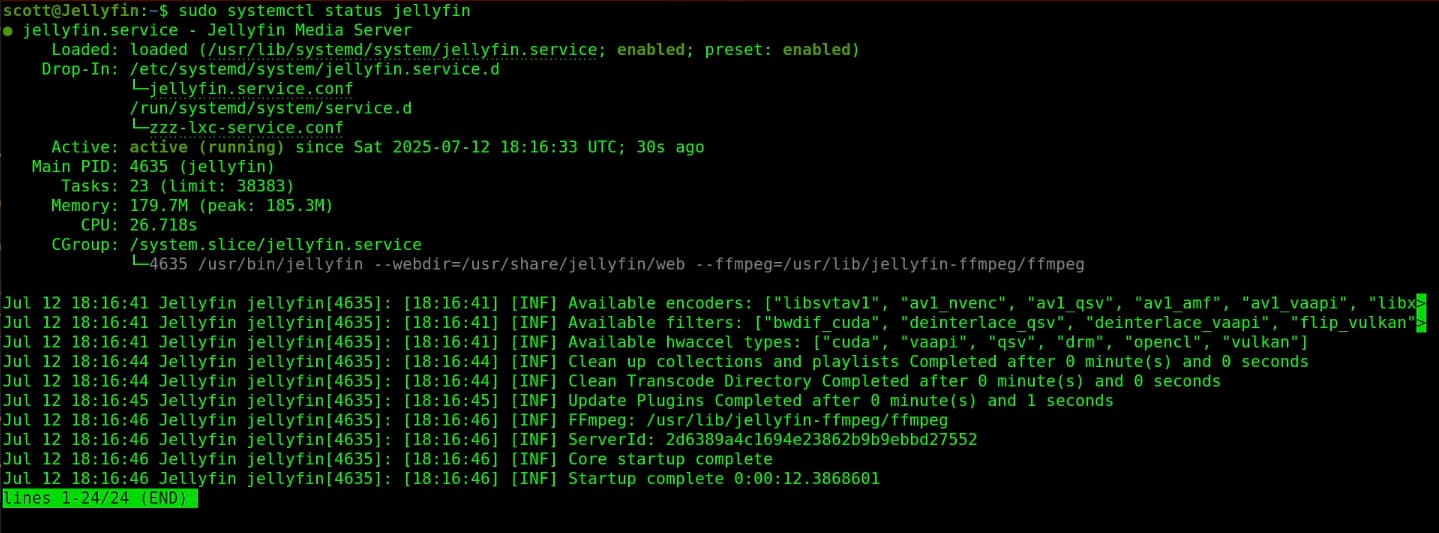
Verify that the Jellyfin service is started.
sudo systemctl status jellyfin
Check to see the address of your server.
ifconfig
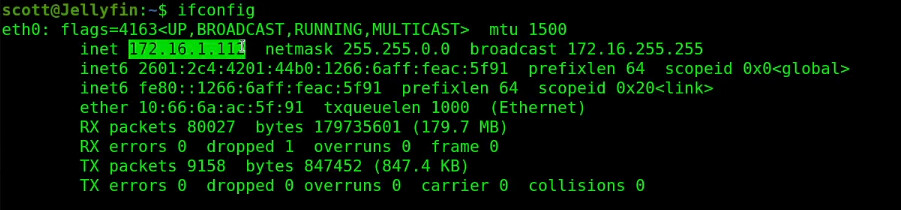
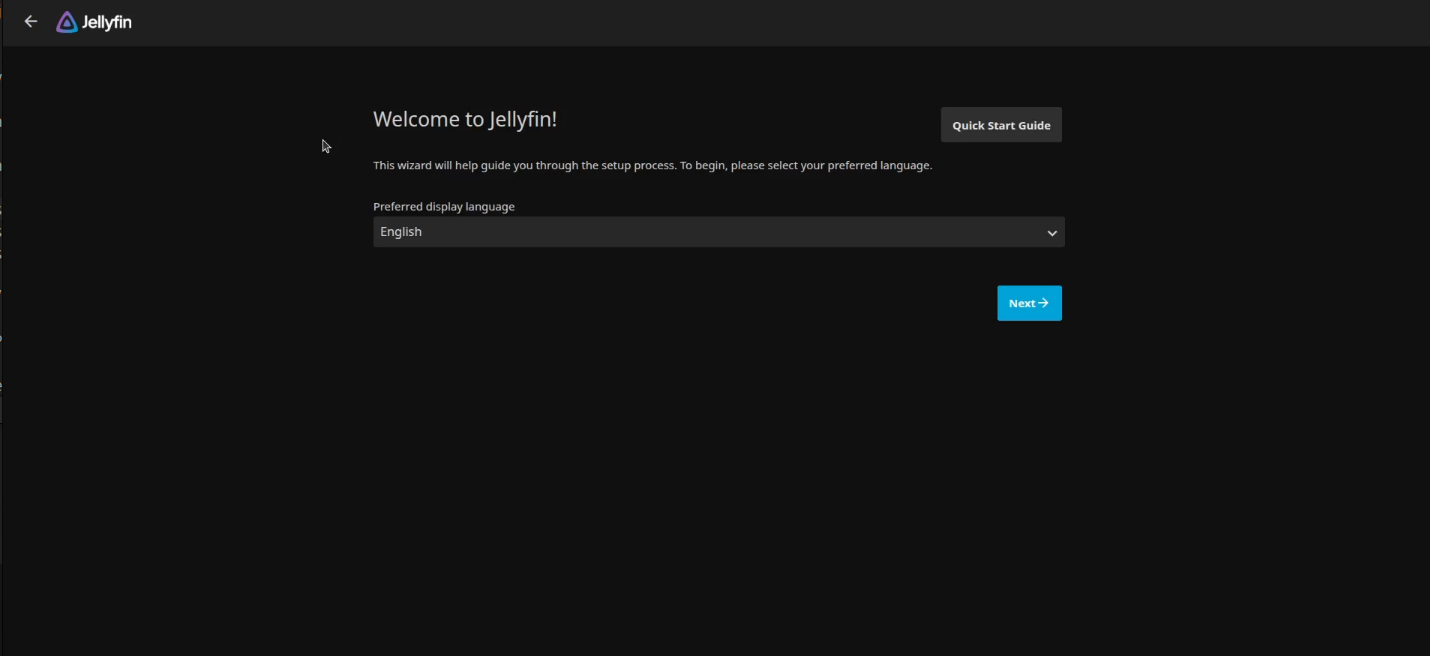
Go to your web browser and visit the address that you found followed with :8096. Port 8096 is the TCP port on which the Jellyfin server is exposed.
Select your language and press Next to continue.
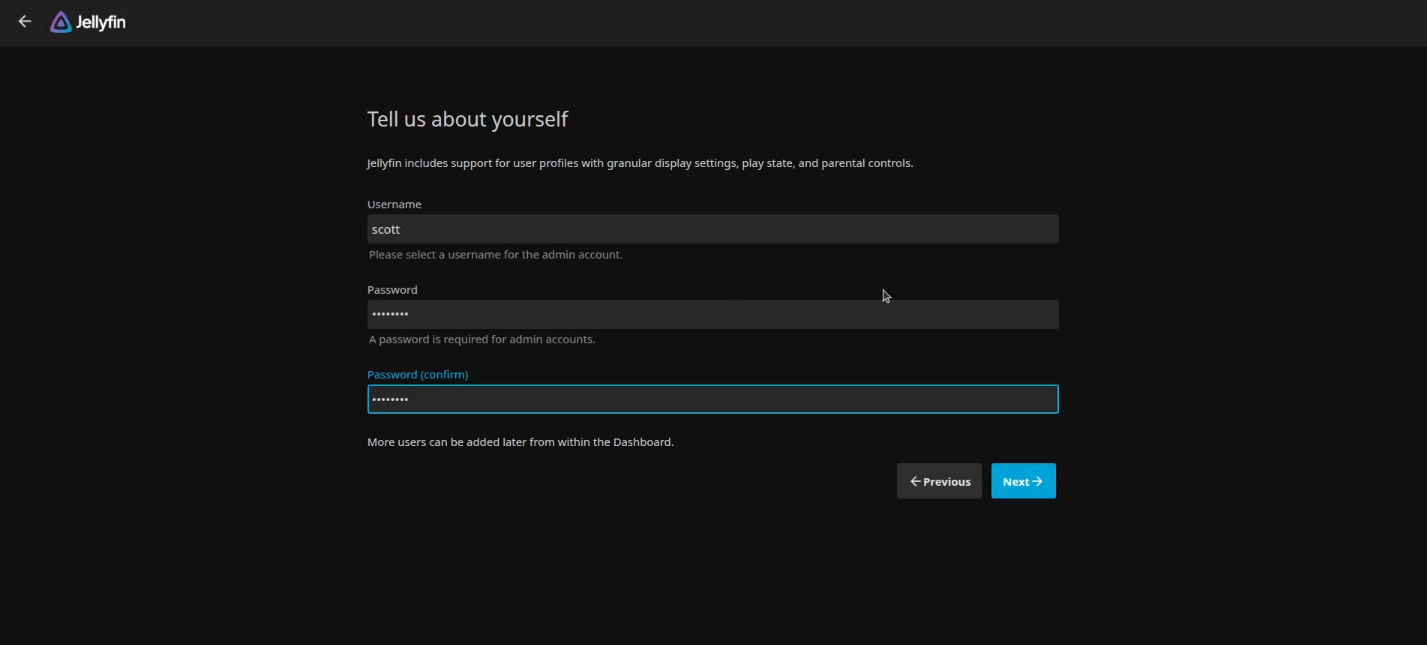
On the next screen, enter your desired username and password for the admin account.
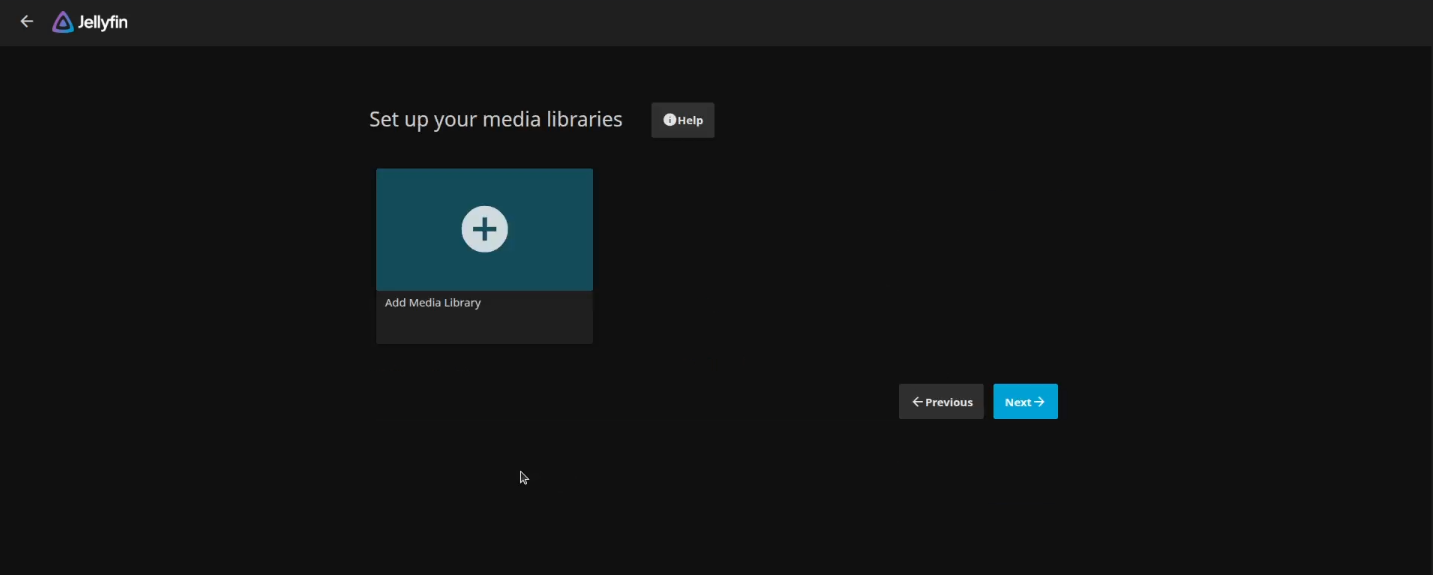
The next screen allows you to add the folders where your videos are located. I am not creating any video libraries, so I clicked next from here.
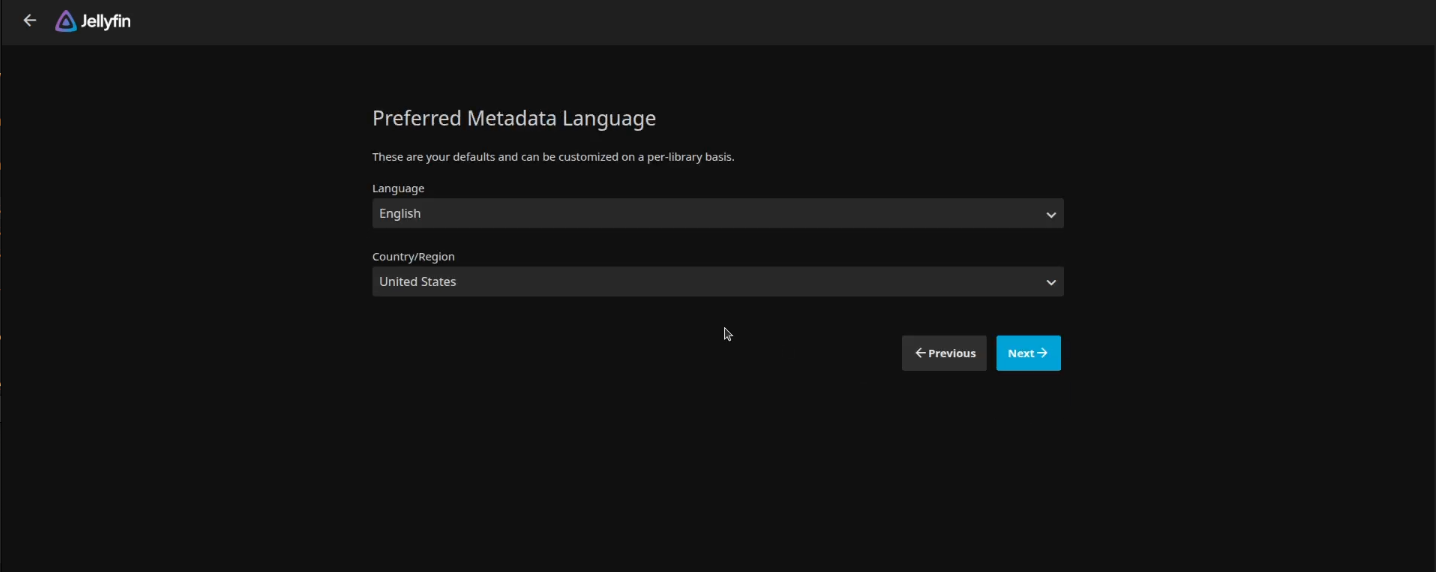
The next screen is for your preferred language for the metadata and your region.
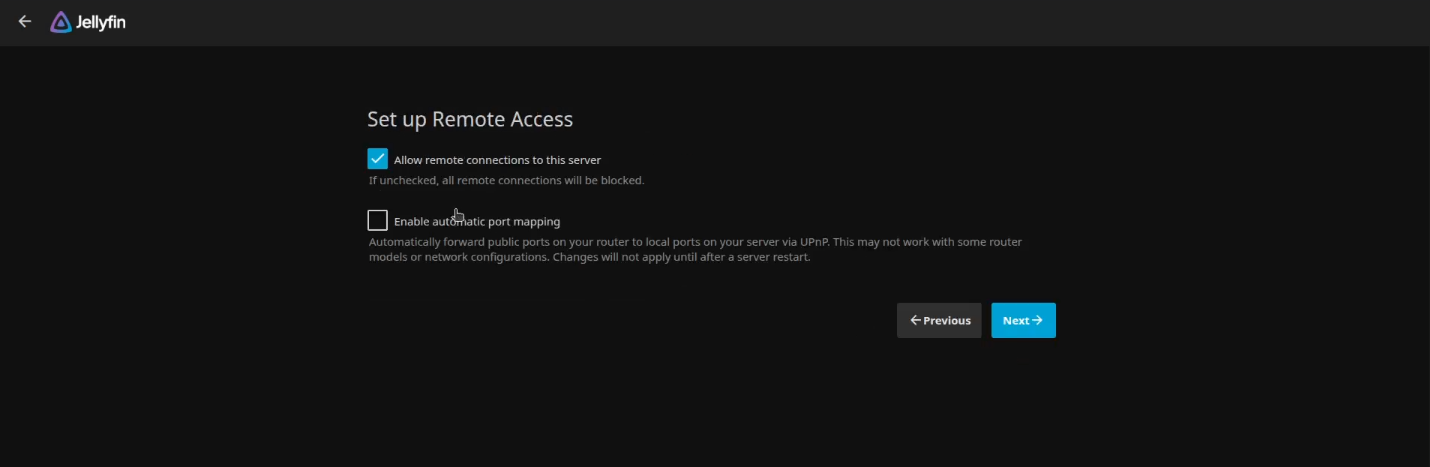
On this screen, leave the defaults and click next. In the video, I mentioned using an NginX Reverse Proxy and this only needed if you plan to run Jellyfin from outside of your local network.
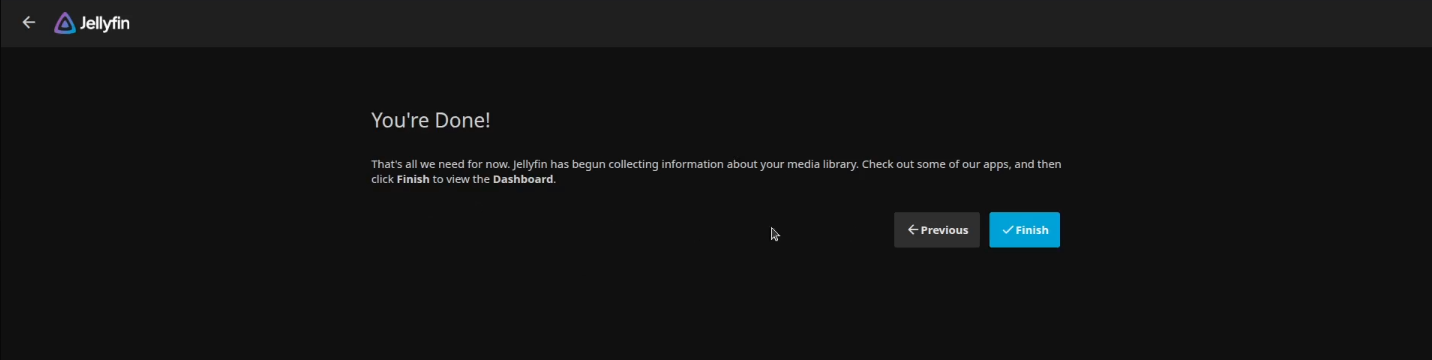
At this last screen below, once you click finish you will be invited to login.
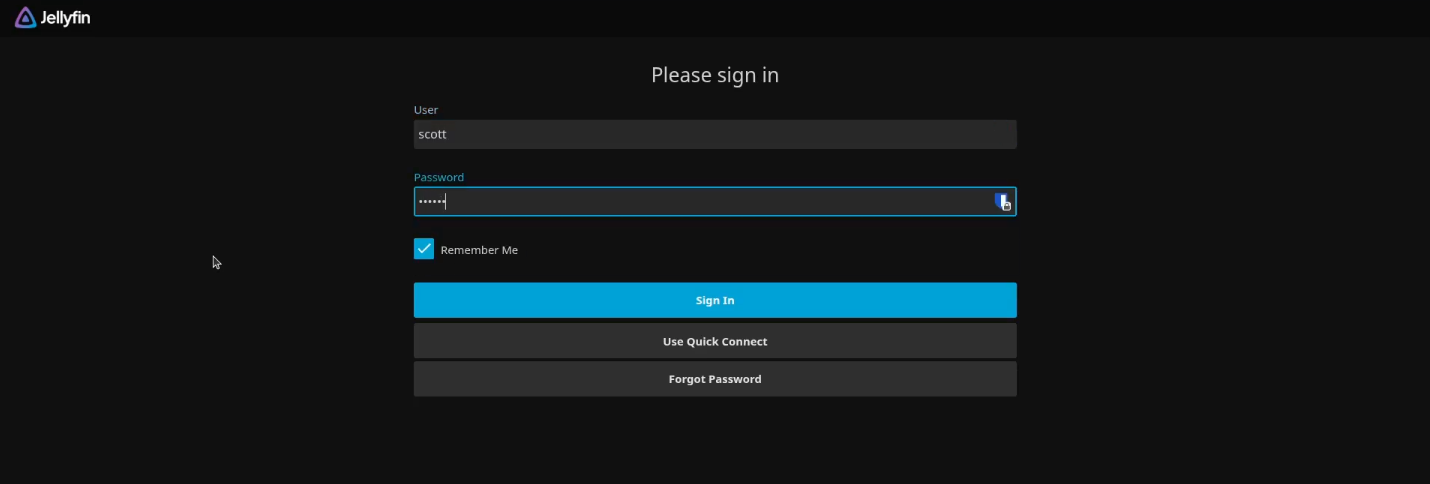
Provide the username and password you gave earlier and login.
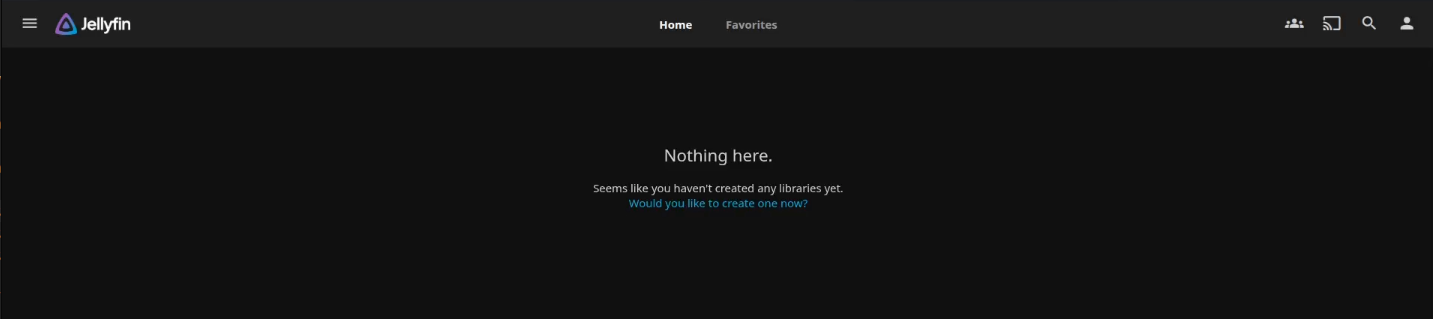
After signing in, we get “Nothing here” because we didn’t add any media libraries.
Head to the hamburger menu in the upper left of the screen and go to settings – Administration Dashboard – Live TV.
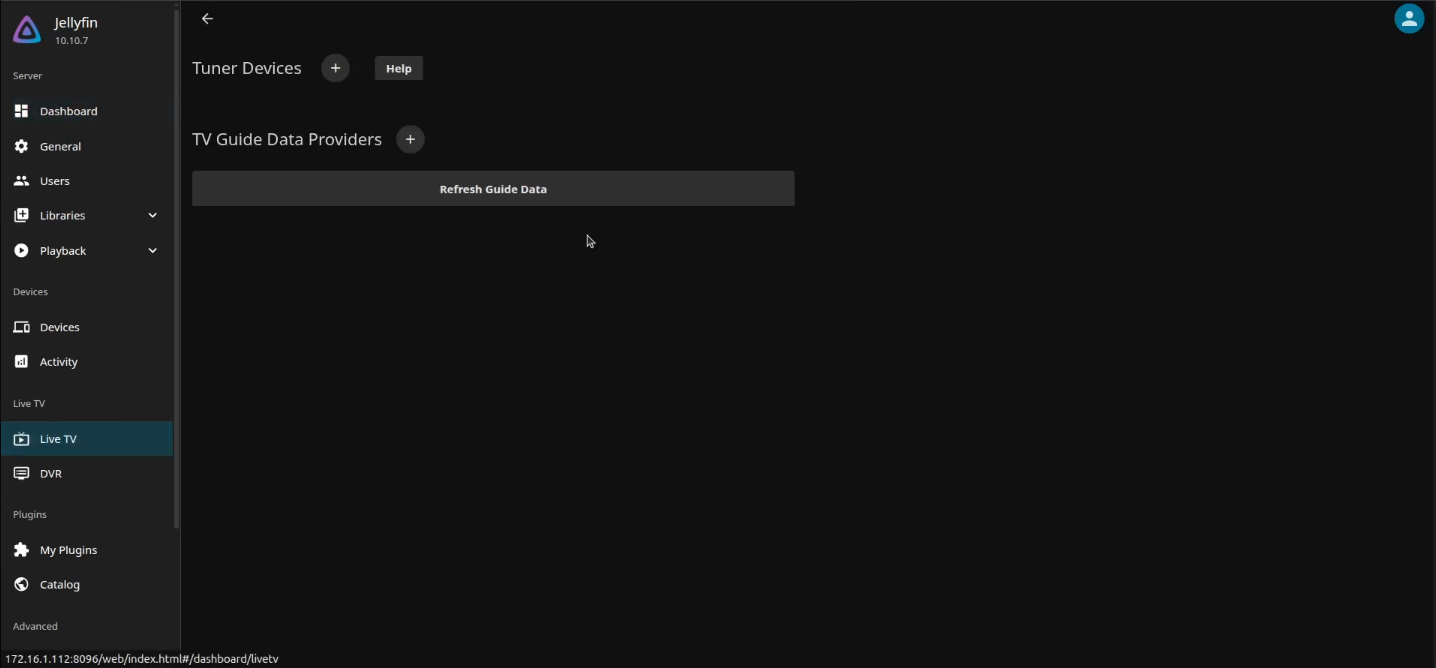
Click on the plus sign (+) to add a Tuner device.
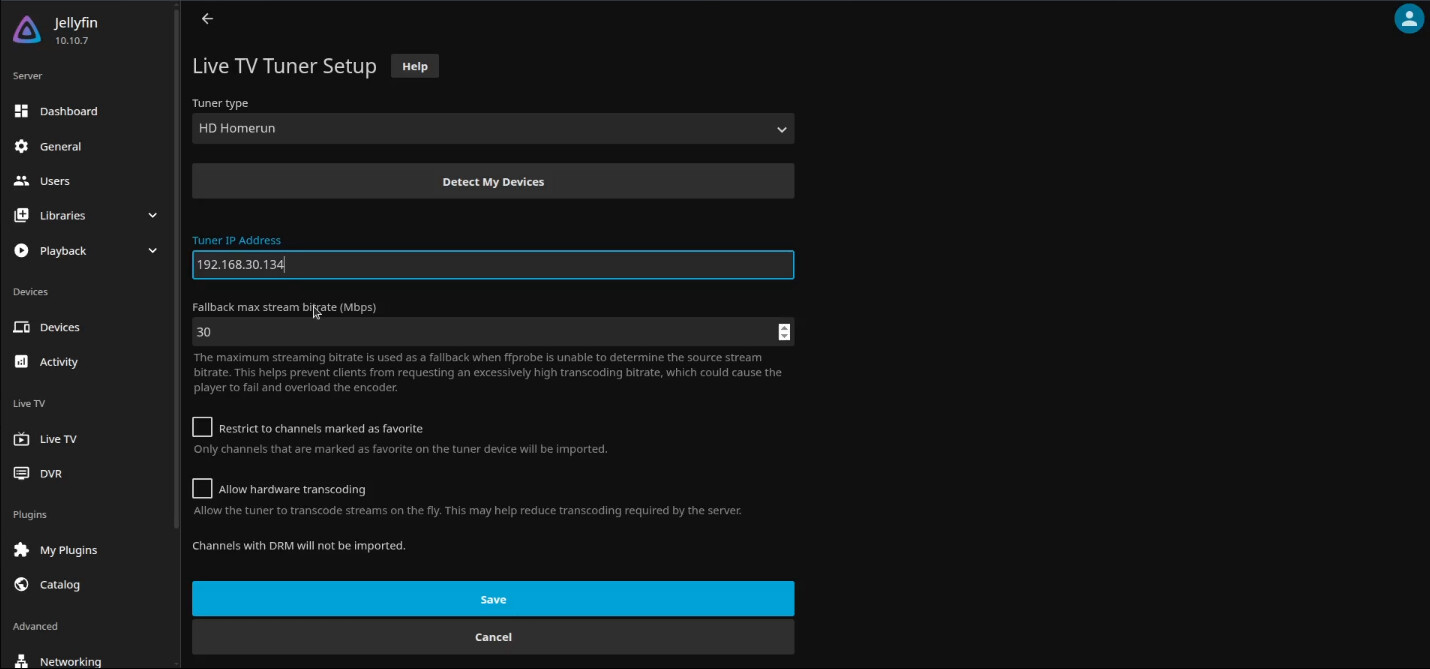
Specify “HD Homerun” as your tuner type and either click “Detect My Devices” or enter the address of your HDHomeRun as I did. Then click “Save”.
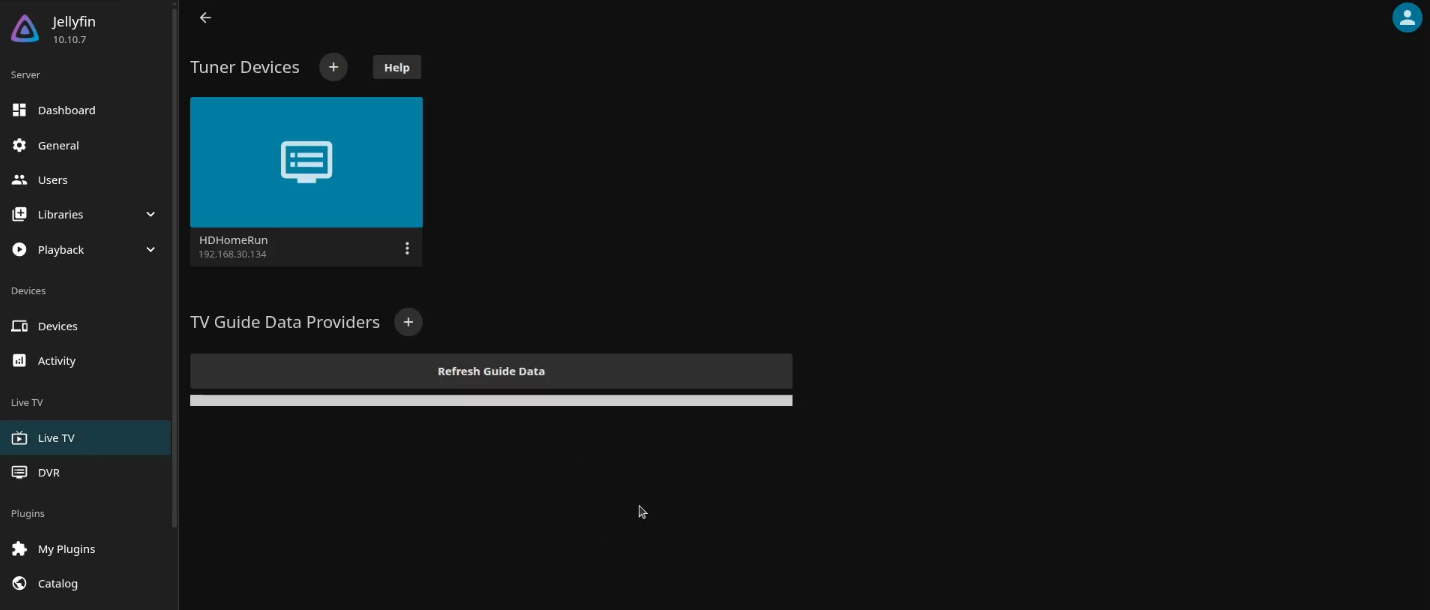
You should now see that you have a tuner device.
If I click on the Jellyfin icon at the top left, I will now have a live tuner on which I can view my channels, but I have no TV Guide yet.
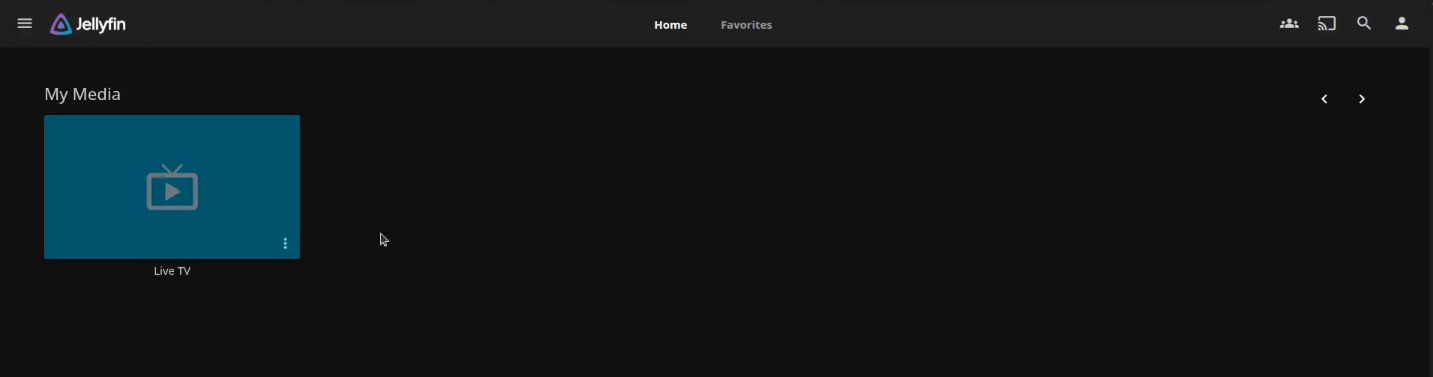
At this point, the guide is blank.
Back in the administrative menu for Live TV, I really want to add a “TV Guide Data Provider”. However, because of current incompatibilities, I can’t just use the Jellyfin built-in option to directly use Schedules Direct. I have to add my guide information via XMLTV.

We are not ready to add our XMLTV source because it requires a data file that we have not yet created.

A prerequiste is that you will have to go over to Schedules Direct and create an account. Schedules Direct is a non-profit organization that provides guide data. Since they have a cost associated with their service, a guide membership is $35 per year.
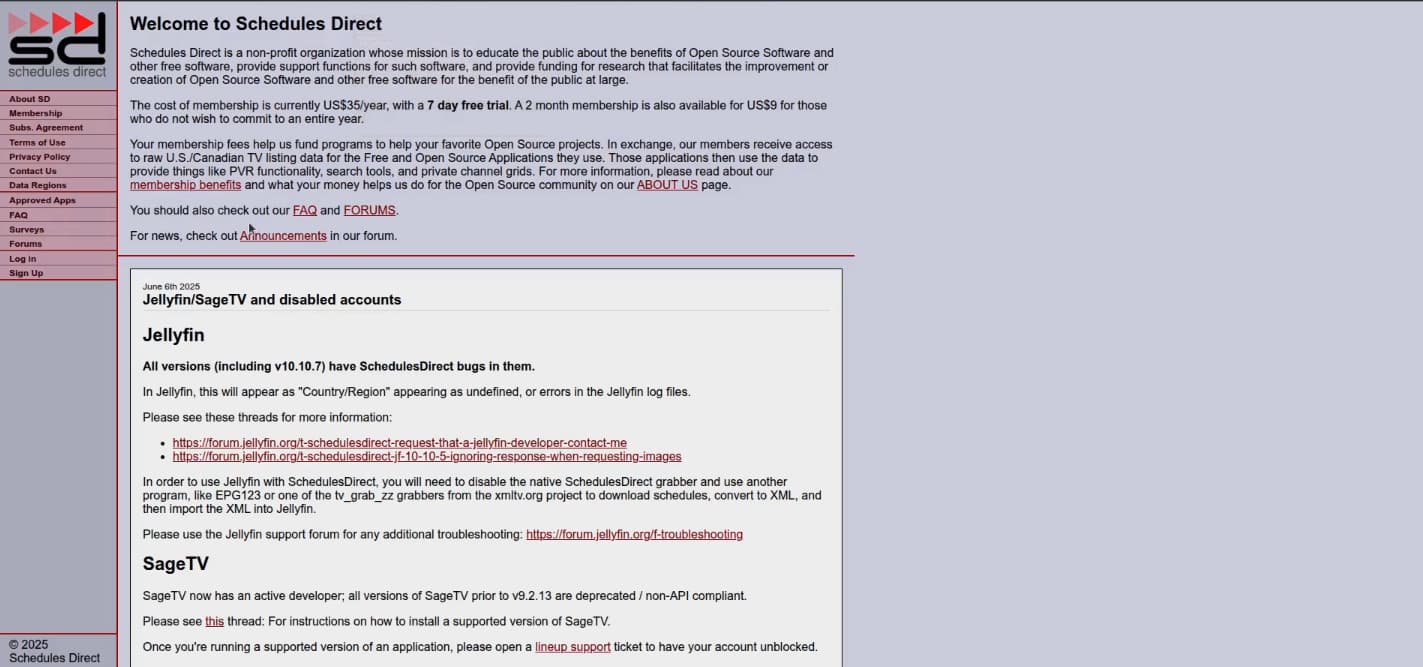
As you can see on the Schedules Direct home page above, the Jellyfin Schedules Direct internal code is broken. For that reason, we are going to use the Schedules Direct service to download our guides in XML format using the XMLTV code.
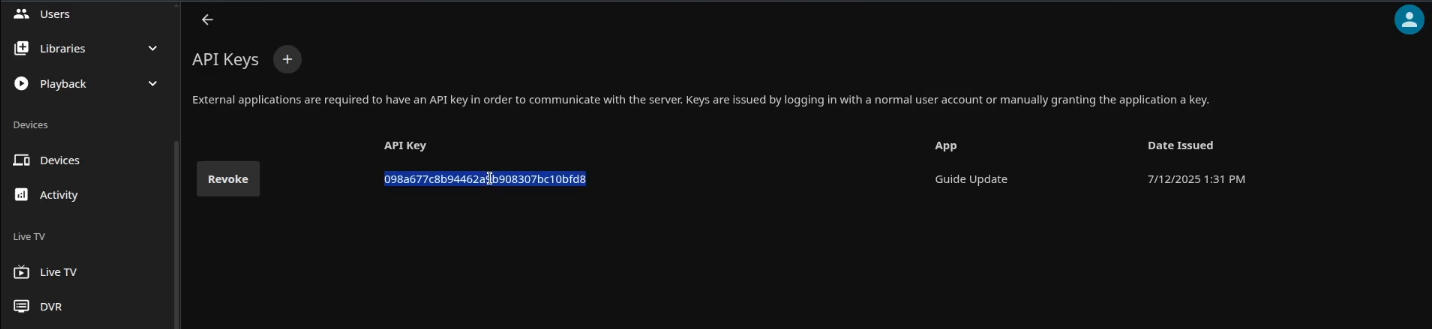
Back on your Jellyfin server, go to the API Keys section of the administration menu and add an API key that we will need for automatically refreshing your guide data.
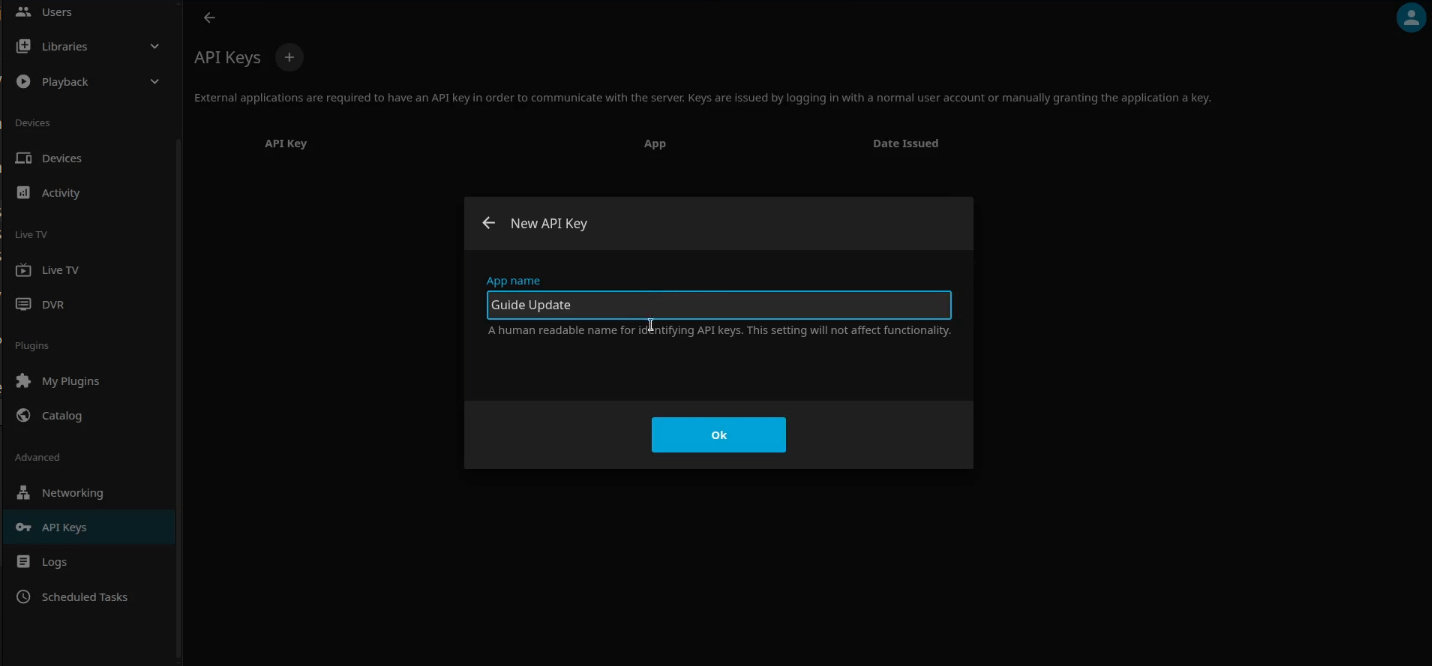
Make a copy of this key, because we will need it later.
Go back to the terminal and issue an API call to acquire a “Guide Refresh ID”. Be sure to replace YOURAPIKEY in the command below with the API key you got on your server.
curl -s -H "X-Emby-Token: YOURAPIKEY" http://localhost:8096/ScheduledTasks | jq -r '.[] | select(.Name=="Refresh Guide") | .Id'

The value that is returned from the API above is your “Guide Refresh ID”. Make a copy of it as well.
We now have a one-time procedure to configure the TV Guide Grabber.
tv_grab_zz_sdjson --configure
Follow the prompts as in the video entering your username and password for your Schedules Direct account.
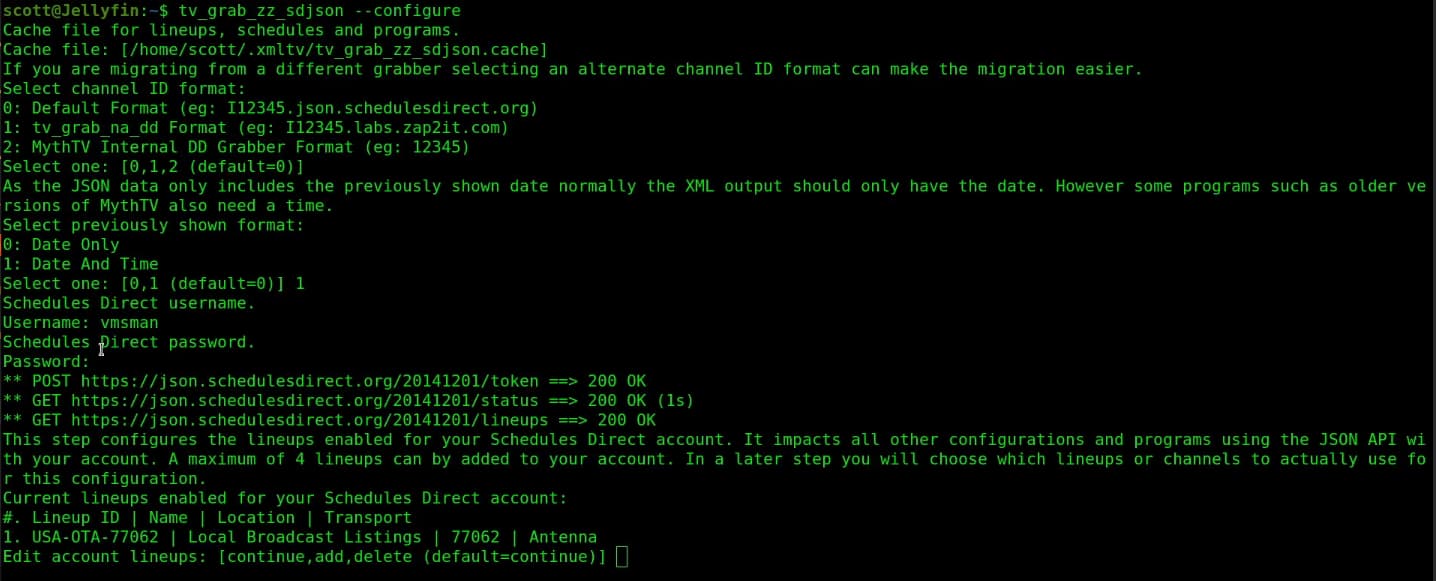
The last prompt above will have you adding a new account lineup if you are new to Schedules Direct. The rest of the prompts should be answered as follows.

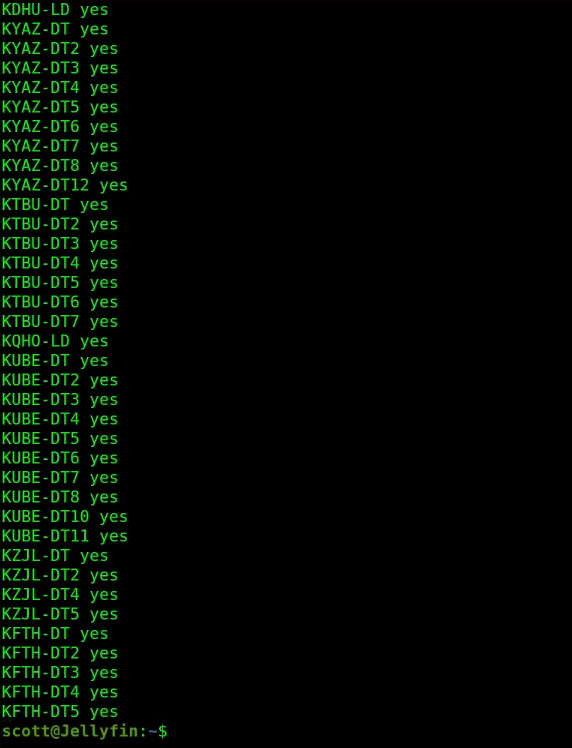
Since I selected all channels, the channels will be listed and the program exits meaning that the configuration has been completed.
We won’t be grabbing the guide right now, but just so you know, the command to grab a guide would be:
tv_grab_zz_sdjson --days 7 --output guide.xml
Here’s what a grabber run would look like.
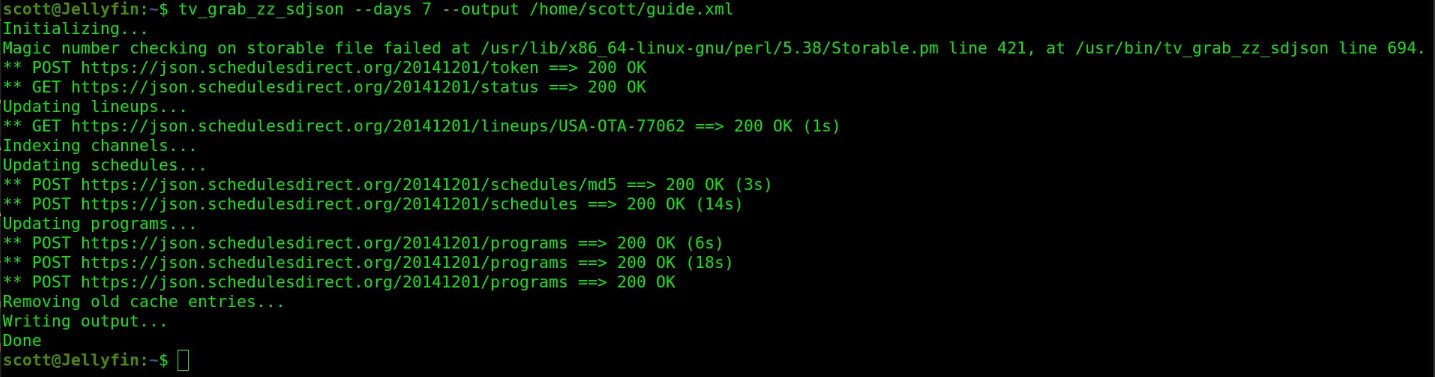
The problem with the guide above is that it denotes channels with an underscore between the channel and sub-channel. So channel 2.1 would be listed as 2_1 and that will not work with Jellyfin.
We are going to create a script to solve this problem.
nano update_guide.sh
Insert the following code into the edting session.
#!/bin/bash

GUIDE="/home/scott/guide.xml"

# Your SD credentials
SD_USERNAME="SCHEDULES-DIRECT-USERNAME"
SD_PASSWORD="SCHEDULES-DIRECT-PASSWORD"

refresh_token() {
  clear
  echo "Refreshing Schedules Direct token..."

  # Generate lowercase SHA-1 hex hash of password
  PASSWORD_HASH=$(echo -n "$SD_PASSWORD" | sha1sum | awk '{print $1}')

  RESPONSE=$(curl -s -X POST https://json.schedulesdirect.org/20141201/token \
    -H "Content-Type: application/json" \
    -d "{\"username\":\"$SD_USERNAME\",\"password\":\"$PASSWORD_HASH\"}")

  if echo "$RESPONSE" | grep -q '"code":0'; then
    echo "Token refreshed successfully."
  else
    echo "Failed to refresh token:"
    echo "$RESPONSE"
    exit 1
  fi
}

# Run token refresh first
refresh_token

echo "[$(date)] Updating guide from Schedules Direct using JSON interface..."
/usr/bin/tv_grab_zz_sdjson --days 7 --output "$GUIDE"

if [ $? -eq 0 ]; then
    echo "[$(date)] Post-processing guide.xml to fix display names..."
    sed -i 's/<display-name>\([0-9]\+\)_\([0-9]\+\)<\/display-name>/<display-name>\1.\2<\/display-name>/g' "$GUIDE"

    echo "[$(date)] Validating XML syntax of guide.xml..."
    if xmllint --noout "$GUIDE"; then
        # Jellyfin API info
        API_KEY="APIKEY!!!!"
        JELLYFIN_URL="http://localhost:8096"
        TASK_ID="TASK ID!!!"

        echo "[$(date)] XML is valid, triggering Jellyfin guide refresh scheduled task..."
        curl -s -X POST "$JELLYFIN_URL/ScheduledTasks/Running/$TASK_ID" \
             -H "X-Emby-Token: $API_KEY" \
             -H "Accept: application/json"

        echo "[$(date)] Guide refresh scheduled task triggered."
    else
        echo "[$(date)] XML validation failed. Not triggering Jellyfin guide refresh."
    fi
else
    echo "[$(date)] Guide update failed. Jellyfin will not be restarted."
fi
Be sure to insert your API KEY in place of APIKEY!!! and replace your Guide Refresh ID in place of TASK ID!!! in the file. Also be sure to change all references to the “scott” username to be your username.
BIG NOTE: After the tutorial, I noticed that the refresh token that is created when you run the “tv_grab_zz_sdjson --configure” expires after about 5 days. I have added code at the top of the script to request a new token. Be sure to also place your Schedules Direct Username and Password where indicated at the top of the script which are required to run the refresh function.
When you have done all that, CTRL O and enter to save the file out and CTRL X to exit the nano editor.
Grant execute permission to the script we just created:
chmod +x update_guide.sh
Since the Jellyfin user requires execute access to the folder with your script, perform the following command adjusting for your username or the refresh operation will not work.
chmod o+x /home/scott
I have also created a utility menu for the guide data. Edit a new file:
nano guide_menu.sh
Insert the following data into the editor session.
#!/bin/bash

GUIDE=~/guide.xml

list_channels() {
  clear
  awk '
  /<channel id="/ {id = $0}
  /<display-name>/ {
    gsub(/.*<display-name>/, "", $0);
    gsub(/<\/display-name>.*/, "", $0);
    names[++i] = $0
  }
  /<\/channel>/ {
    name = ""; number = "";
    for (j = 1; j <= i; j++) {
      if (names[j] ~ /^[0-9]+\.[0-9]+$/) number = names[j]
      else if (names[j] ~ /^[A-Z0-9-]+$/) name = names[j]
    }
    if (name && number)
      printf "%-12s\t%s\n", name, number
    delete names; i = 0
  }' "$GUIDE" | sort -k2n | less --prompt="Press q to return to menu"
}

show_dates() {
  clear
  start_date=$(grep '<programme' "$GUIDE" | head -1 | sed -n 's/.*start="\([^"]*\)".*/\1/p')
  end_date=$(grep '<programme' "$GUIDE" | tail -1 | sed -n 's/.*stop="\([^"]*\)".*/\1/p')

  start_fmt=$(date -d "${start_date:0:8} ${start_date:8:2}:${start_date:10:2}" +"%a %b %d, %Y %H:%M")
  end_fmt=$(date -d "${end_date:0:8} ${end_date:8:2}:${end_date:10:2}" +"%a %b %d, %Y %H:%M")

  echo "Guide Start Date: $start_fmt"
  echo "Guide End Date:   $end_fmt"
  echo
  read -rp "Press ENTER to return to menu..."
}

count_programs() {
  clear
  prog_count=$(grep -c '<programme' "$GUIDE")
  echo "Total number of programs: $prog_count"
  echo
  read -rp "Press ENTER to return to menu..."
}

count_channels() {
  clear
  total_channels=$(grep -c '<channel id=' "$GUIDE")
  # Count channels where display-name does NOT contain a channel number pattern (e.g., x.y)
  unmatched_channels=$(awk '
    /<channel id=/ {in_channel=1; found_num=0}
    in_channel && /<display-name>/ {
      if ($0 ~ /[0-9]+\.[0-9]+/) found_num=1
    }
    /<\/channel>/ {
      if (in_channel && found_num == 0) unmatched++
      in_channel=0
    }
    END {print unmatched+0}
  ' "$GUIDE")

  echo "Total number of channels: $total_channels"
  echo "Channels without matching channel numbers: $unmatched_channels"
  echo
  read -rp "Press ENTER to return to menu..."
}

clear
while true; do
  clear
  echo "=== XMLTV Guide Menu ==="
  echo "1) List Channels"
  echo "2) Show Start and End Dates"
  echo "3) Number of Programs"
  echo "4) Number of Channels"
  echo "5) Exit"
  echo
  read -rp "Enter your choice [1-5]: " choice
  case $choice in
    1) list_channels ;;
    2) show_dates ;;
    3) count_programs ;;
    4) count_channels ;;
    5) echo "Goodbye!"; exit 0 ;;
    *) echo "Invalid choice. Try again."; sleep 1 ;;
  esac
done
Save the file with a CTRL O and enter and then CTRL X to exit the nano editor.
Provide execute access to the script.
chmod +x guide_menu.sh
Edit your .bashrc command file as shown in the video.
nano .bashrc
Move to the bottom and insert these lines.
alias menu='~/guide_menu.sh'
alias update='~/update_guide.sh'
Do a CTRL O and enter to write the file out and a CTRL X to exit the editor.
Reload your .bashrc to activate the new aliases.
source ~/.bashrc
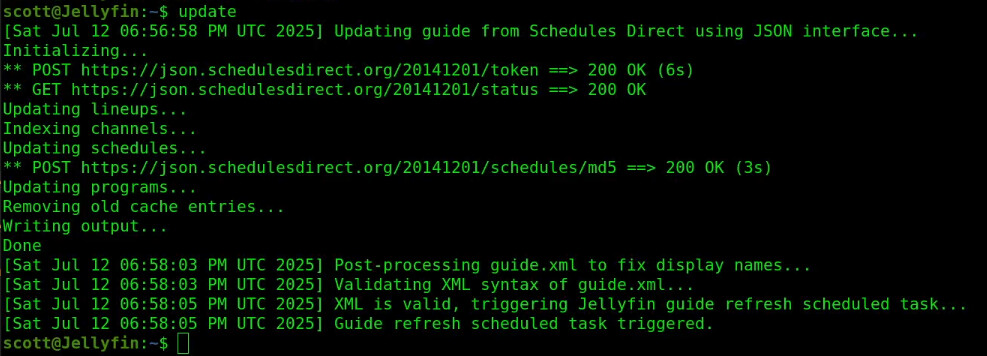
At this point, you can download and update your Jellyfin guide with the command.
update
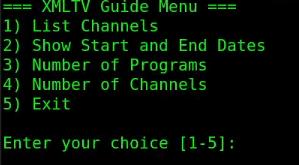
As shown in the video, you can run the “menu” command to see information about the guide that has been downloaded.
menu
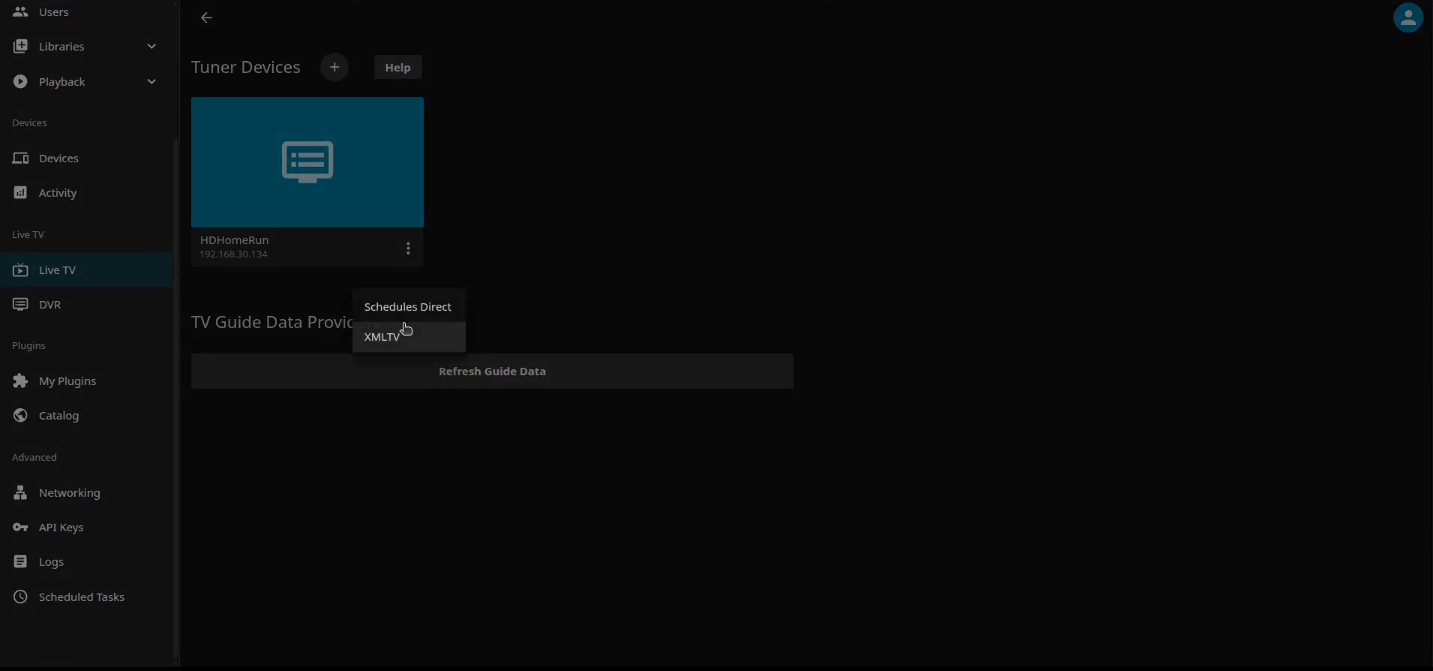
Now head back to the your Administrative menu in Jellyfin and go into the Live TV section and add an XMLTV TV Guide Data Provider.
Enter the full path to your guide.xml file. Remember to change “scott” to your username.
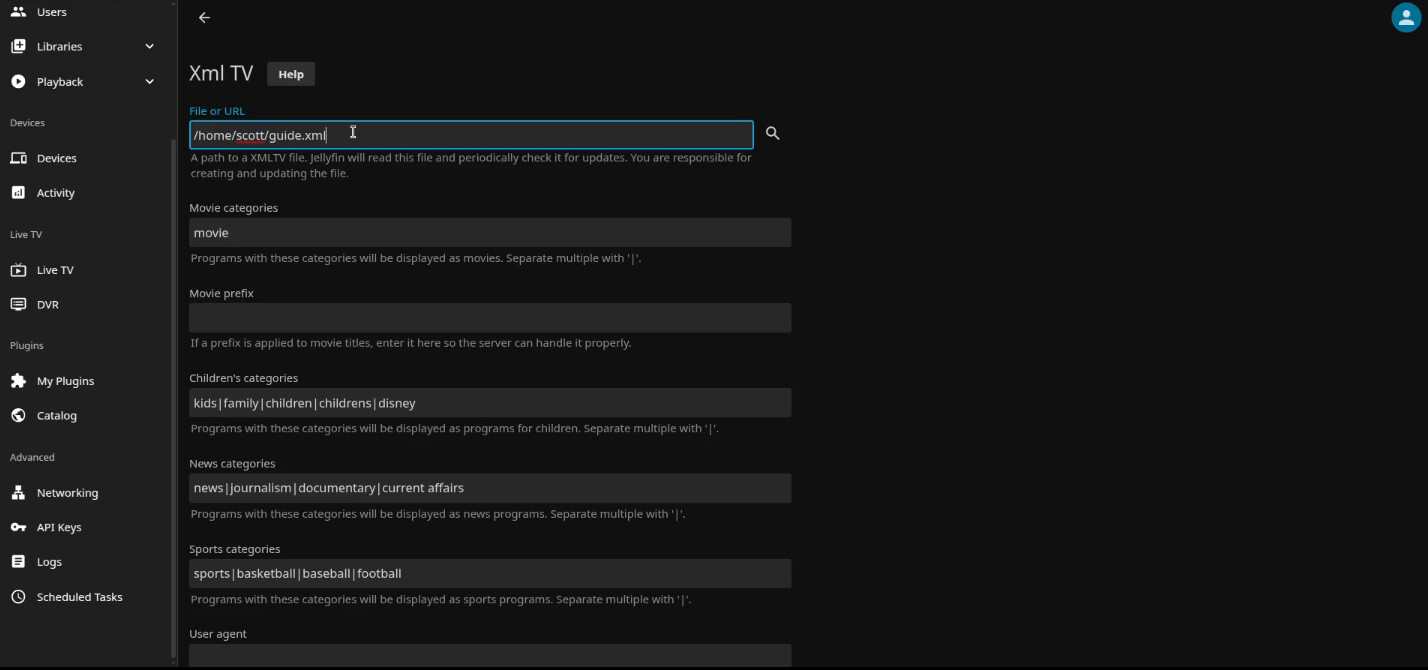
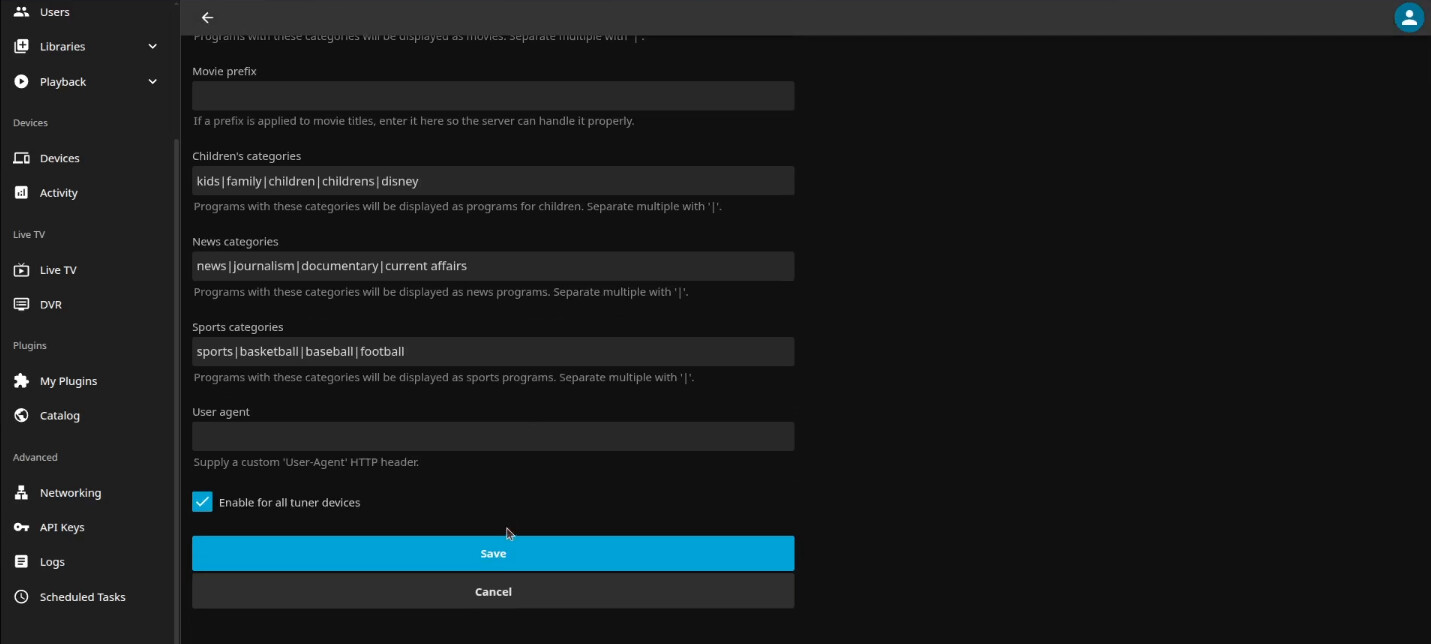
Then scroll to the very bottom of that screen and click Save.
You should not get the following error.
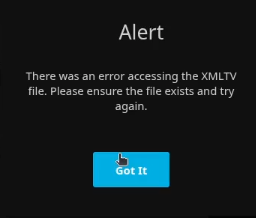
If you did see that error, you forgot the following command adjusted for your username.
chmod o+x /home/scott
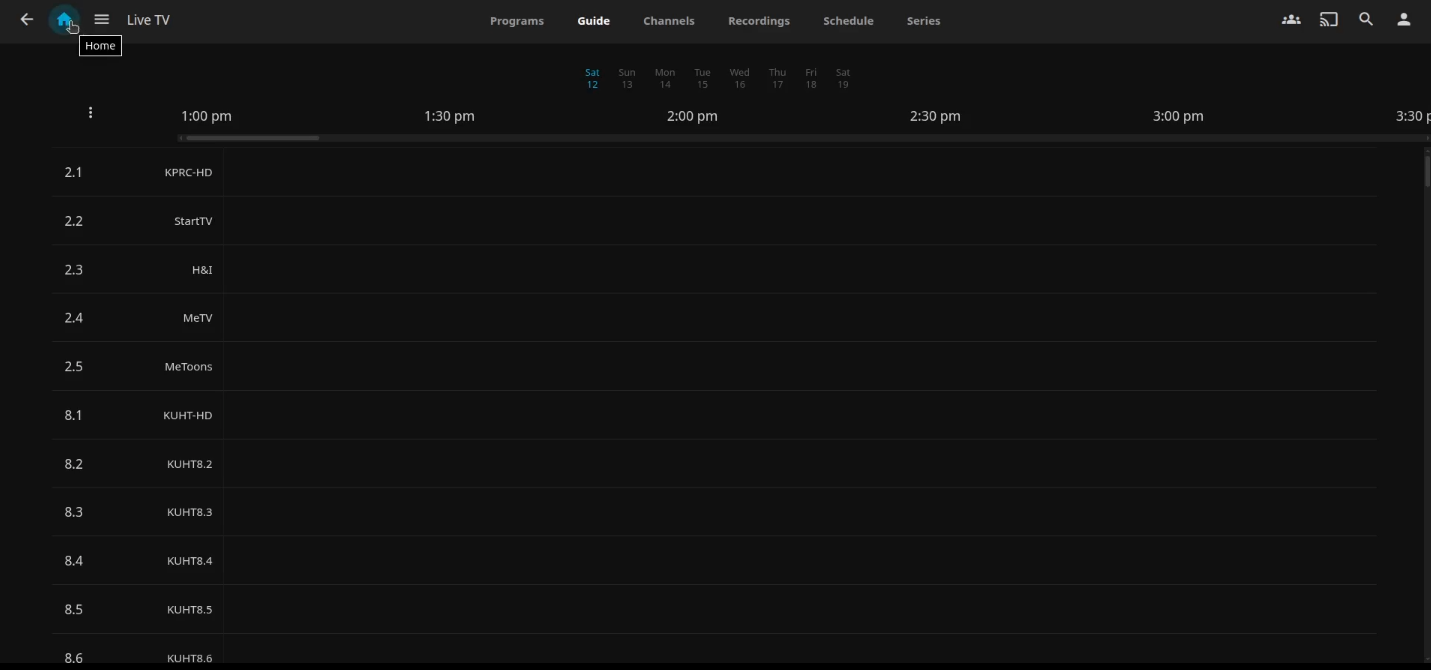
At this point, the guide in Jellyfin will be working and the main Jellyfin screen will appear with an option to view the guide.
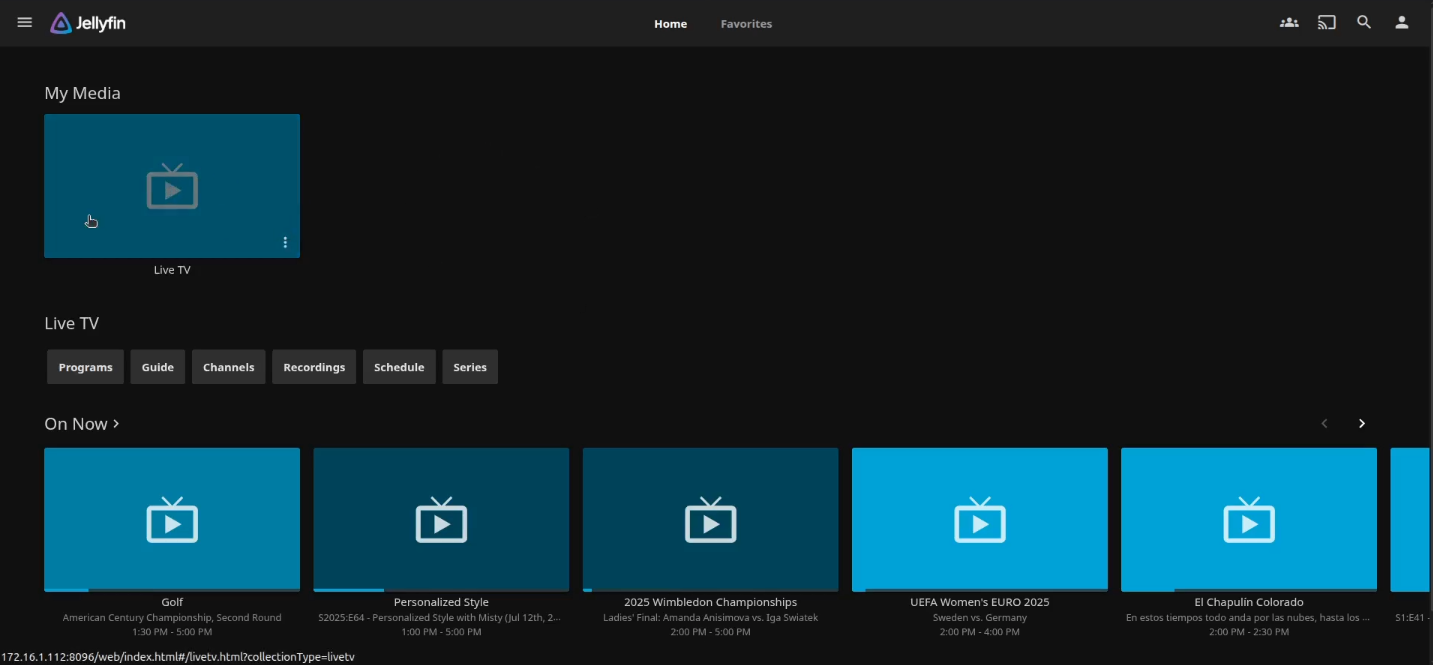
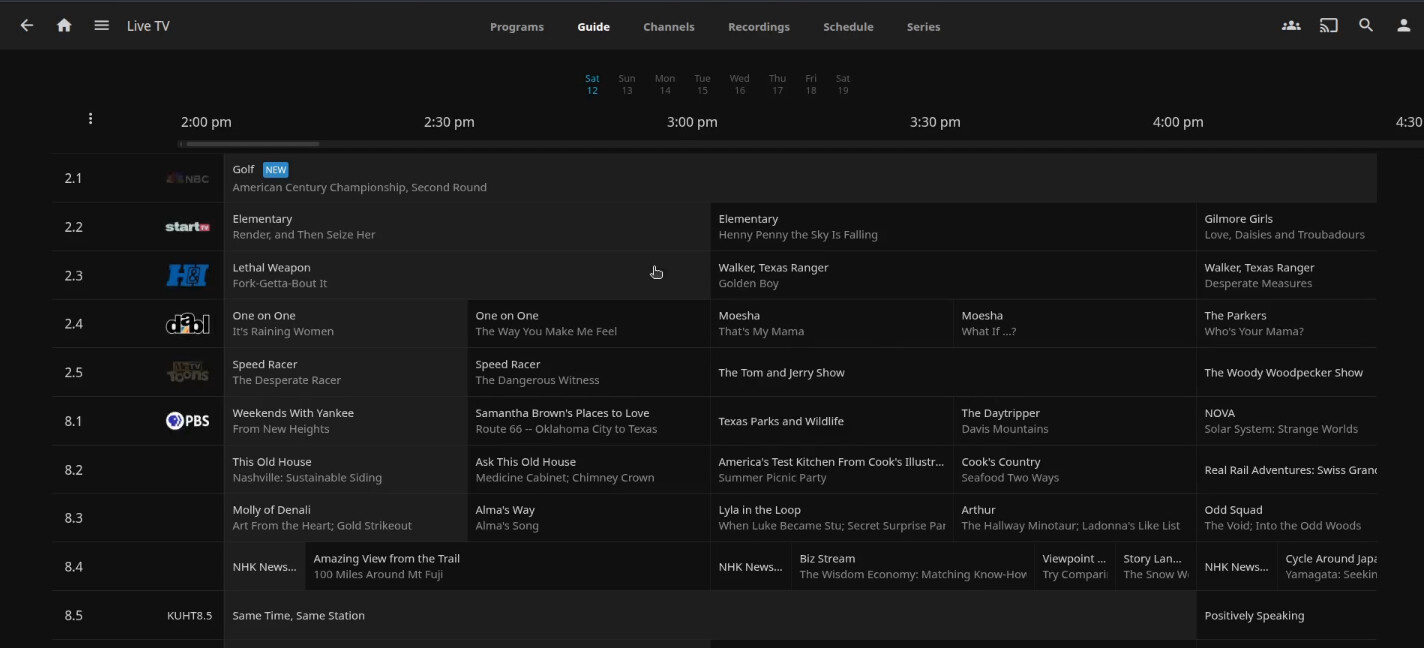
When I click on the guide button, I can see the guide screen.
We can automate a daily update to the guide by creating a crontab entry:
crontab -e
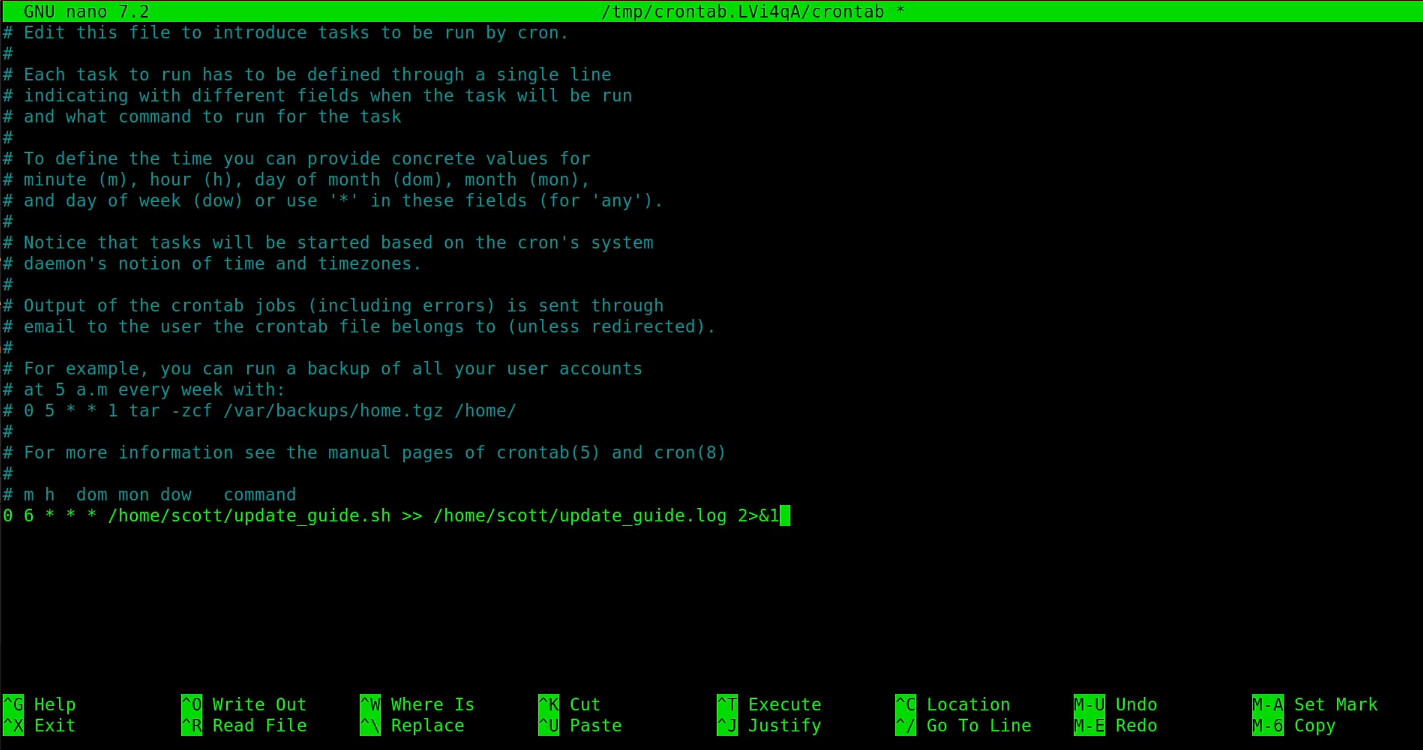
Paste in an entry at the bottom of the file adjusting “scott” for your username.
0 6 * * * /home/scott/update_guide.sh >> /home/scott/update_guide.log 2>&1
This crontab entry runs a guide update every morning at 6am.
When you are done editing the crontab, do a CTRL O and enter to save the file and a CTRL X to exit.
Now you have a fully automated Live TV Guide update in Jellyfin.