In the last tutorial entitled “iSCSI Fast Network Based Storage”, we discussed creating an iSCSI target and initiator in Linux. This time we use Windows 11 to access the storage on our Linux iSCSI target.
Rather than recreate the Ubuntu iSCSI target we created last time, we are going to connect Windows to storage on the same target.
The target storage can be on any disk that you want to initialize and dedicate as a target. If you watch my video entitled “Virtual Disk Images Windows & Ubuntu” it should become apparent that it is also possible to make an iSCSI target a virtual disk.
For the purposes of this video, my target is an additional raw block storage device that I added to an Ubuntu LXD Virtual Machine. I added a storage volume (virtual disk) inside of the “default” storage pool where all container data is stored. On a physical machine, you would simply connect a spare drive:
lxc storage volume create default windows-store size=20GB --type=block
Next I connected this storage to my LXD VM which is the iSCSI target we configured in the last video:
lxc config device add target windows-store disk pool=default source=windows-store
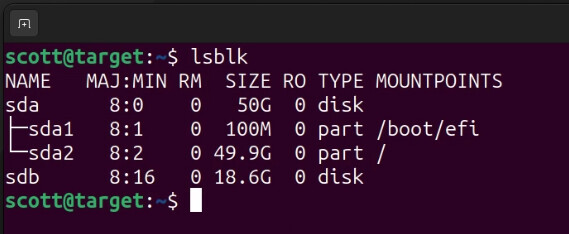
I removed the “sdb” device from the previous demo and this time I showed the disk added on the target server as the “new” sdb device.
Just as a review, if you are doing this for the first time, you want to make sure that your Ubuntu target system has the target daemon package installed.
sudo apt install tgt -y
You can verify that “tgt” is up and running:
sudo systemctl status tgt
Edit your iSCSI targets file:
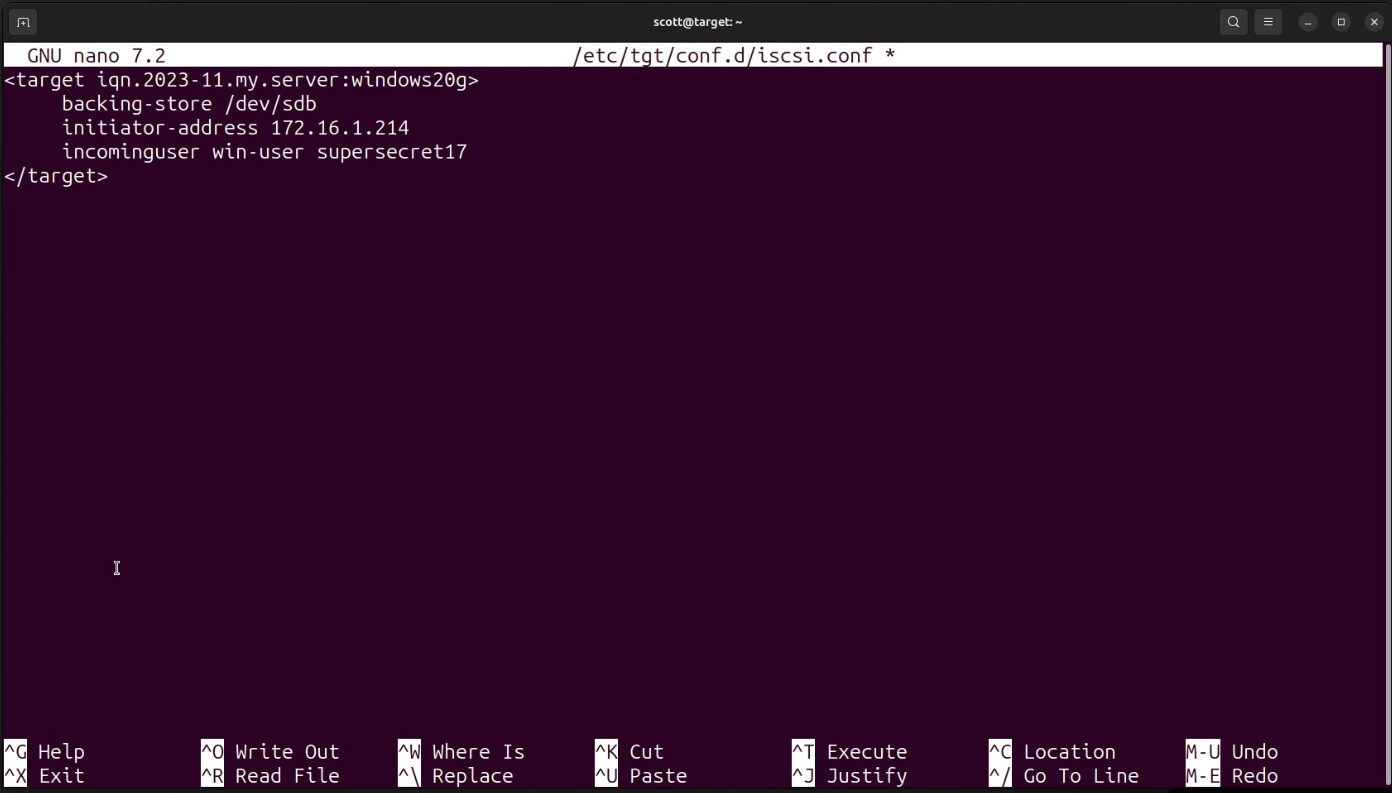
sudo nano /etc/tgt/conf.d/iscsi.conf
Insert the following data being sure to adjust your iqn to what you what your naming convention to be and also adjusting the “/dev/sdb” in case your disk is not sdb. Change the initiator address to match the IP address of your Windows computer. Finally, select a username and password:
<target iqn.2023-11.my.server:windows20g>
     backing-store /dev/sdb
     initiator-address 172.16.1.214
     incominguser win-user supersecret17
</target>
Once you make your changes, CTRL O and enter to save the file and CTRL X to exit the nano editor.
NOTE: The Windows secret (password) above must be 12 - 16 characters in length.
Ultimately I removed the “incominguser” credentials line from the file above because Windows 11 had issues connecting about every fifth time. Windows 11 would show that it was connected to the target storage in these instances, but the drive was not accessible. That being the case, I removed the credentials from the file and Windows 11 always connected solidly. If you are in a Home Lab, then the access controls being open are probably not a big issue.
Since we made a change to the target configuration file, we need to restart the service to start offering our target:
sudo systemctl restart tgt
Our Windows 11 machine will be the iSCSI Initiator. An “Initiator” connects to storage being offered by an iSCSI target. To begin with, we examine disk manager in Windows and see that only a single drive is present.
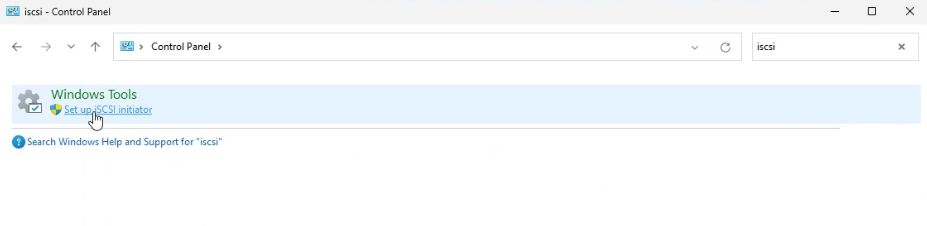
Go to Windows Control Panel and type 'iscsi" in the search field and launch the “Set up iSCSI intiator”.
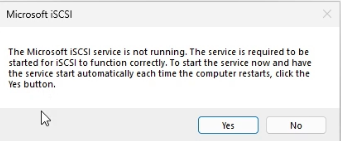
When you do this for the first time, you will get a popup asking if you want to start the service and you should click yes.
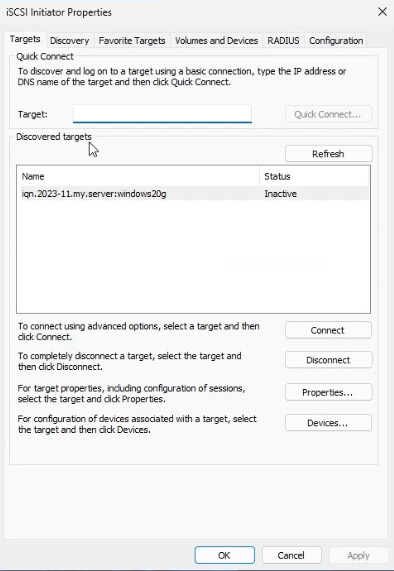
When the iSCSI Initiator properties screen first comes up, it will be on the “targets” tab.
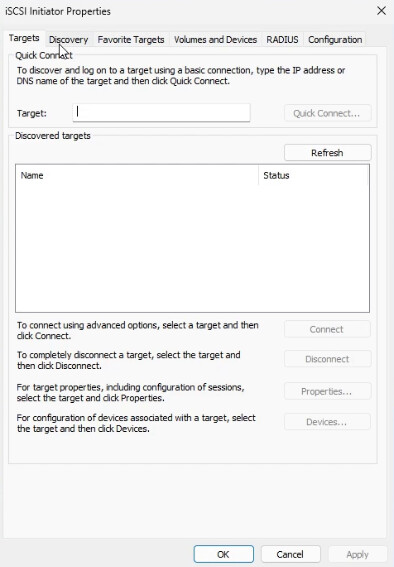
Move over to the “Discovery” tab and click “Discover Portal”:
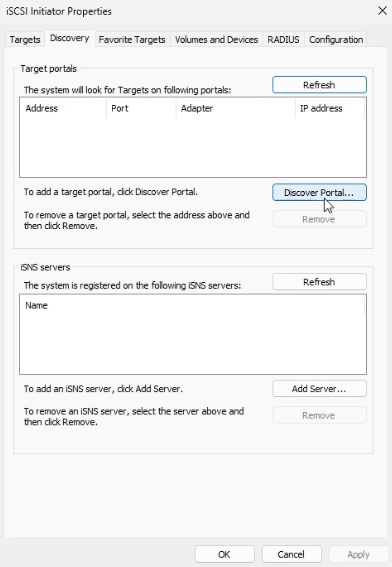
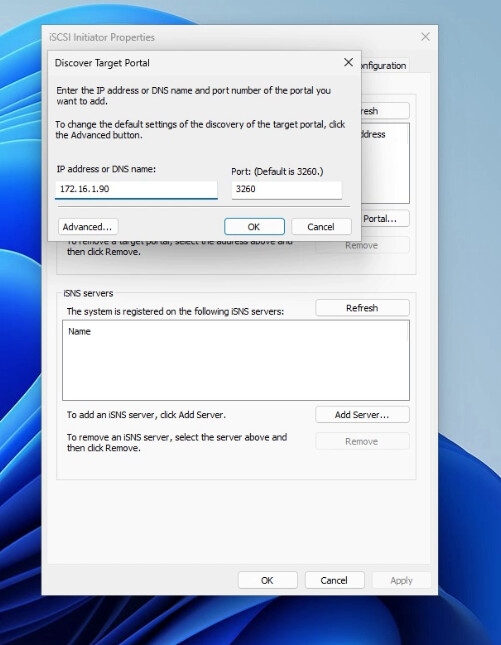
When the “Discover Target Portal” popup is displayed, enter the IP address of the Ubuntu iSCSI Target we configured earlier and click OK.
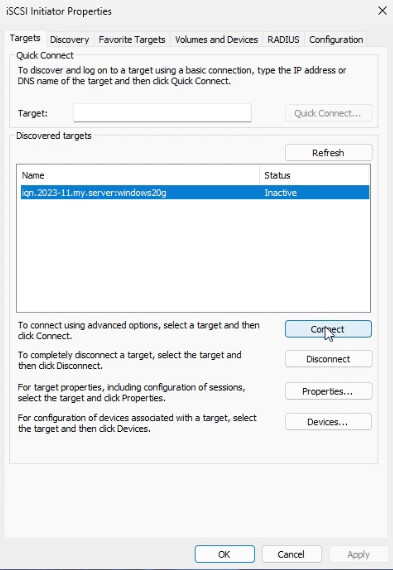
Go back to the “Targets” tab and your iSCSI target IQN should be listed.
Highlight the IQN and click Connect.
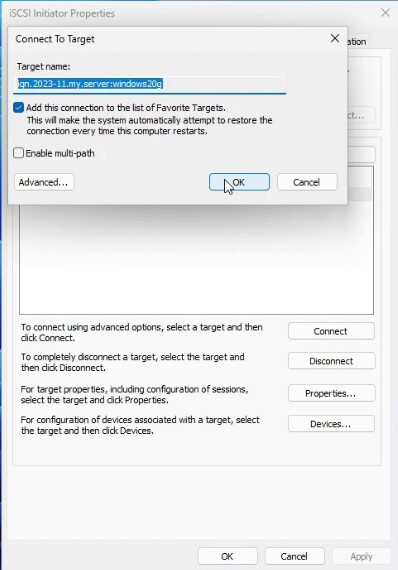
You will get another popup and simply click OK on it.
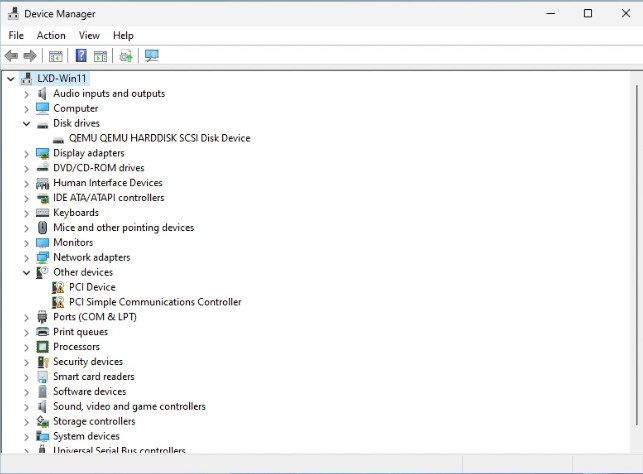
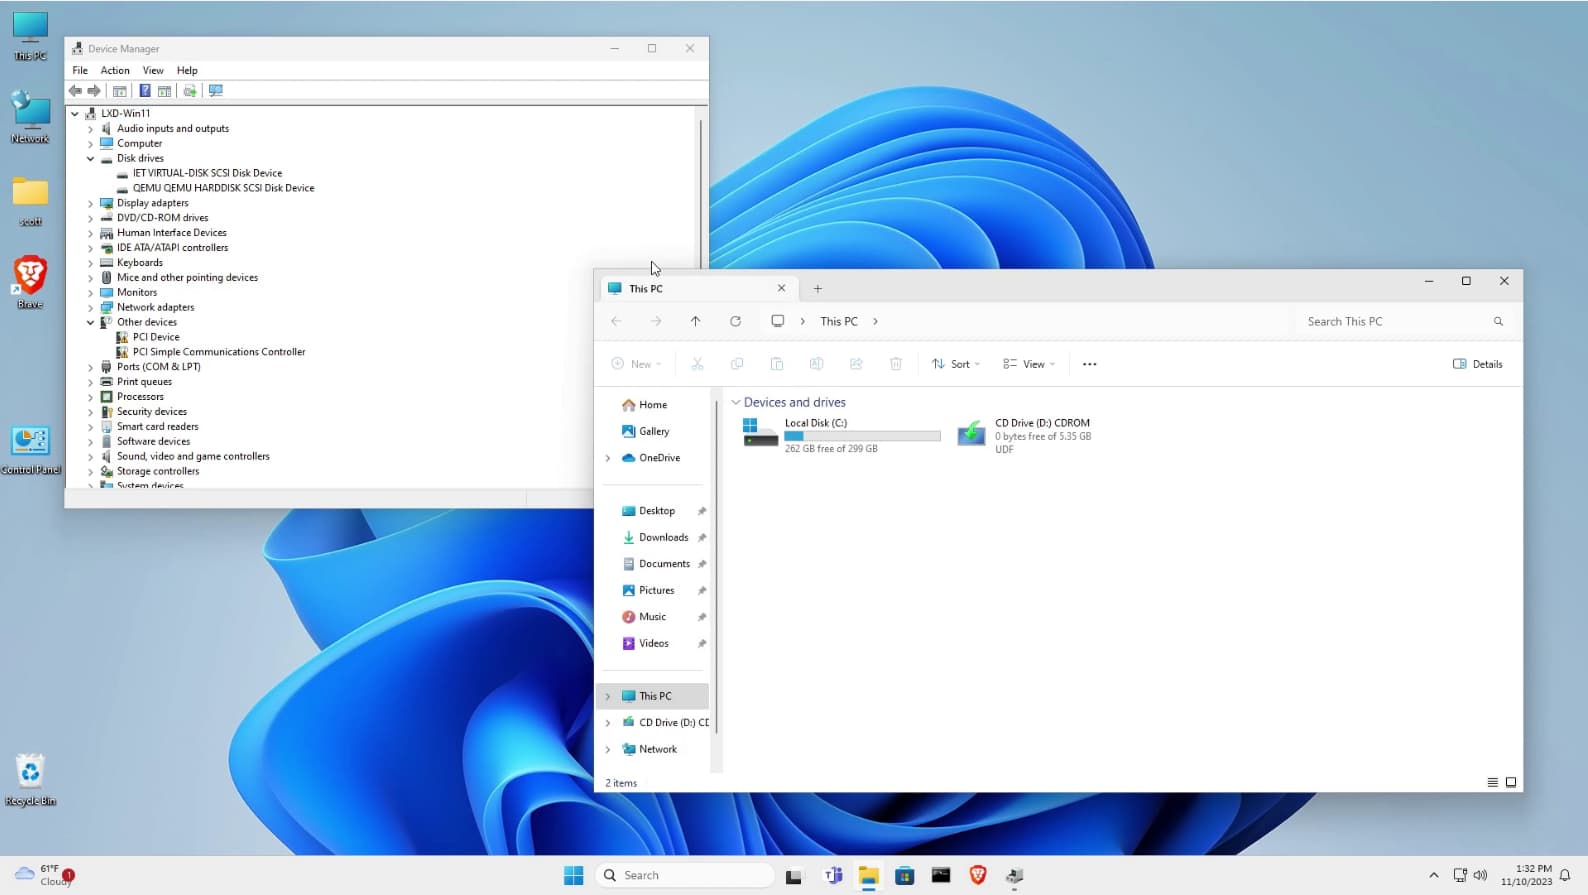
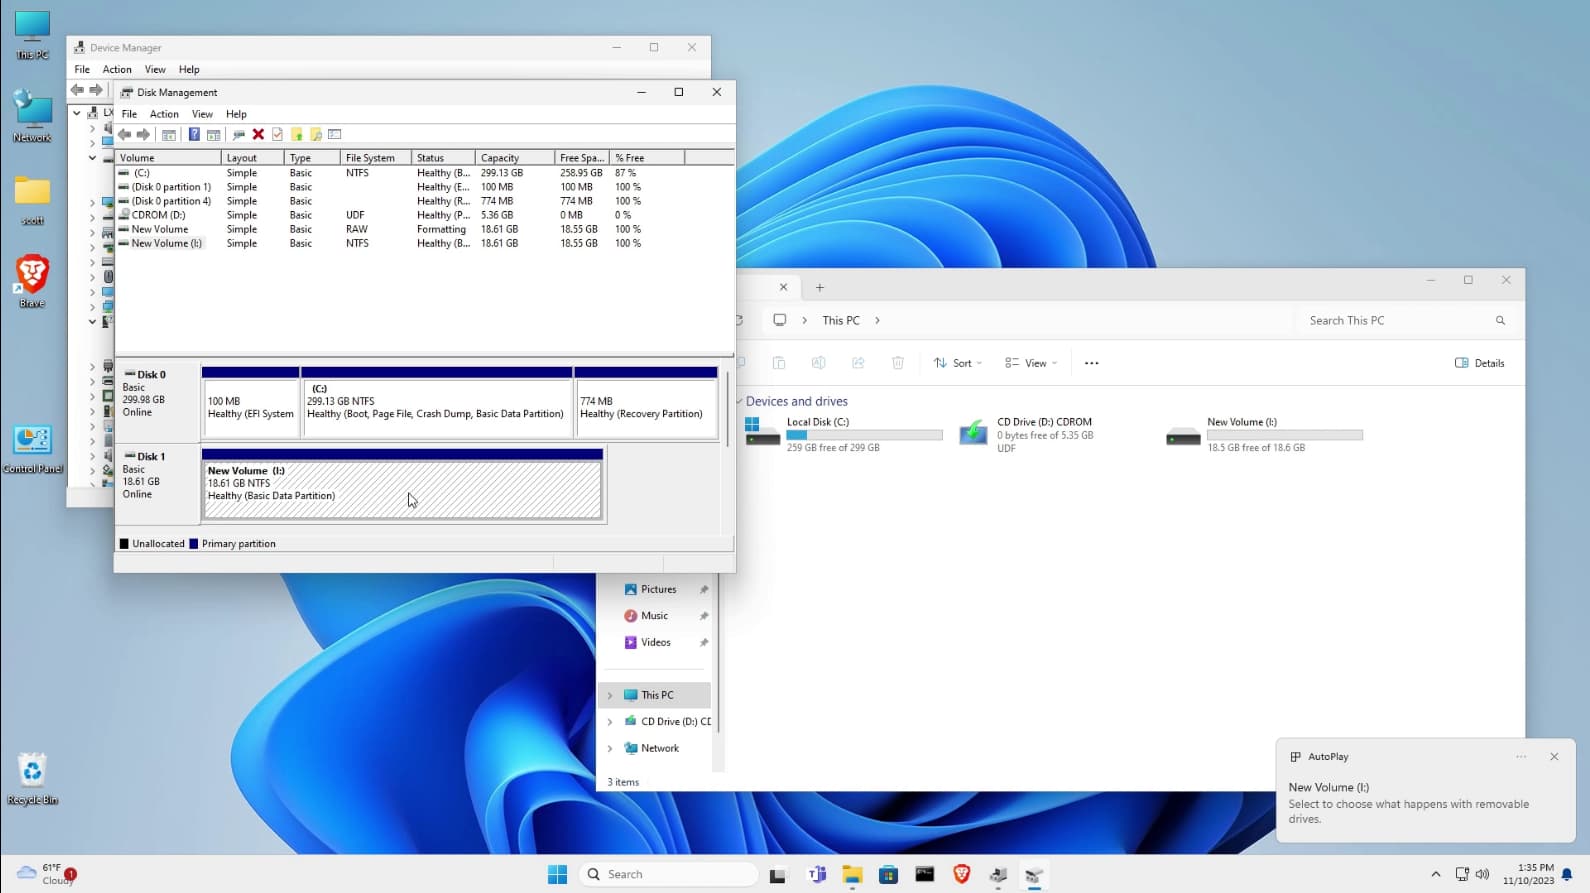
Your disk should now be connected and you should see it in device manager. The drive does not yet appear in “This PC” because it has not been initialized and formatted.
Right click on “Windows Start” and select “Disk Management”. When you start disk management, you should get a popup indicating that a new disk has been found and you should initialize it.
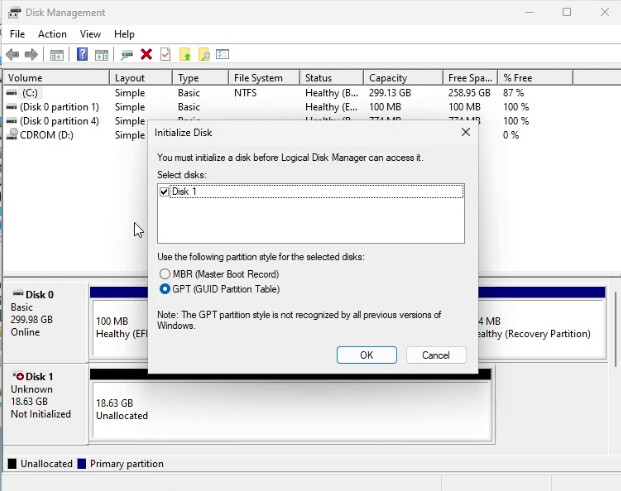
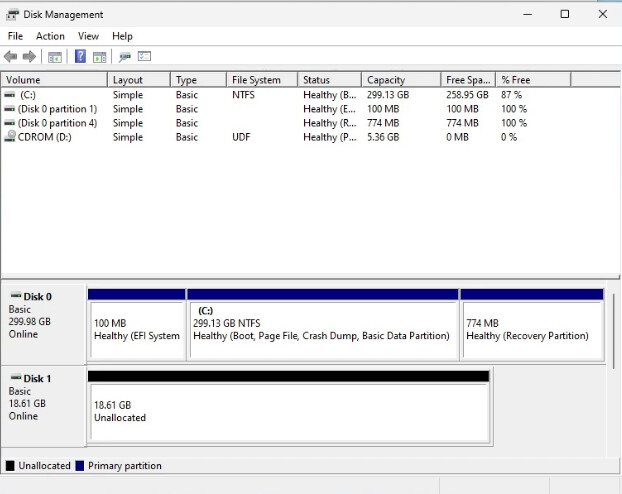
At this point you have an option of an MBR (DOS) or GPT partition table. If you drive is larger than 2TB you need to choose the GPT option. In any case, GPT is generally preferred. Then click OK. You should now see the new disk and it will be indicated as unallocated.
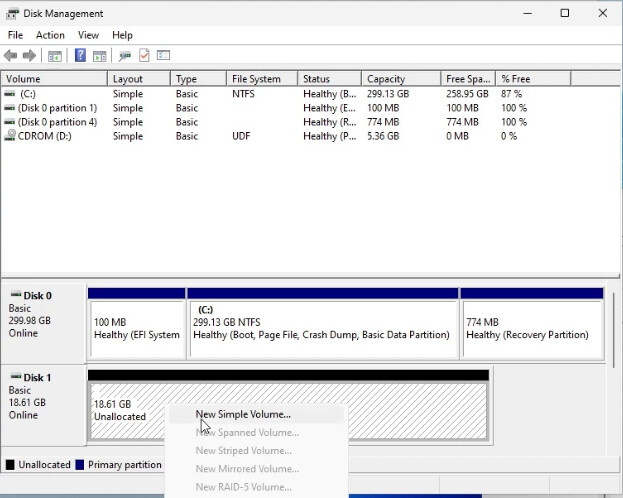
Right click on the drive and choose “New Simple Volume”.
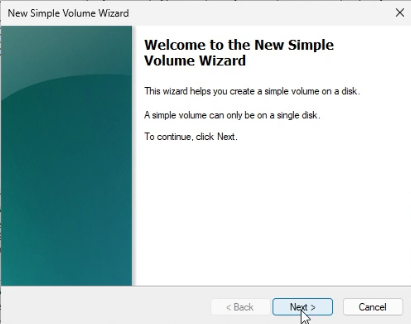
The “Simple Volume Wizard” is displayed and you should click NEXT.
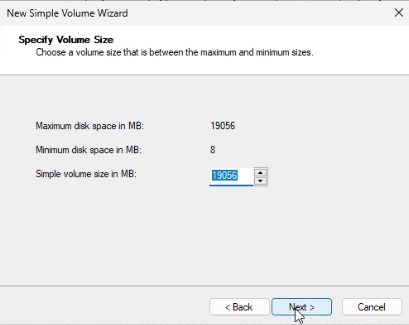
Allow the volume partition size to occupy the entire drive and click NEXT:
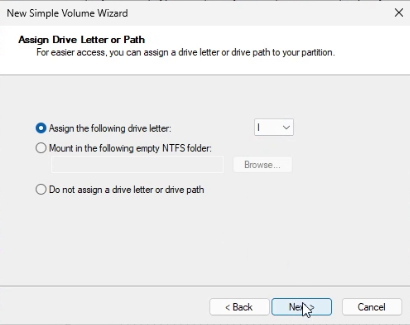
Click NEXT again and choose a drive letter to assign. I chose “I” for iSCSI, but you can choose any free drive letter. Click NEXT:
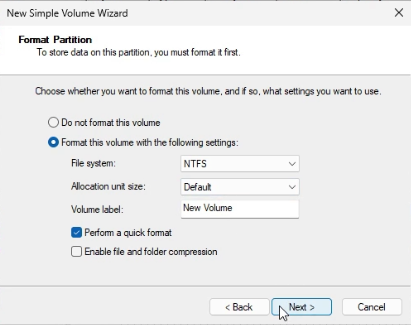
This next screen provides the formatting options and I left the choice for an NTFS format and I clicked NEXT.
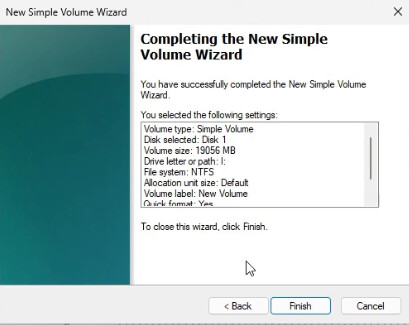
Finally, click FINISH.
As soon as the drive is formatted, it shows in both disk management and in “This PC”.
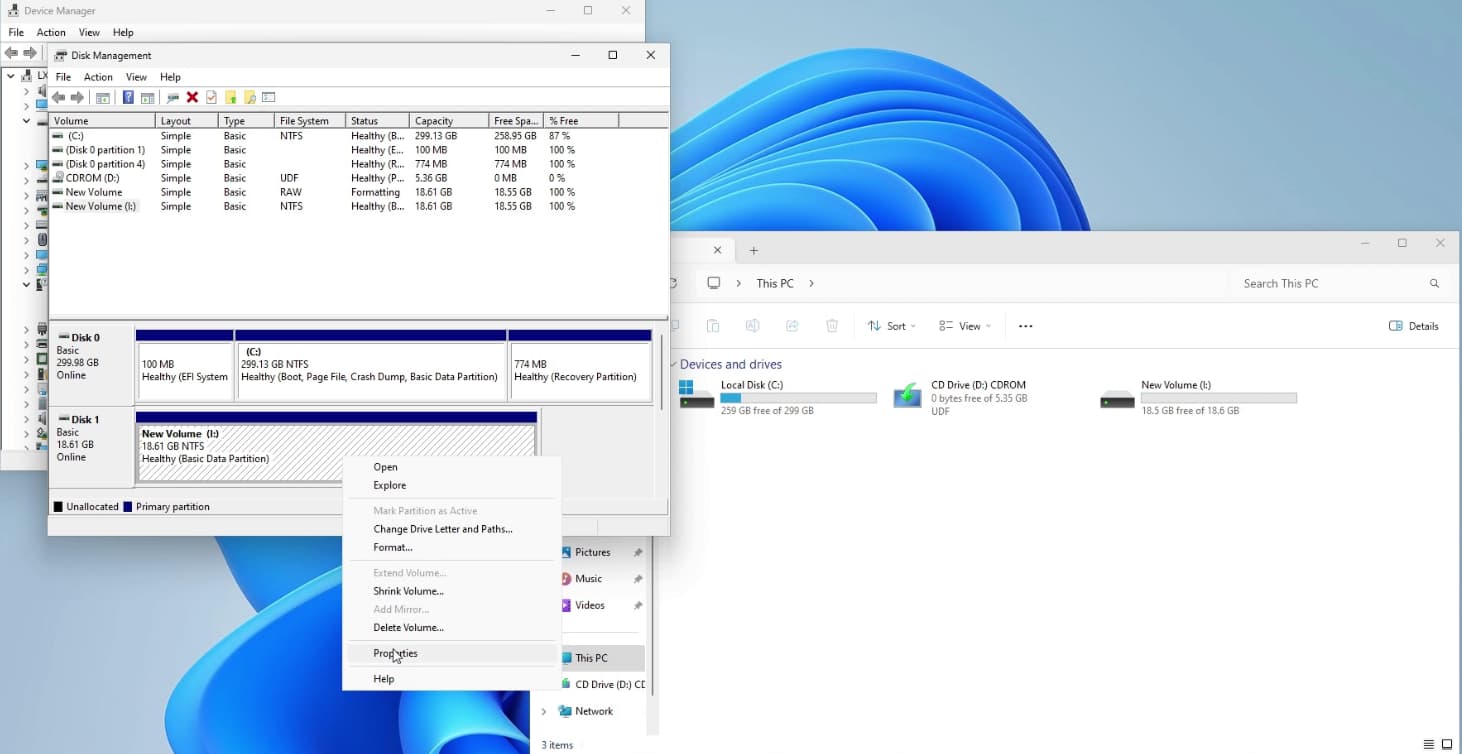
Since I forgot to change the label on the drive, I right clicked on the new drive in disk management and selected properties.
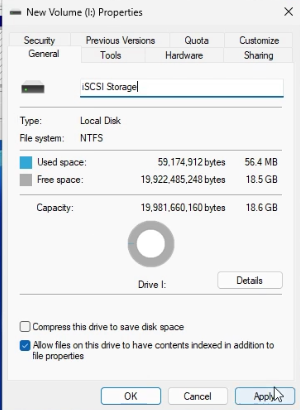
I renamed my drive label and then pressed APPLY.
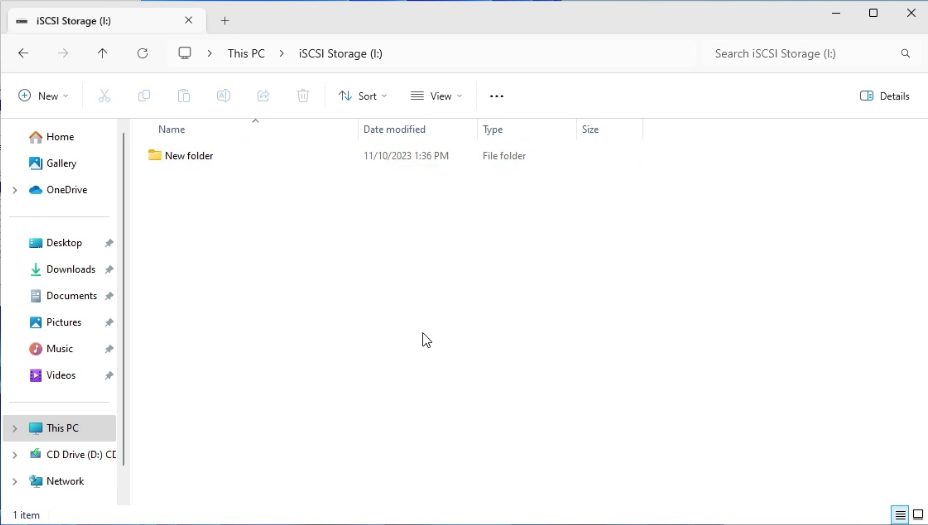
My drive now shows in both Disk Manager and “This PC” with the new label.
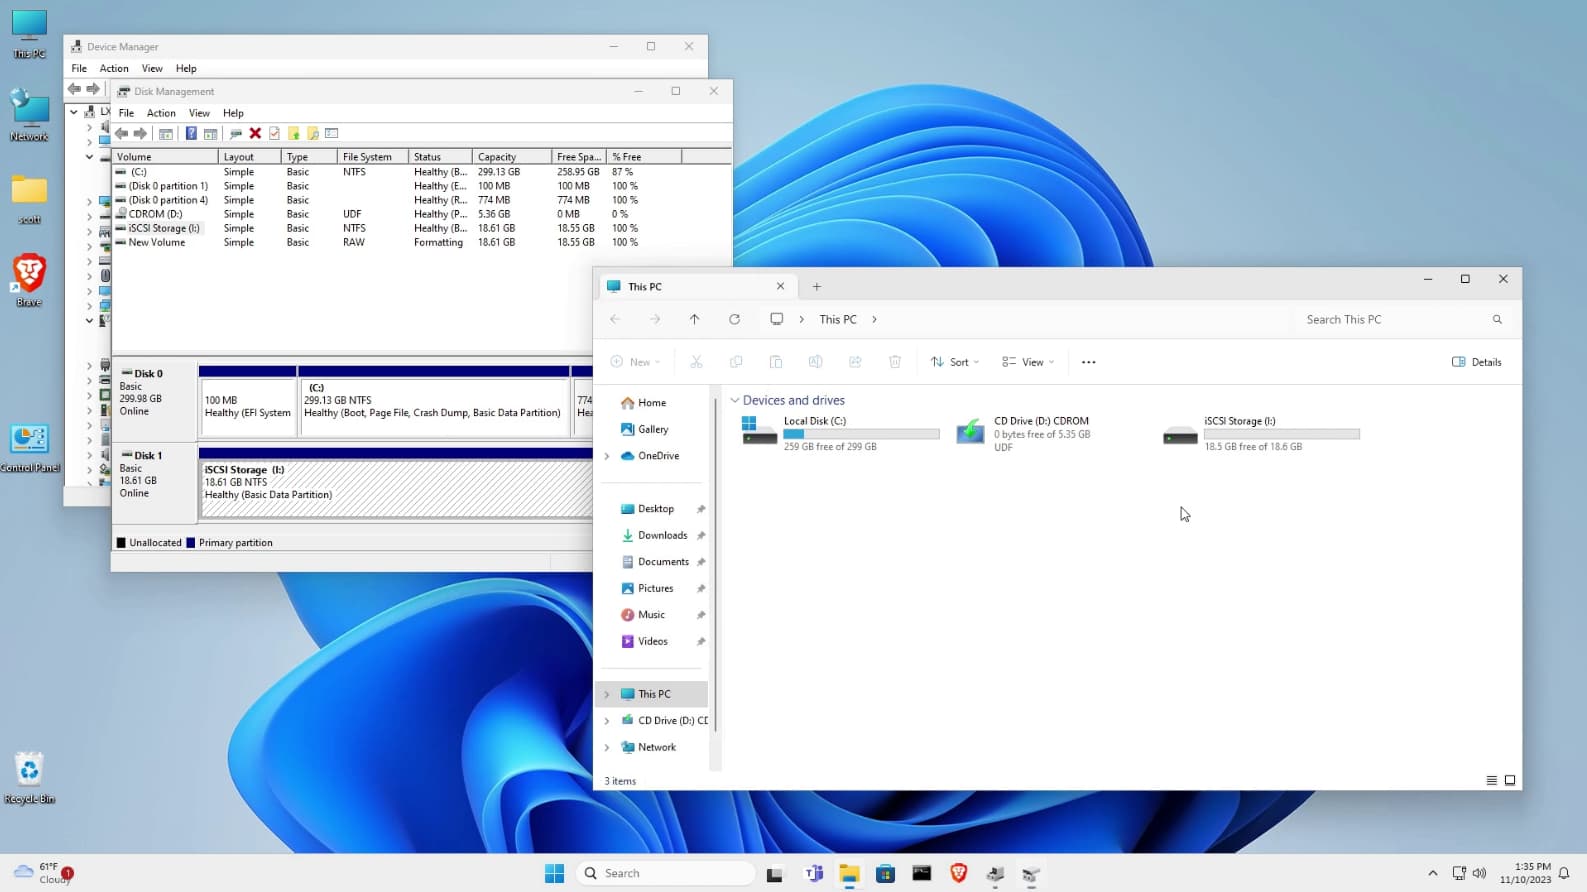
You can now treat this new iSCSI network based storage exactly like any physical hard drive that might be installed in your computer.
iSCSI drives mounted in Windows will be faster than CIFS/SMB drives. Once reason is that iSCSI drives are block oriented, whereas CIFS/SMB are files oriented storage.