Incus/LXD Virtual Machines use a program called the Remote Viewer to display the GUI console. In Linux, you can run a program on a remote system and the user interface can be displayed on your local system. This tutorial covers remote management of Incus containers/Incus Virtual Machines.
The assumption is that you are running an Ubuntu desktop and you want to manage an incus server on a remote system. Remote incus management can be achieved without “ssh” to the remote system.
On your local Ubuntu desktop, become the root user and install the keys for the incus server package:
sudo su
mkdir -p /etc/apt/keyrings/
curl -fsSL https://pkgs.zabbly.com/key.asc -o /etc/apt/keyrings/zabbly.asc
Install the incus repository using the keys we just added:
sh -c 'cat <<EOF > /etc/apt/sources.list.d/zabbly-incus-stable.sources
Enabled: yes
Types: deb
URIs: https://pkgs.zabbly.com/incus/stable
Suites: $(. /etc/os-release && echo ${VERSION_CODENAME})
Components: main
Architectures: $(dpkg --print-architecture)
Signed-By: /etc/apt/keyrings/zabbly.asc

EOF'
Update your repositories and install incus:
apt update
apt install incus -y
Add your user account to the incus-admin group to allow for incus administration:
usermod -aG incus-admin scott
Exit the root account to return to your user account:
exit
Update your group membership on the current session to add incus-admin:
newgrp incus-admin
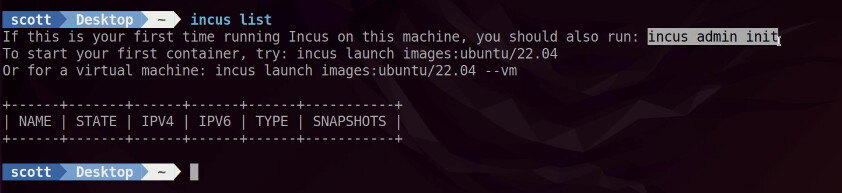
At this point, incus is installed on your desktop machine. However, we will not initialize it because we have no plans to to use our desktop as an incus server. The incus client tools are installed and that was our goal.
Open a second terminal on your desktop with CTRL-ALT-T and then use “ssh” to connect to your remote incus server that you want to manage.
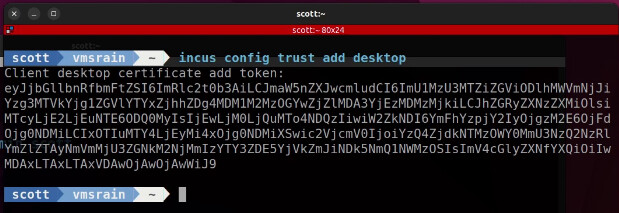
Create a trusted token on this server with the following command substituting “desktop” with the name of your desktop:
incus config trust add desktop
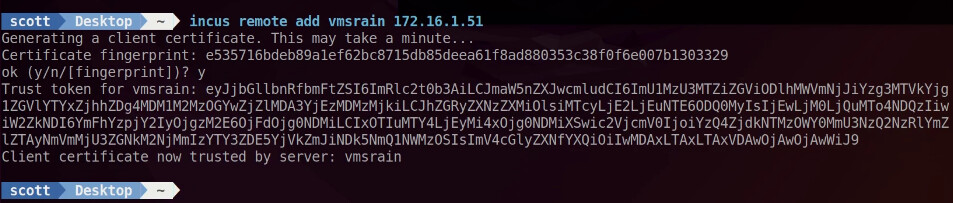
Go back to your local desktop terminal and issue the command to add the remote incus server so that it can be managed. Use the name of your server and the IP address of your server as shown in the following example.
Accept the fingerprint and then copy the token you received on the remote machine to your desktop at the “Trust token” prompt.
incus remote add vmsrain 172.16.1.51
You can now exit the terminal on the remote incus server because it is no longer needed.
You can now issue any incus command on your desktop to the remote incus server by providing its name followed by a colon (:).
![]()
To manage incus virtual machines that are remote, we need to install the following program:
sudo apt install virt-viewer -y
I have a Windows 11 incus virtual machine on my remote incus server and I can connect to it.
![]()
This brings up the virt-viewer (Remote Viewer) and displays the virtual machine GUI of the Windows 11 incus virtual machine that is running on the remote incus server.
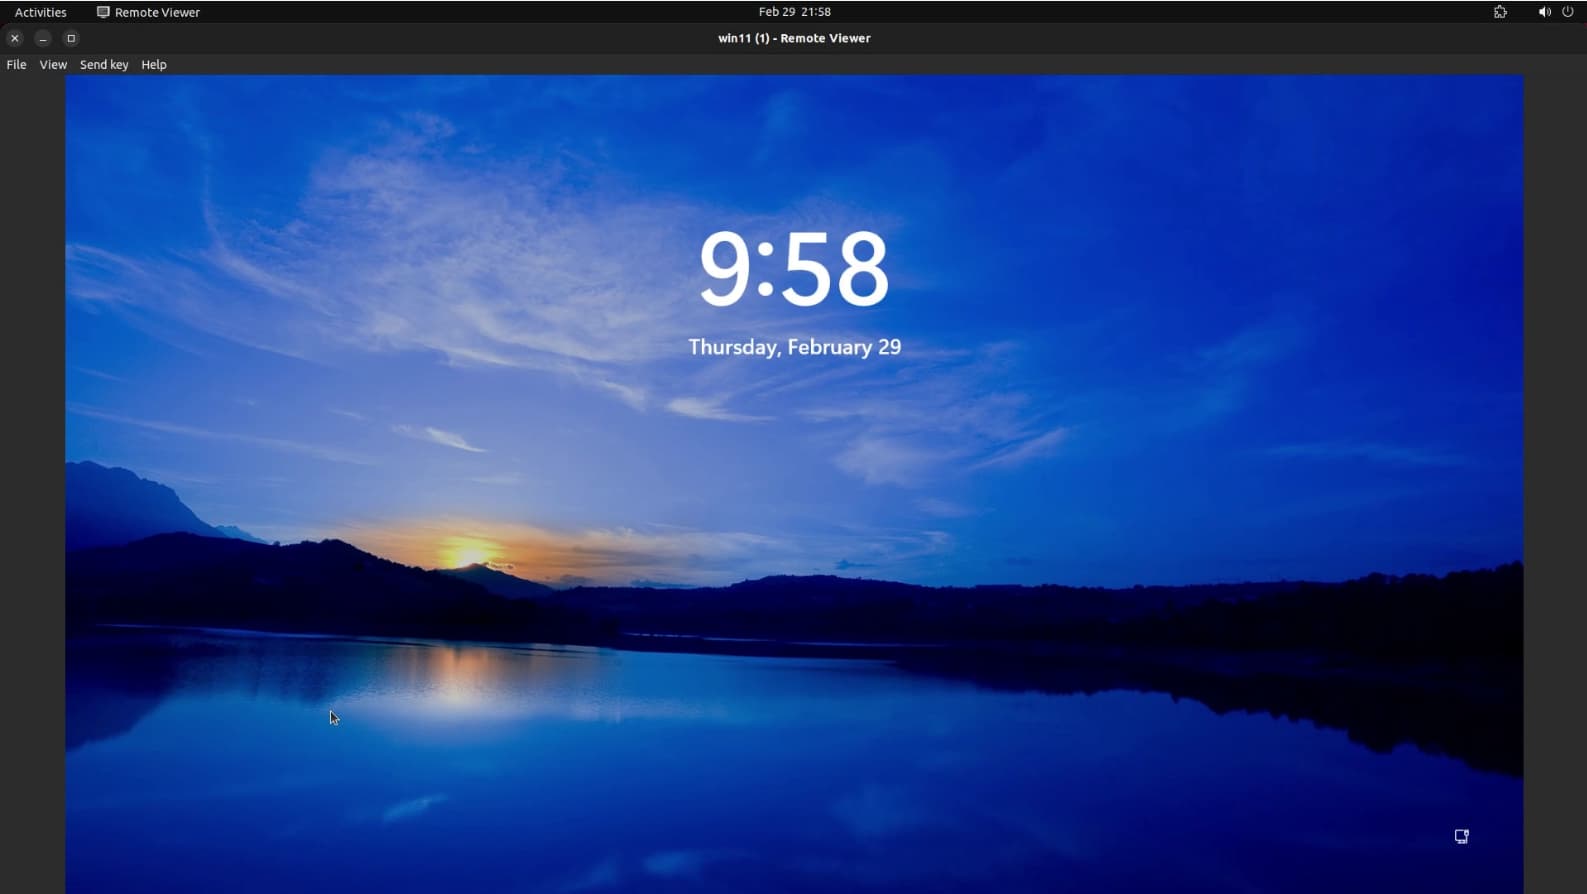
The incus trust we added and the virt-viewer makes this possible.
We can add other remote incus servers for management following the procedure we covered above. We can list the remote systems over which we have management privilege.
incus remote list
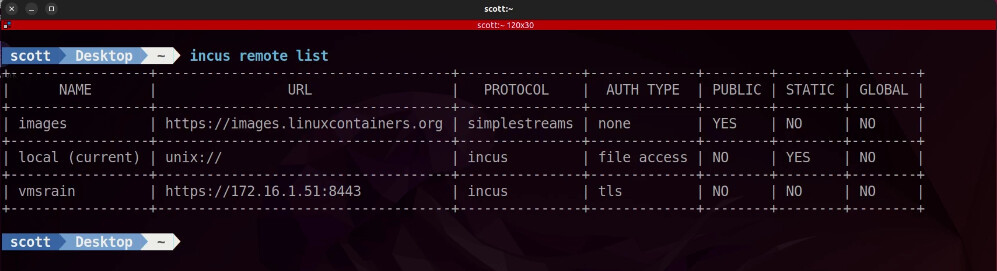
The “images” listing is linuxcontainers.org where we get all of the images to create incus containers and incus virtual machines. The “local” listing is simply our local machine and you can see where we have an entry for vmsrain as the remote system that we can manage.
You can switch your management context to a remote incus server from your desktop and after doing so, all incus commands are executed on the remote incus server without having to specify the server name. An example would be:
incus remote switch vmsrain
![]()
All of your incus commands will continue to be in the context of the remote incus server until you switch back to the local server or to another server.
incus remote switch local
![]()
You can add as many remote incus servers as you have for remote management from your desktop using the techniques that I have described here. Enjoy!