There are many images included in the linuxcontainers.org repository for use in creating incus Virtual Machines (VMs). This tutorial is about creating your own custom incus VM for which there may not be an image and creating your own image for it.
You can list images that are on your local incus server with the command:
incus image list
Images are downloaded at any time that you create either a container or a virtual machine. Subsequent creation of machines that use locally cached images are faster.
You can list locally cached images on other incus servers that you may have with the same command (Note that colon is important):
incus image list vmsrain:
![]()
Despite having a DNS name for “vmsrain”, we need a trust relationship to access the remote server.
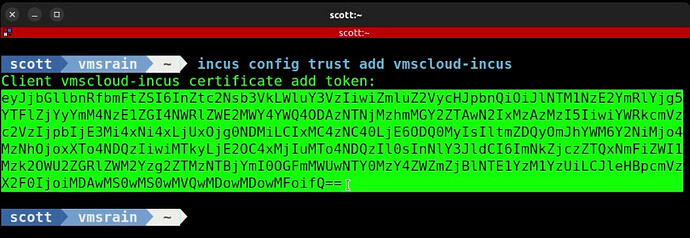
To correct this, I log into the “vmsrain” incus server and I add a trust for my local server which is “vmscloud-incus”:
incus config trust add vmscloud-incus
Back on my local server (vmscloud-incus) I add the trust using the provided token from vmsrain.
incus remote add vmsrain 172.16.1.51
Now that vmsrain is trusting vmscloud-incus, I can list the images on vmsrain from a terminal on vmscloud-incus:
incus image list vmsrain:
Notice that the images listed above are both for incus containers and incus virtual machines. A typical way that I would create an incus VM and enter the GUI would be:
incus launch images:ubuntu/22.04/desktop Desktop --vm --console=vga
Since a local copy of the image for Ubuntu 22.04 desktop doesn’t exist locally, it is automatically downloaded from linuxcontainers.org. You don’t need to keep these images around locally in order to run your containers. It’s just faster to create future containers based on the same image if the image does not need to be downloaded.
NOTE: The Ubuntu 24.04 Desktop image requires a minumum of 2vCPUs and 4GiB of memory to operate properly. So the above command would not work for 24.04. To launch an incus VM based on Ubuntu 24.04 Desktop, do the following:
incus launch images:ubuntu/24.04/desktop Desktop-2404 --vm -c limits.cpu=2 -c limits.memory=4GiB --console=vga
When you launch an incus VM with the “–console=vga” switch, the desktop remote viewer is automatically launched to display the GUI. If you are trying to display the remote viewer and you are using the above command from Windows, you will need to watch Manage Incus from Windows, otherwise the remote viewer will not start.
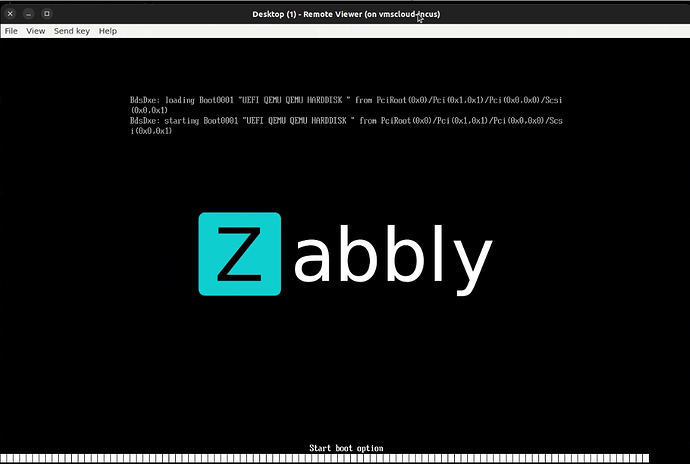
As your incus VM starts, you will see the Zabbly splash screen and the rest of the booting process.
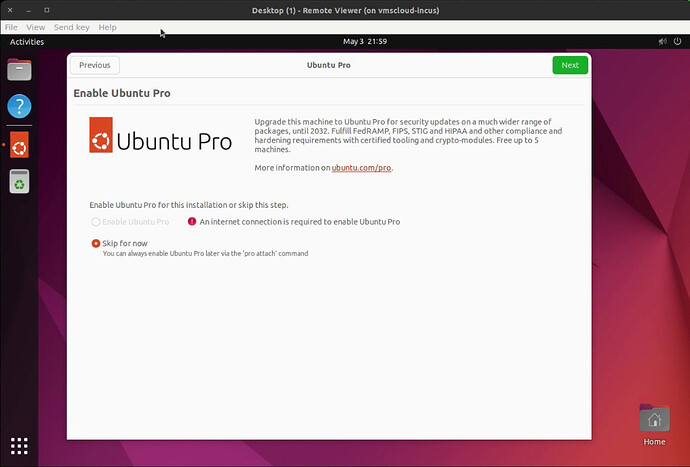
Once the bootstrap process is complete, you will see the desktop GUI of your newly created VM.
After launching this VM, incus downloaded the image from which to create the incus VM.
incus image list
This image, as well as other images and containers take up pool space and that’s something to understand. So, if you have an old image that you don’t use anymore, you can delete it safely and it won’t affect any containers that were built using it.
To list all of the images on linuxcontainers.org from which an incus VM can be built, use this command:
incus image list images: | grep VIRTUAL
What if you want to create an incus VM and there is no image in the repository?
The first step would be to download the bootable ISO image of the operating system for which you want to build an incus virtual machine from.
Next, create an empty incus virtual machine container:
incus init Test-VM --empty --vm
This command creates an incus VM with nothing on its virtual hard drive. The “init” part of the command creates the container without trying to start it.
By default, the virtual disk size for an incus virtual machine is 10GB. To change this:
incus config device override Test-VM root size=50GiB
You can also change the default resources allocated for the virtual machine.
incus config set Test-VM limits.cpu=4 limits.memory=4GiB
In my example, I created an incus virtual machine for Zorin OS which does not have an image on linuxcontainers.org.
I downloaded the ISO for Zorin OS which I did with a wget command:
wget https://mirror.umd.edu/zorin/17/Zorin-OS-17.1-Core-64-bit-r1.iso
Now I add a definition for an “install” disk that points to the ISO file. The “boot.priority” flag is set in order to cause the ISO to have a higher priority than the virtual hard disk. Be sure to provide the full pathway to the source of your ISO image.
incus config device add Test-VM install disk source=/home/scott/Zorin-OS-17.1-Core-64-bit-r1.iso boot.priority=10
To initiate the installation of Zorin OS, I just start the incus virtual machine:
incus start Test-VM --console=vga
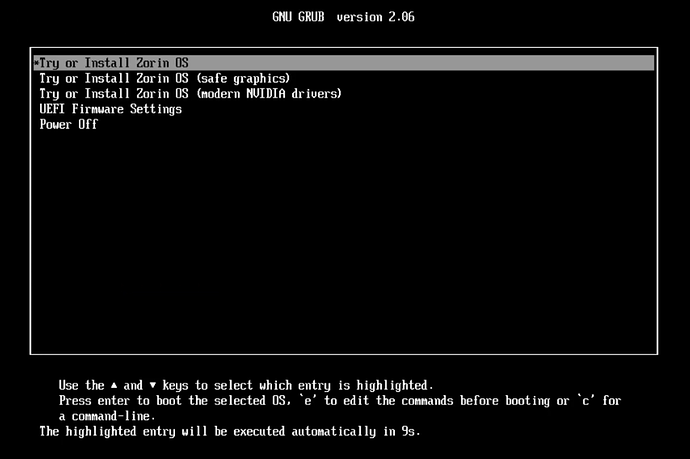
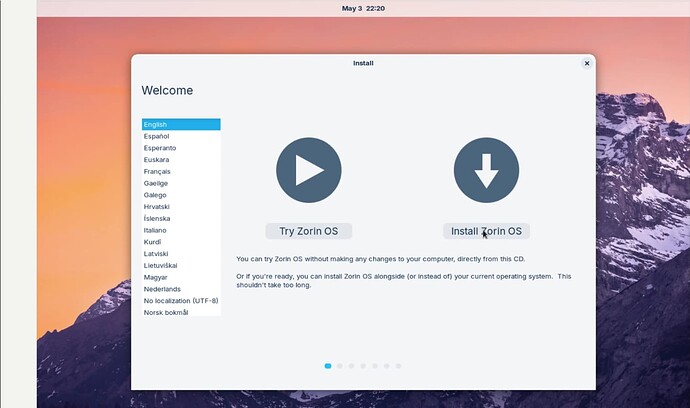
If you have done everything correctly, the remote viewer will launch and you will have a screen like this:
After a few moments, the Zorin OS Live CD is booted:
I choose to install Zorin OS and a normal installation process follows.
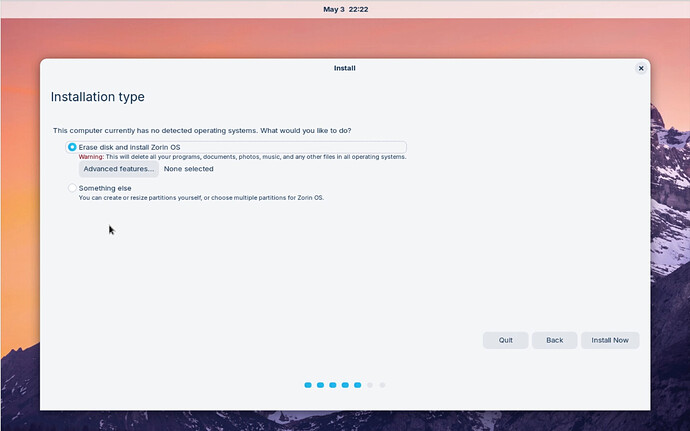
When you get to the installation type screen, you should choose to erase the disk and to install Zorin OS. This is talking about the incus virtual disk that we enlarged to 50GB earlier.
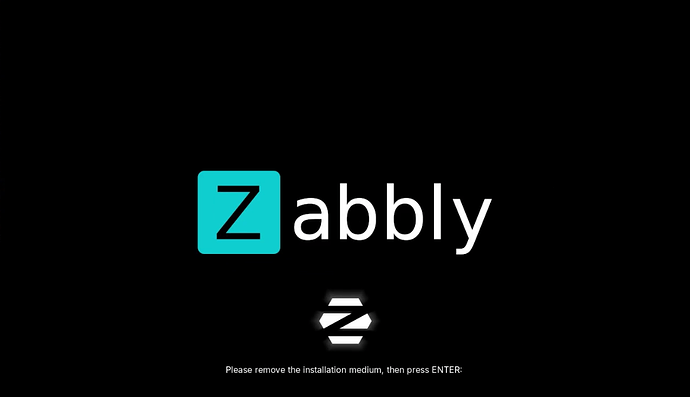
At the end of the installation process, you will be asked to reboot. When you do so, you will see this screen.
Go ahead and close the remote viewer at this point.
At the prompt on the incus server, issue the following command to remove the ISO image from the VM:
incus config device remove Test-VM install
Launch the remote viewer to display the Zorin OS incus VM:
incus console Test-VM --type=vga
Press “Enter” so that the VM reboots.
During the reboot, the remote viewer console will exit. Launch it again:
incus console Test-VM --type=vga
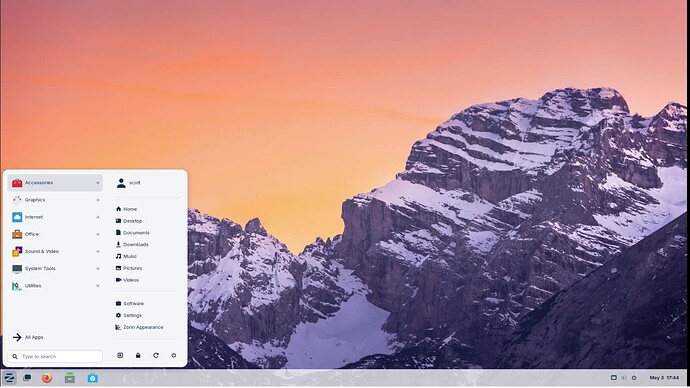
The system will boot normally into ZorinOS. I login with the username/password that I specified during the installation.
Now I performed a shutdown – power off from Zorin OS.
I can create a custom image for my Zorin OS with this command now that the instance is stopped:
incus publish Test-VM --alias Zorin17-image
Now I have a Zorin image.
incus image list
If I want a new incus VM for Zorin OS:
incus launch Zorin17-image Zorin --console=vga
That’s all there is to it!

