This is a re-release of my Incus Dashboard application which I initially releasd in late March. This time I made it easier to deploy by making it a Docker application.
If you are confident in Docker, you can just head over to my Incus Dashboard link on docker hub.
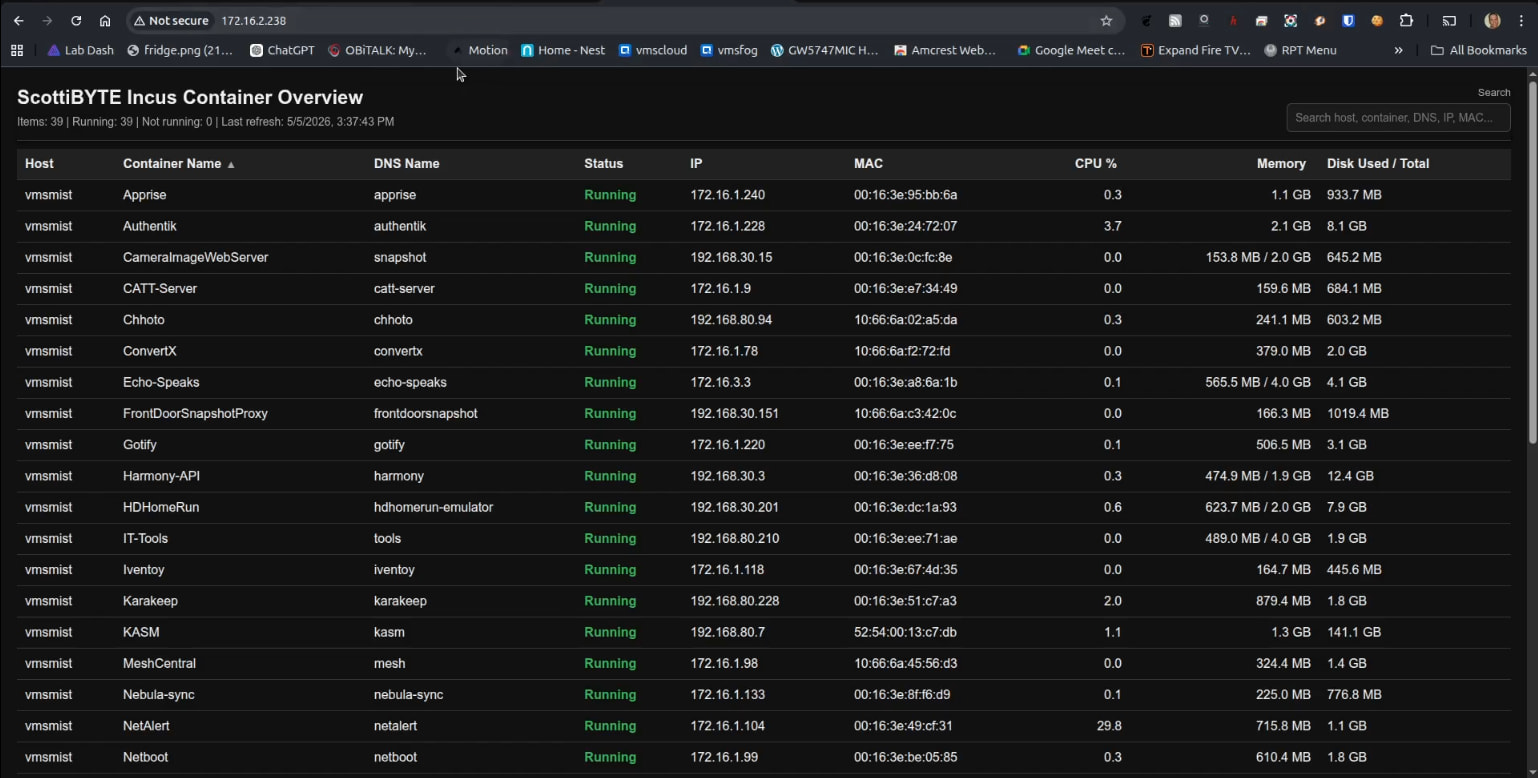
As a reminder, the Incus Dashboard provides read-only insight into your container status and resource utilization.
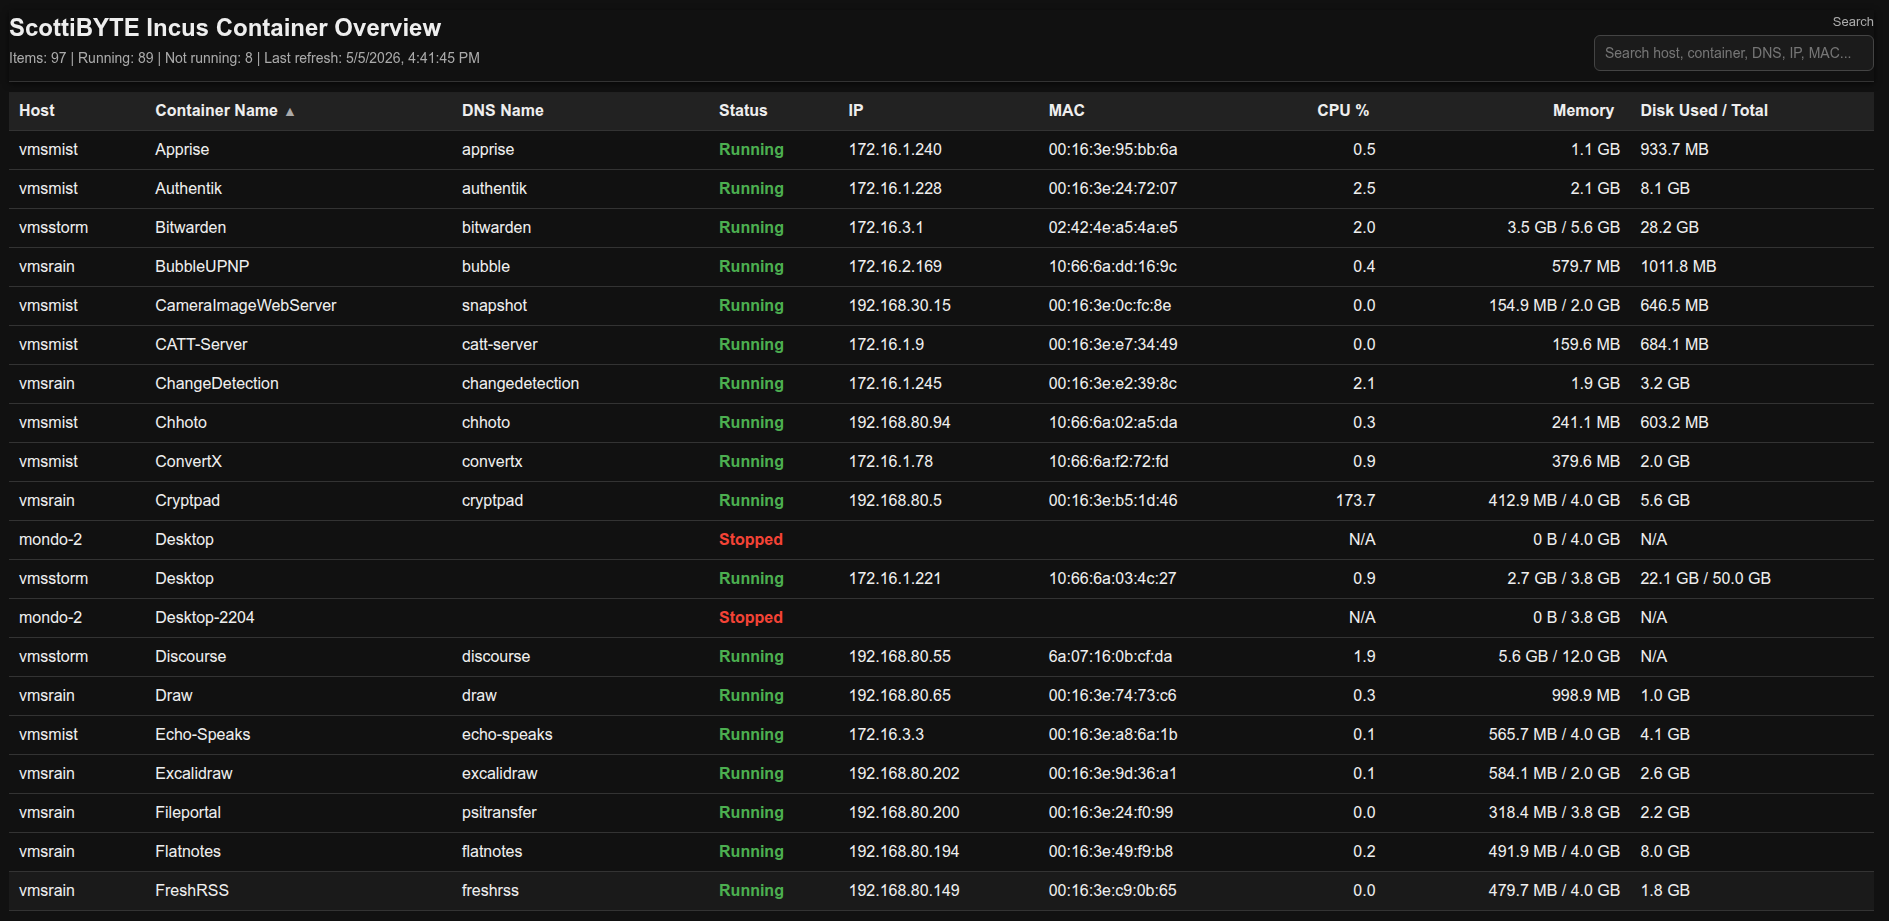
Let’s create an Incus container to host the application:
incus launch images:ubuntu/26.04 IncusDashboard -p default -p bridgeprofile -c boot.autostart=true -c security.nesting=true
Move inside the container.
incus shell IncusDashboard
Accept and apply the updates.
apt update && apt upgrade -y
Optionally convert the repository sources to the new format.
apt modernize-sources
Install some dependencies.
apt install nano net-tools curl openssh-server incus-client -y
Install Docker from the script on the docker website.
curl https://get.docker.com | sh
Add a user account and put it in the sudo and docker groups.
adduser scott
usermod -aG sudo,docker scott
Log into the new user account.
su - scott
Verify that the incus client command was installed and works.
incus remote list

We need to establish a trust with all of your incus servers that you want to manage. In the tutorial I added my incus server named “vmsmist”.
ssh vmsmist "incus config trust add Incus-Dashboard"
By default, incus containers do not resolve local DNS.

I have covered how to fix this before, but for simplicity you can edit your hosts file.
sudo nano /etc/hosts
Here’s how I added an entry for vmsmist.
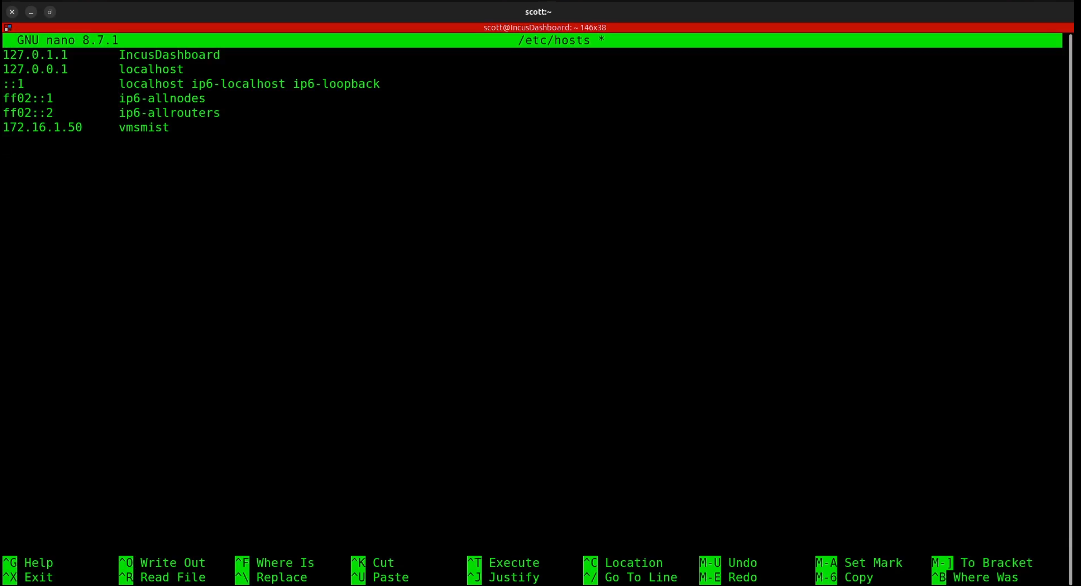
If you have more than one incus server, add them in the hosts file.
Now when you try the command again, it will succeed.
ssh vmsmist "incus config trust add Incus-Dashboard"

The next step is to add the trust using the provided token as shown in the video.
incus remote add vmsmist https://vmsmist:8443 --accept-certificate

To verify that your trust is correctly added:
incus remote list

If you want to Incus Dashboard to monitor more than one Incus server, simply add a trust for each by repeating the steps for any additional servers.
Create a folder for the application and move inside of it.
mkdir incus-dashboard
cd incus-dashboard
Create a docker compose file.
nano docker-compose.yml
Insert the following into the editor.
services:
  incus-dashboard:
    image: scottibyte/incus-dashboard:latest
    container_name: incus-dashboard
    restart: unless-stopped
    ports:
      - "80:80"
    volumes:
      - /home/scott/.config/incus:/root/.config/incus:ro
Be sure to change “scott” in the volume definition to the username that you created. Save the file with a CTRL O and enter and a CTRL X to exit the nano editor.
Start the application.
docker compose up -d
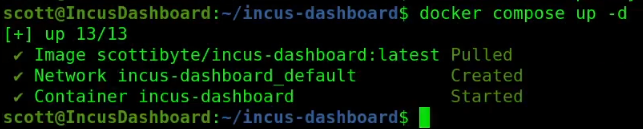
To check and see that the application is running.
docker ps

Find out the address of your eth0 device in the incus container.
ifconfig
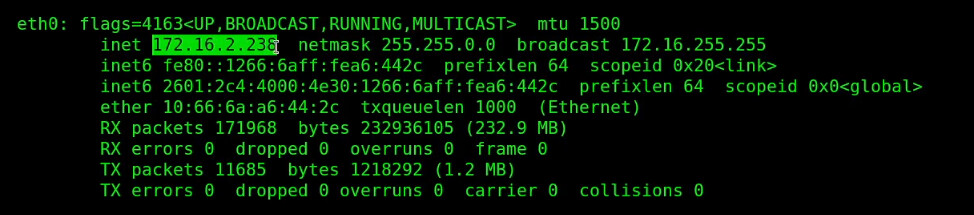
Your address will be different. Go to your web browser and type the address you just found.
If you have more questions about this application, you can watch my previous tutorial.