Did you know that your self-hosted applications behind NginX Proxy Manager (NPM) may have upload limits imposed upon them? This tutorial shows how to install Immich, a self-hosted picture/video server, how to serve it via NPM and how to lift the file uploads limits on NPM.
Immich is used as an example of how upload limits on your NPM hosted applications may be affecting your Home Lab applications. Although I show how to install Immich, this is more about how to work past the file upload limits on NPM.
This tutorial relies on an incus server created using the process I describe in mu tutorial Incus Containers Step by Step. Assuming that you have an Incus server that you created using my guide, you will want to start by creating an incus container bridged to your LAN:
incus launch images:ubuntu/24.04 Immich -p default -p bridgeprofile -c boot.autostart=true -c security.nesting=true
The reason that I did not use the new Incus OCI container type for this tutorial is because Immich is a more complex application that has five docker containers that comprise it. Incus OCI containers are a better use case for docker applications with a single container.
The Immich application running on your local network without the NPM reverse proxy has no upload limitations. However, hosting Immich behind NPM restricts an uploaded file to two gigabytes in size. That’s what we are going to overcome in this tutorial.
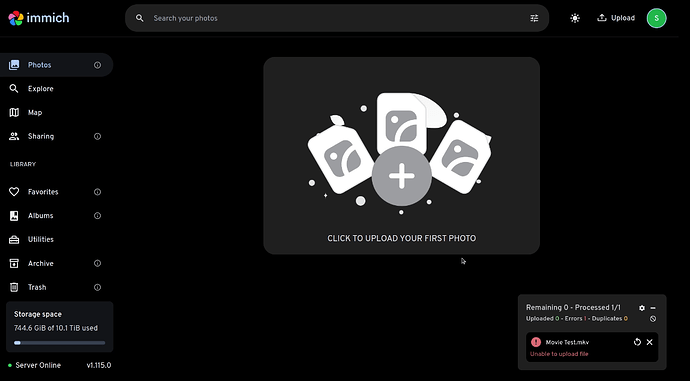
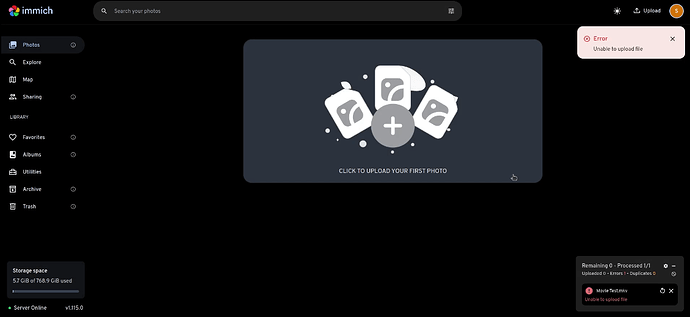
One of my subscribers, Hasan, brought this to my attention and I verified this was the case. Note the error on the 2.3GB upload below.
Connect to the root account of the new container we just created on your incus server and update the container as shown below.
incus shell Immich
apt update && apt upgrade -y
Install the required dependencies including docker:
apt install nano curl net-tools openssh-server
curl -sSL https://get.docker.com | sh
Add a user account and put the new account in the sudo and the docker groups.
adduser scott
usermod -aG sudo scott
usermod -aG docker scott
Move over to the new account.
su - scott
Create a folder for the application and move inside of it.
mkdir immich
cd immich
Create a compose file for immich:
nano compose.yml
Paste the following into the editing session.
services:
  immich-server:
    container_name: immich_server
    image: ghcr.io/immich-app/immich-server:${IMMICH_VERSION:-release}
    command: ['start.sh', 'immich']
    volumes:
      - ${UPLOAD_LOCATION}:/usr/src/app/upload
      - /etc/localtime:/etc/localtime:ro
    env_file:
      - .env
    ports:
      - 80:3001
    depends_on:
      - redis
      - database
    restart: always

  immich-microservices:
    container_name: immich_microservices
    image: ghcr.io/immich-app/immich-server:${IMMICH_VERSION:-release}
    # extends: # uncomment this section for hardware acceleration - see https://immich.app/docs/features/hardware-transcoding
    #   file: hwaccel.transcoding.yml
    #   service: cpu # set to one of [nvenc, quicksync, rkmpp, vaapi, vaapi-wsl] for accelerated transcoding
    command: ['start.sh', 'microservices']
    volumes:
      - ${UPLOAD_LOCATION}:/usr/src/app/upload
      - /etc/localtime:/etc/localtime:ro
    env_file:
      - .env
    depends_on:
      - redis
      - database
    restart: always

  immich-machine-learning:
    container_name: immich_machine_learning
    # For hardware acceleration, add one of -[armnn, cuda, openvino] to the image tag.
    # Example tag: ${IMMICH_VERSION:-release}-cuda
    image: ghcr.io/immich-app/immich-machine-learning:${IMMICH_VERSION:-release}
    # extends: # uncomment this section for hardware acceleration - see https://immich.app/docs/features/ml-hardware-acceleration
    #   file: hwaccel.ml.yml
    #   service: cpu # set to one of [armnn, cuda, openvino, openvino-wsl] for accelerated inference - use the `-wsl` version for WSL2 where applicable
    volumes:
      - ./model-cache:/cache
    env_file:
      - .env
    restart: always

  redis:
    container_name: immich_redis
    image: registry.hub.docker.com/library/redis:6.2-alpine@sha256:51d6c56749a4243096327e3fb964a48ed92254357108449cb6e23999c37773c5
    restart: always

  database:
    container_name: immich_postgres
    image: registry.hub.docker.com/tensorchord/pgvecto-rs:pg14-v0.2.0@sha256:90724186f0a3517cf6914295b5ab410db9ce23190a2d9d0b9dd6463e3fa298f0
    environment:
      POSTGRES_PASSWORD: ${DB_PASSWORD}
      POSTGRES_USER: ${DB_USERNAME}
      POSTGRES_DB: ${DB_DATABASE_NAME}
    volumes:
      - ./data:/var/lib/postgresql/data
    restart: always
Save the file with a CTRL O and enter and then CTRL X to exit the nano editor.
The “Immich” application is being offered on port 80 since our incus container has a dedicated address and there will be no port conflicts for port 80.
Create the required environment file.
nano .env
Insert the following into the editing session.
# You can find documentation for all the supported env variables at https://immich.app/docs/install/environment-variables

# The location where your uploaded files are stored
UPLOAD_LOCATION=./library

# The Immich version to use. You can pin this to a specific version like "v1.71.0"
IMMICH_VERSION=release

# Connection secret for postgres. You should change it to a random password
DB_PASSWORD=ChfoTd24xjHMaH6qmb312SsEmbD6Tr

# The values below this line do not need to be changed
###################################################################################
DB_HOSTNAME=immich_postgres
DB_USERNAME=postgres
DB_DATABASE_NAME=immich
Change the DB_PASSWORD to some unique string and you have the option of changing the UPLOAD LOCATION where your photos/videos will be stored.
Do a CTRL O and Enter to save the file and a CTRL X to exit the nano editor.
Now you can launch the application.
docker compose up -d
At this point you can exit back to your incus server.
exit
exit
You can list your containers and find the address for the immich container.
incus list
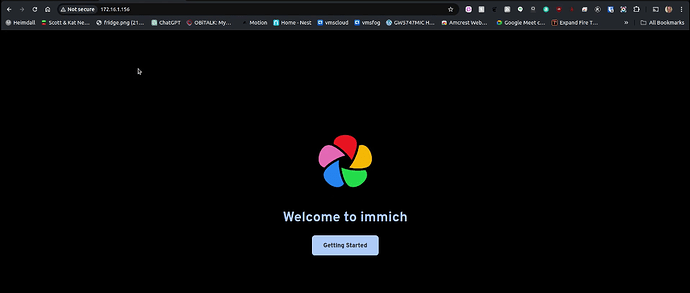
If you go into your web browser and type the address of the immich container, you should see a screen like this.
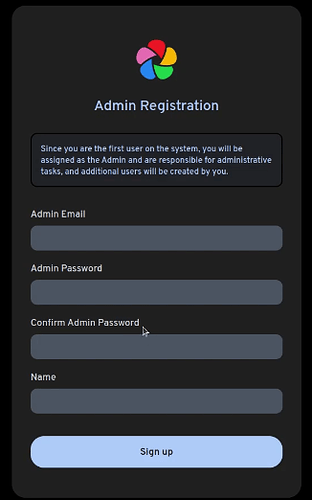
Press the “Getting Started” button and enter the information requested to create your admin account.
Once you complete that screen and click “Sign up” you will be at the login screen.
Type in your email and password to log into Immich.
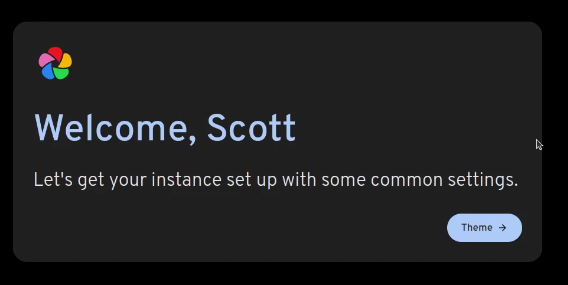
Your initial login screen looks like the following and just click “Theme”.
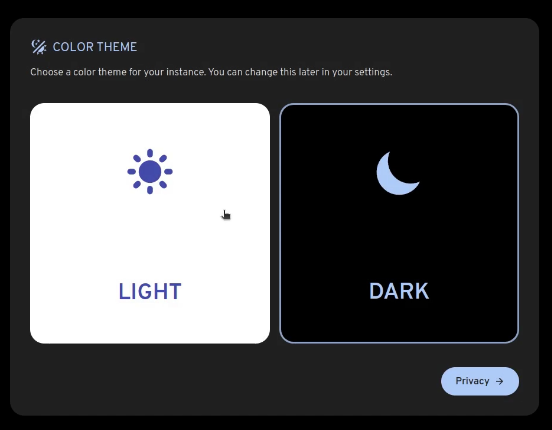
Pick a theme and press the “Privacy” button.
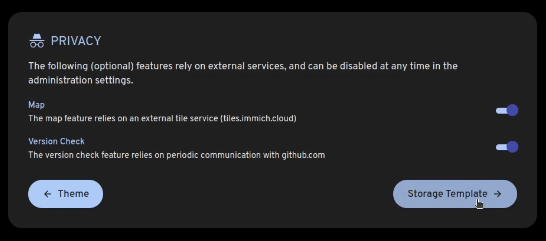
Accept the defaults on the page below and click “Storage Template”.
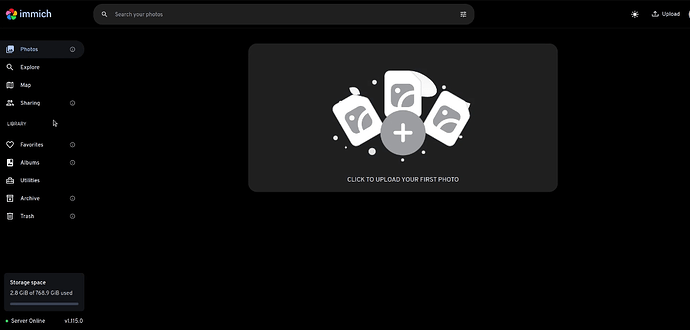
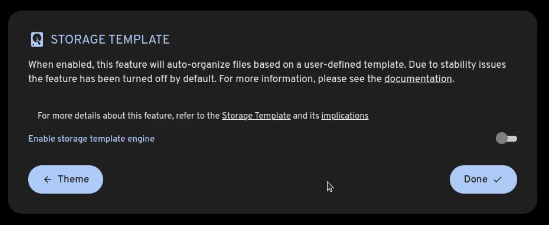
Select “Done” on the screen blow.
At this point, your Immich application is fully functional and has no upload size limits because it is not hosted behind NPM. However, since Immich works best to replicate files from mobile devices which might not always be at home, you probably want to host it on your domain to make it pubically accessible and that requires NPM.
Head over to your instance of NPM or install NPM in Incus according to my tutorial here.
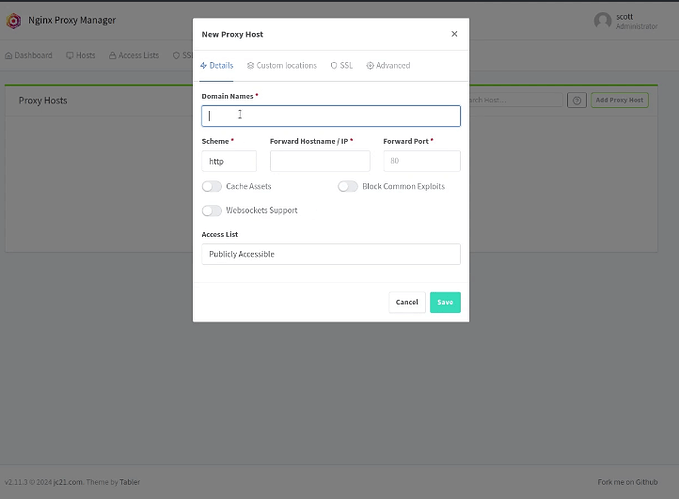
Click the option to add a proxy record and enter a subdomain name which you will have had to previously have created on your Domain Name Service Provider. You will also add the IP address of your Immich incus container we just created. Be sure to also put in port 80 as the forward port. Refer to the video.
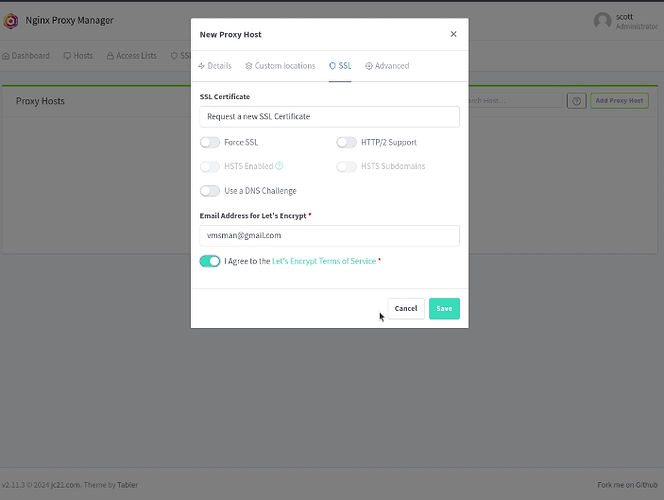
Go over to the SSL tab in NPM and request a new certificate, agree to the terms and press save.
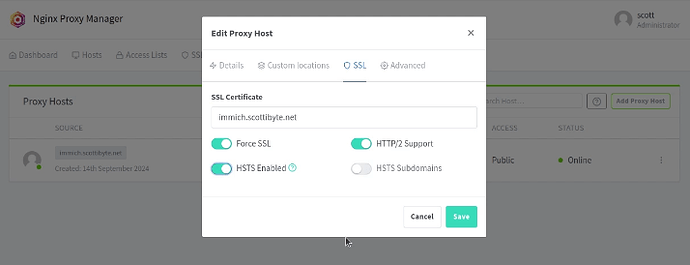
After your proxy record has been created, go back and edit it with the three dot menu to the right of the proxy and make the following updates.
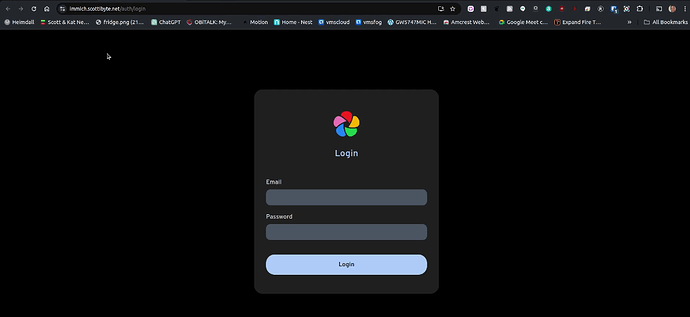
To test the new entry, you can simply click on its name in NPM and if you got everything properly configured, you should see the login screen for immich.
When I try to upload my 2.3GB test video file it fails since NPM is not yet configured to handle large file uploads.
Go back to your terminal and get logged into your incus server.
Shell into your NPM instance and move over to the user account where you installed your NPM.
incus shell NPM
su - scott

Move into your NPM folder.
cd NPM

Do a docker ps command to see the container ID of the running docker container for NPM.
docker ps
Use the container ID that you get from your listing and enter a command to connect to the container (Note that your ID will be different).
docker exec -it c4430307d6f7 bash
List out the nginx.conf file stored in the container.
cat /etc/nginx/nginx.conf
Scroll up in your terminal and select and then copy the entire contents of the file as shown in the video. I showed how to actually modify the file in the docker container, but that’s pointless since the docker container contents are not persistent between runs.
Exit the docker container back to the Immich incus container.
exit
Create a configuration folder at the same level as the docker compose file for NPM and move inside it.
mkdir config
cd config
Enter the editor.
nano nginx.conf
Paste the contents of your cut buffer into the editor session with Shift CTRL V.
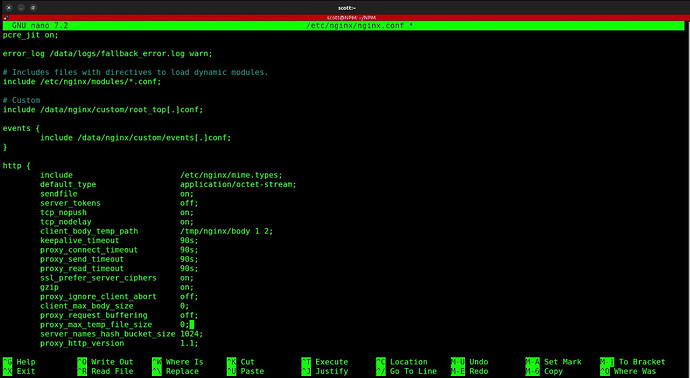
Move to the “http” section of the file and look for “client_max_body_size” which should be currently set to 2000m meaning 2GB. Change that value to 0. Also add the following two lines below the one we just changed.
proxy_request_buffering       off;
proxy_max_temp_file_size      0;
If you have done everything correctly, the file should look like something like this:
These changes will make the upload size unlimited and will also cause uploaded files to go directly to Immich as opposed to being buffered through NPM first.
Save the file with CTRL O and Enter and exit the nano editor with CTRL X.
Move back up to the folder above the config folder.
cd ..
Edit your NPM docker-compose file:
nano docker-compose.yml
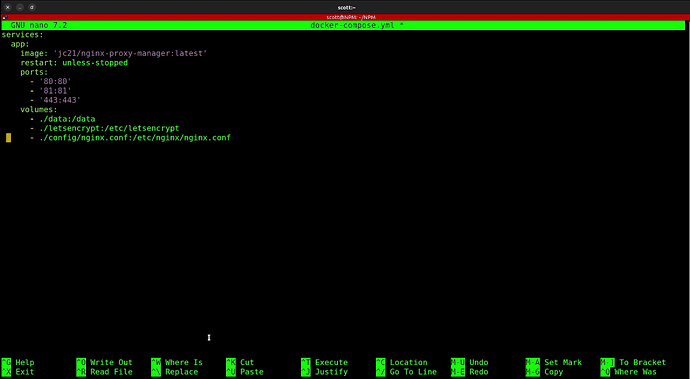
Add the following persistent volume definition definition to the file:
- ./config/nginx.conf:/etc/nginx/nginx.conf
It should now look like this:
Save the file with CTRL O and Enter and CTRL X to exit the nano editor.
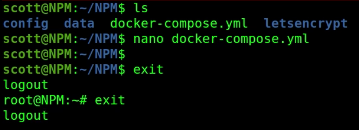
At this point, exit out of the NPM container back to your incus server prompt.
exit
exit
Restart the NPM container.
incus restart NPM
If you head back to your Immich application hosted on your URL, you will see that uploads larger than 2GB will now work properly.
This change to NPM should also remove the 2GB upload file size cap on other applications. If not, it means that the application in question probably has its own file size limitations.
