There are all kinds of apps to display video from cameras. This tutorial shows how to display an RTSP camera stream using FFmpeg. I demonstrate this powerful and easy function in both Ubuntu and Windows 11.
Realize that “Cloud” cameras such as Nestcam, Ring, Arlo, Eufy and Wyze generally require a proprietary application to control and view them. In addition, these cameras frequently have a cloud presence that does not keep your camera data private.
For this reason, I suggest IP cameras (both wired & wireless) which offer Real-Time Streaming Protocol (RTSP) allowing access to the data stream directly. RTSP allows play, pause, stop and seek from an RTSP media server. Cameras that offer RTSP streams are actually little media servers. The underlying protocol for RTSP is Realtime Transport Protocol (RTP).
RTSP file specifications look like a URL. In general:
rtsp://username:password@192.168.n.n/stream-path
Most cameras allow you to create a username & password pair to access their RTSP stream. Sometimes you have to turn on (enable) the RTSP stream in the web interface for your camera. The username:password is separated from the IP address of the camera by the “@” character and the stream path is after the address.
The stream path will be proprietary to the brand and model of camera you are using and the manufacturer should document what their stream path is for their cameras. I highly recommend Reolink Power over Ethernet (PoE) wired cameras for their high quality and excellent price point.
In this tutorial, I will be using the FFmpeg open source command line driven multimedia framework for displaying cameras. That’s as opposed to using a program designed to display live camera streams or a Network Video Recorder (NVR) software designed to display and record video.
FFmpeg includes:
- ffmpeg – CLI tool to encode, decode, and process media.
- ffplay – A simple media player.
- ffprobe – A tool to inspect and analyze media files.
I started out on my Ubuntu 24.04 desktop by updating the software repository index:
sudo apt update
Next, I installed ffmpeg:
sudo apt install ffmpeg
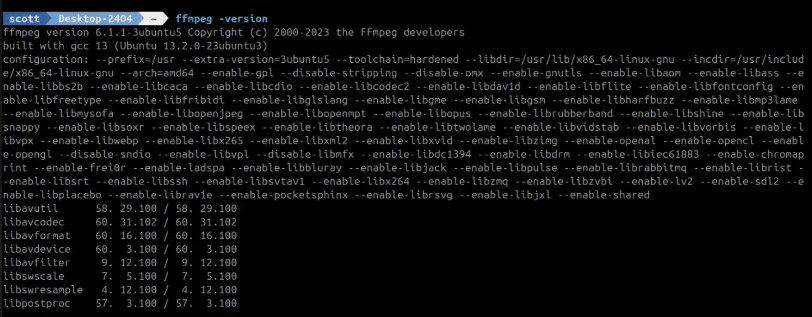
See which version of ffmpeg is installed:
ffmpeg -version
I used the ffprobe command to inspect the video stream coming from my “mailbox” camera.
ffprobe -rtsp_transport tcp -i "rtsp://scott:scott123@192.168.30.60:554/h265Preview_01_main"
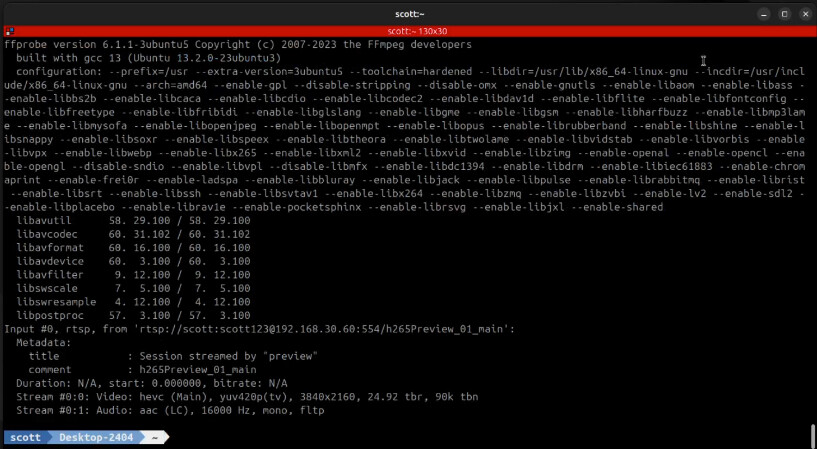
You will notice from the listing above that this camera is using the High Efficiency Video Coding (HEVC) which is also known as h.265. Most HD (1080p) and 2k (2160p) cameras use the h.264 codec. Also notice that the resolution of the camera stream is listed as 3840x2160 which is a typical 4k camera stream.
It has always bothered me that camera manufacturers have not moved beyond the fast ethernet (100mbps) interface to a 1gbps interface, but instead use higher forms of video compression to compensate for the lack of bandwidth required for higher resolution cameras.
To display this camera, I can use the ffplay command:
ffplay -window_title "Mailbox" "rtsp://scott:scott123@192.168.30.60:554/h265Preview_01_main"

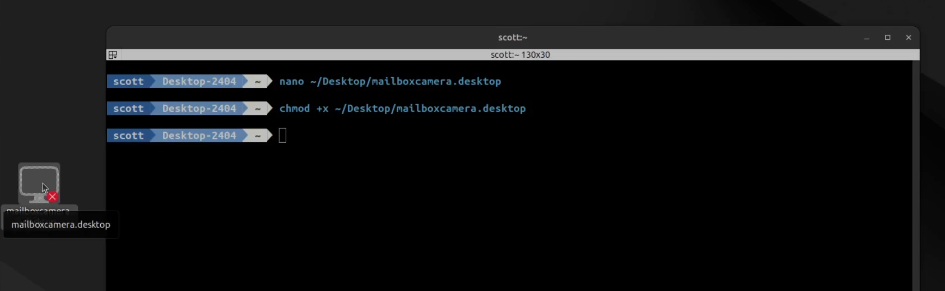
In order to create a desktop icon shortcut to view this camera, edit/create a new file:
nano ~/Desktop/mailboxcamera.desktop
Paste the following data into the file:
[Desktop Entry]
Version=1.0
Type=Application
Name=Mailbox Camera
Comment=Launch FFPlay with RTSP stream
Exec=ffplay -window_title "Mailbox" "rtsp://scott:scott123@192.168.30.60:554/h265Preview_01_main"
Icon=video-display
Terminal=false
Categories=Multimedia;Video;
You will want to change the name you give your camera, the username, password, IP address and the stream path to meet the requirements of your camera. Once you have made the necessary changes, CTRL O and Enter to save the file and a CTRL X to exit the nano editor.
Now provide execute privilege for the desktop shortcut file:
chmod +x ~/Desktop/mailboxcamera.desktop
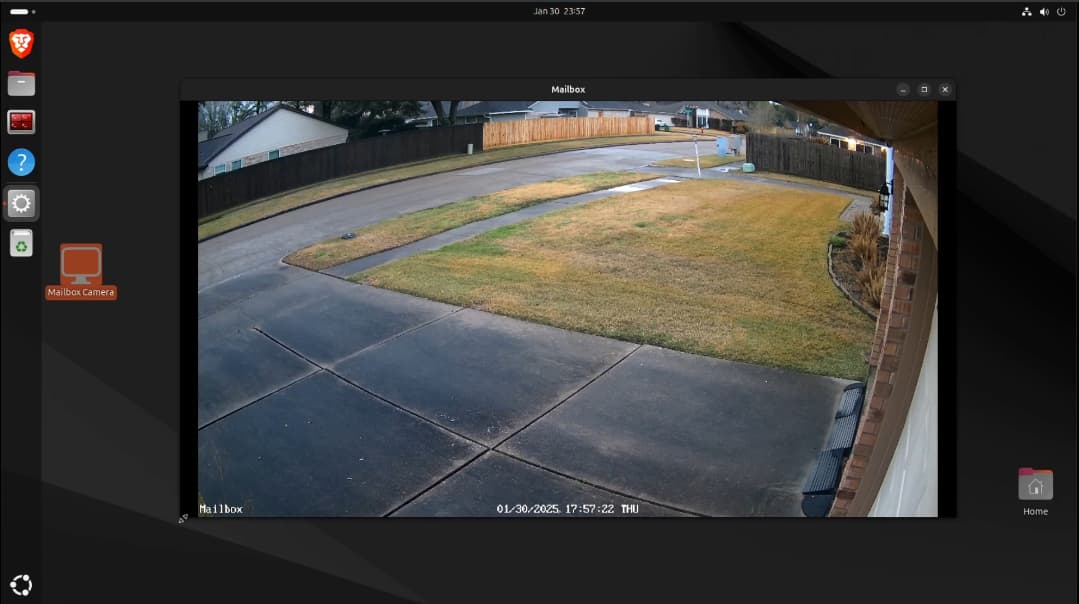
You will notice that in Ubuntu 24.04 you will get a red “X” on the desktop icon.
You will need to right click your desktop shortcut and select “Allow Launching”.
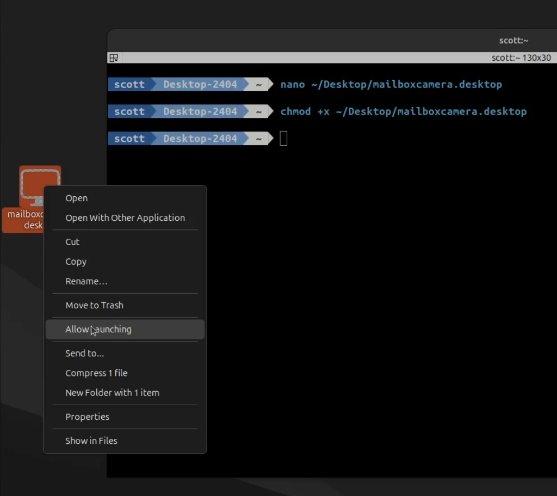
Now the icon for the shortcut will appear without the red “X”.

Double clicking the icon will display the camera and ESC will stop viewing.
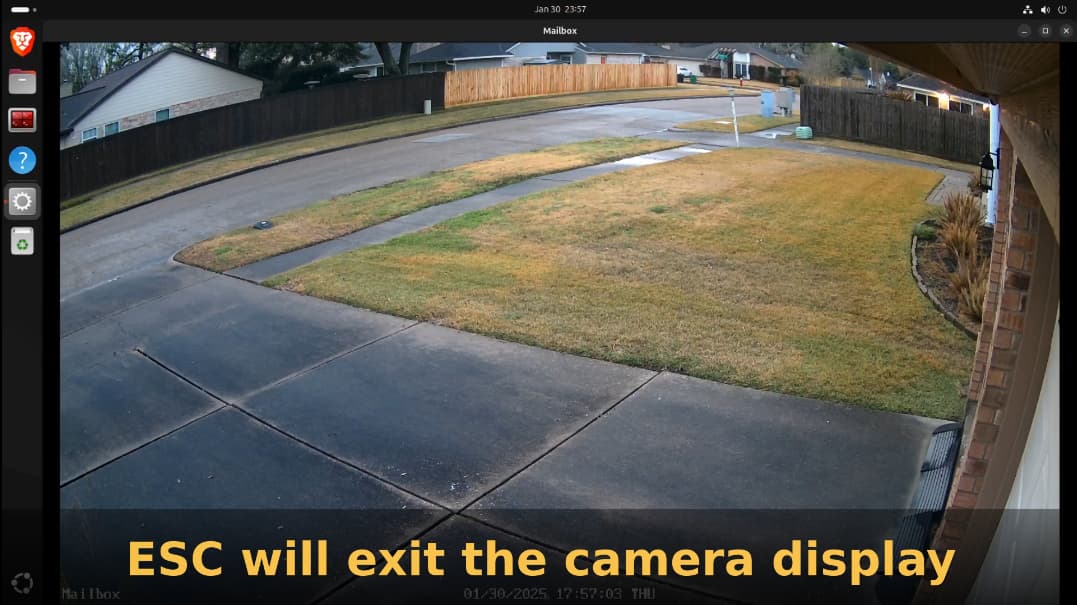
The ffplay Window in Ubuntu can be resized easily.
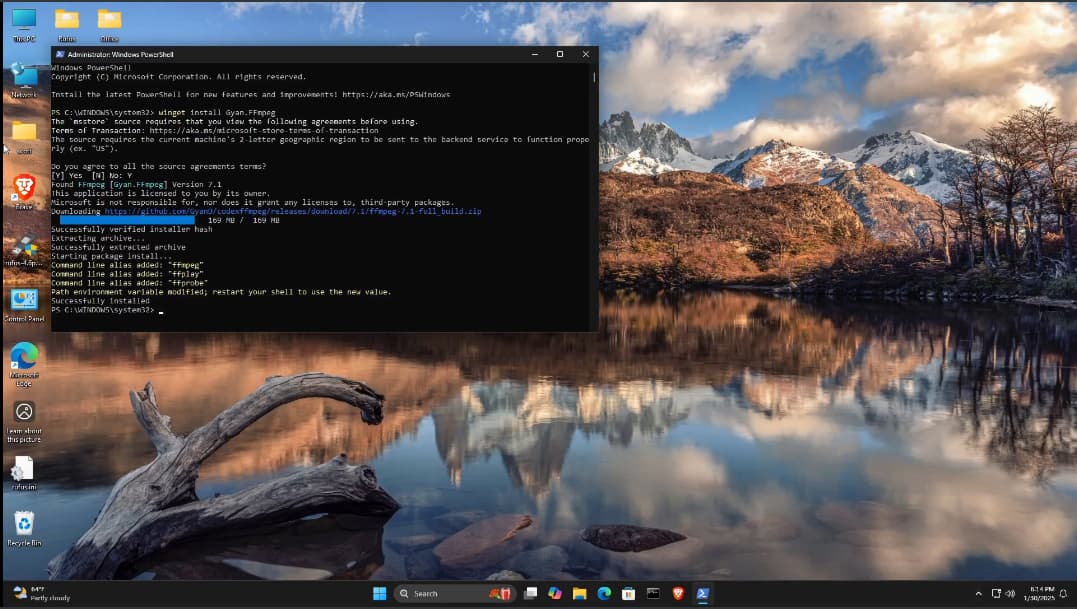
FFmpeg also runs in Windows 11. Open a Powershell with administrator privilege and issue the following command to install ffmpeg in Windows:
winget install Gyan.FFmpeg
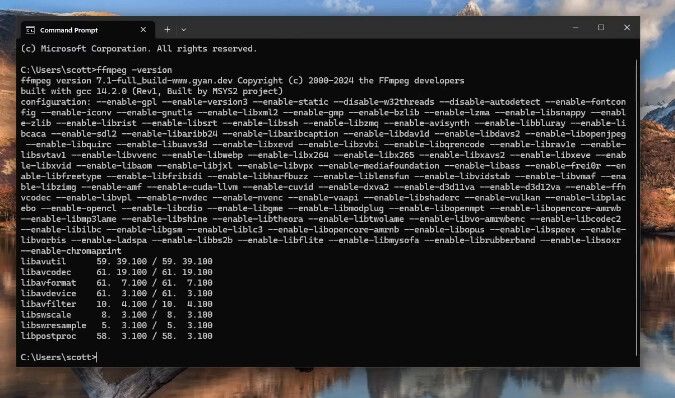
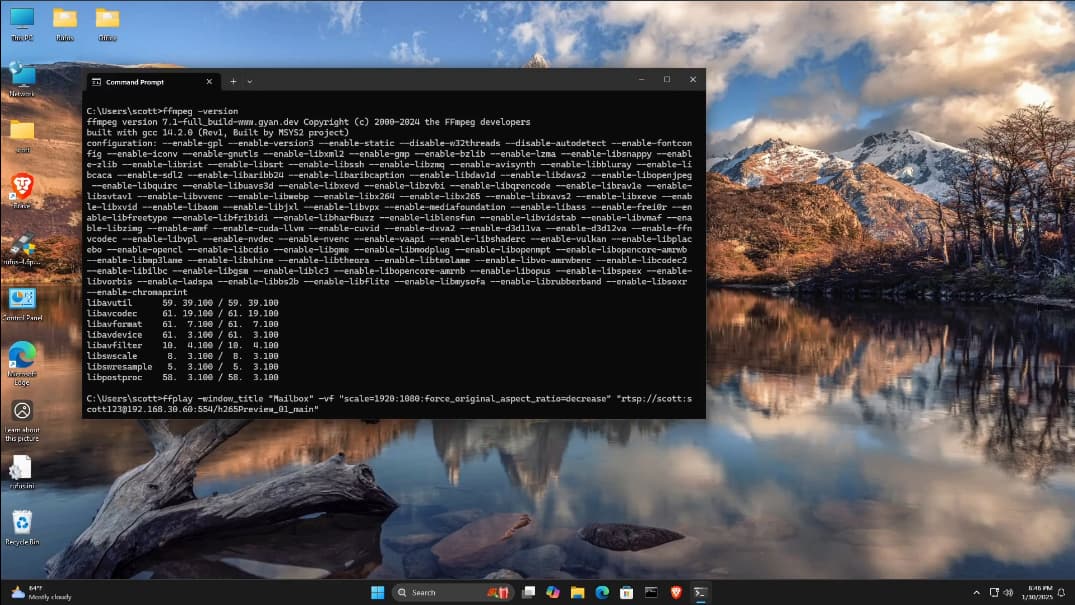
Now open an unprivileged Windows CMD window. You can see the version of ffmpeg:
ffmpeg -version
Since ffplay does not know how to do adaptive scaling to map the 4k camera display into the 1080p Windows screen I am using, I must use some command switches to overcome this:
ffplay -window_title "Mailbox" -vf "scale=1920:1080:force_original_aspect_ratio=decrease" "rtsp://scott:scott123@192.168.30.60:554/h265Preview_01_main"
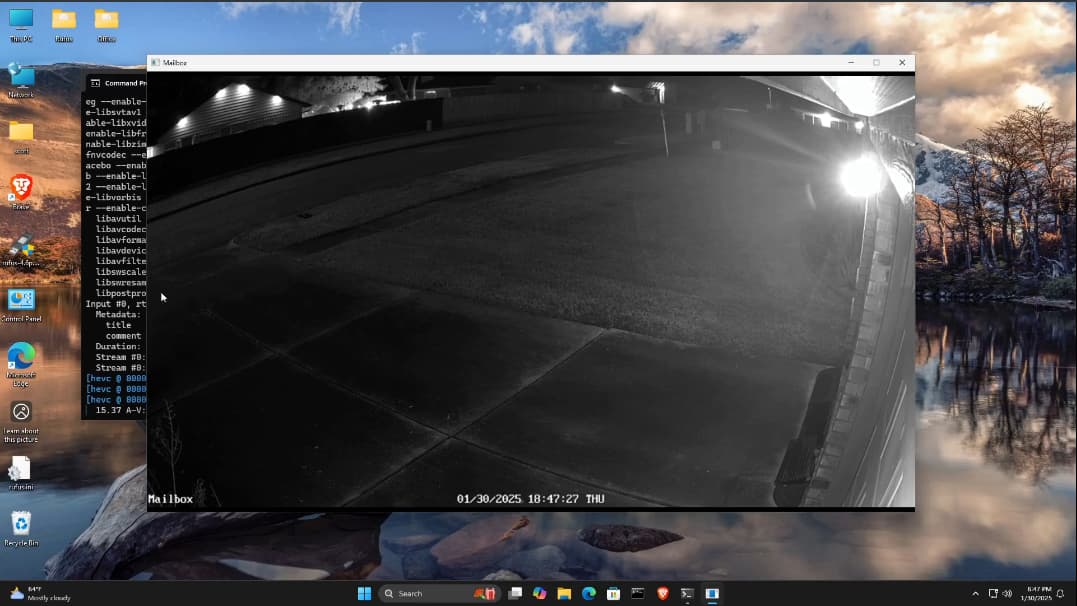
The above command displays full screen in Windows without an option to resize it. To overcome this, you can force a smaller window size:
ffplay -window_title "Mailbox" -vf "scale=1024:768:force_original_aspect_ratio=decrease" "rtsp://scott:scott123@192.168.30.60:554/h265Preview_01_main"
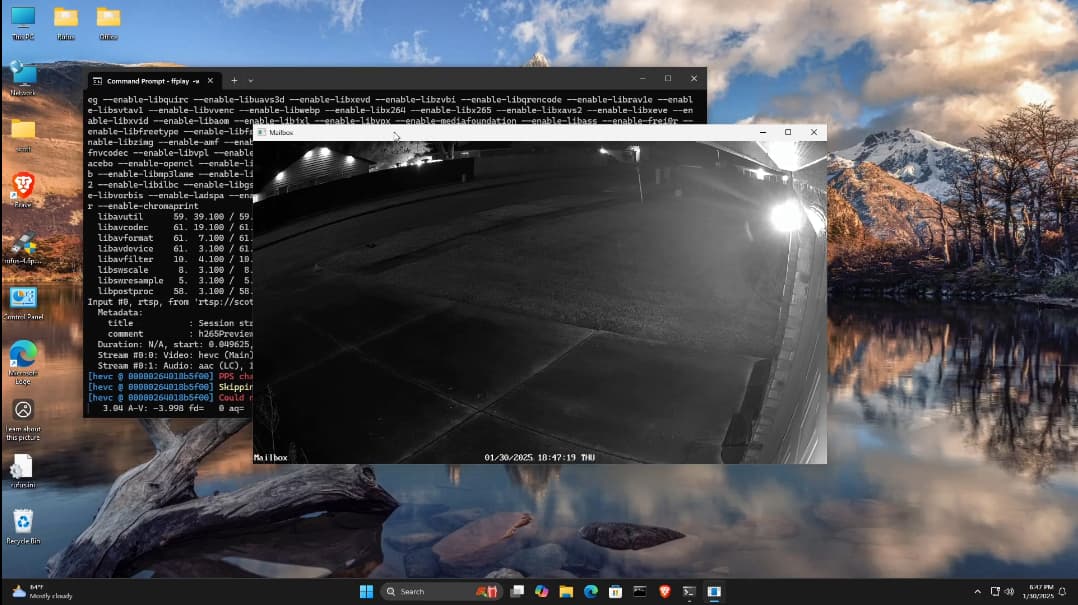
I was then able to drag and resize the window.
In Windows, you can right click on the desktop and add a shortcut and then place the ffplay command into the shortcut command. When I did this I was unable to suppress the terminal from displaying. I tried a VB script, a Powershell directive, and a batch file and I was unsuccessful at suppressing the terminal when launching the shortcut. However, the video was able to properly display with no problems.
In January of 2023, I presented Self-Hosted Camera Magic where I demonstrated using VLC on a headless incus container to re-stream the RTSP stream from the same camera to a Google Chromecast 4k attached to my Samsung TV.
FFmpeg is a really powerful tool that most people use only to convert audio and video files. I hope I showed you an interesting alternative use for this great open source tool.