Today we learn how to install NetAlertX, a network monitoring tool. We are installing Apprise which is a notification API with access to over 60 services. We also install Gotify which is a websocket based push notification and messaging system. Finally, we configure NetAlertX to send network event alerts through Apprise to Gotify.
I have chosen to install each application in its own Incus container and present all three containers to addresses on the main LAN using the skills presented in Incus Containers Step by Step.
First we are going to install NetAlertX which is a web based network monitoring tool that can inventory and track the state of all devices on your network.
UPDATE: December 2025 there have been breaking updates with NetAlertX as well as security improvements that I have implemented. Therefore, some of the setup below has been amended beyond what was originally presented in the video tutorial.
Create an incus container for NetAlertX on your incus server:
incus launch images:ubuntu/24.04 NetAlertX -c boot.autostart=true -c security.nesting=true -p default -p bridgeprofile
Connect to the container:
incus shell NetAlertX
Take all of the updates. Install the dependencies. Install Docker. Add myself a user account and add my user account to the sudo and docker groups.
apt update && apt upgrade -y
apt install curl nano net-tools openssh-server -y
curl -sSL https://get.docker.com | sh
adduser scott
usermod -aG sudo scott
usermod -aG docker scott
Move over to my user account.
su - scott
Make a folder for the app and move into it.
mkdir netalertx
cd netalertx
Create a NetalertX user group:
sudo groupadd -g 20211 netalertx
Create a NetAlertX user:
sudo useradd -u 20211 -g 20211 -d /nonexistent -s /usr/sbin/nologin netalertx
Create a data folder and set ownership and permissions on the folder:
mkdir -p data/config data/db data/reports
sudo chown -R 20211:20211 ./data
sudo chmod -R u+rwX,go-rwx ./data
Create a docker compose file.
nano docker-compose.yml
Insert the following into the file:
services:
  netalertx:
    container_name: netalertx
    image: "ghcr.io/jokob-sk/netalertx"
    network_mode: "host"
    user: "20211:20211"
    cap_drop:
      - ALL
    cap_add:
      - NET_RAW
      - NET_ADMIN
      - NET_BIND_SERVICE
    restart: unless-stopped
    volumes:
      - ./data:/data
    environment:
      - TZ=America/Chicago
      - PORT=20211
    read_only: true
    tmpfs:
      - "/tmp:uid=20211,gid=20211,mode=1700,rw,noexec,nosuid,nodev,async,noatime,nodiratime"
Change your time zone if desired and SAVE the file with CTRL O and Enter and then CTRL X to exit the editor.
Launch NetAlertX.
docker compose up -d
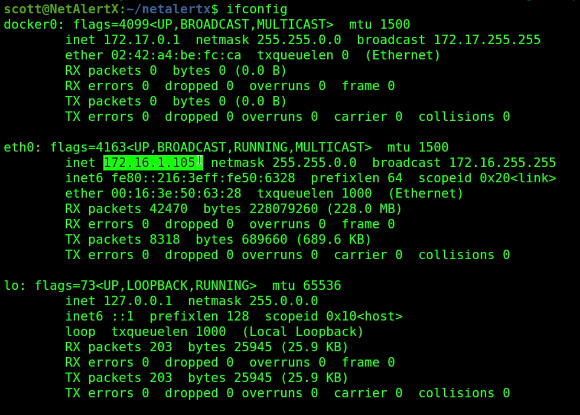
Check the address for your NetAlertX by looking for the address of your eth0 device.
ifconfig
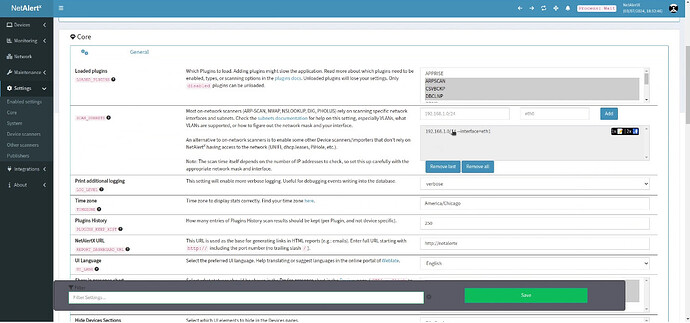
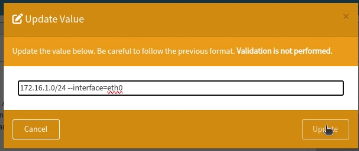
Visit this address in your browser and go into the NetAlertX settings menu and scroll down to the “SCAN_SUBNETS” option and enter your network which may be something like 192.168.1.0/24 --interface=eth0. Note that you want to specify eth0 rather than the default of eth1.
My LAN address entry looks like this:
Be sure to click the “Save” at the bottom of the screen after making changes to NetAlertX.
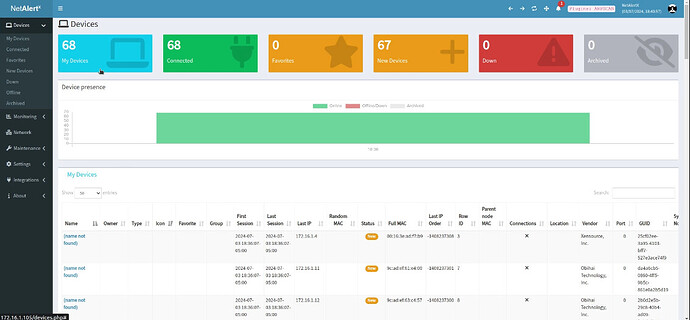
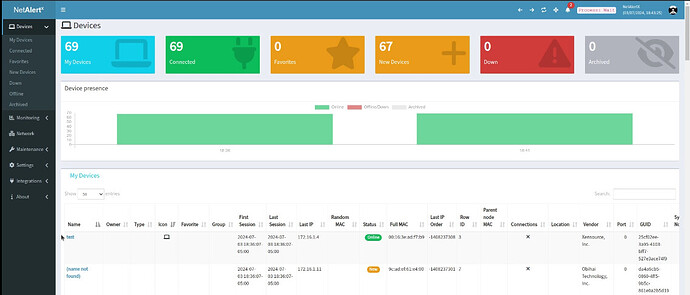
After about five minutes, you should begin to see discovered systems.
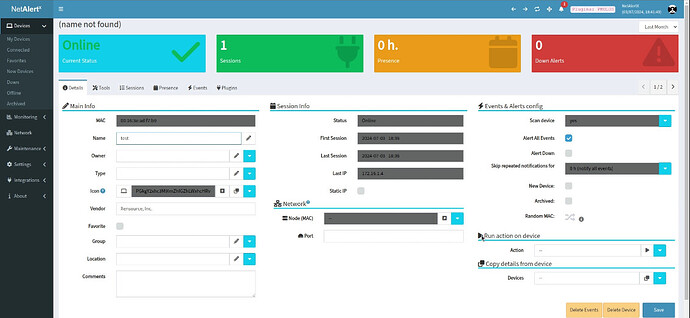
You will want to select each device in the listing and update its name according if it is not correct and uncheck the “New Device” checkbox at a minimum.
Once you click “Save” and go back to the dashboard, the system will show “Online” in green rather than “New” in yellow.
One of the main features of NetAlertX is the use of “Publishers” that can send notifications for when network events such as new nodes or offline nodes occur. To provide this service, we are going to add the “Apprise” publisher as one of the current loaded plugins.
Go to the “Loaded Plugins” section in settings and CTRL left mouse button click “APPRISE” to make it a current plugin. After doing so, click the “Save” button.
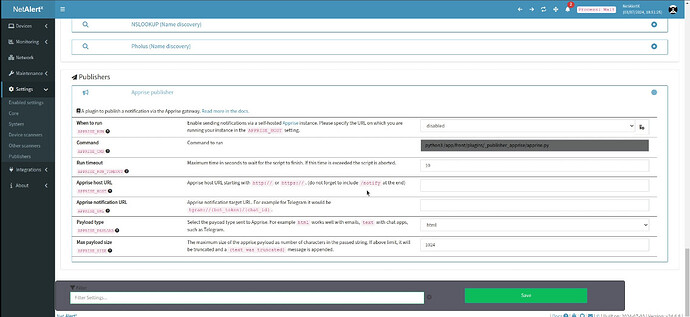
At the bottom of the settings list, you will now be able to click on the “Publishers” section and you will see the settings for the Apprise publisher.
So, now we are going to install Apprise. Return to your command prompt and exit your user account and then exit the root shell to return to your incus server prompt.
exit
exit
On your incus server, let’s create a container for Apprise.
incus launch images:ubuntu/24.04 Apprise -c boot.autostart=true -c security.nesting=true -p default -p bridgeprofile
Connect to the container:
incus shell Apprise
Take all of the updates. Install the dependencies. Install Docker. Add myself a user account and add my user account to the sudo and docker groups.
apt update && apt upgrade -y
apt install curl nano net-tools openssh-server -y
curl -sSL https://get.docker.com | sh
adduser scott
usermod -aG sudo scott
usermod -aG docker scott
Move over to my user account.
su - scott
Make a folder for the app and move into it.
mkdir apprise
cd apprise
Create a docker compose file.
nano docker-compose.yml
Insert the following into the file:
services:
  apprise-api:
    image: caronc/apprise:latest
    container_name: apprise-api
    environment:
      - PUID=1001
      - PGID=1001
      - TZ=America/Chicago
    volumes:
      - ./config:/config
    ports:
      - 80:8000
    restart: unless-stopped
Change your time zone accordingly. Note that we are able to offer Apprise on port 80 and this is possible since NetAlertX which also uses port 80 is on an entirely different LAN address. SAVE the file with CTRL O and Enter and then CTRL X to exit the editor.
Launch Apprise.
docker compose up -d
Check the address for your Apprise by looking for the address of your eth0 device.
ifconfig
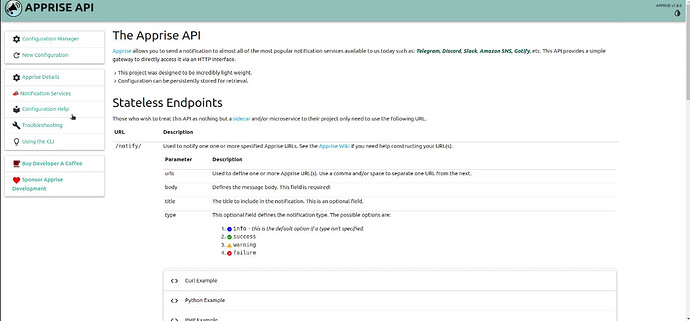
Go to the address that you found in your web browser to access your Apprise server.
Before we can test out Apprise, we need to install Gotify.
Return to your command prompt and exit your user account and then exit the root shell to return to your incus server prompt.
exit
exit
On your incus server, let’s create a container for Gotify.
incus launch images:ubuntu/24.04 Gotify -c boot.autostart=true -c security.nesting=true -p default -p bridgeprofile
Connect to the container:
incus shell Gotify
Take all of the updates. Install the dependencies. Install Docker. Add myself a user account and add my user account to the sudo and docker groups.
apt update && apt upgrade -y
apt install curl nano net-tools openssh-server -y
curl -sSL https://get.docker.com | sh
adduser scott
usermod -aG sudo scott
usermod -aG docker scott
Move over to my user account.
su - scott
Make a folder for the app and move into it.
mkdir gotify
cd gotify
Create a docker compose file.
nano docker-compose.yml
Insert the following into the file:
services:
  gotify:
    image: gotify/server
    restart: always
    ports:
      - 80:80
    volumes:
      - "./data:/app/data"
Note that we are also able to offer Gotify on port 80 and this is possible since NetAlertX and Apprise both use port 80, but are on an entirely different LAN addresses. SAVE the file with CTRL O and Enter and then CTRL X to exit the editor.
Launch Gotify.
docker compose up -d
Check the address for your Gotify by looking for the address of your eth0 device.
ifconfig
Go to the address that you found in your web browser to access your Gotify server.
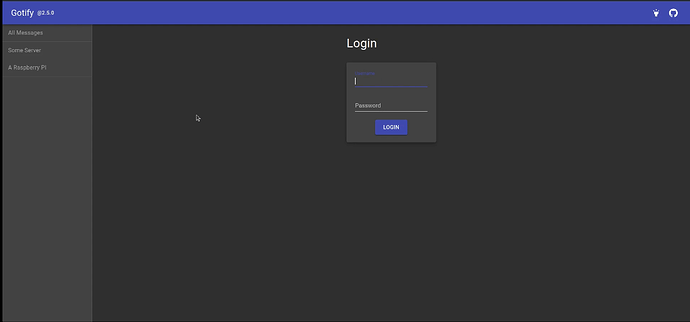
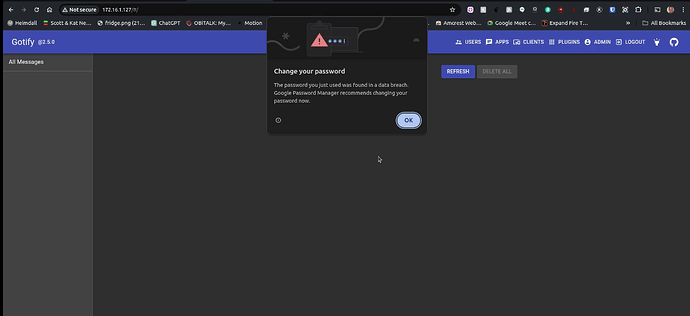
The initial username and password are both “admin”. Login and you will be prompted to change the password.
Click the “Admin” menu on the top of the screen and change the admin password.
I like to head over to the “USERS” menu and create an admin username for myself and delete the original admin account for more security as shown in the tutorial.
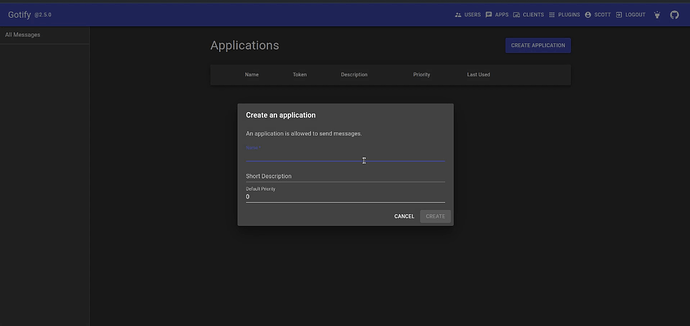
Go to the Gotify “APPS” menu and choose to create an application.
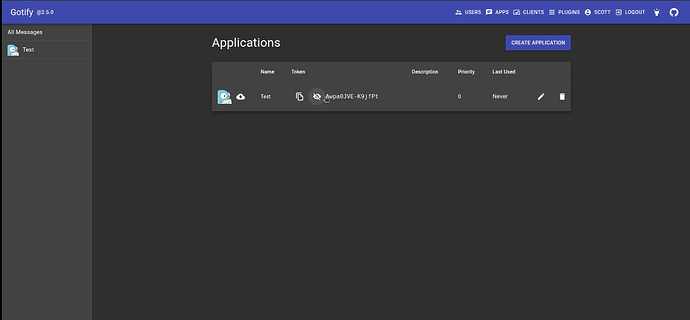
On the applications screen, make a copy of the token for your application.
Gotify has this web client and also an Android mobile client. Realize that the mobile client would require VPN access to your network to stay alerted to events when you are away from home. I also believe that there is an iGotify IoS application available, but I am not an Apple user.
The advantage of the mobile app is to be alerted when network events occur. Typically, you would create different “applications” for each source that would send notifications so that you would know where they are coming from.
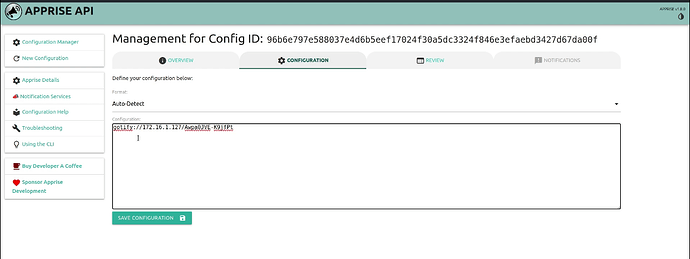
To test that Gotify can receive notifications, move over to the Apprise web interface and go into the “Configuration Manager” menu and then “Configuration”. You would enter a URL for your Gotify instance which has the Gotify address and the token and below is an example.
Click “SAVE CONFIGURATION” after entering your Gotify URL.
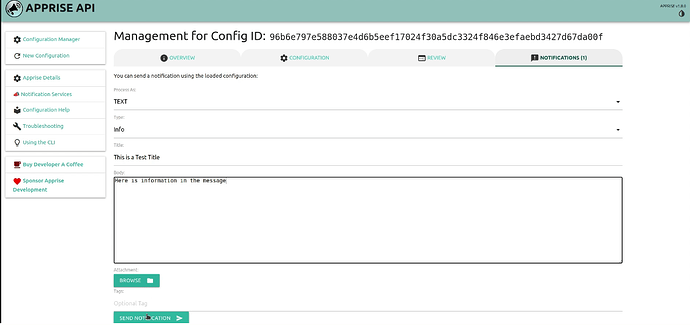
Now go to the Apprise “Notifications” tab and type in a test message as shown.
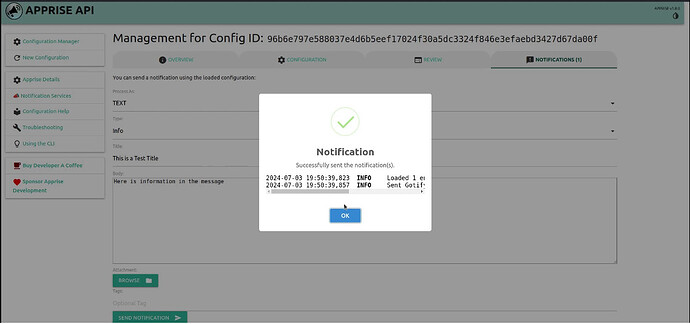
Once you click “SEND NOTIFICATION” your test message will be sent.
Go back to the Gotify web page and you will see it.
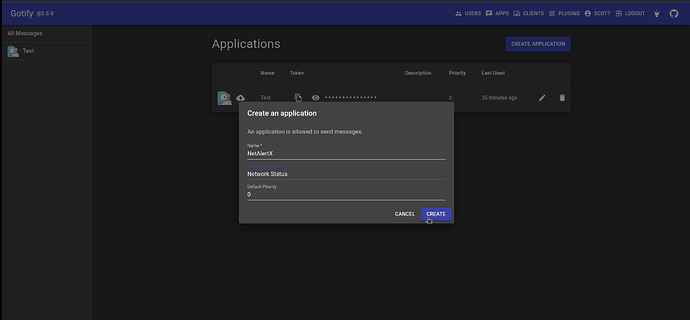
Next in my example, I created a new Gotify application called “NetAlertX”. The intent is for NetAlertX to send its notifications here.
Again, you want to make a copy of the token which is different for this “application”.
Go back into the NetAlertX web interface and go into the settings menu. Scroll to the bottom and you should see the Apprise publisher which will expand when you click on it. This shows up because we CTRL “Clicked” it in the loaded plugins earlier.
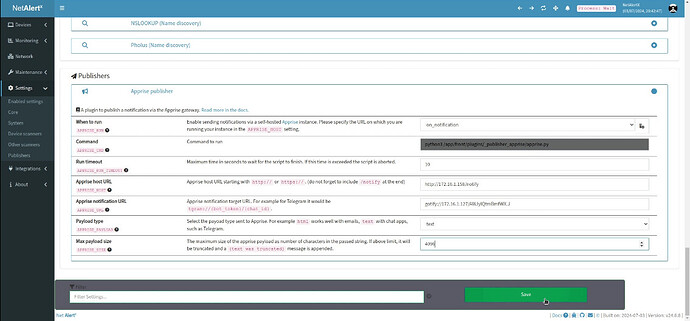
Change the “When to Run” from “disabled” to “on_notification”. Put in your Apprise URL which will be the address of your Apprise server instance with a “/notify” on the end. Finally, enter your Apprise notification URL which will be gotify:// for the notification type and the address of your “gotify” server with the token we copied above as shown. Be sure your addresses are correct. Set your payload type from “html” to “text”. Set your “Max payload size” to 4096 and press SAVE to save the configuration. An example follows. Note that your addresses will differ.
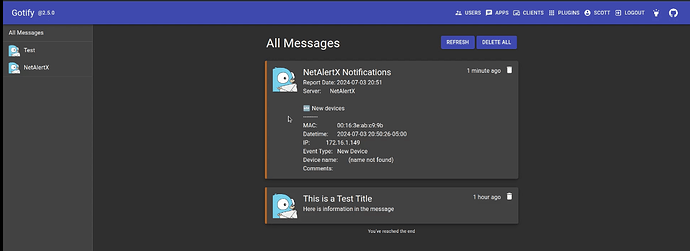
In the tutorial, I created a test incus container that I presented to my LAN. After a short time, NetAlertX sent a notifcation via Apprise to my Gotify as follows.
There are many more functions and notification services that NetAlertX supports. Apprise is a very powerful API for your Homelab and commuinicates with many apps without using a cloud service. Gotify provides a means to classify notifications into application groups that can be examined in a convenient web interface as well as a mobile app.

