Home Assistant Supervised and Home Assistant Core (Python) as well as all 32 bit HA installation types are being deprecated at the end of 2025. In this tutorial, I show how to create an Incus Virtual Machine for HA-OS. This is an awesome way to host Home Assistant.
Home Assistant Operating System (HAOS) is a full appliance including HA Core, HA Supervisor, and the Add-on Store. Since HAOS on an Incus VM is an applicance, it doesn’t support ssh to a CLI, no incus shell, no instrumentation for exposing network addresses, and it also doesn’t support ACPI.
HAOS is the preferred and supported installation of Home Assistant. It is distributed from the HAOS Github page as a drive image. This is normally imaged on to an SD card for a Raspberry Pi or to a physical hard drive on a bare metal machine. Therefore, HAOS has no “installation” process.
HAOS provides no access to its underlying OS because it is an appliance. An appliance is designed as a system integrated solution that blurs the lines between an application and the underlying OS. HAOS running as an Incus VM lacks instrumentation to see the underlying network interfaces or to perform Advanced Configuration & Power Interface (ACPI) functions.
That being said, HAOS as an Incus VM is stable and reliable. As of June 2025, the production release of HAOS is v15.2.
This tutorial shows you how to transition from another HA installation type to HAOS and it also shows you how to perform a new installation. The assumption is that you are familiar with Incus.
Begin by logging into your incus server and downloading the HAOS 15.2 disk image.
UPDATE: THANKS TO @DAC, ONE OF MY SUBSCRIBERS WHO DISCOVERED THAT THERE IS A QCOW2 (qemu friendly) IMAGE FOR HAOS.
Install the QEMU components to your Incus Server.
sudo apt install -y qemu-kvm virt-manager libvirt-daemon-system virtinst libvirt-clients bridge-utils
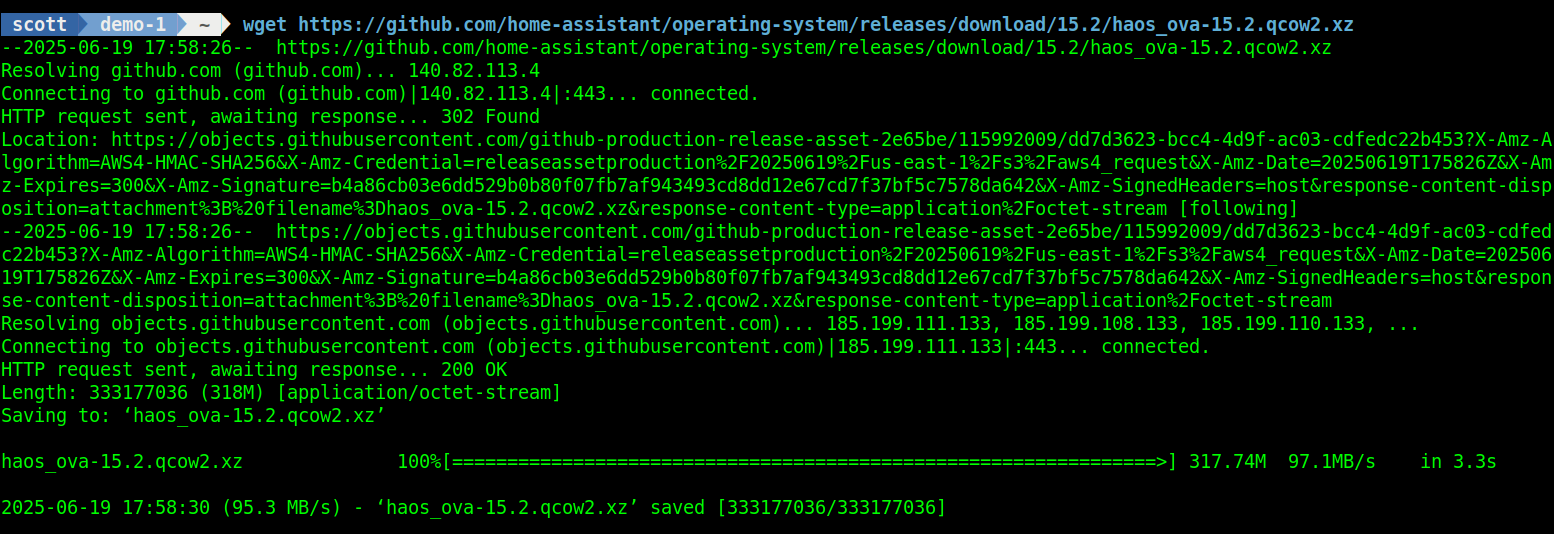
We are now downloading the HAOS image that is “friendly” with QEMU. This means that the instrumentation for listing the address of the Incus VM will work unlike when I demoed this in the video.
wget https://github.com/home-assistant/operating-system/releases/download/15.2/haos_ova-15.2.qcow2.xz
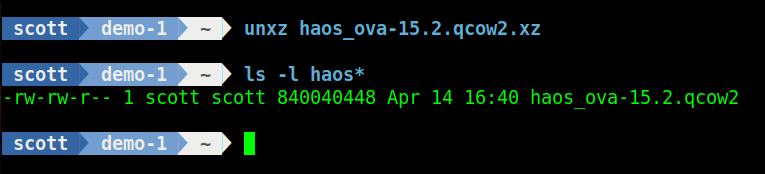
Decompress the file you just downloaded.
unxz haos_ova-15.2.qcow2.xz
Since we are dealing with a disk image rather than installation media such as an ISO file, we can’t just create an Incus VM and install HAOS inside of it.
Incus has a migration tool specifically designed to migrate images of disks or appliances. To install the tool:
sudo apt install incus-extra
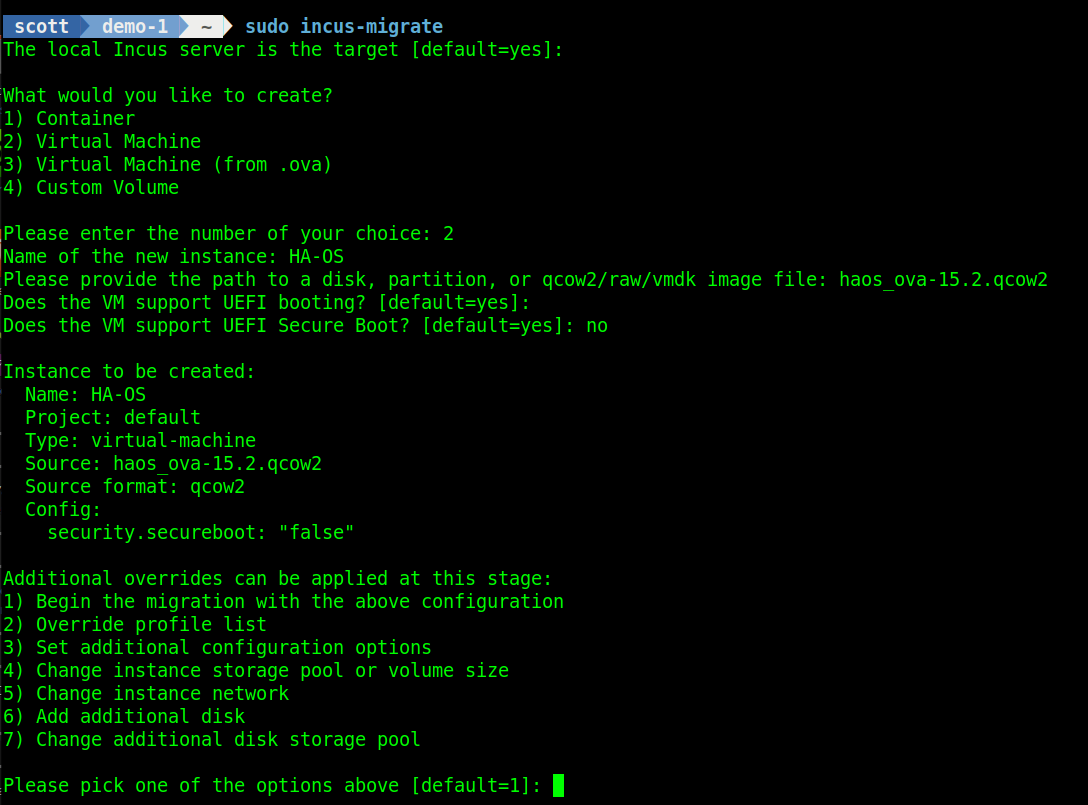
To execute the migration tool:
sudo incus-migrate
Follow the prompts as seen below.
We want our HAOS instance to have an address on the main LAN, so add both the default profile and the bridgeprofile (covered in my Incus Step by Step video) via option 2 on the menu.
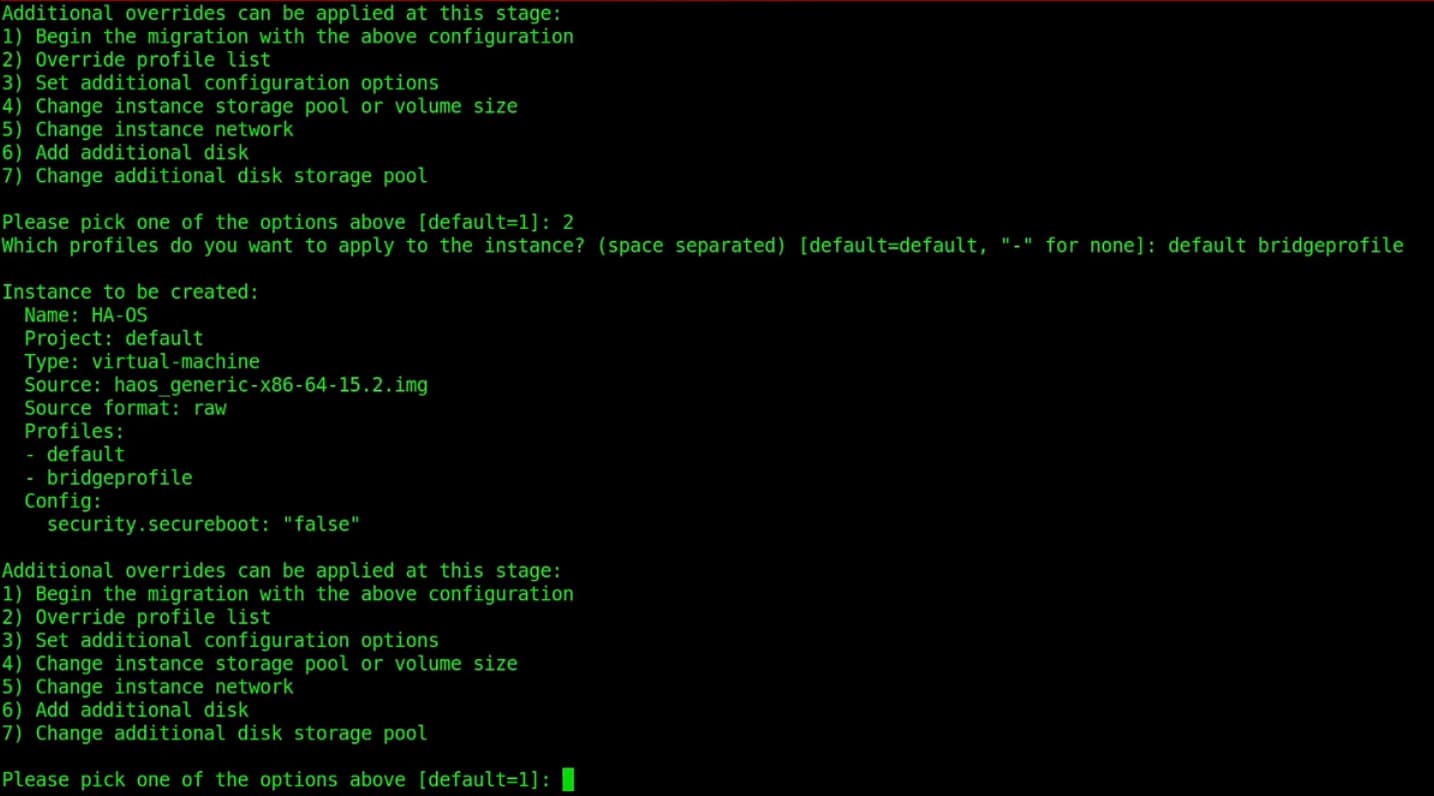
Finally, choose option 1 from the menu to perform the migration.

The default size of an Incus Virtual Machine disk is 10GB. This OVA image expands to 30GB. In the tutorial, I expanded my HAOS disk to 50GB:
incus config device override HA-OS root size=50GiB
NOTE: After running this configuration for a week, I have discovered that for best performance you will want to allocate the Incus VM 6GB of memory.
This may come back blank, but to see the memory currently allocated to your Incus HA VM:
incus config get HA-OS limits.memory
I think by default the VM is provided only 2GB of memory. After testing, I think that for best performance, that should be more like 6GB. To change the allocated memory:
incus config set HA-OS limits.memory 6GiB
Start your HAOS Instance:
incus start HA-OS
Unlike as in the video, your HA-OS will list the address of your container properly. Take a look at the container now that it is started. You may have to wait a minute or two.
incus list HA-OS
Be sure to add the address of HA-OS as a DHCP address reservation on your router so that it does not change.
The address of my new HAOS Incus VM instance is 172.16.1.70. You will want to use the address you found and go to your web browser with it at port number 8123.
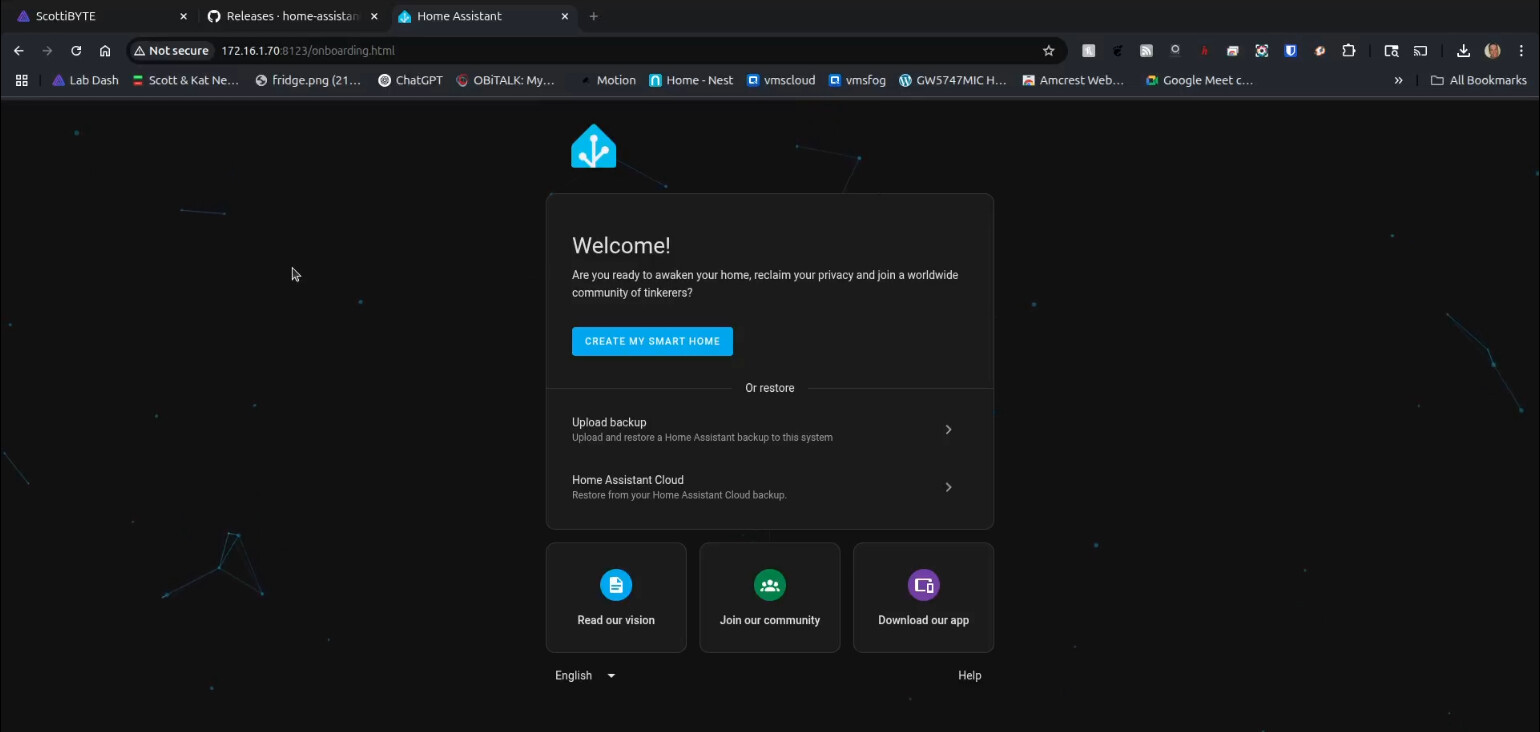
If you have a backup from another Home Assistant configuration as shown in the beginning of the tutorial, you can choose the “Upload Backup” to restore that configuration to this new server and you are done.
If not, then click “CREATE MY SMART HOME” and you will be configuring this HAOS as a brand new configuration.
Type in the required information and click “CREATE ACCOUNT”.

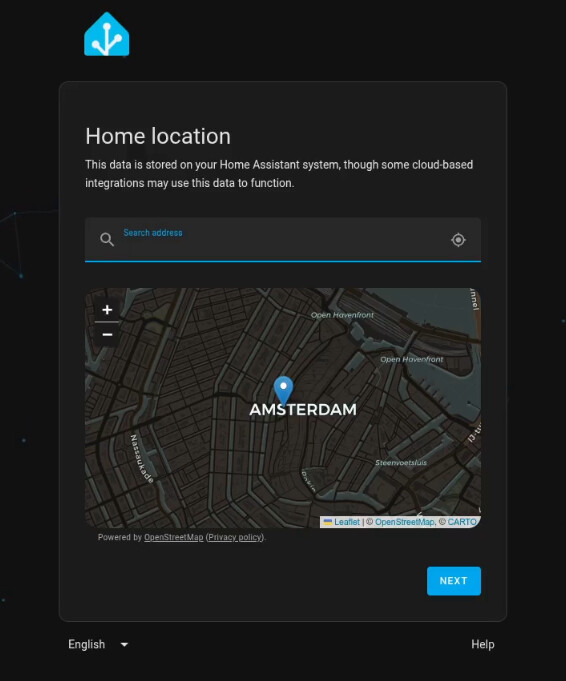
The next screen asks for your address in order to properly handle geolocation functions.
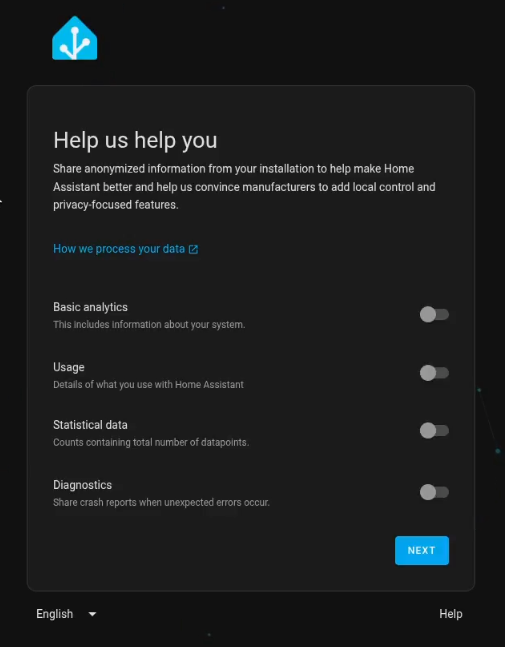
The next screen after that allows you to opt in/out on providing metrics to the community developers.
The final screen declares devices types that have been detected on your network.
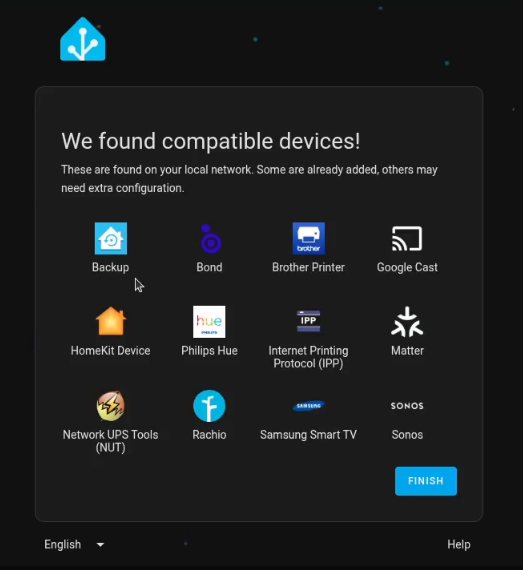
As indicated in the tutorial, you may want to purchase Zigbee and/or Zwave USB radios to detect and manage those devices. I don’t do that because I share all my devices from my Hubitat Elevation hub to my HAOS instance.
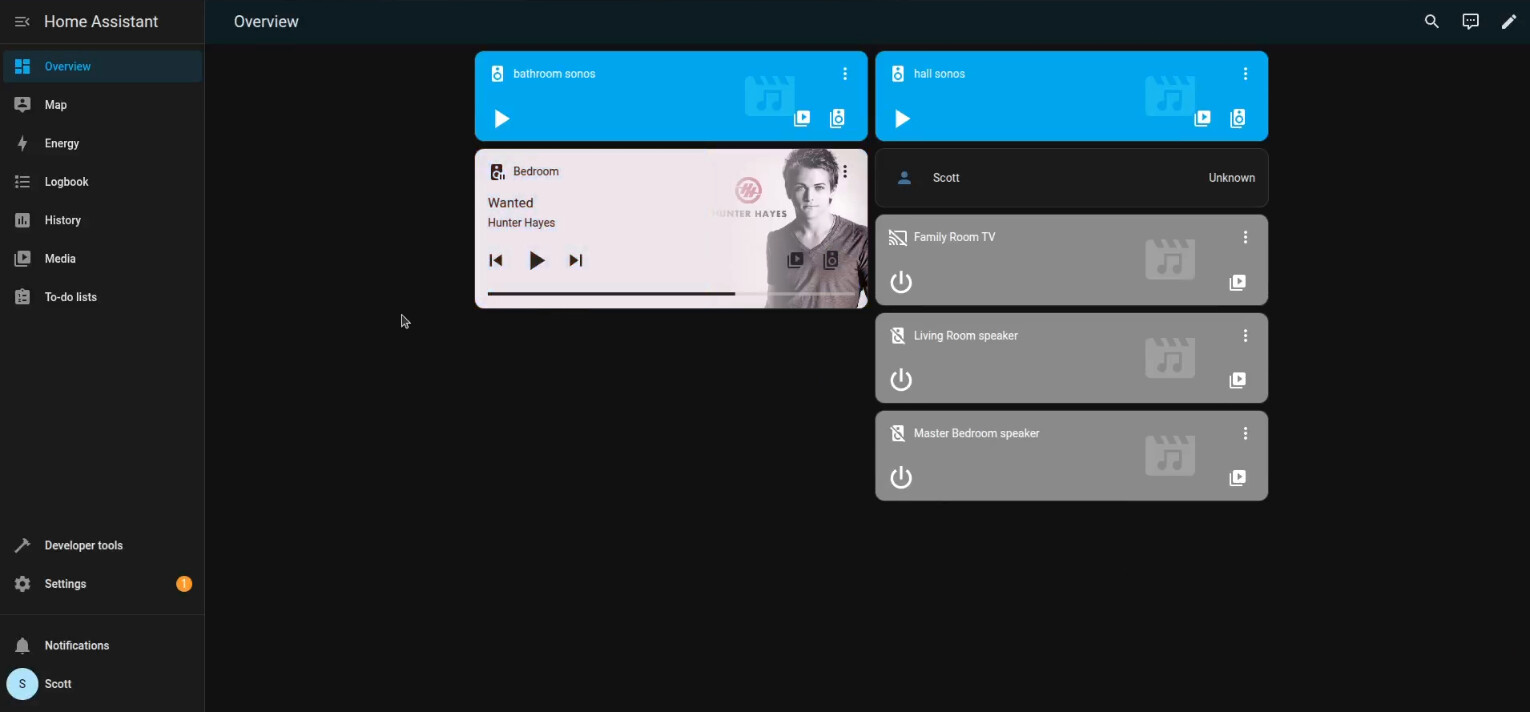
When you click “FINISH” you will be brought to the dashboard.
At this point in the video, I mentioned that the HAOS container cannot be stopped with a standard stop command because it lacks ACPI instrumentation. However, with the new image that I added at the beginning of these notes, this is no longer the case and the HA-OS container VM can be stopped like any other.
incus stop HA-OS
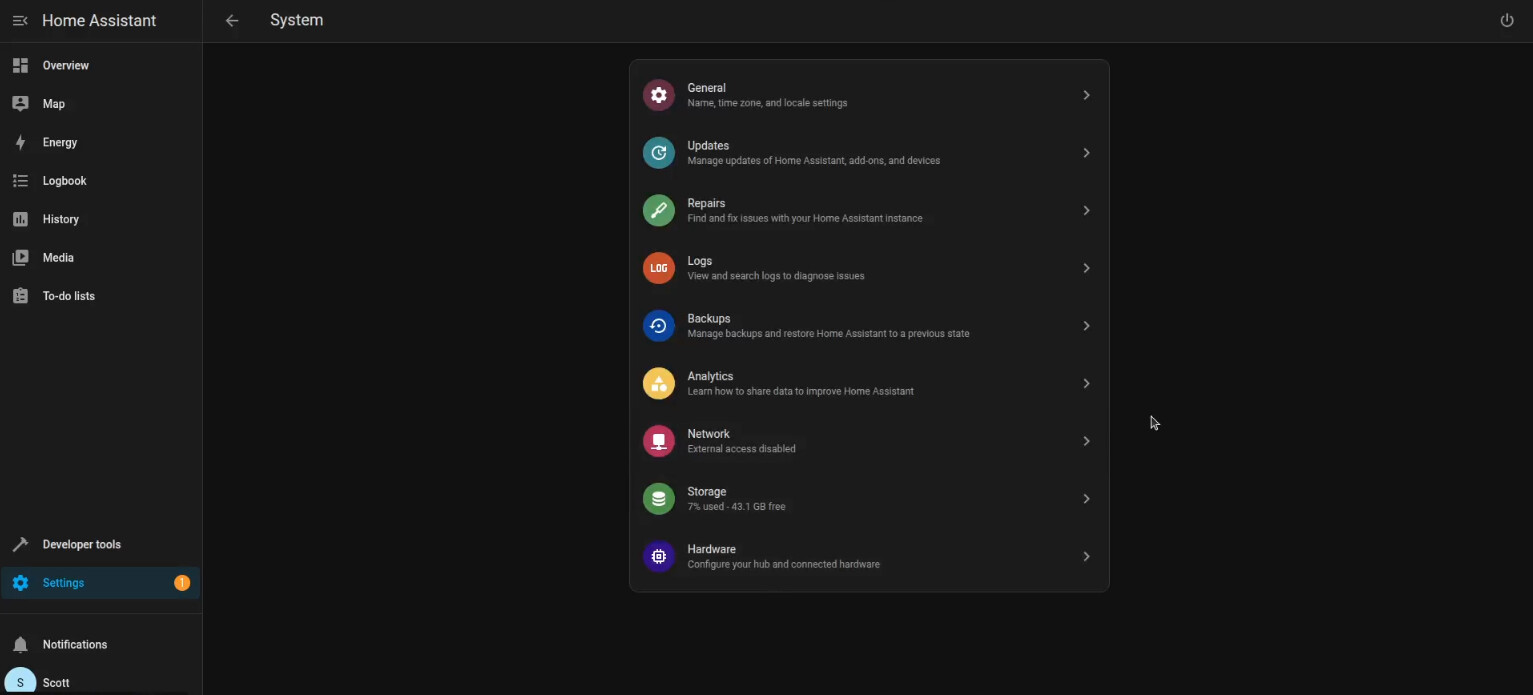
This will stop HA just fine. The shutdown of your HA-OS instance can also be done by going into the Home Assistant settings menu and from there go to the “Hardware” menu.
Go to the upper right and click the Power icon.
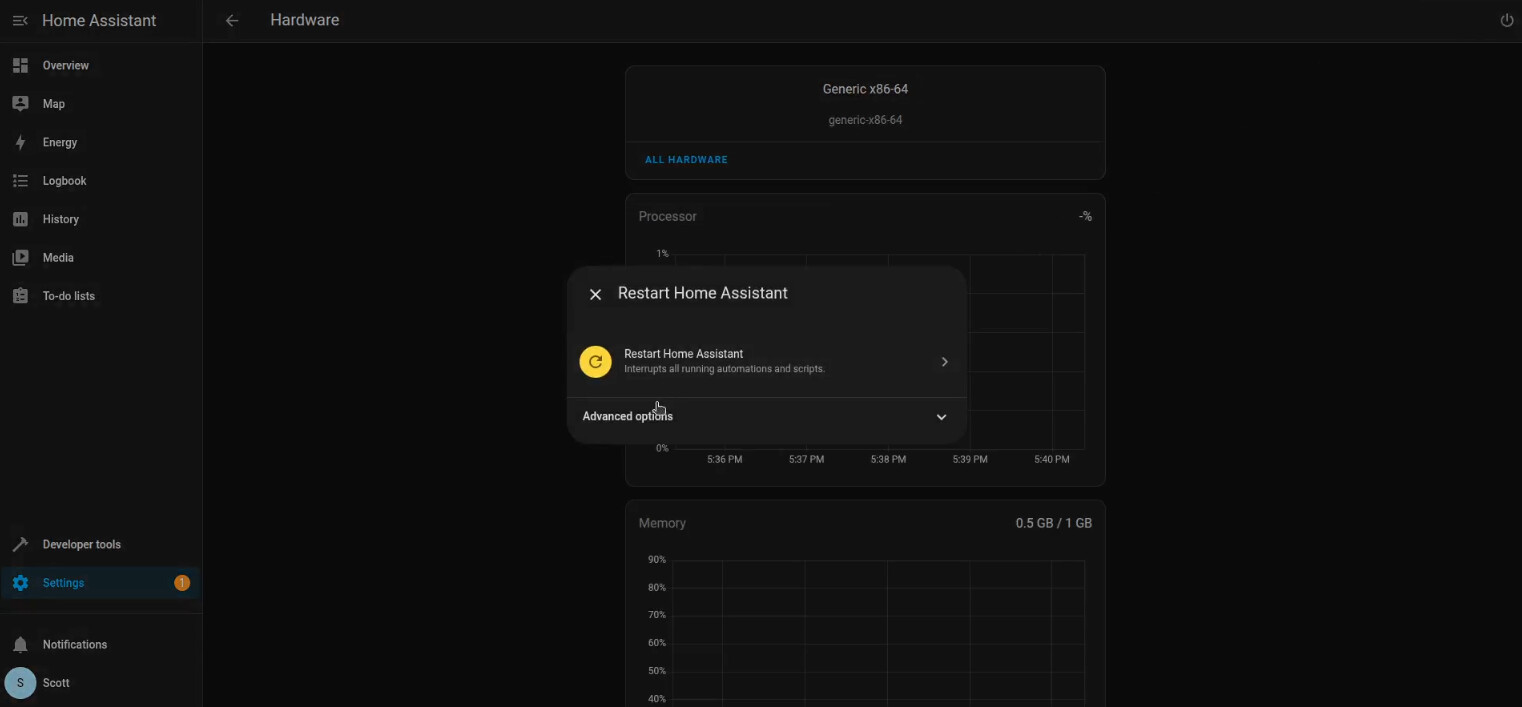
Next choose the advanced options and choose “Shut down system”

If you stopped your HA-OS instance, start it again:
incus start HA-OS
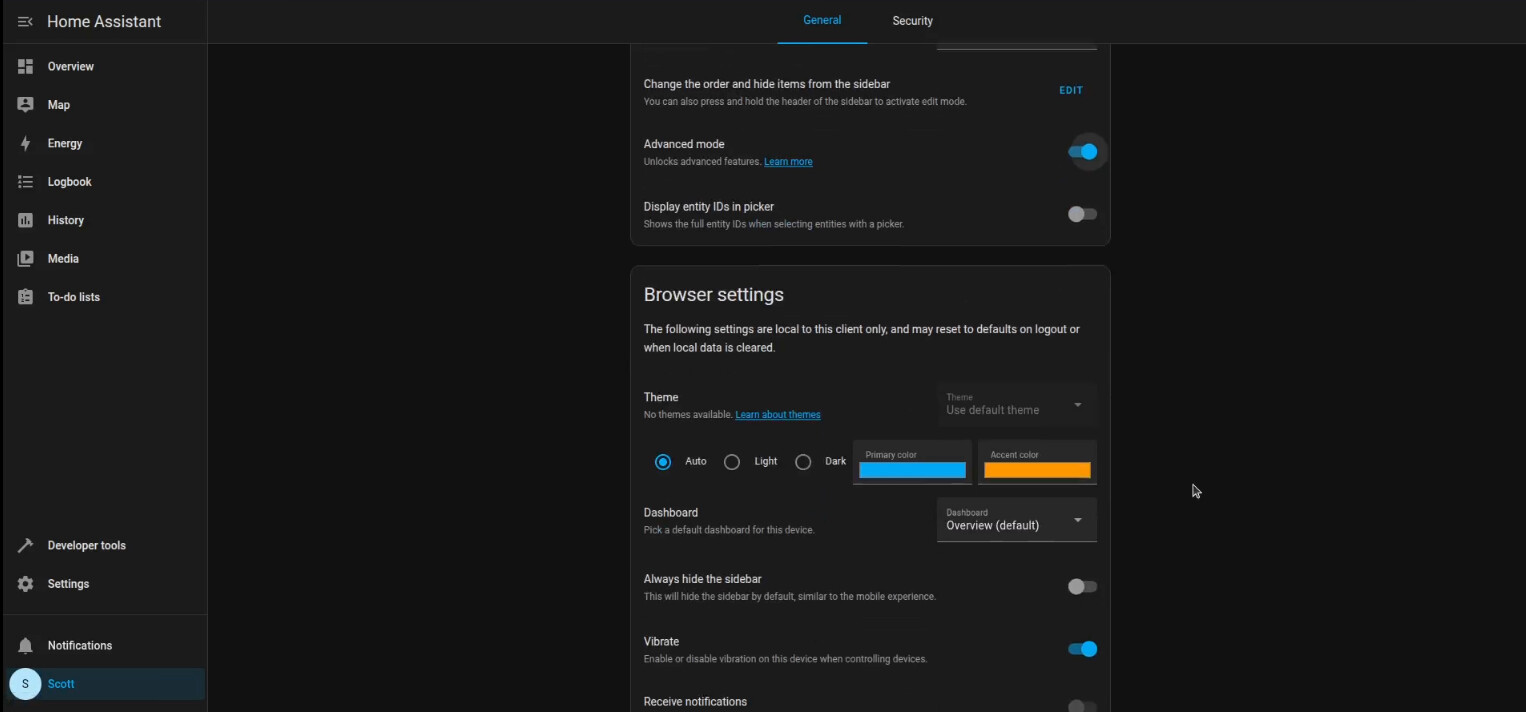
One of the first things a new Home Assistant should do is to enable the Home Assistant Community Store (HACS). Click on your profile icon in the lower left as shown in the video and scroll down and enable advanced mode.
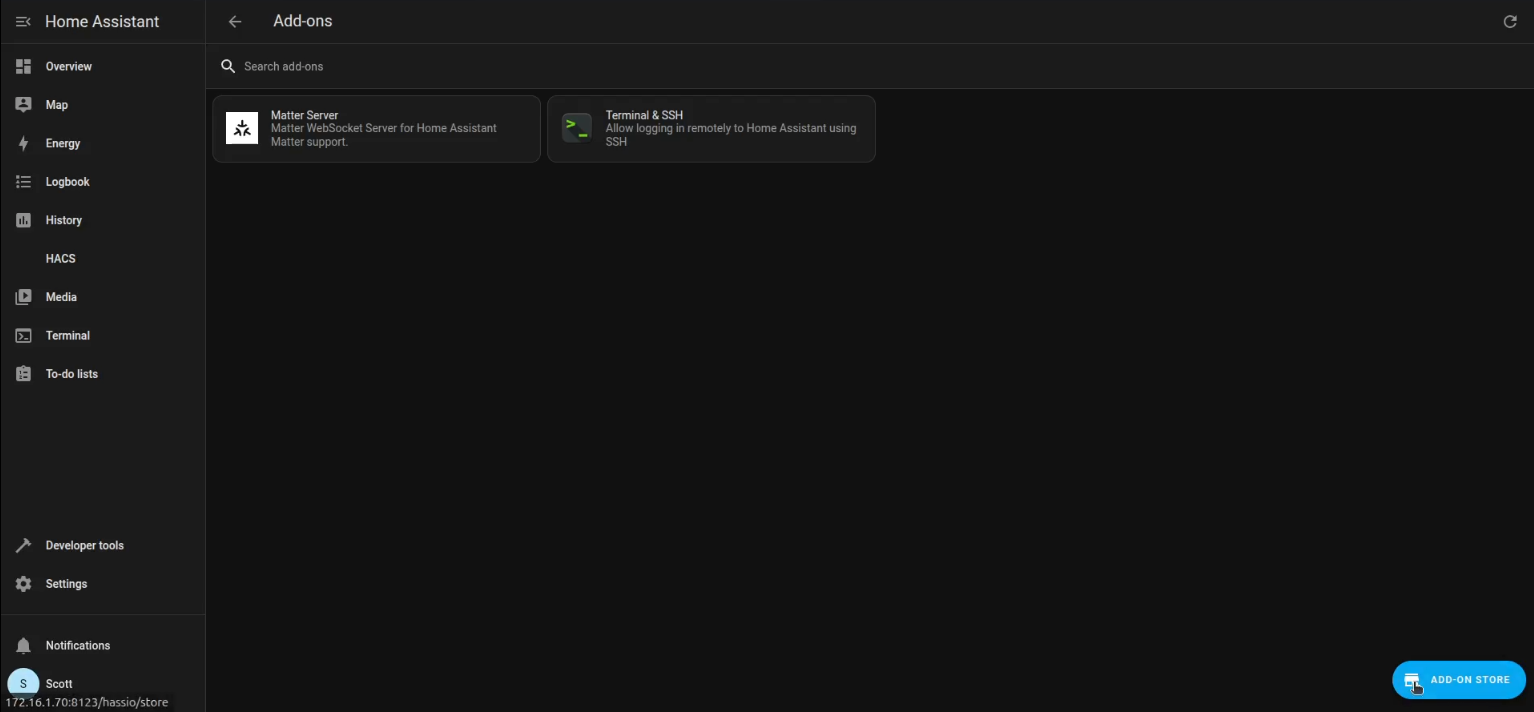
Now go back to “settings” and Click “Add-ons”.
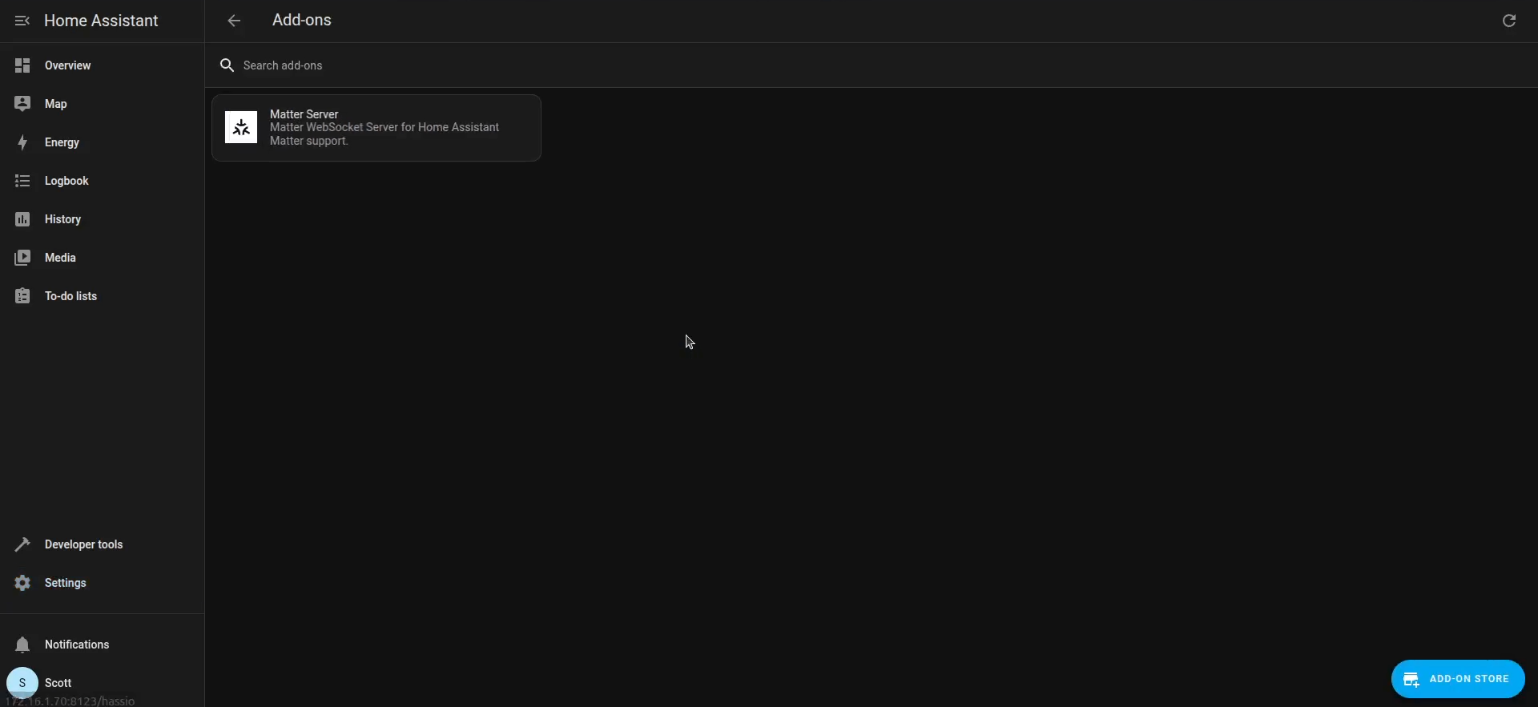
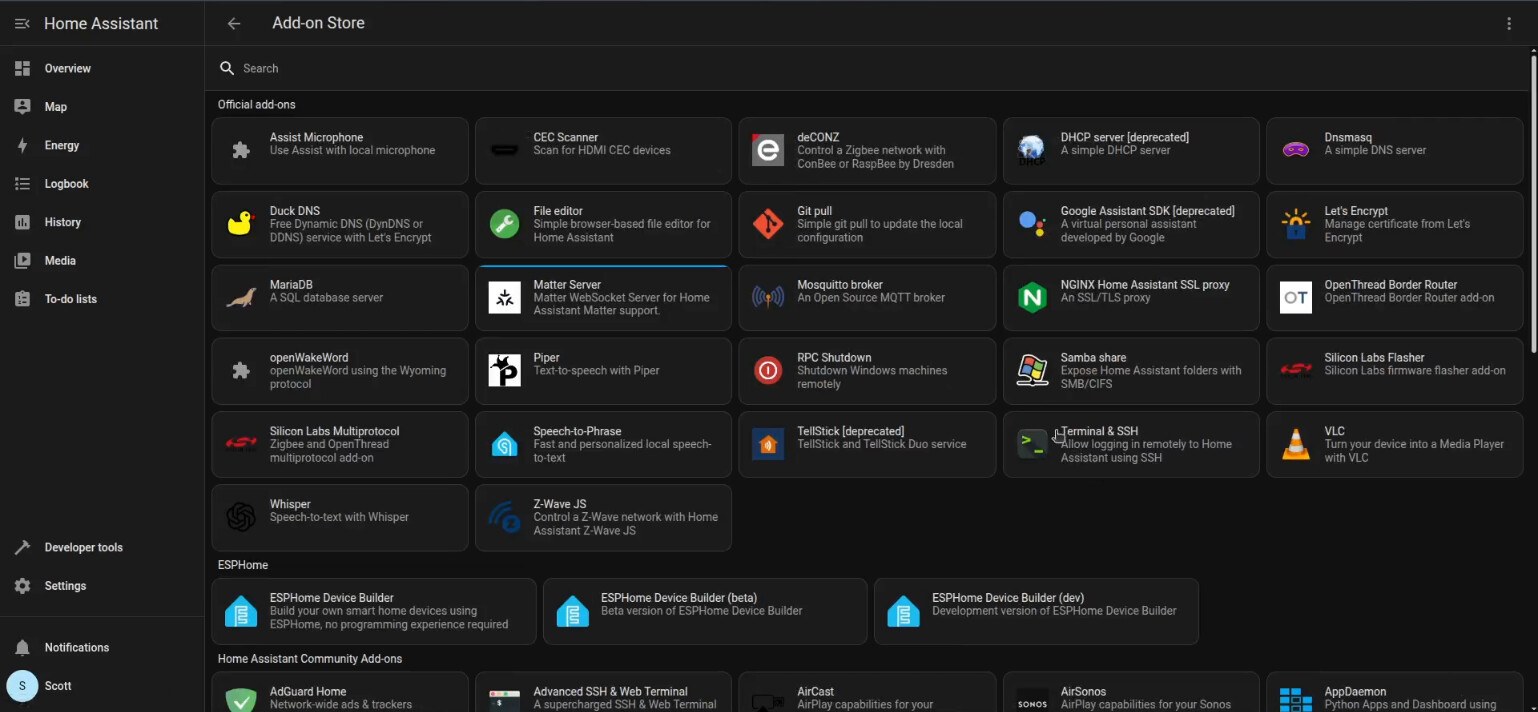
Click the icon for the “Add On Store” and you should have the following screen.
Under the search bar type “ssh”.

Click on the “Terminal & SSH” add on and click install.
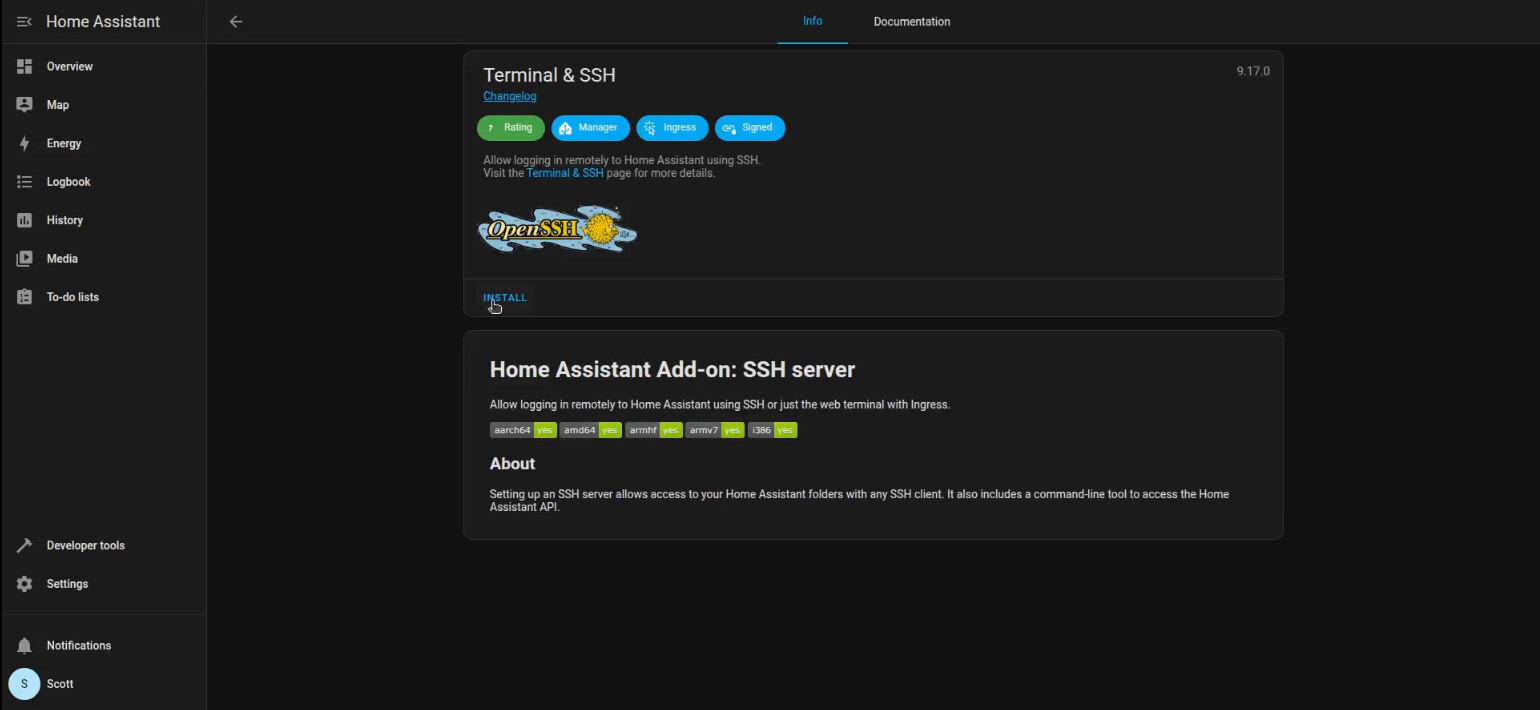
Once the install is complete, click start and also turn on “Show in sidebar”.

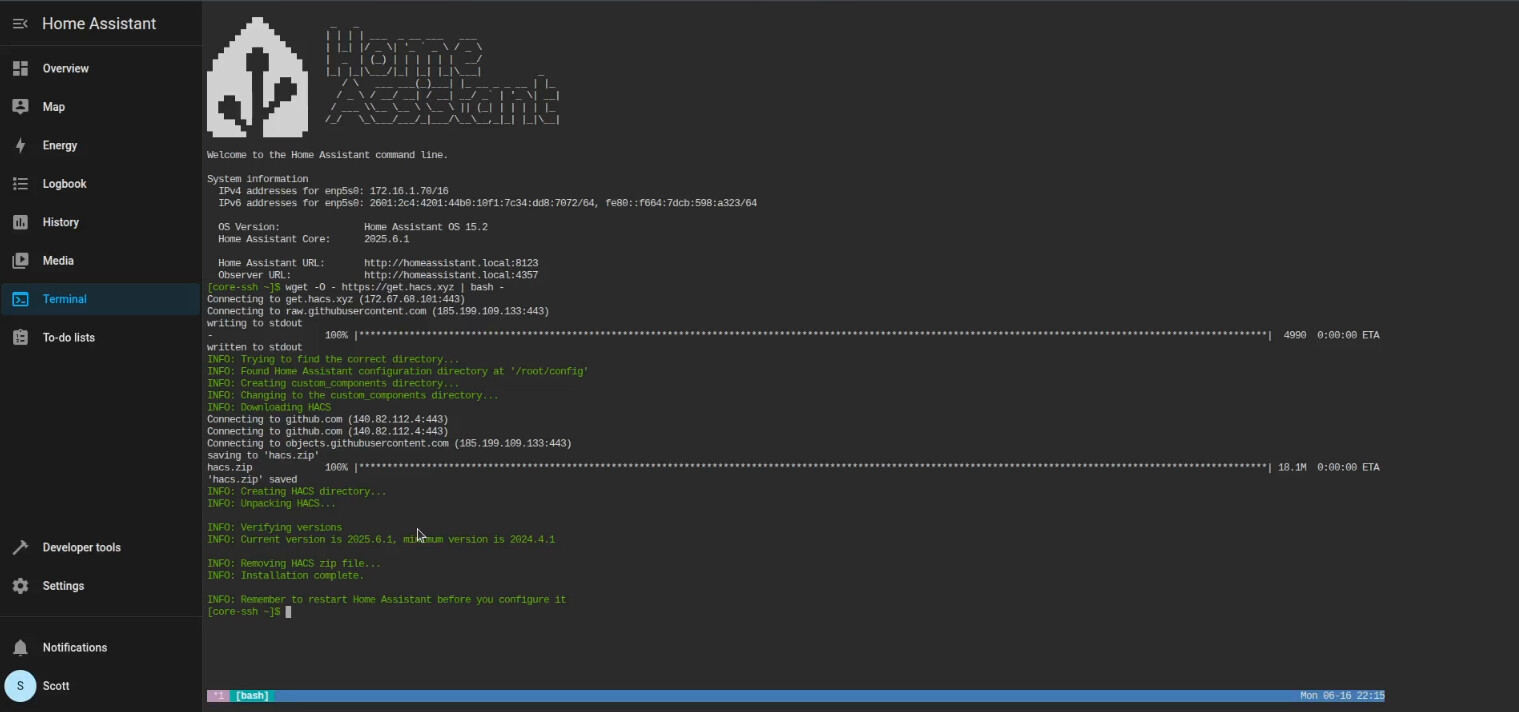
Click on “Terminal” in the sidebar to start the Home Assistant Terminal.
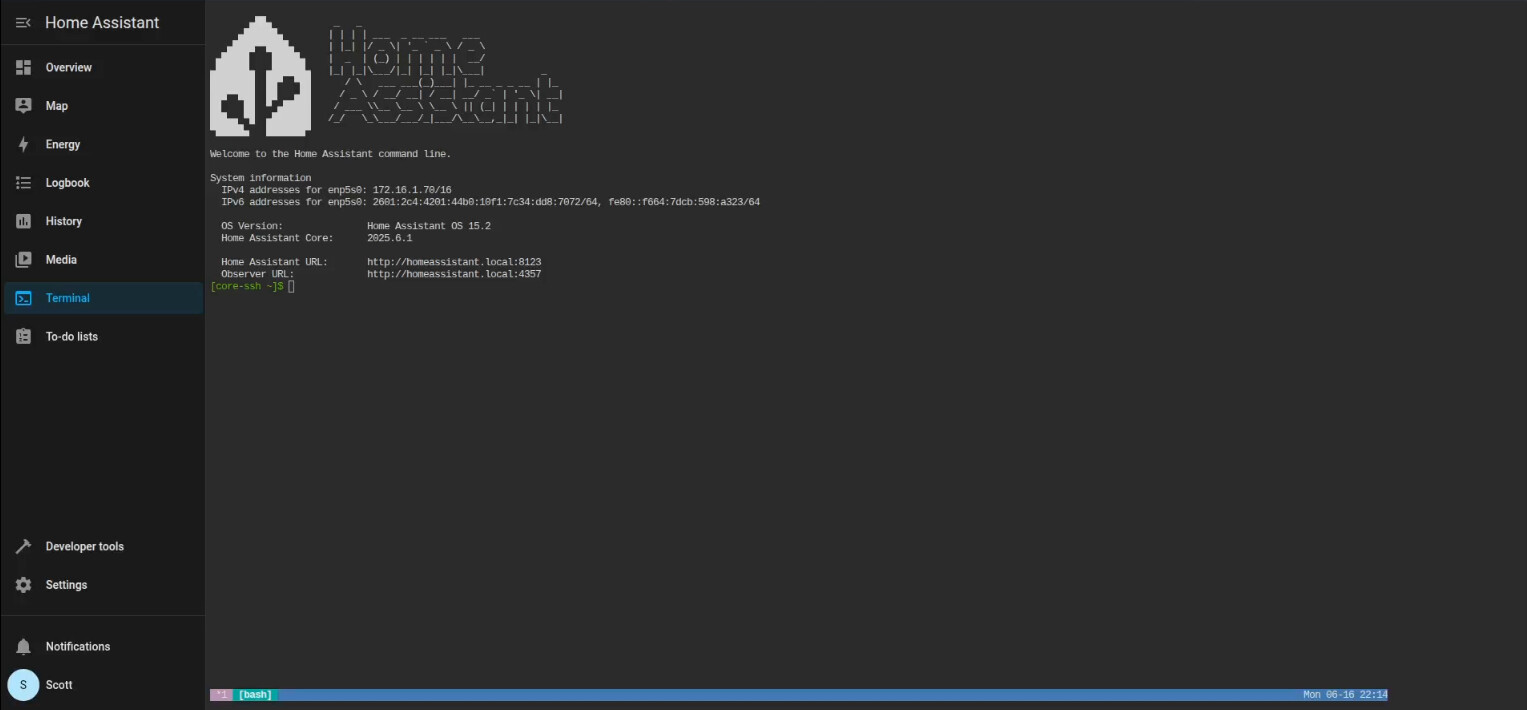
To install HACS, paste the following script into the HA Terminal.
wget -O - https://get.hacs.xyz | bash -
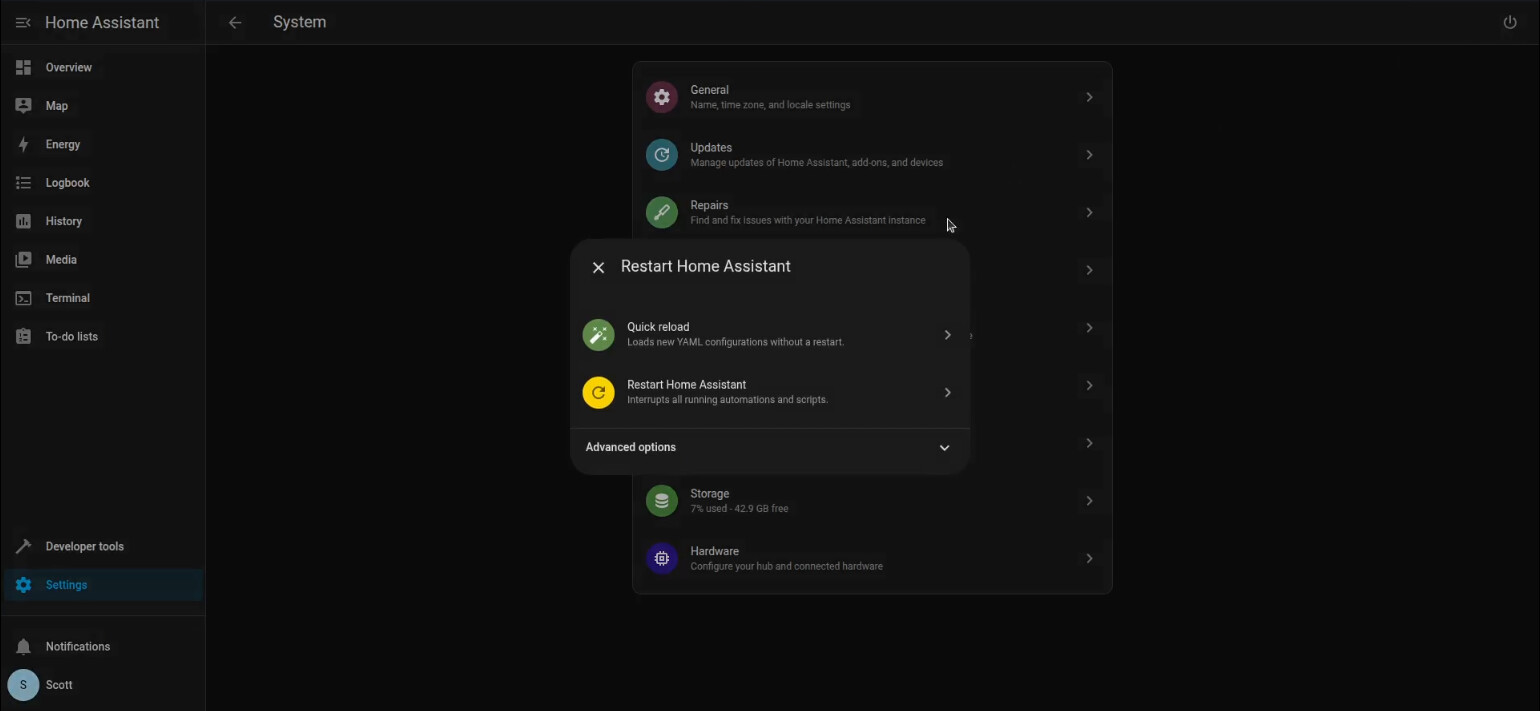
Restart Home Assistant by going over to “Settings” – “System” and then click the power button in the upper right and select “Restart Home Assistant”.
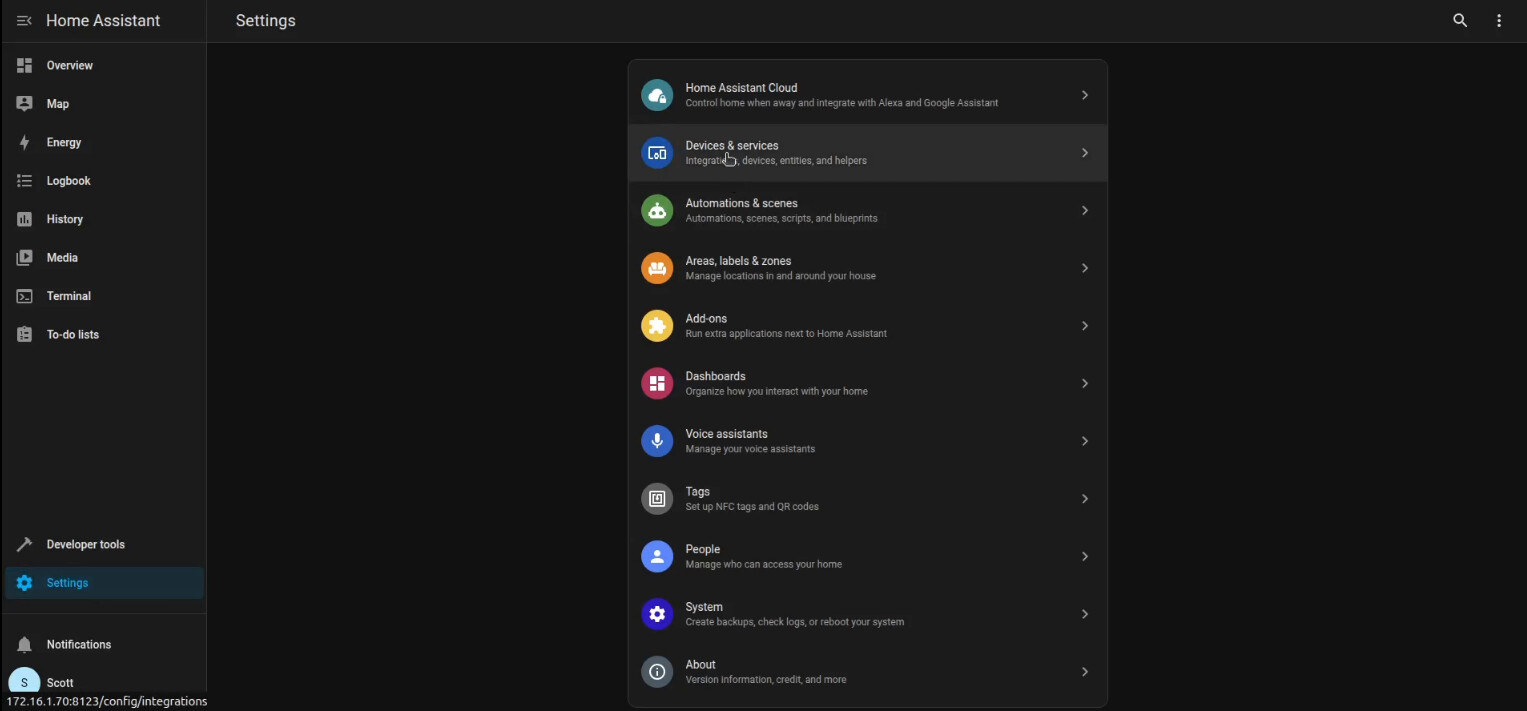
Once Home Assistant restarts, click “Settings” again to go to the settings menu. Then click “Devices & Services”.
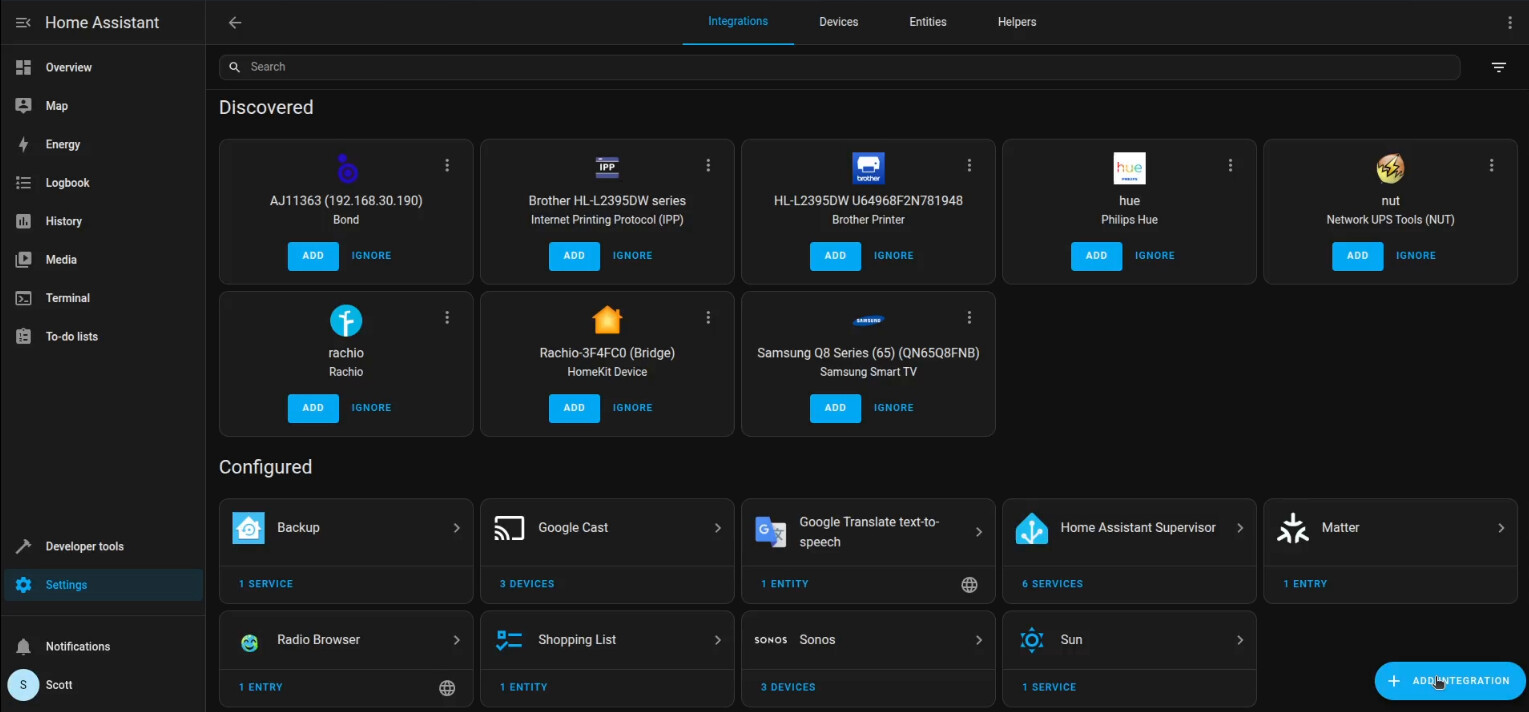
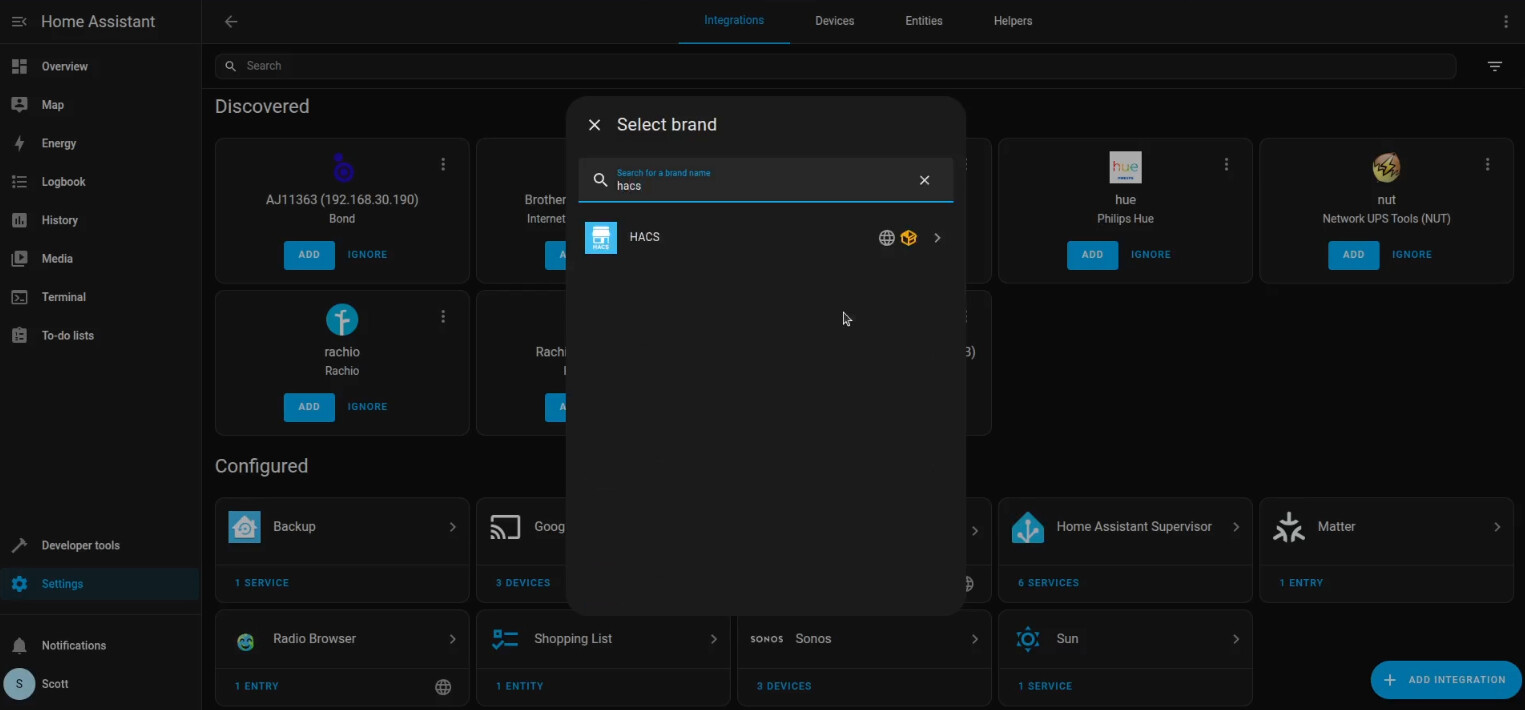
In Devices & Services, click on “+ ADD INTEGRATION”.
Type in HACS and select it.
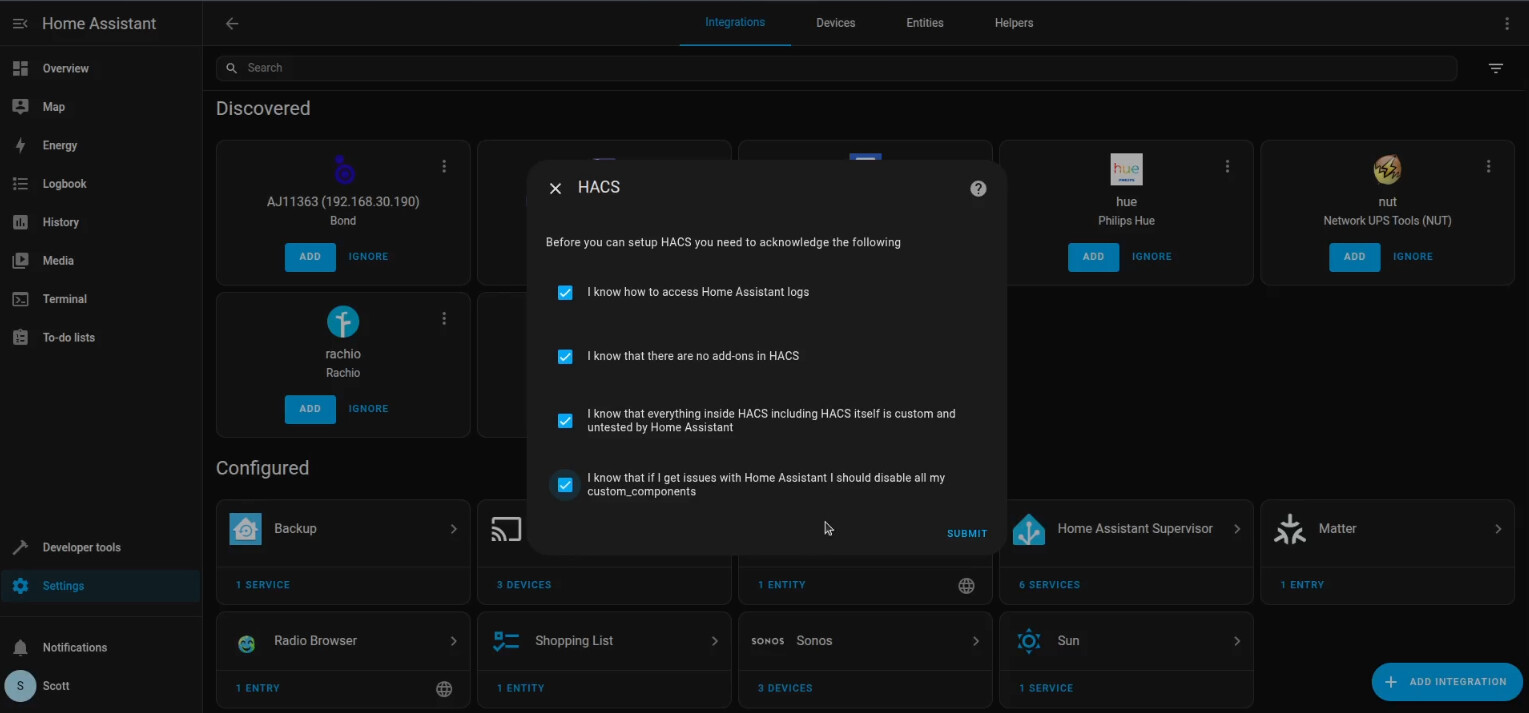
Accept all the HACS disclaimers and click “SUBMIT”.
HACS will provide an authorization code and a link to Github. I blanked the code out for security.

Open the Github link (yes, you need a Github account) and type in the code you were provided.
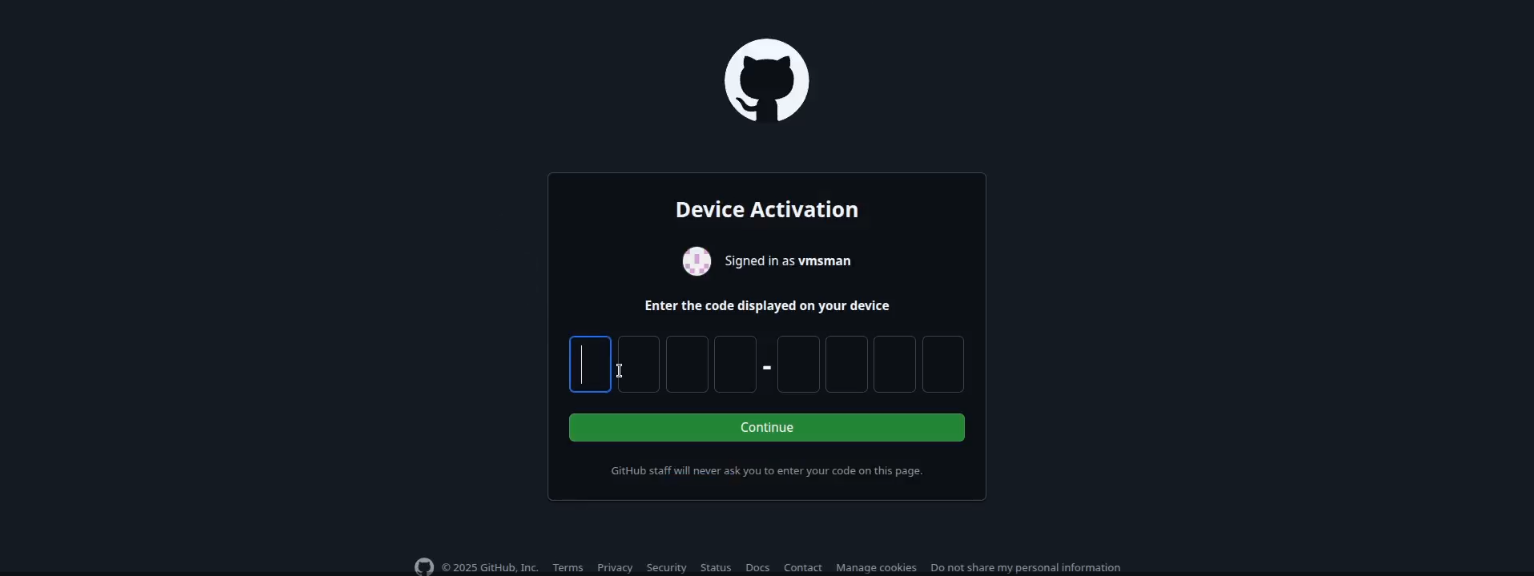
Finally, click “Continue” and you will get the authorization screen.
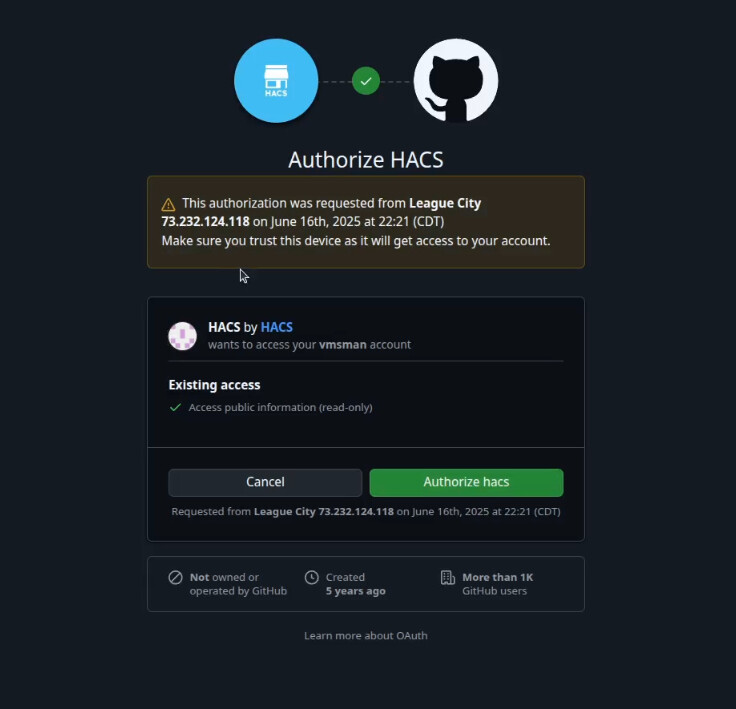
Now click “Authorize hacs” and you will see the following.
Back on your HA screen, HACS will indicate it has created the device.
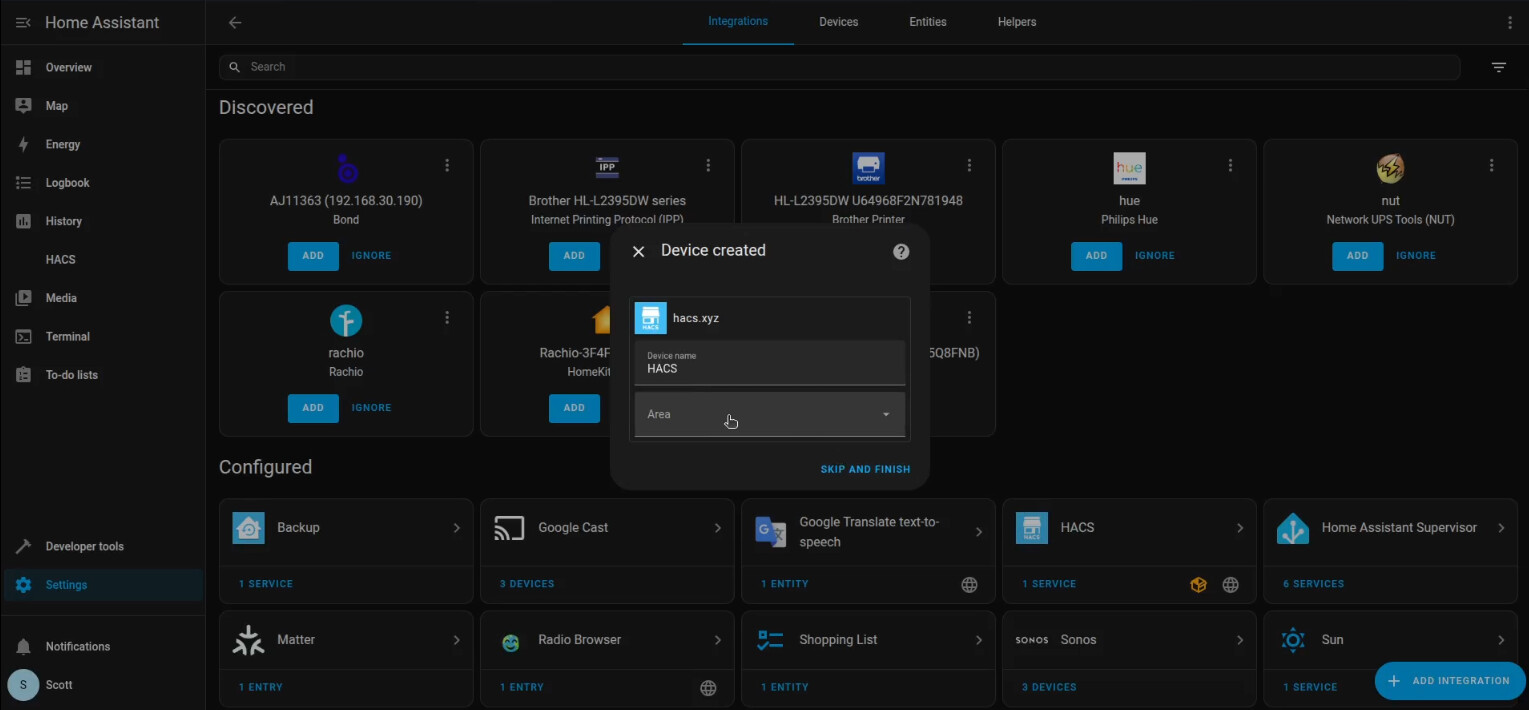
Now click “SKIP AND FINISH”.
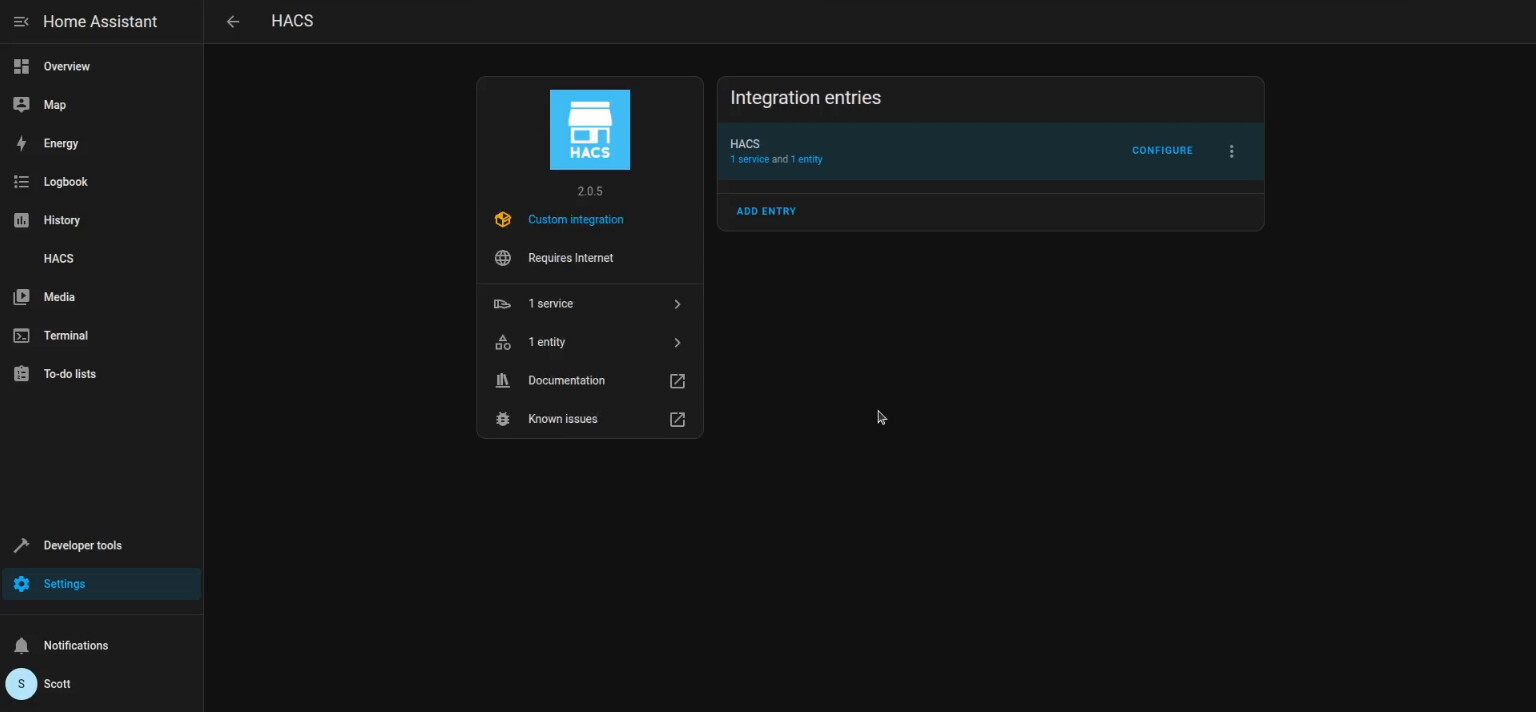
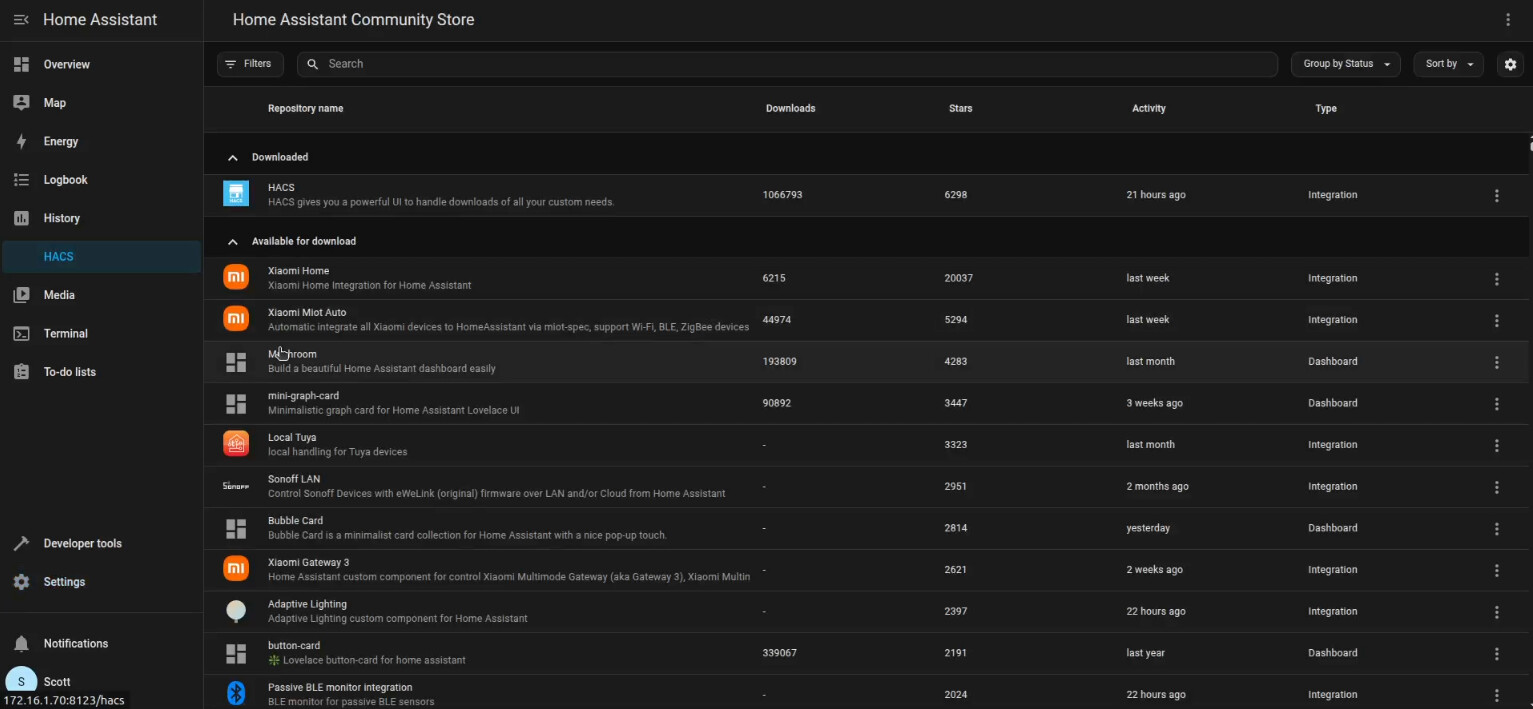
Now click on “HACS” in the left sidebar menu and you can see the many packages it offers.
Now go back to settings and “Add Ons” and click the Add-ON Store in the lower right.
In the search bar of the Add-on Store type “file”.
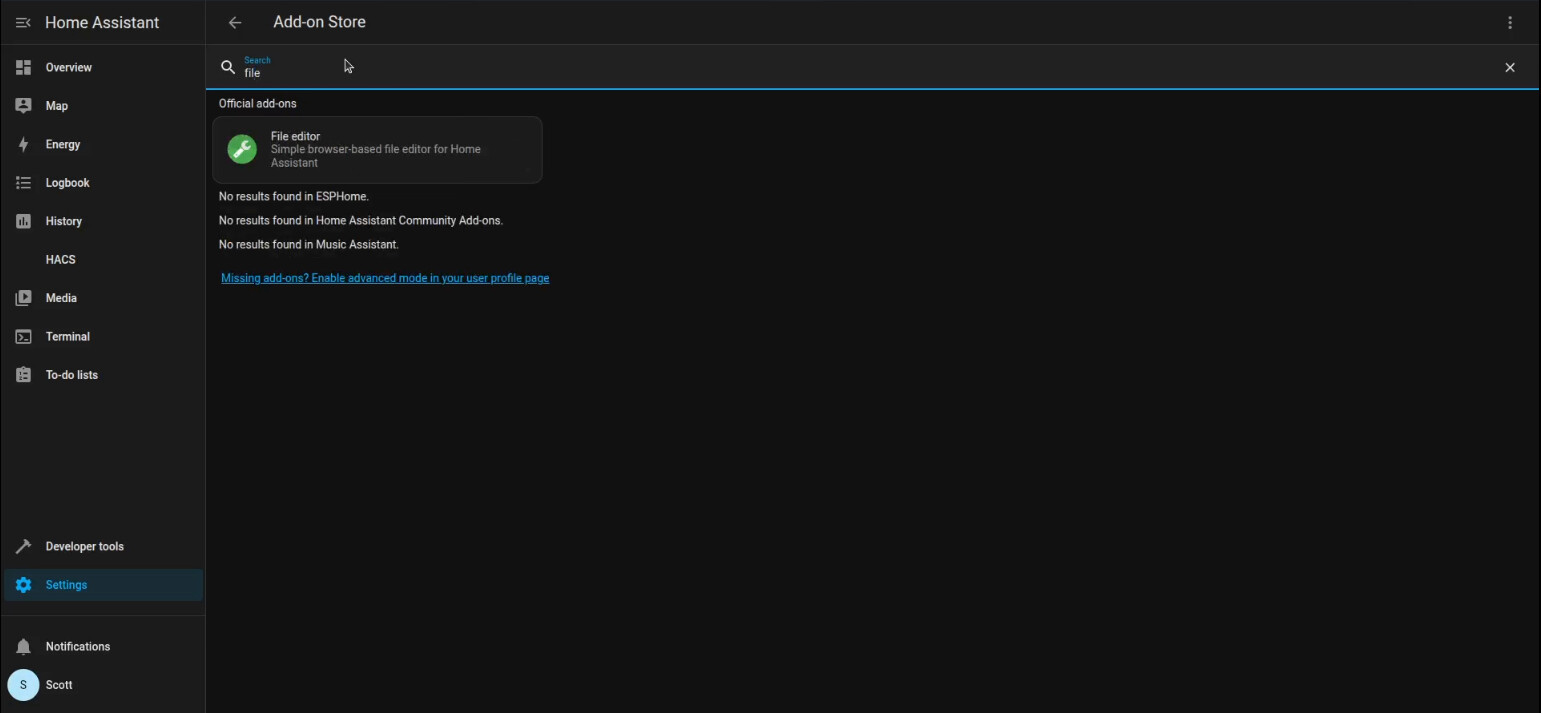
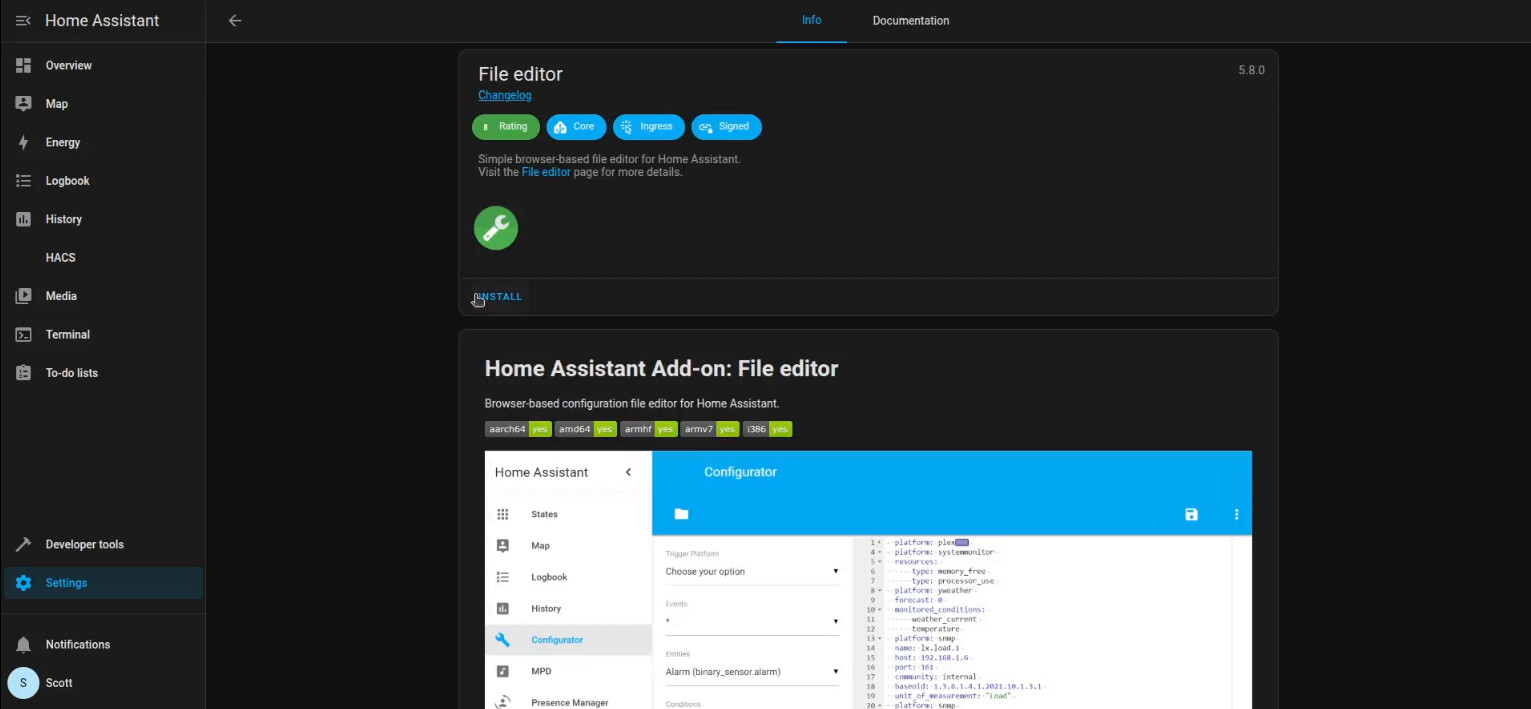
Click on “File Editor” and then click on “Install”.
Once it is installed, turn on Show in sidebar.
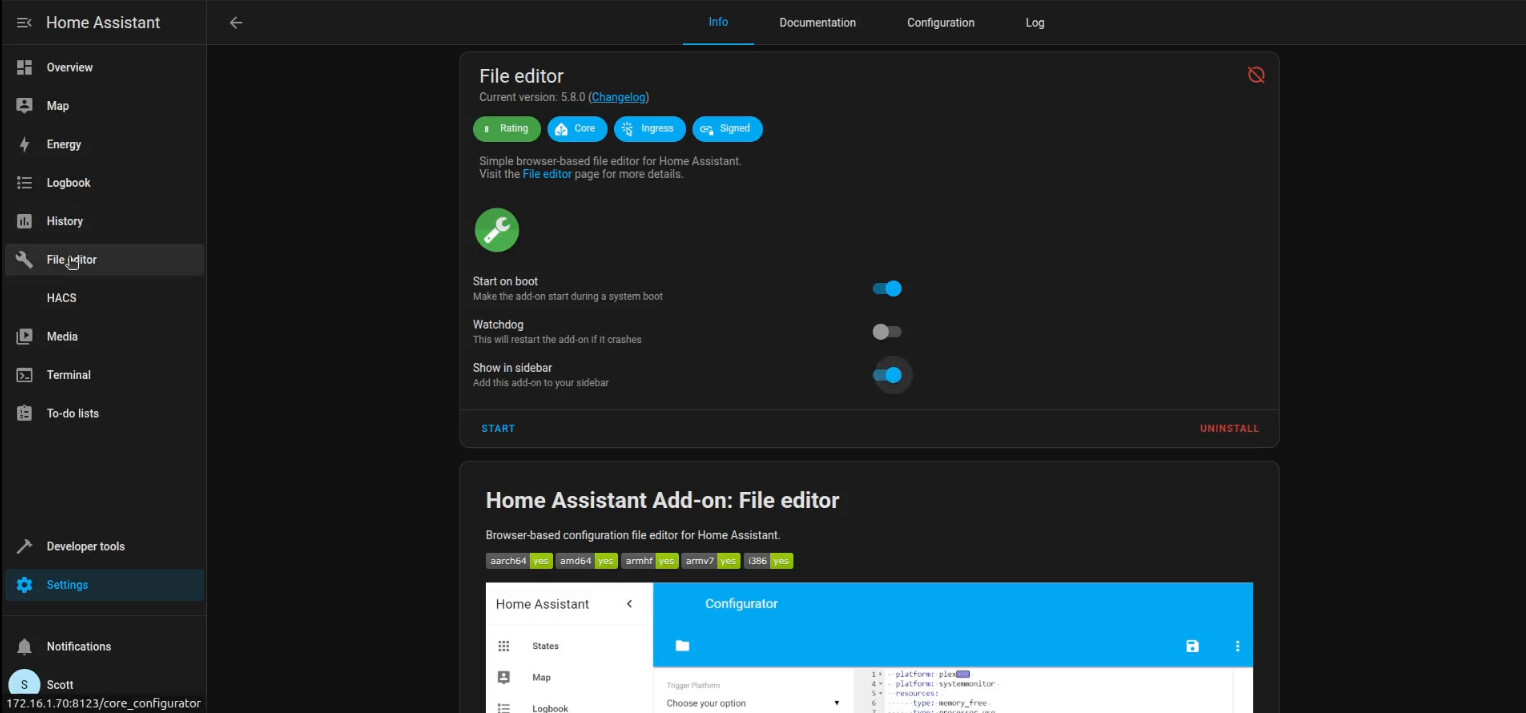
Click “File Editor” in the side bar and start it.
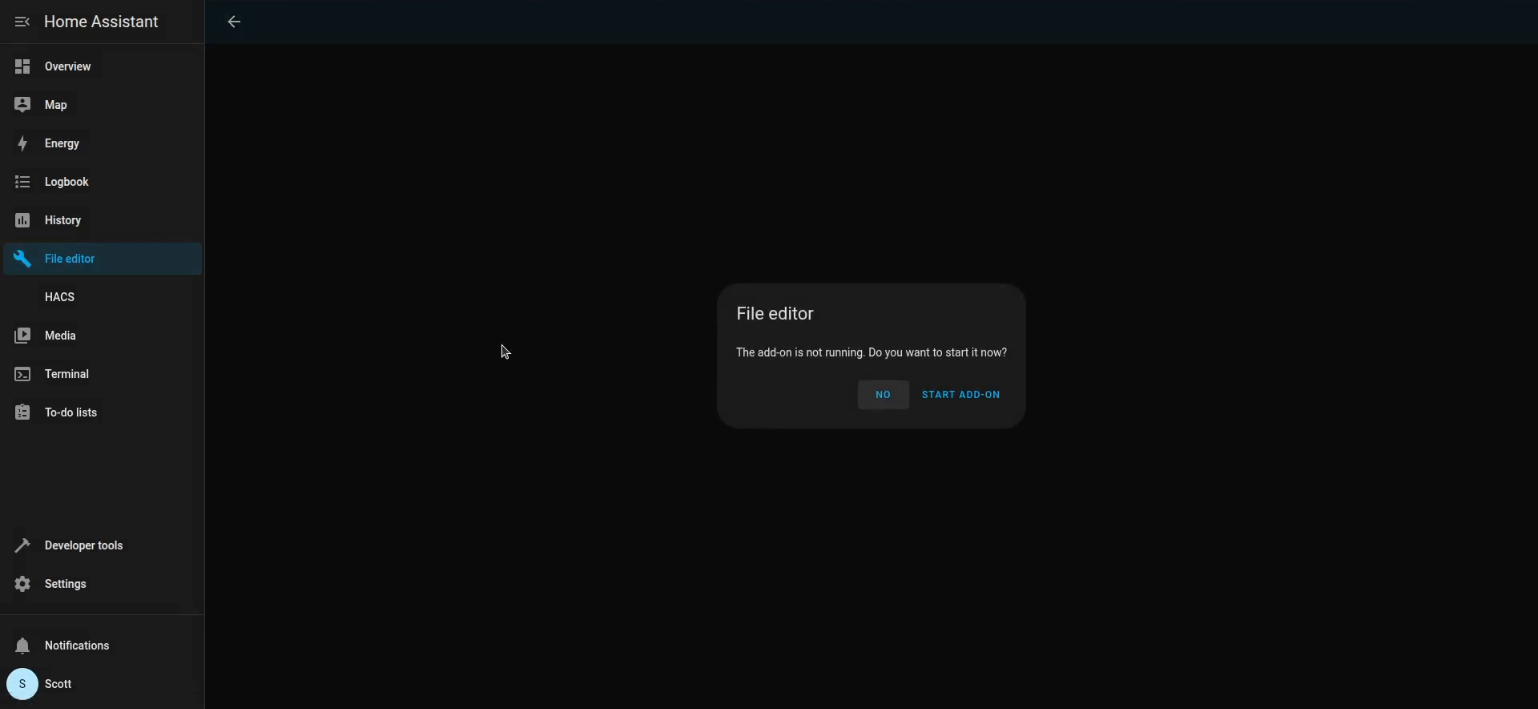
Once the file editor is running, click the folder in the upper left.
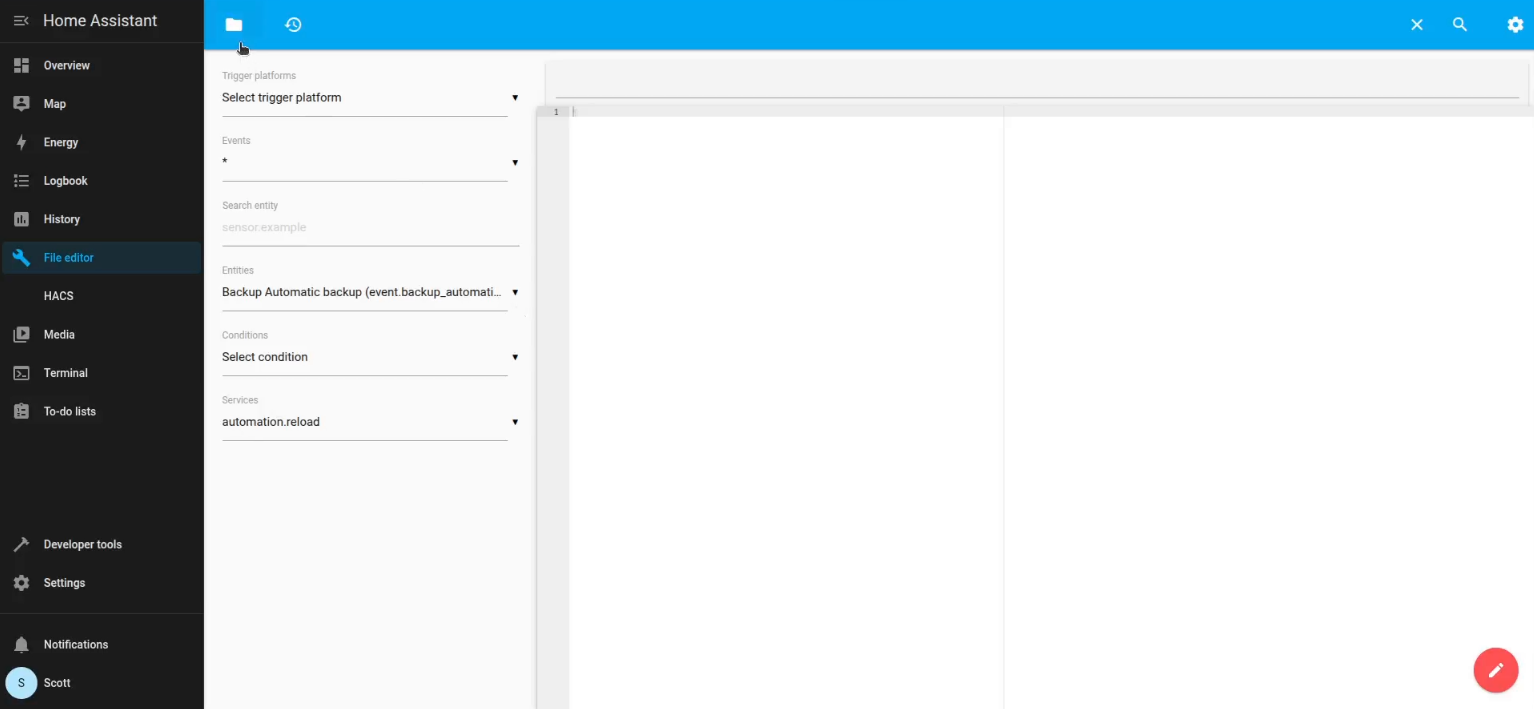
Click on the configuration.yaml file to edit it. Did you know that “yaml” stands for “yet another markup language”?

This is kinda the master file for configuring HA.
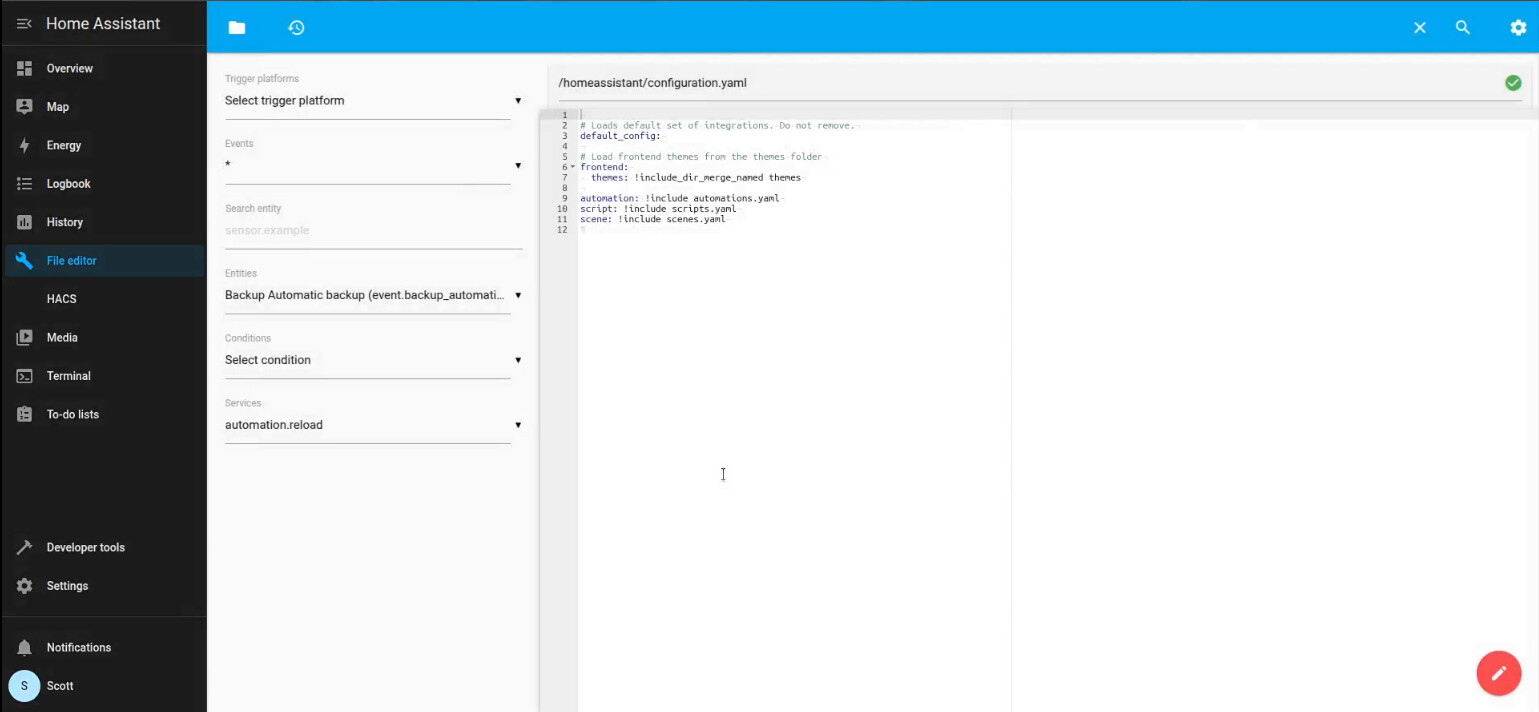
If you configure your HA with a subdomain name and a record in NginX Proxy Manager (NPM), you need to add a code segment into this file with the address of your NPM.
http:
  use_x_forwarded_for: true
  trusted_proxies:
    - 1.2.3.4
For example, in my case:
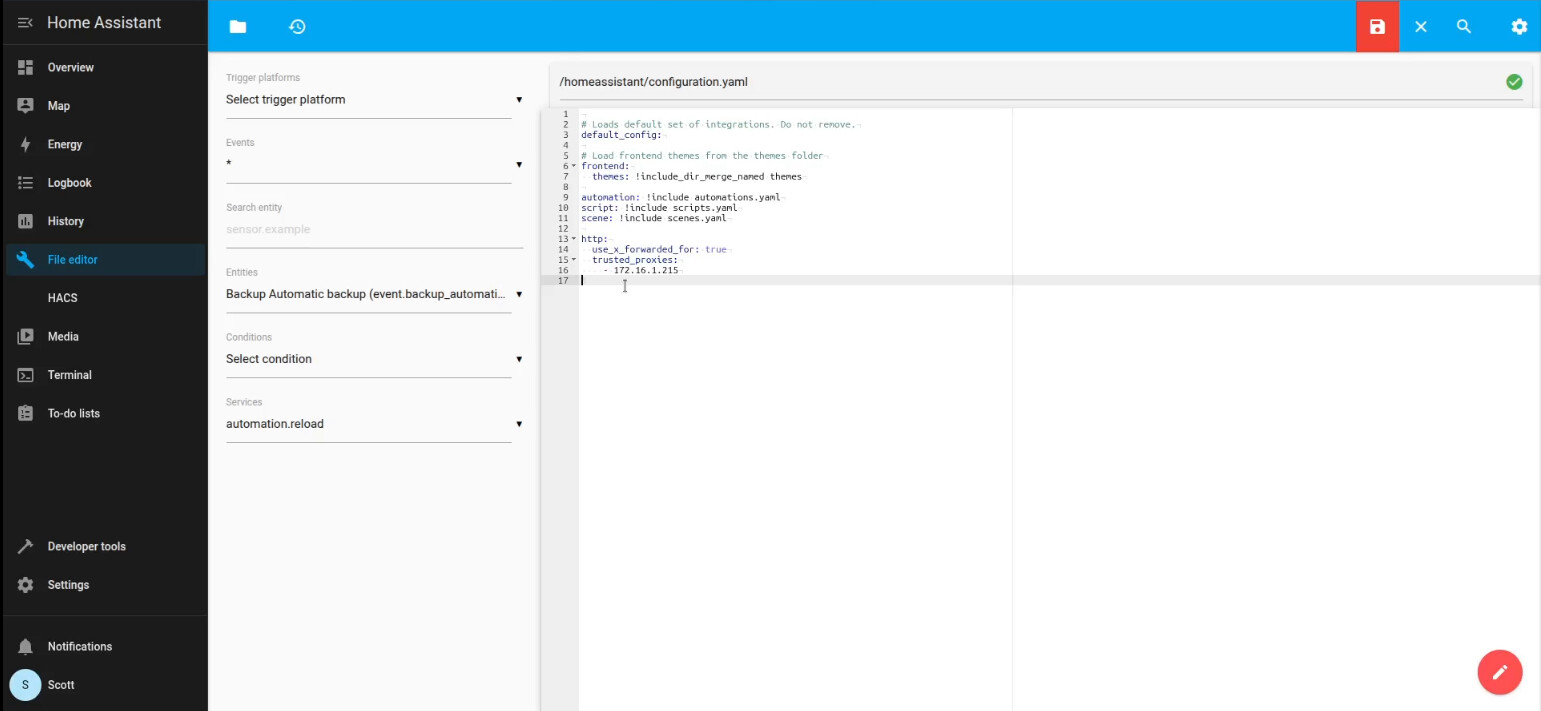
To save a file after editing, simply click the red disk icon at the top right.
This is by no means meant to be a complete guide to HA because there are many who have done that far better than I could. I believe that by having HACS, the terminal, and the file editor, that this gives you an excellent start to learning HA.
The goal we achieved is having a stable, reliable and supported HA-OS instance that we have implemented in an Incus Virtual Machine.