Google Domain as a service is going away and users are being migrated to Squarespace. Unfortunately, Squarespace lacks a DDNS solution to have your domain name follow your dynamic WAN address which so many self-hosted home labs require. In this tutorial, I take you step by step in moving from Google Domains to Cloudflare and how to use the Cloudflare API to have your domain name follow your dynamic WAN address.
Most of this video applies to moving from any DNS Provider to Cloudflare and Cloudflare has a lot of compelling great features.
To start with, navigate to Cloudflare in your web browser and select the “sign up” option.
https://www.cloudflare.com/
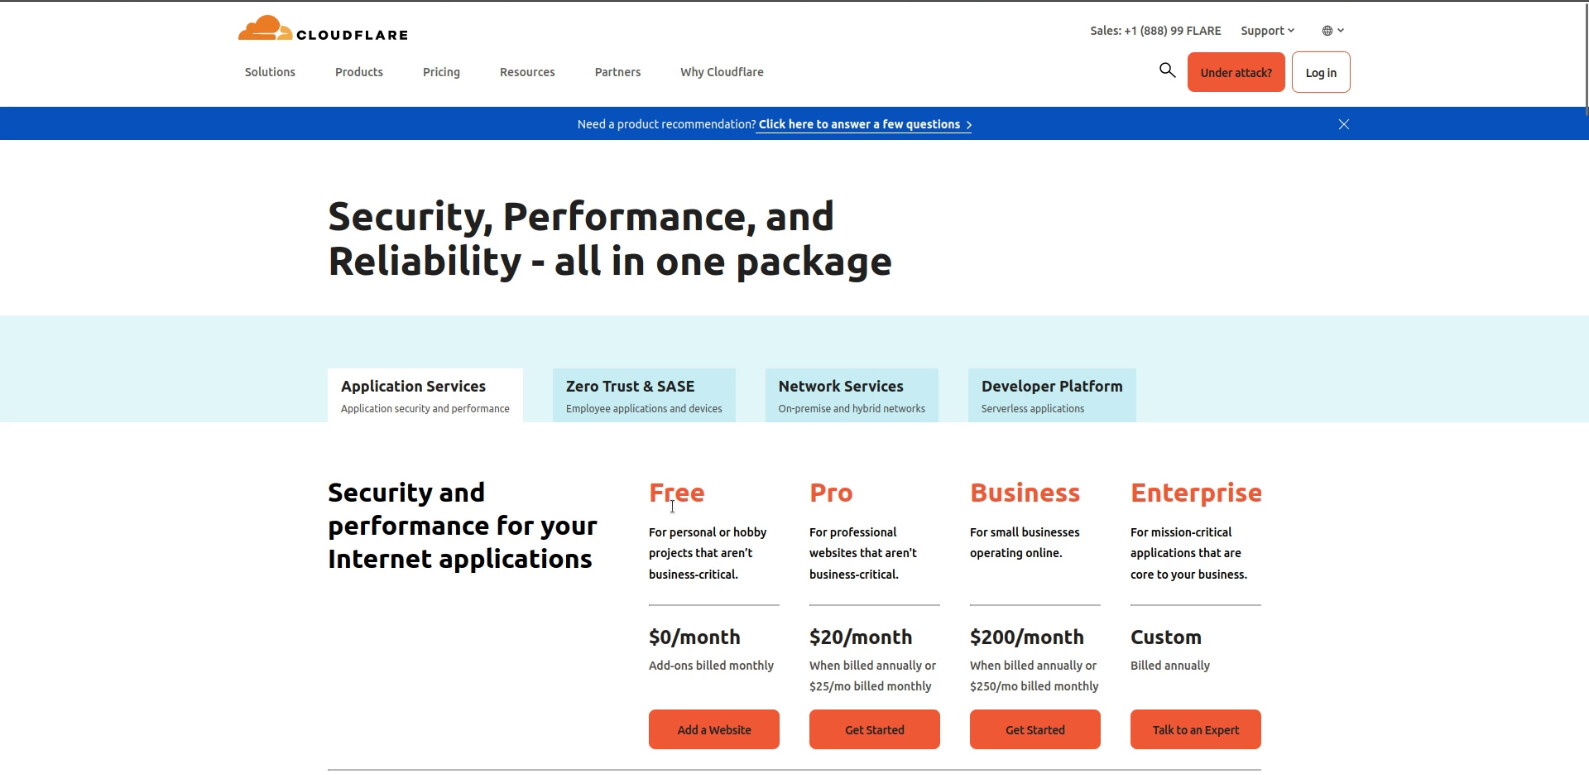
Choose the “Free” plan which is best for those who self-host by clicking “add a website”:
At the next screen, provide an email address and a password for your account.
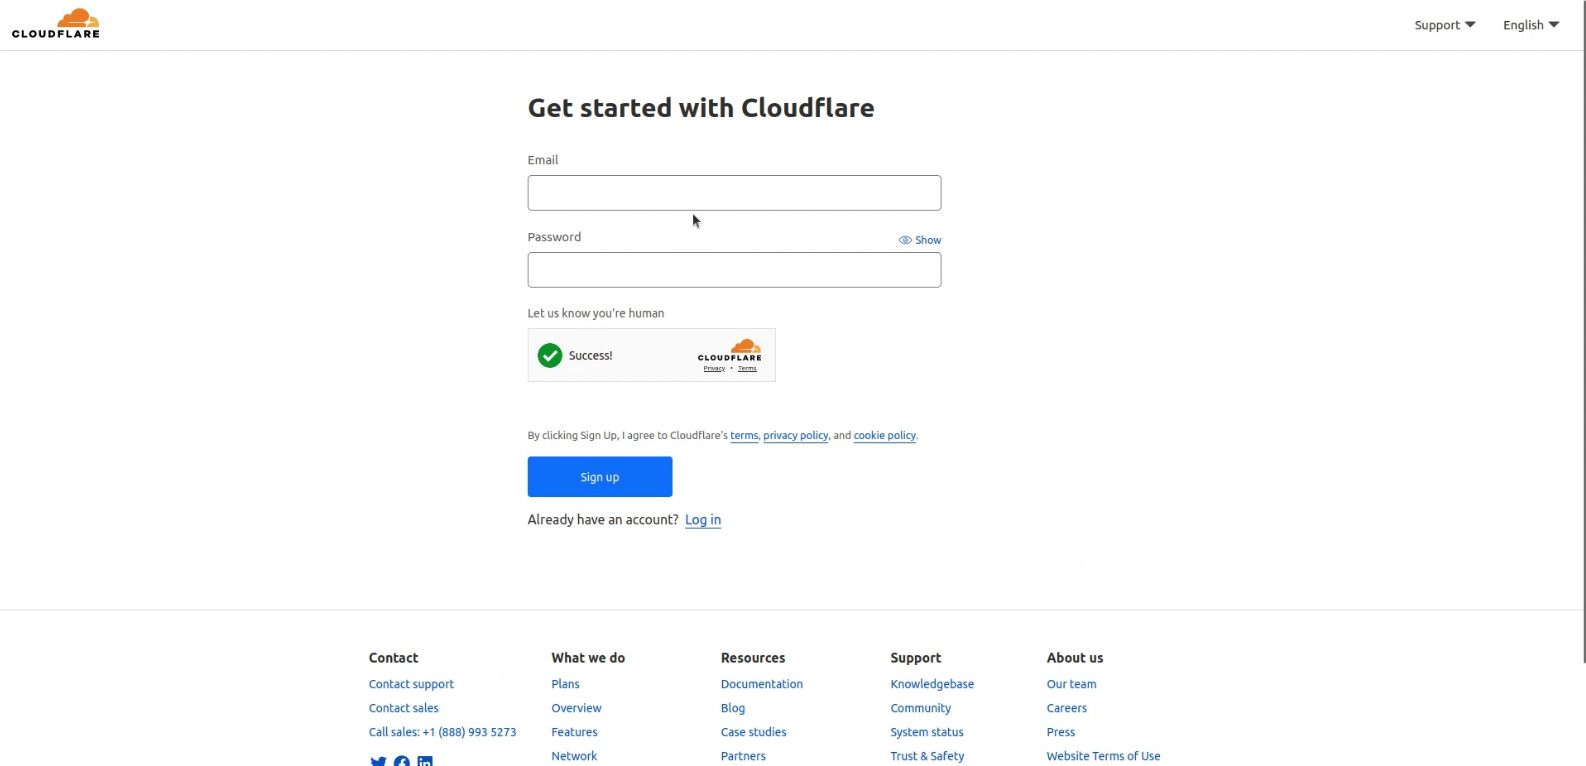
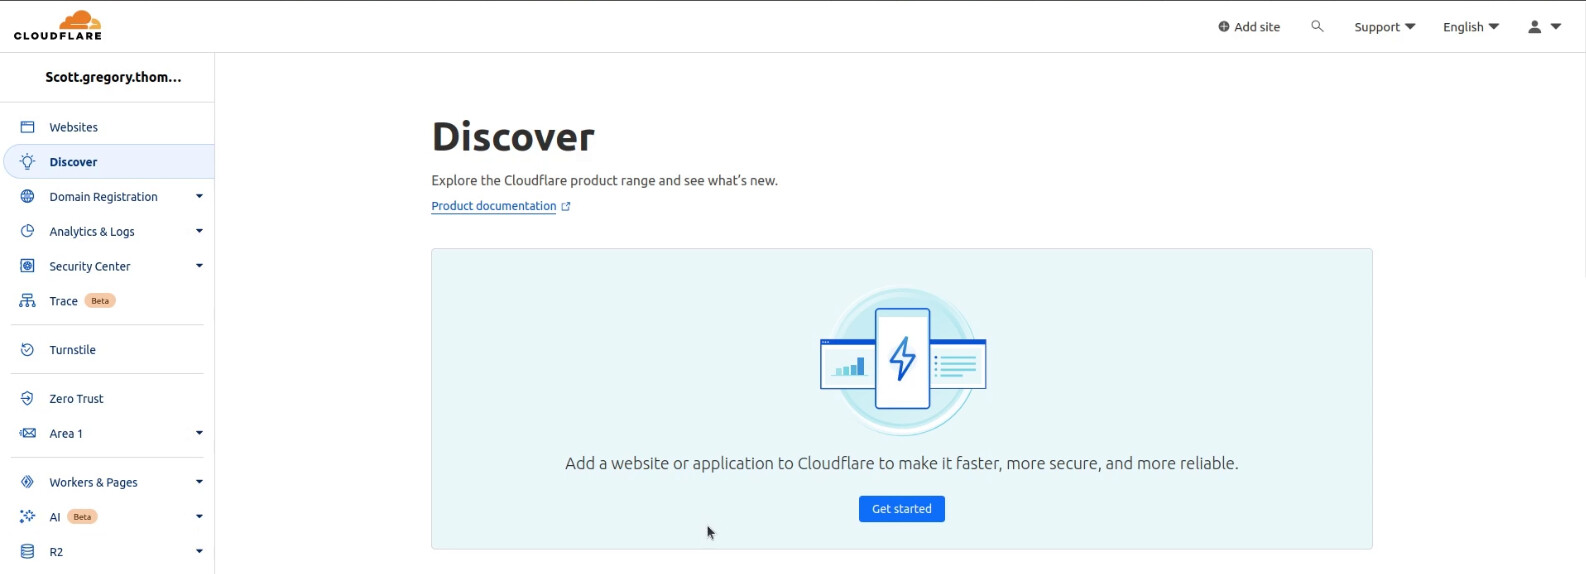
You will then be signed in and you will get the screen below:
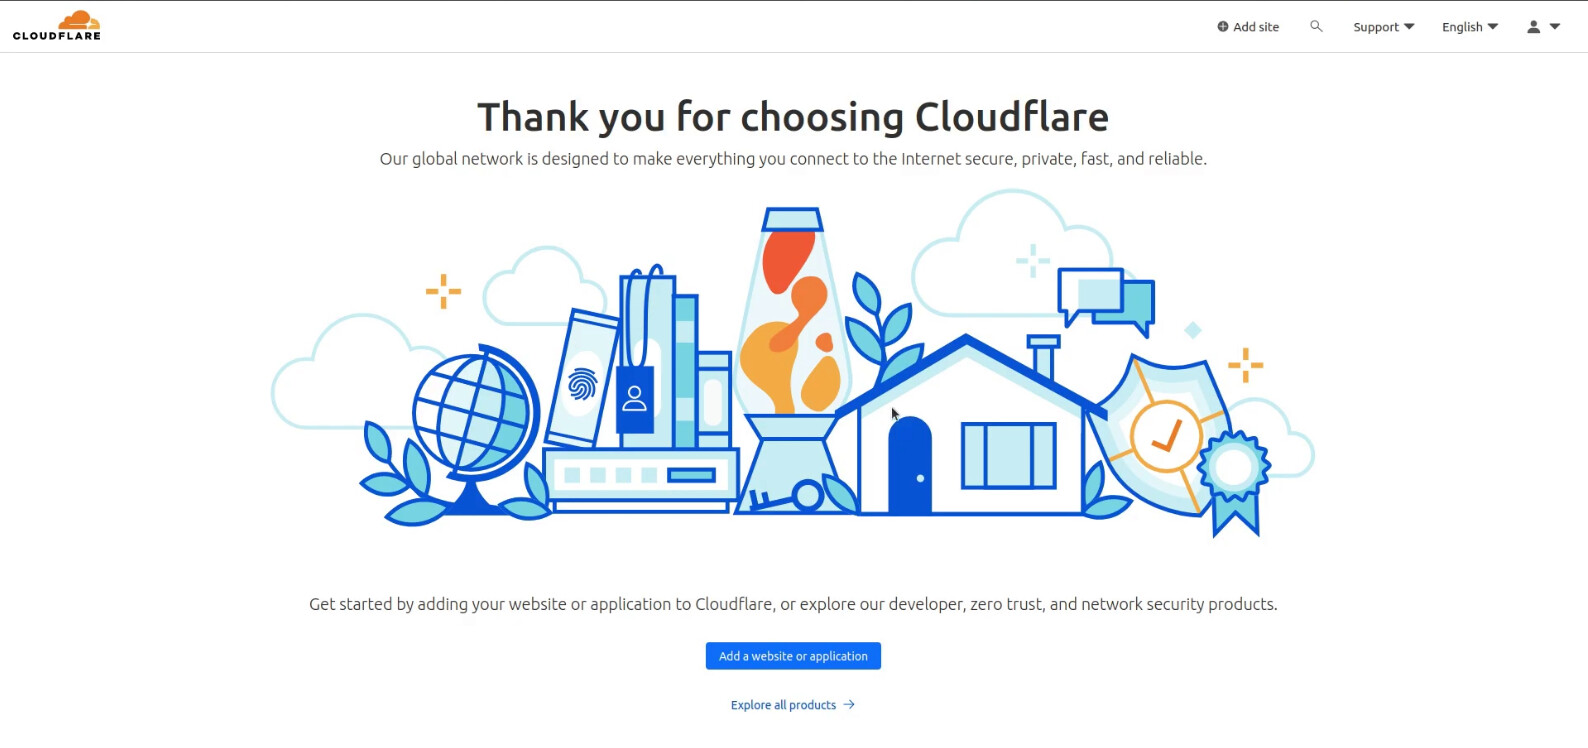
Click on “Explore all Products” and then click “Get started” on the screen below.
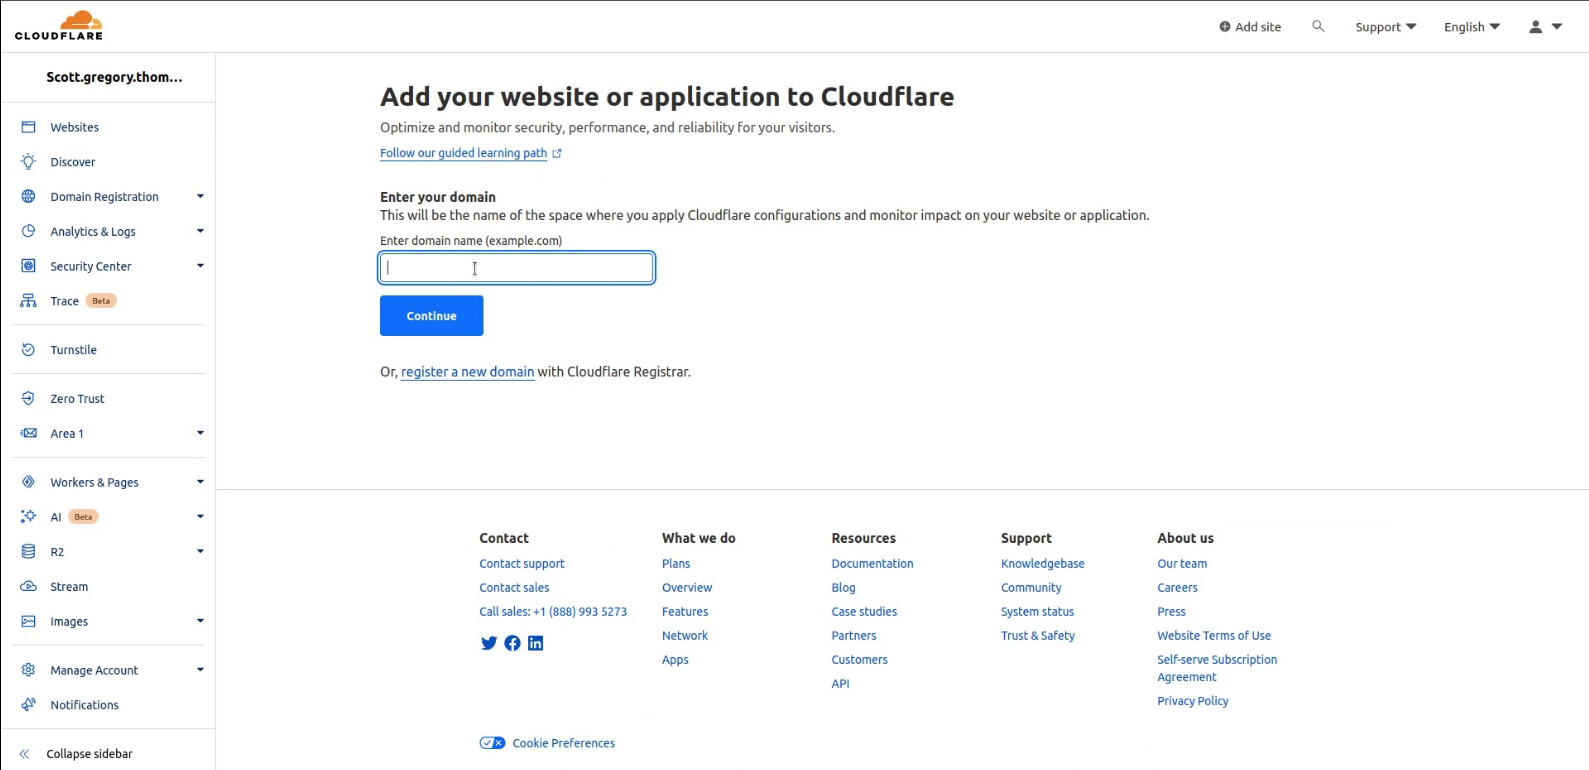
Enter the domain name that you have hosted on Google or another domain provider on the screen below:
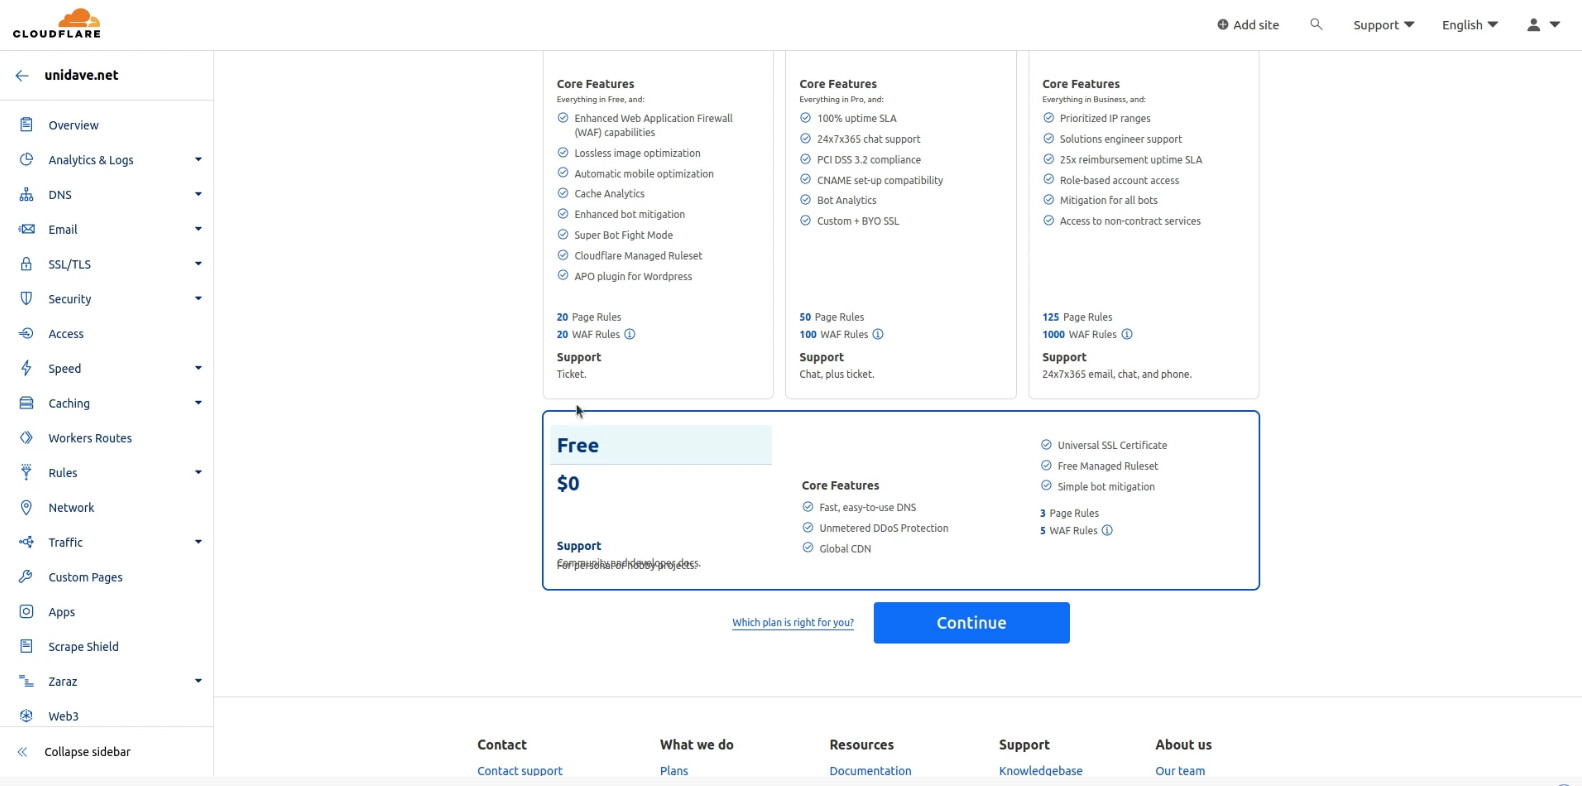
On the screen below scroll down to the bottom and choose the “Free” option plan as shown in the following screenshot.
The next screen below comes up and optionally lets you import DNS records which we do not need to do.
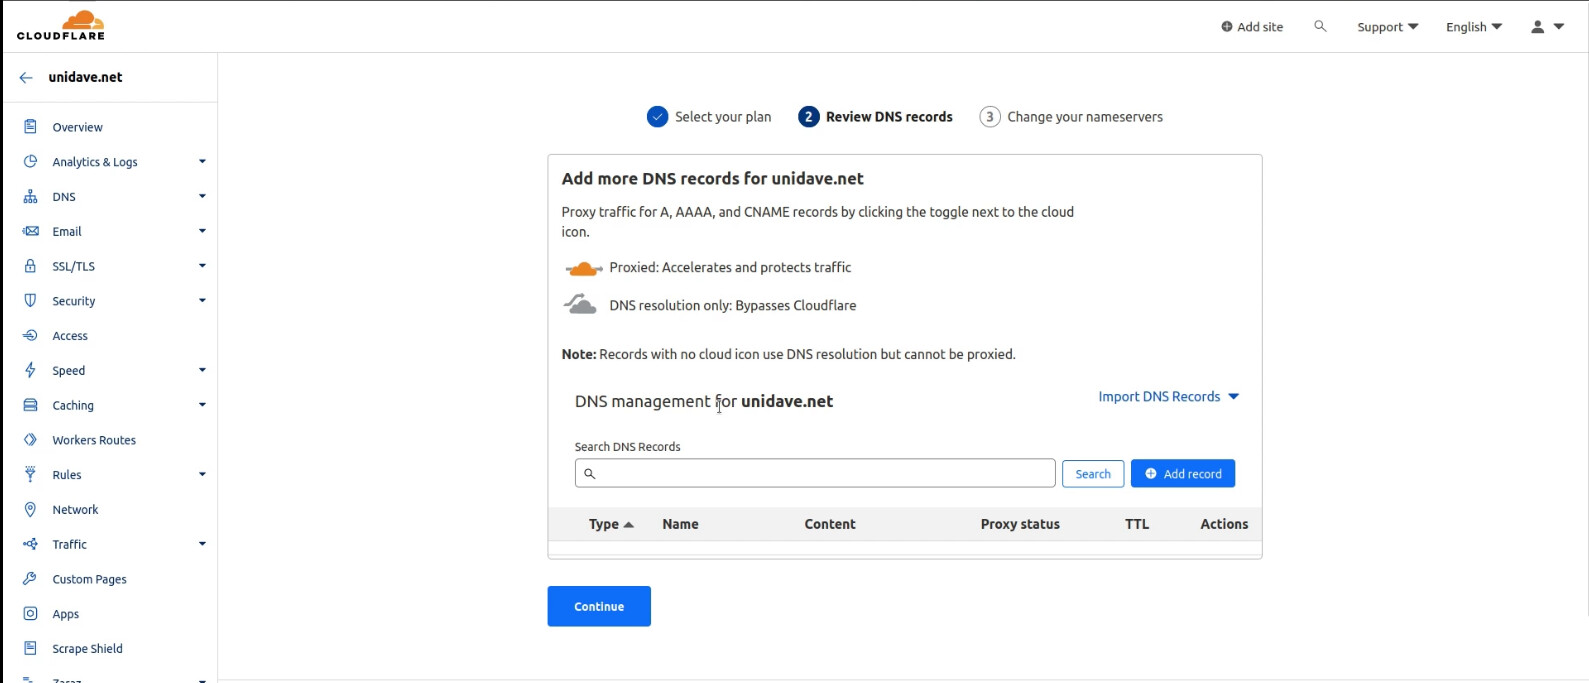
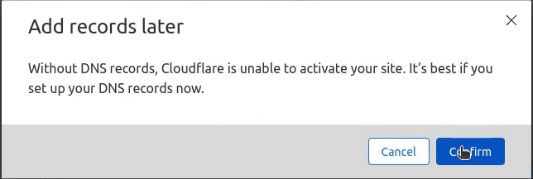
Click continue and confirm that you want to add DNS records later.
The next screen says that your domain is not on Cloudflare yet and that you have to update the nameservers at your current registrar. So, the purpose of this is that it is possible to use many Cloudflare services for free even if you have another DNS provider.
In our case with Google Domains/Squarespace we need to set these DNS records up because it is a requirement before our domain can be moved to Cloudflare.
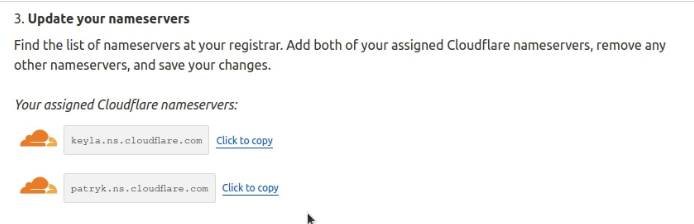
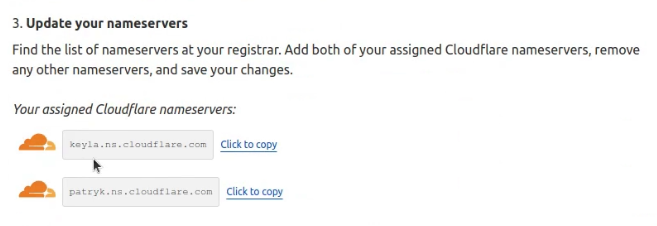
Note in the following screenshot that Cloudflare assigns you two Cloudflare nameservers that you need to add to your Google Domains.
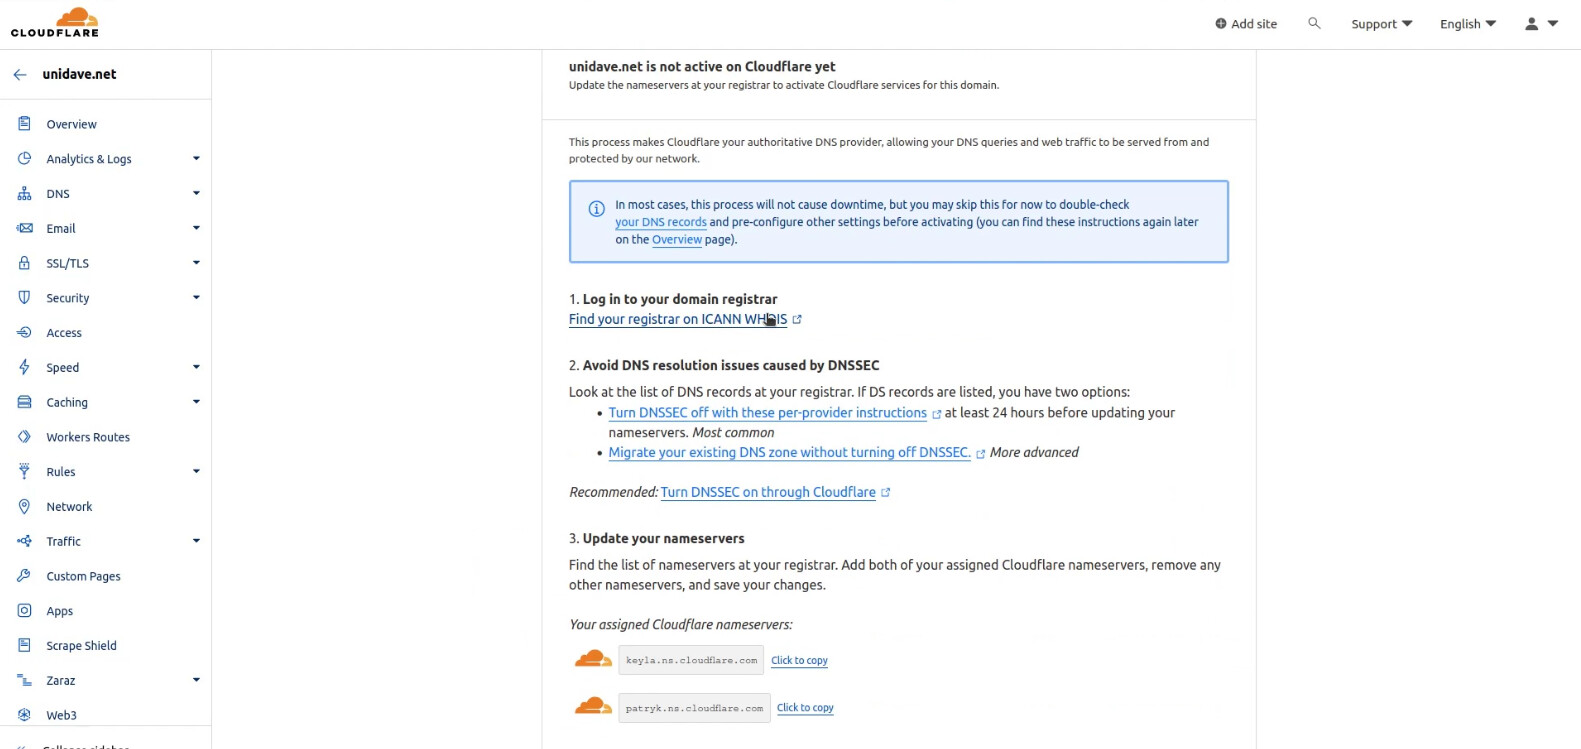
So, you will want to copy these nameserver addresses (yours may differ):
Let’s take a detour and set up Two-Factor Autentication on your Cloudflare account because I believe that security is of utmost importance on your DNS Provider. I use a Yubico USB hardware key which provides increased security over a time based one time password (TOTP) that many people opt for.
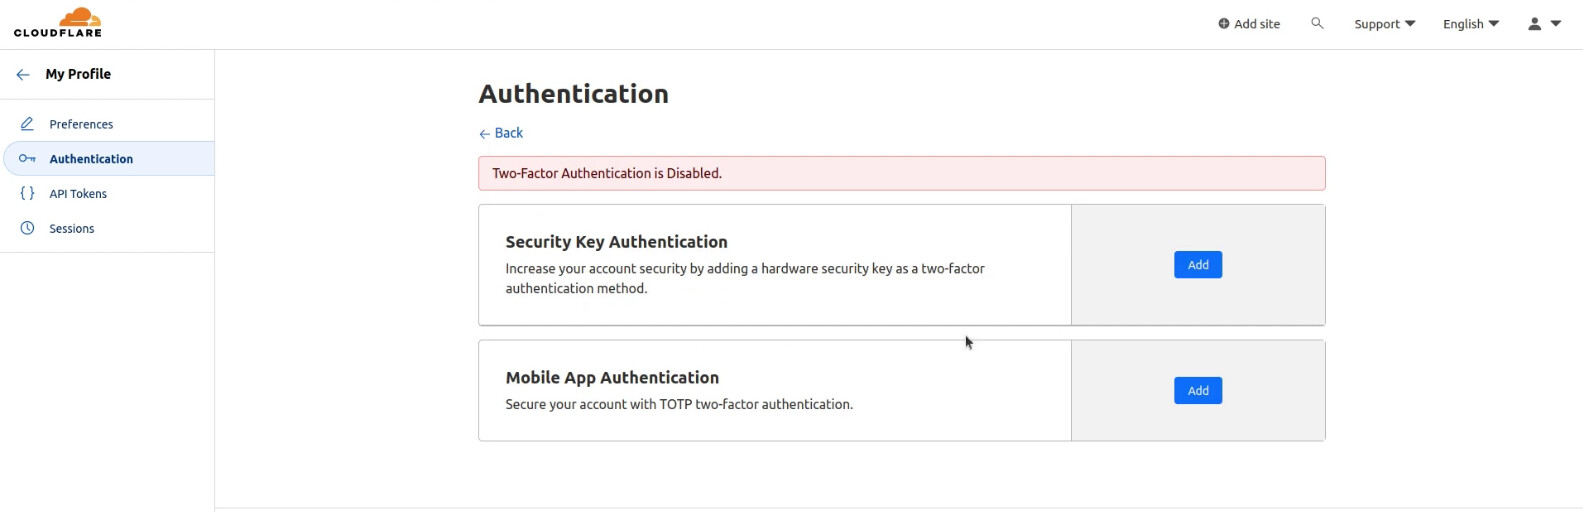
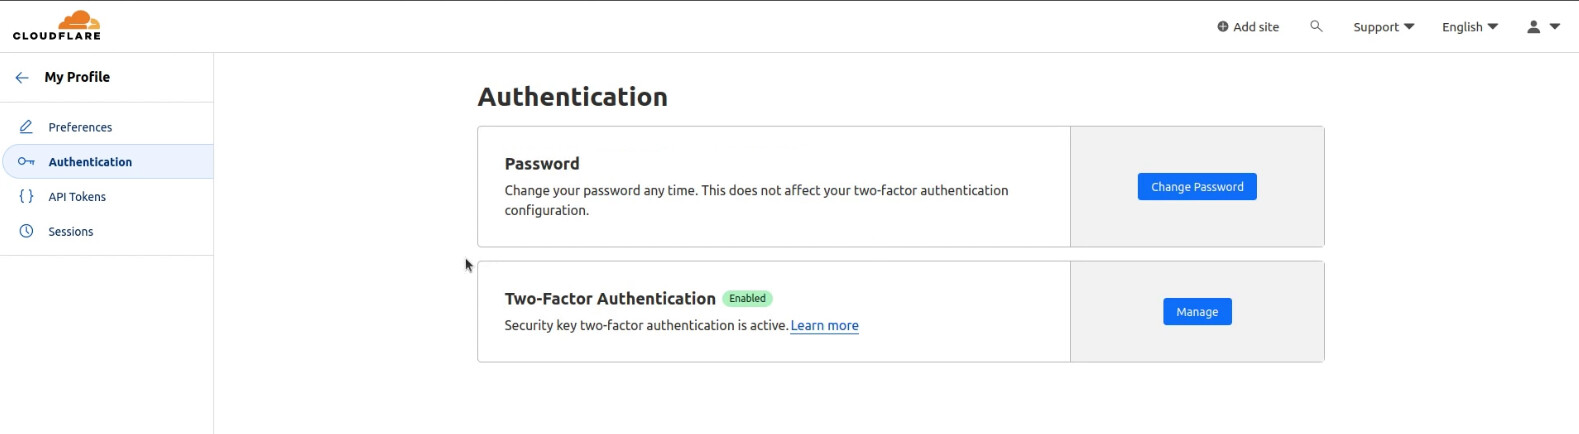
Go to the upper right-hand corner of your CloudFlare screen and select “My Profile” and choose "Authentication from the left menu and you will see the screen below.
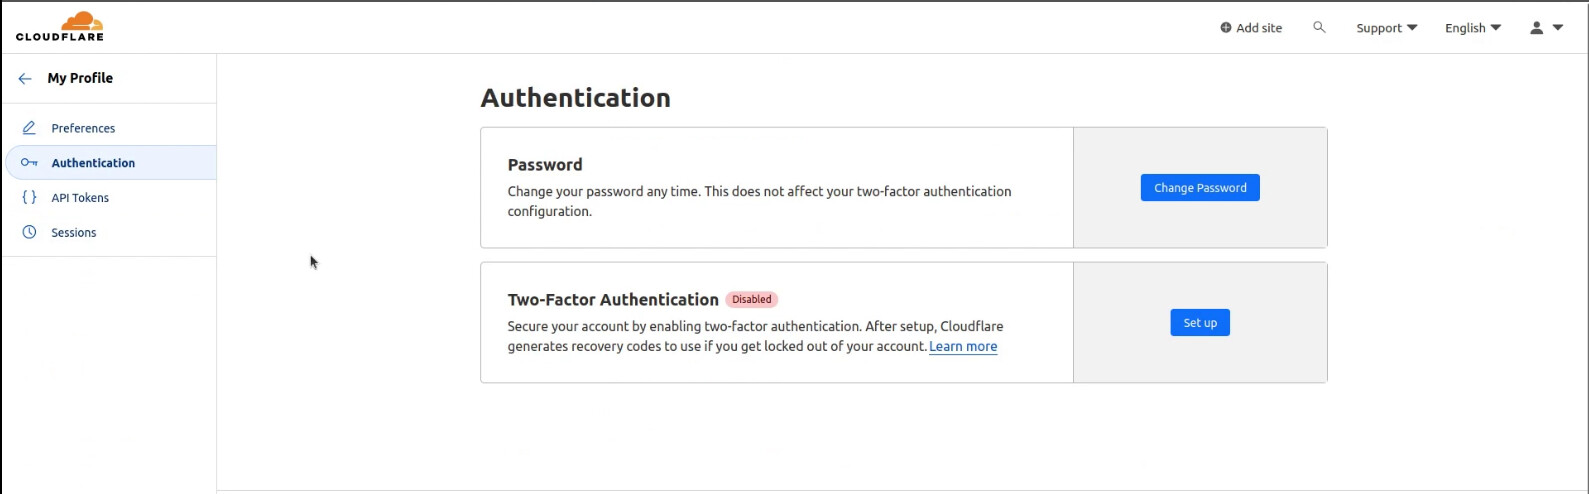
Setup two factor authentication.
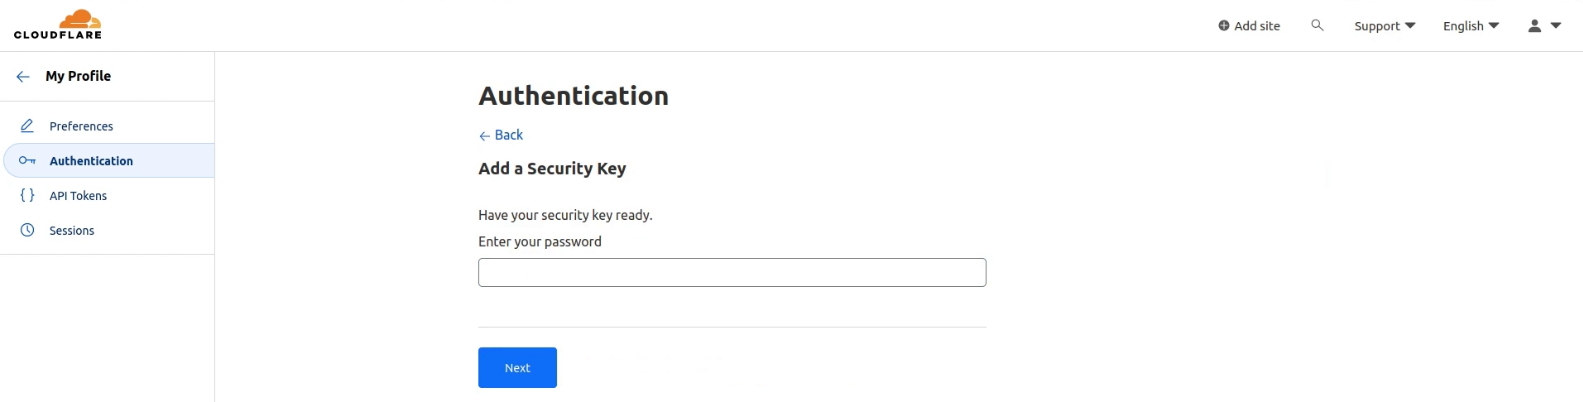
When adding a security key, you will be prompted again for your Cloudflare password.
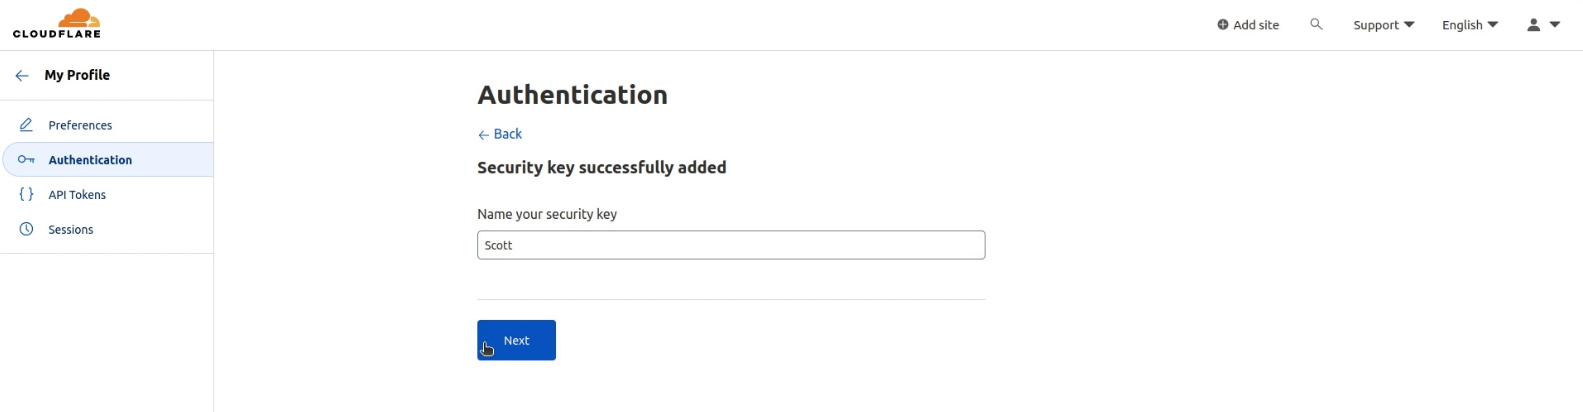
Once you authenticate with your security key, you are asked to name the key just for your own understanding.
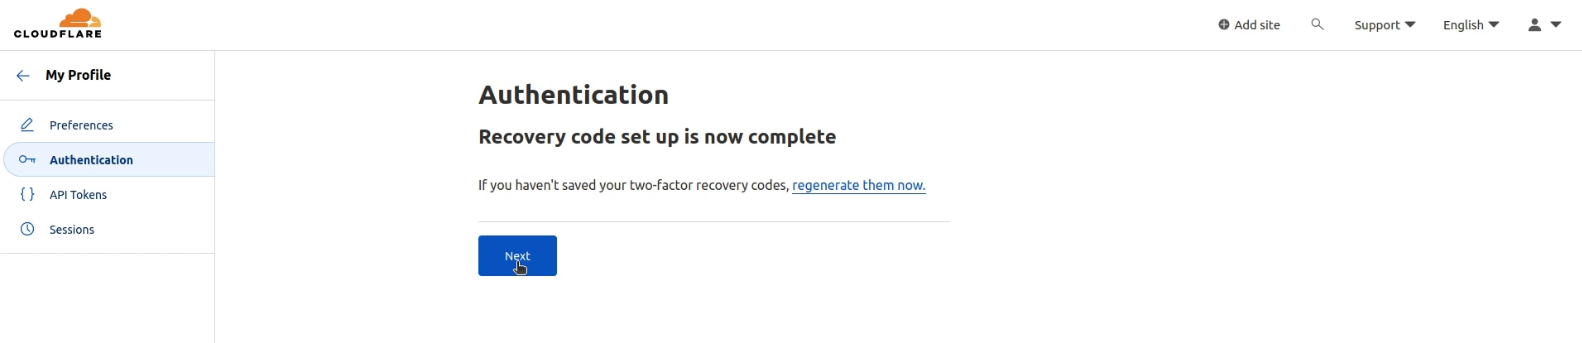
You will be given recovery codes which you need to save and you will be prompted for your password once more and then your 2FA setup is complete.
Security is important. Don’ t skip the above steps.
Your 2FA now shows as enabled.
Now we want to add the Cloudflare nameservers to your Google Domains account. To do this, copy the nameservers from Cloudflare we mentioned earlier.
Now open another tab in your web browser to Google Domains:
https://domains.google.com/
When you login to Google Domains, go to manage your domain, then DNS and then "Custom Name Servers. My example follows. Your Cloudflare nameservers may differ. Once you enter the nameservers, click on SAVE.
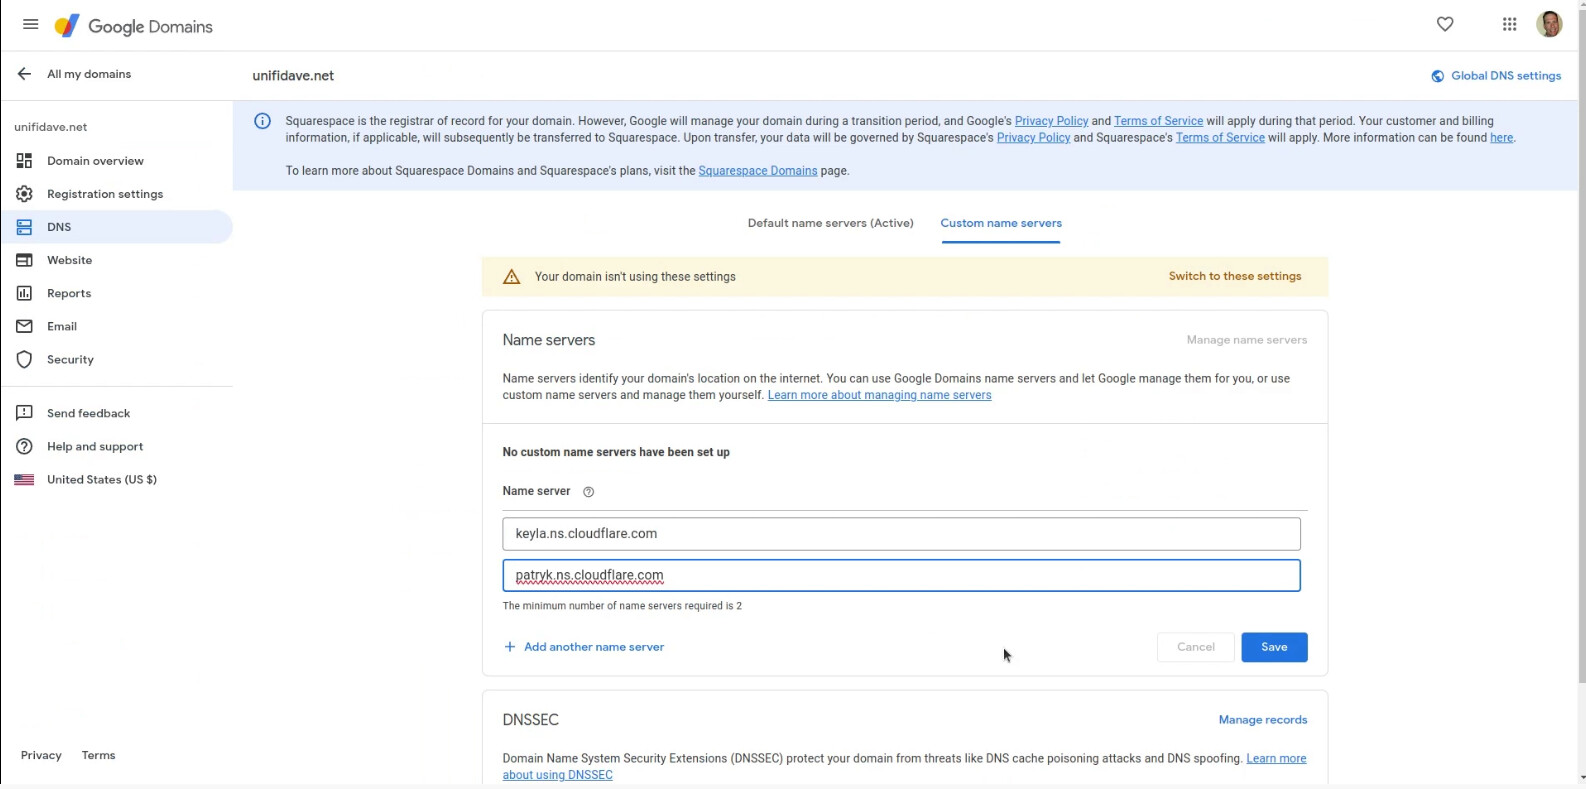
To activate these new settings, you must Click on “Switch to these settings”.

Now, when you go back to your Cloudflare Home page for your site it will say that it is pending a nameserver update. In my experience, this took 5-10 minutes.
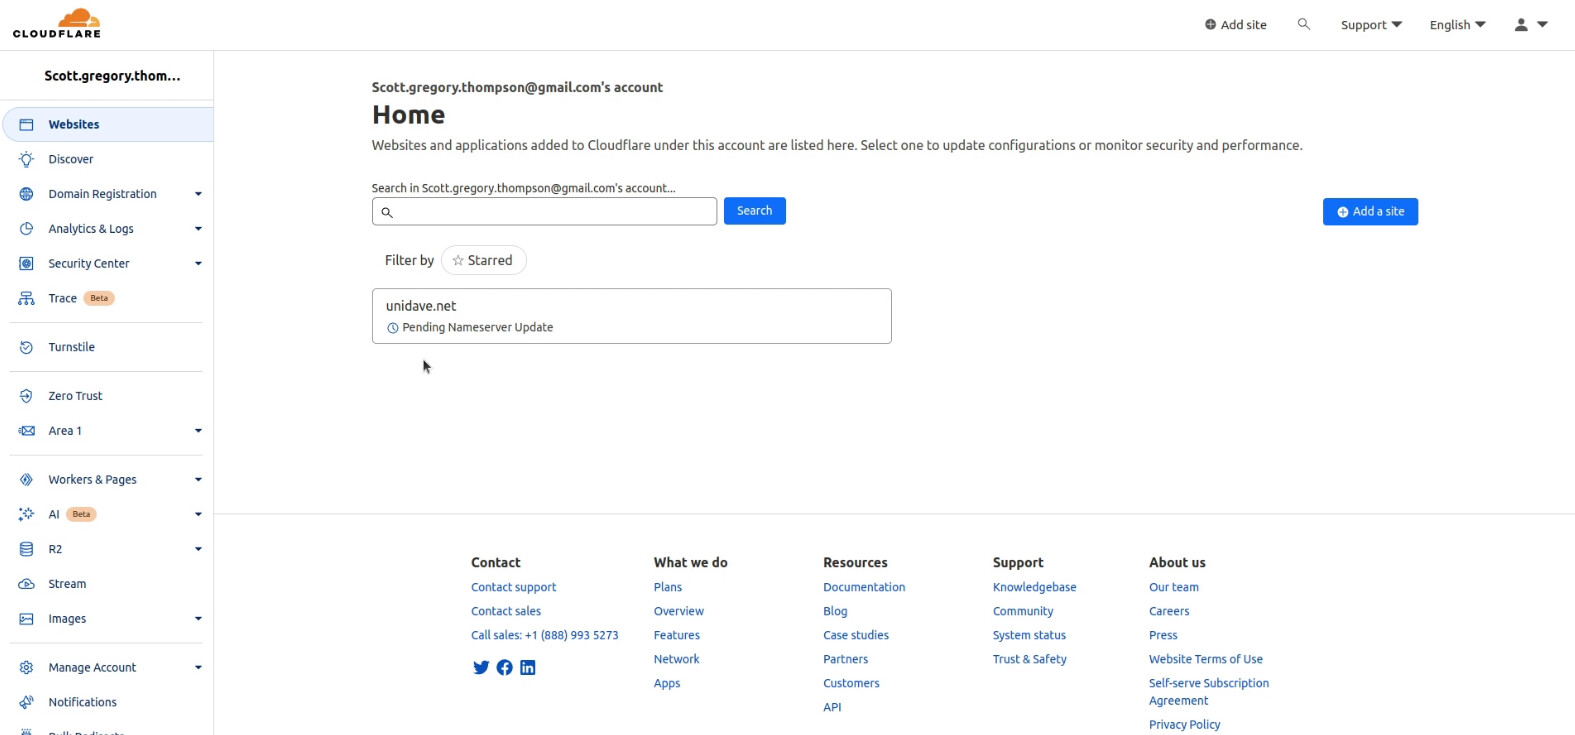
This must complete before we can transfer our domain.
Once the new nameservers are in effect, the screen will look as follows.
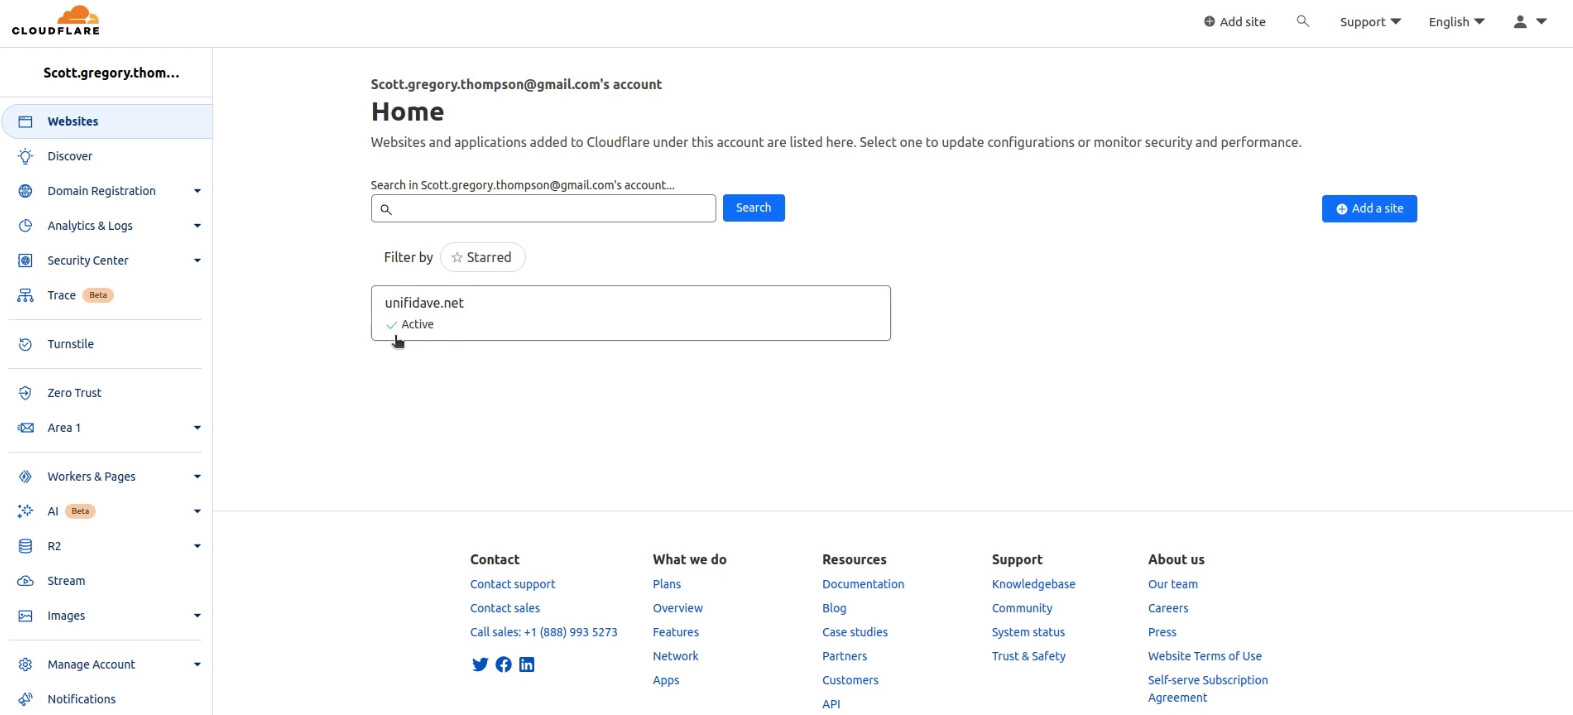
When you click on your domain, it will say that Cloudflare is now protecting your site, but the domain is still hosted at Google Domains.

Now, we can go back to the top level of the menu you you will see the Domain Registration option.
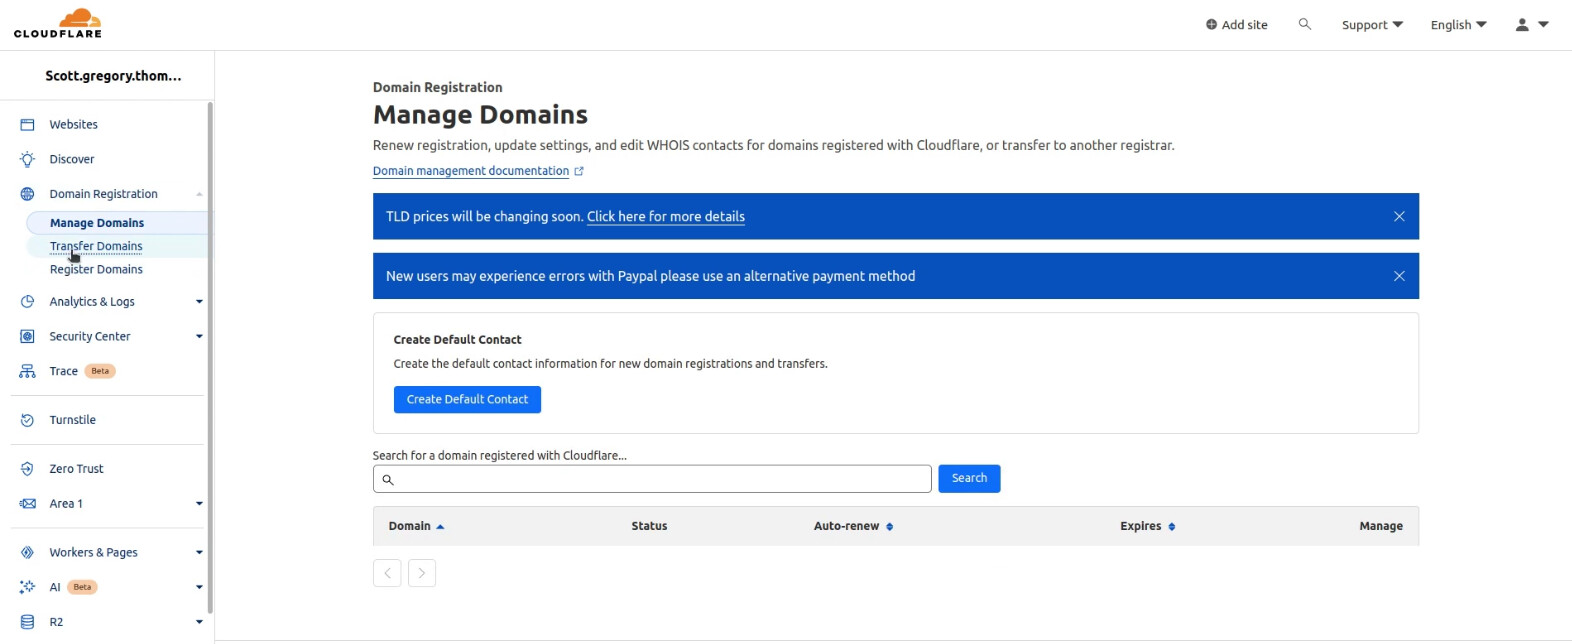
Click “Transfer Domains” and you will see a screen like befow.
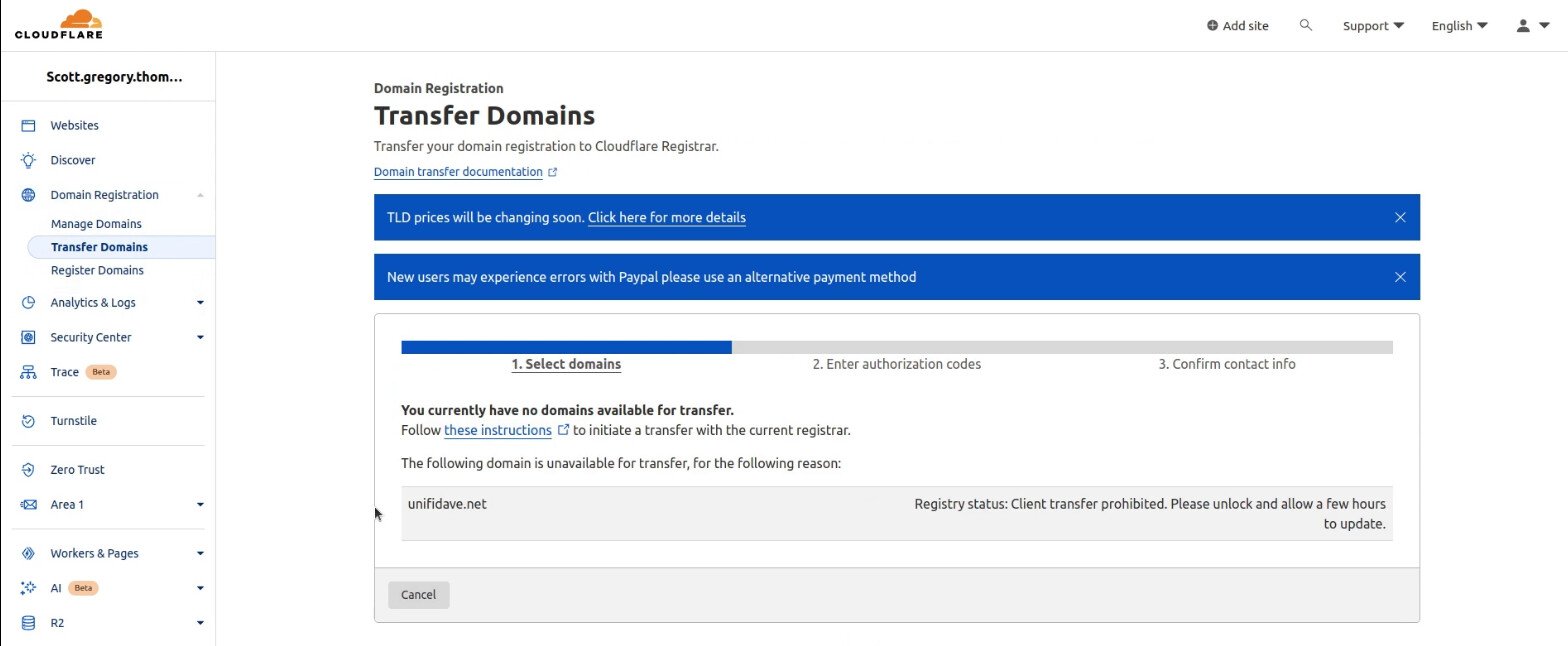
Notice the Registry status indicating that we need to unlock the domain.
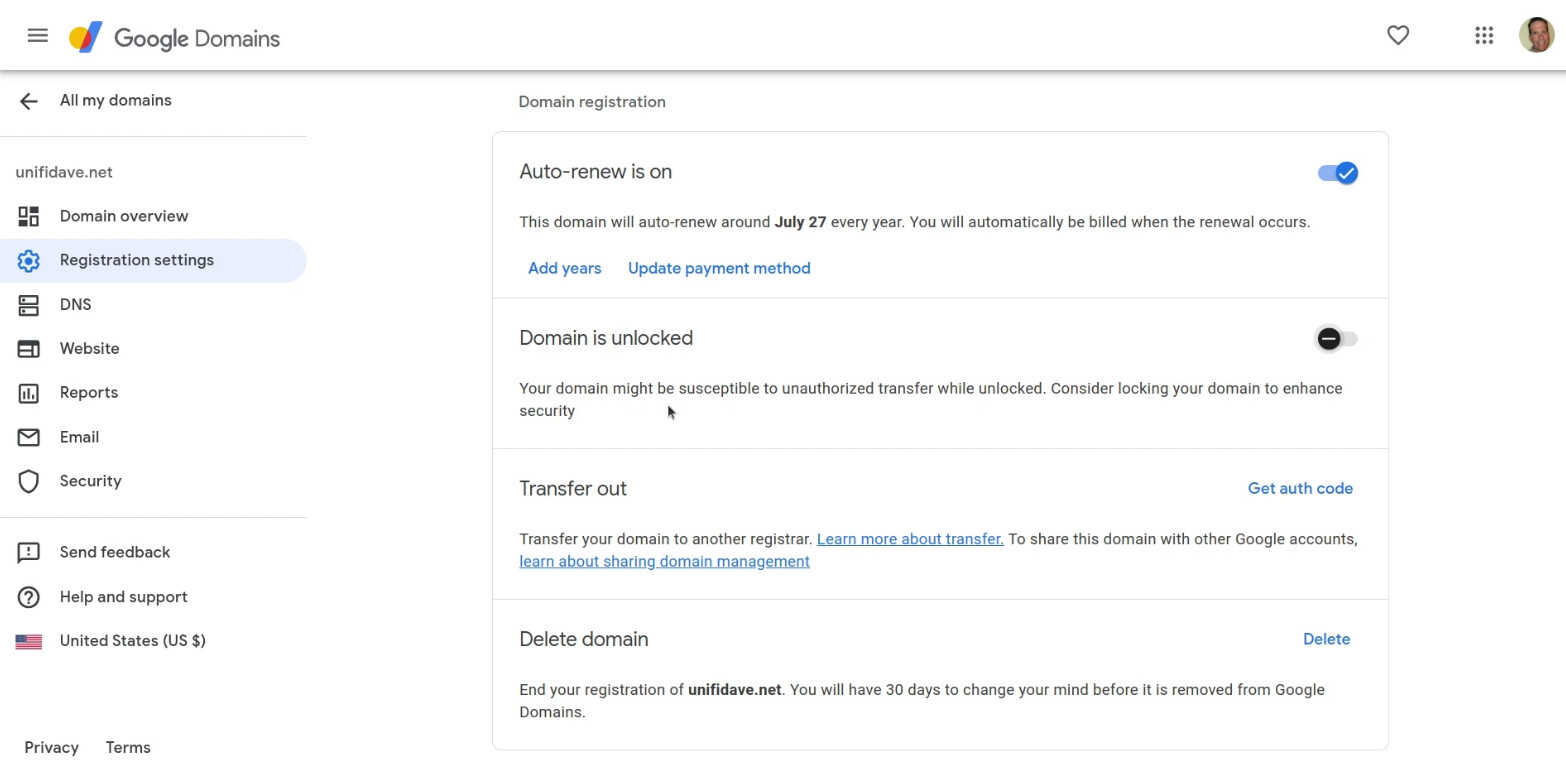
Go over to your Google Domains tab in your web browser and enter the registration setttings and unlock the domain as shown below.
After about 15 minutes, my “Transfer Domains” indicated that I have my domain ready to transfer. It also asked me to add a payment option as the next step.
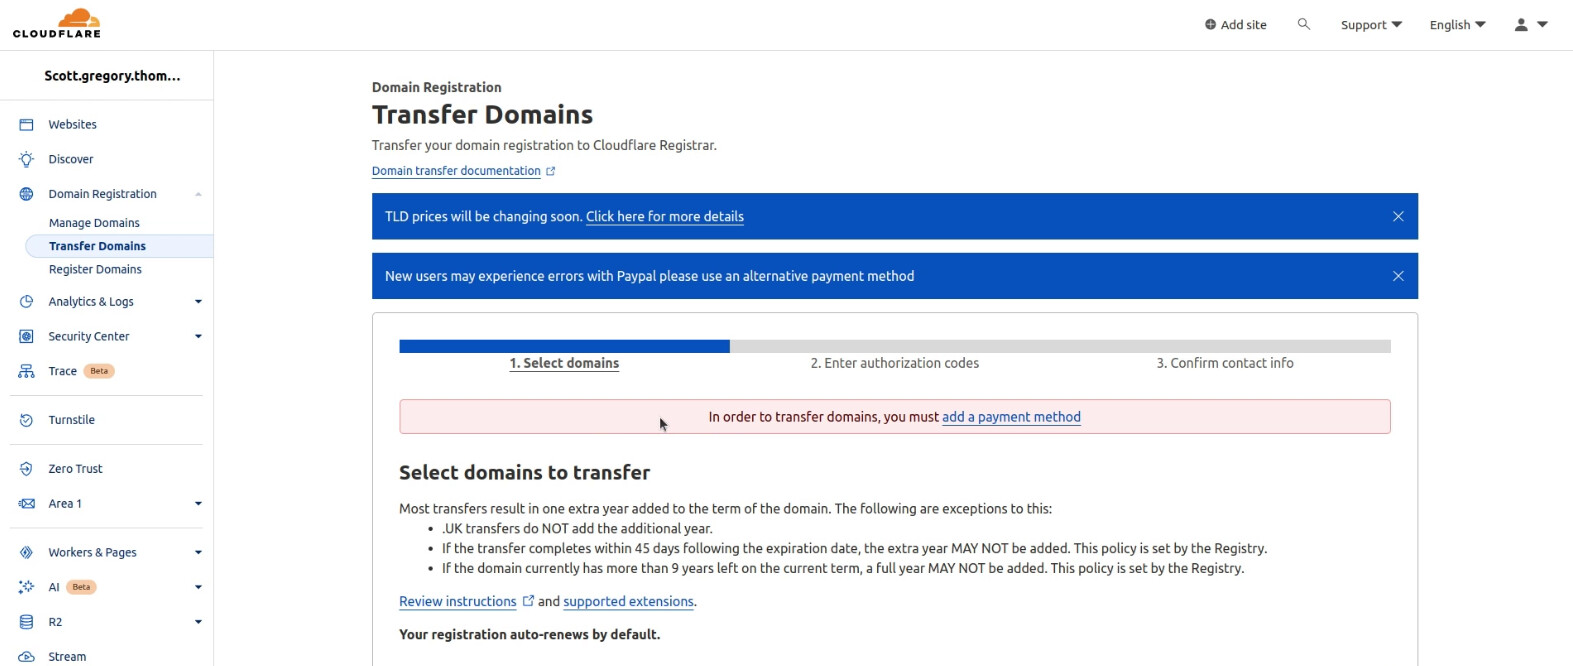
Now, you will see that your domain is ready for transfer.
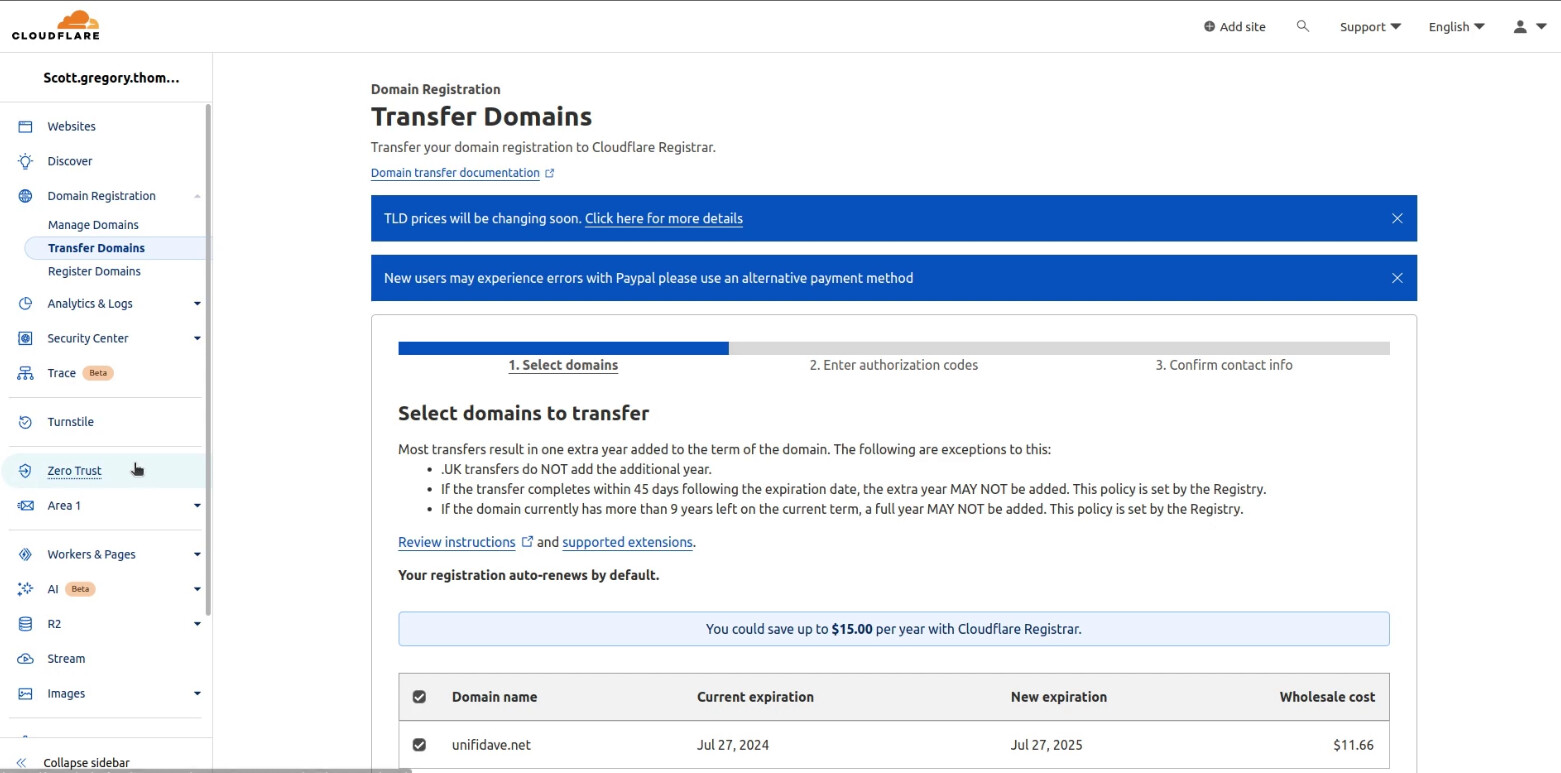
Scroll down and “Confirm” and you will see the next screen.
You now need an authorization code for the transfer from Google domains and so go back to the Google Domains tab.

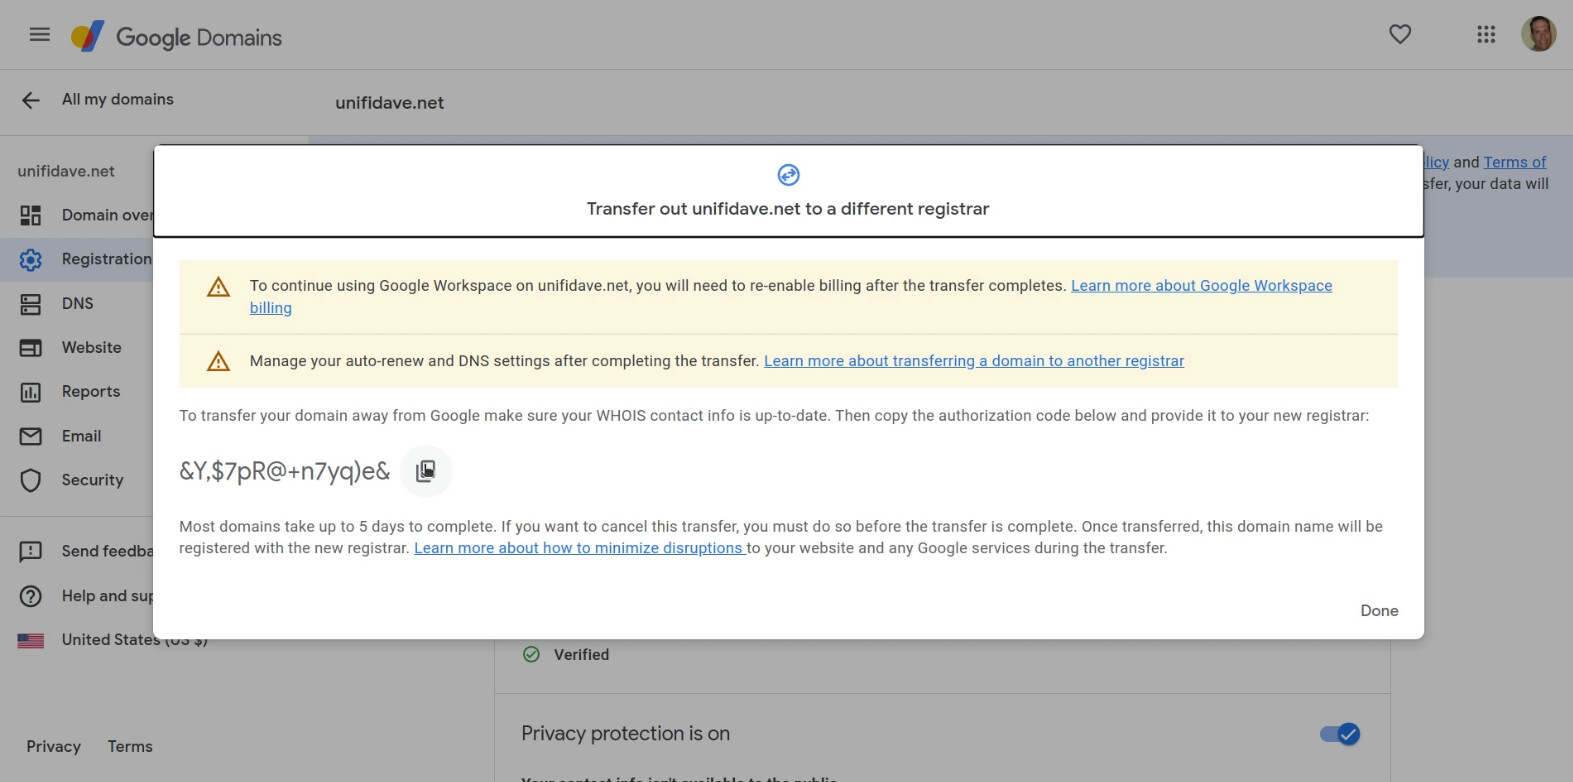
Click “Get auth code” next to the Transfer out option on the screen above. You will have to provide your Google password in this process.
Now you are provided a transfer code which you should keep secret. Copy the transfer code.
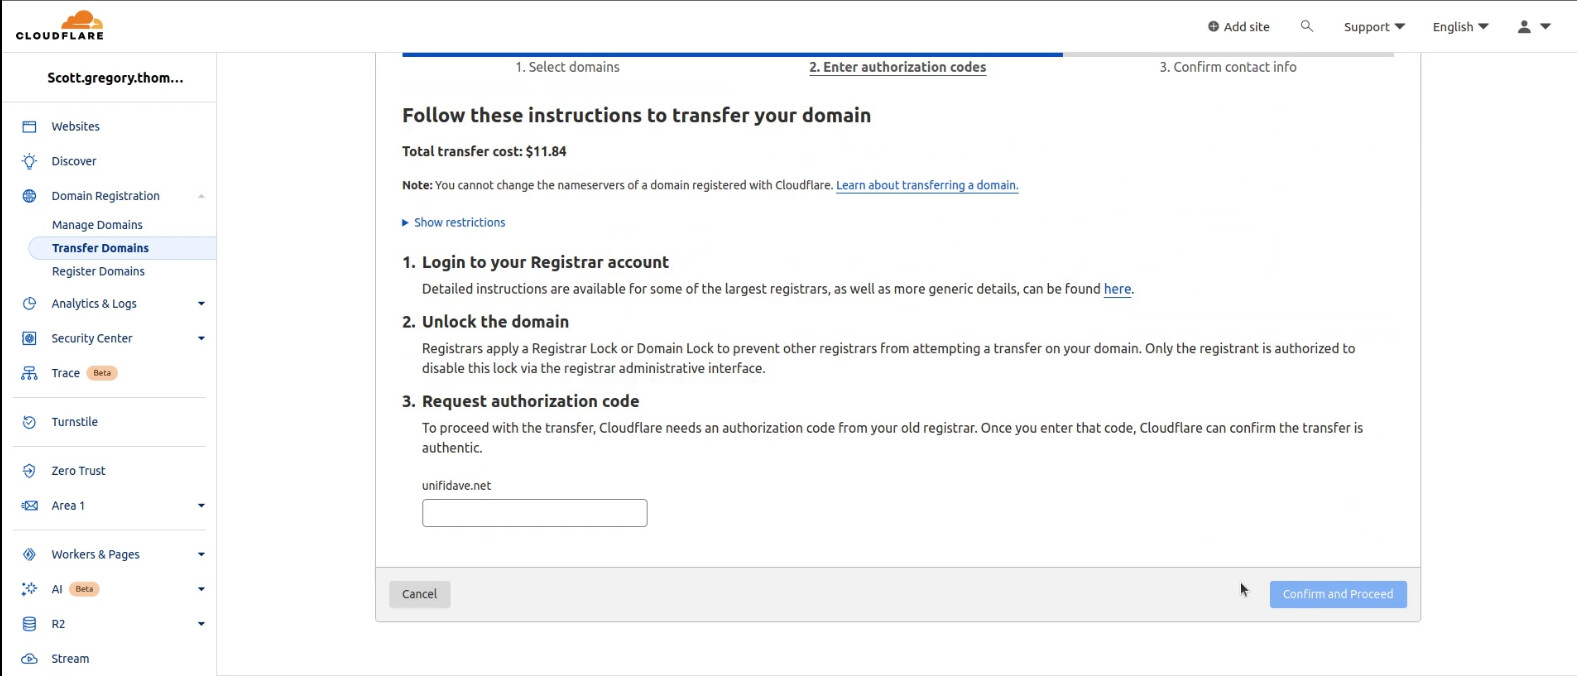
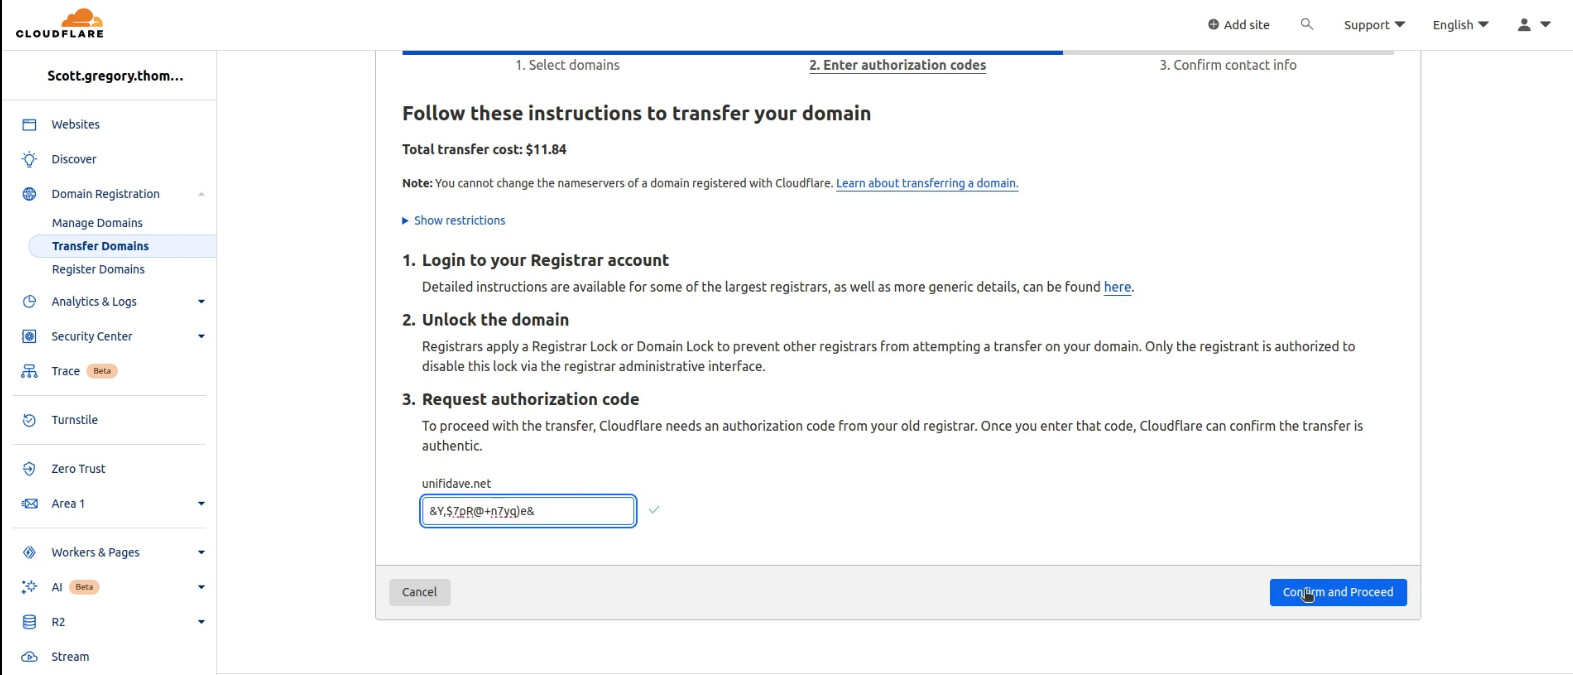
Go back to the Cloudflare screen and paste the transfer code into the indicated field and click “Confirm and Proceed” as shown below:
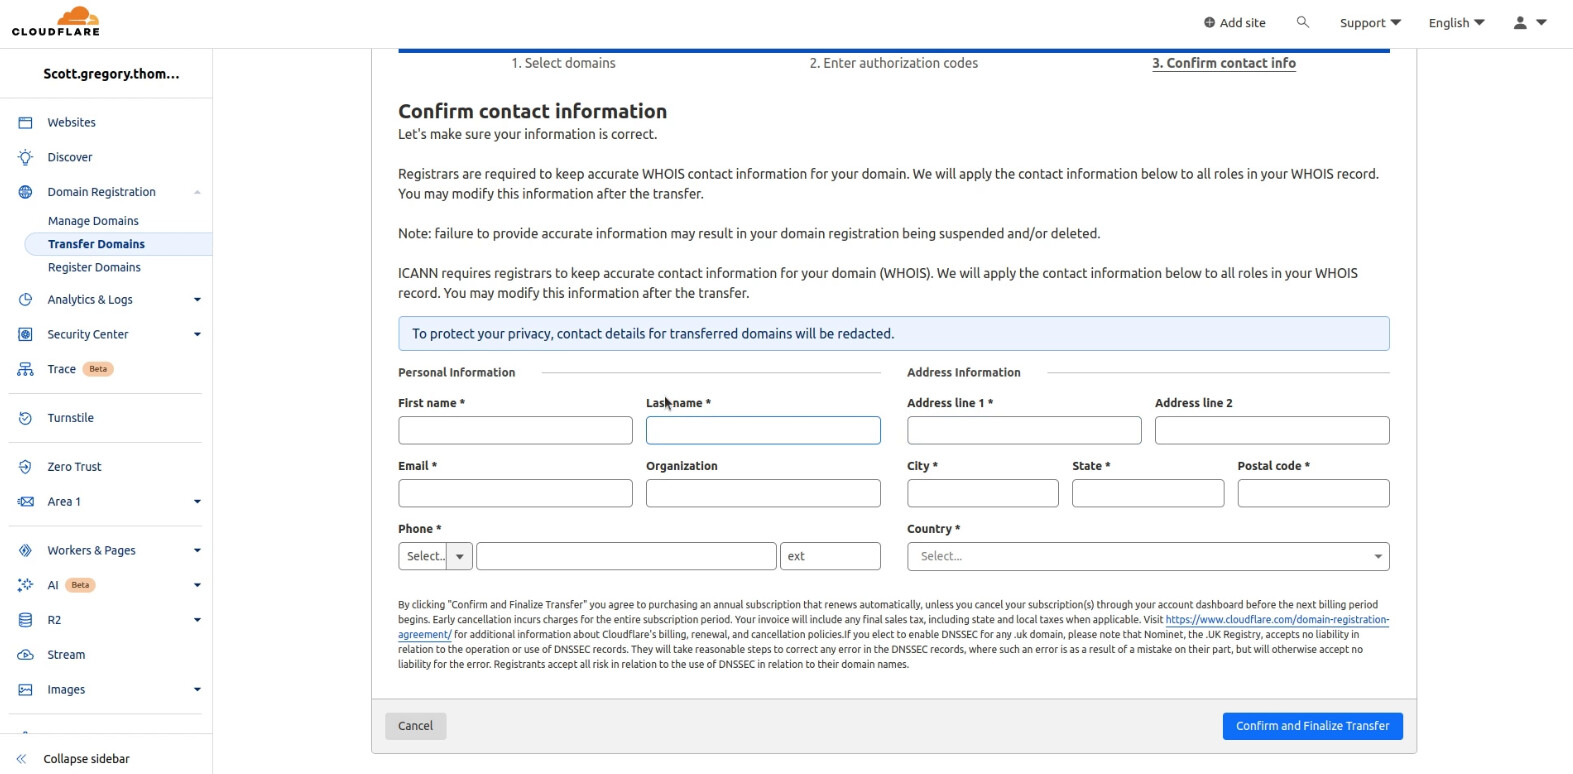
Finally, you will be asked to enter the contact information for the registering of the domain and then once you click “Confirm and Finalize Transfer” the process is initiated.
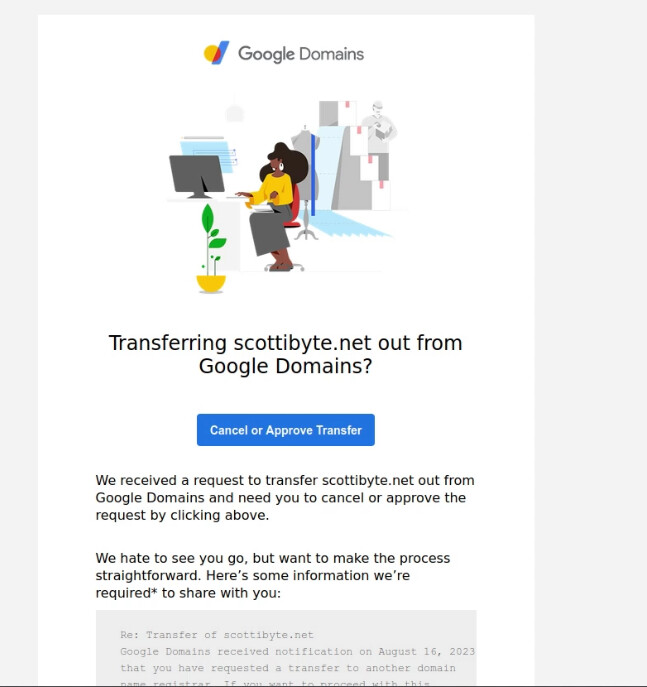
Before the transfer actually takes place, you will get an email from Google Domains which prompts you to either “Cancel or Approve Transfer” and that’s the last step.
Here’s an example of what that email looks like.
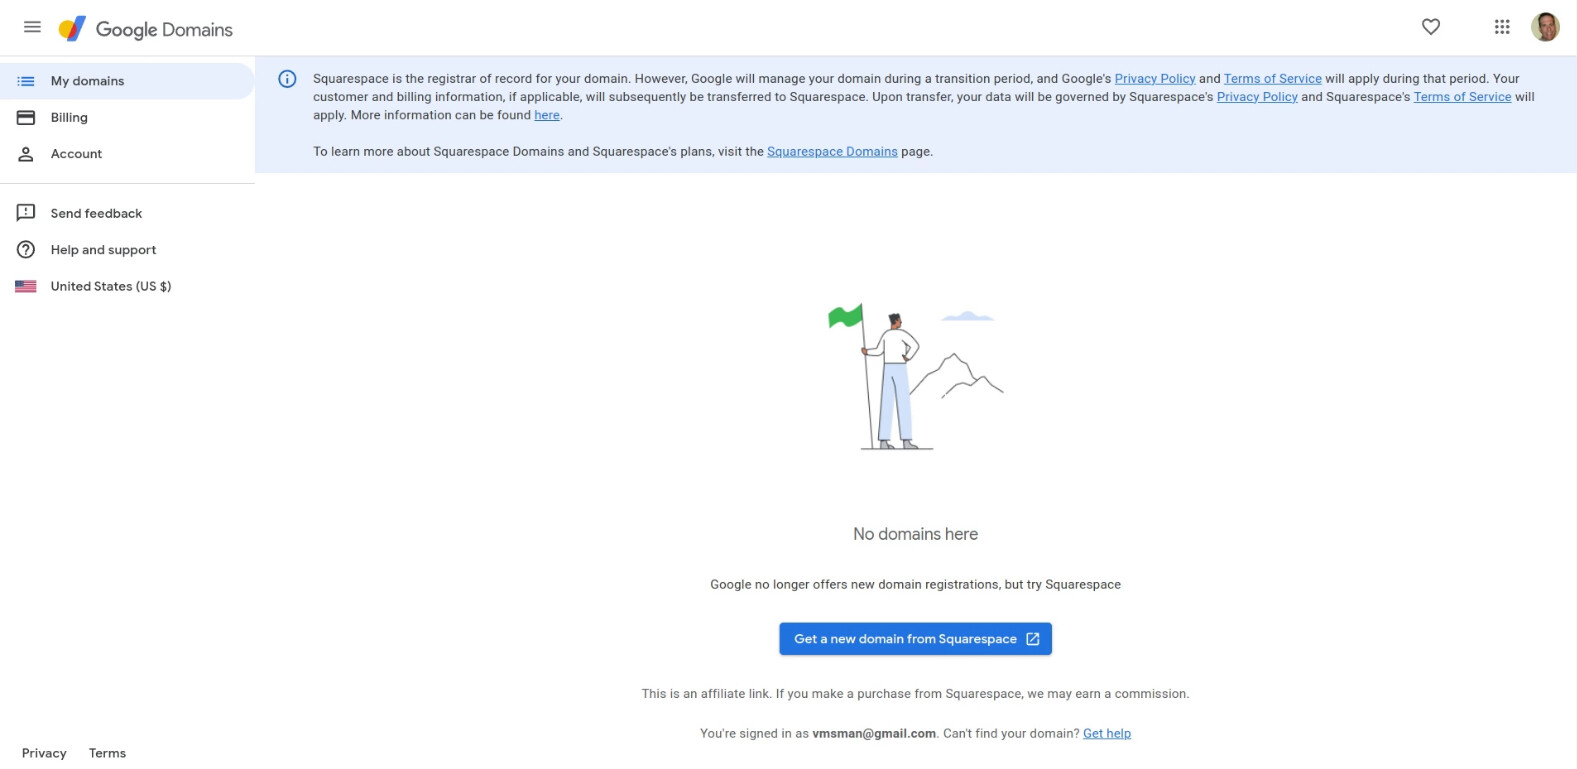
A few minutes after your transfer takes place, your domain will be active on Cloudflare and the domain will vanish from Google Domains. Google has no options for creating a new Domain and so they point you to Squarespace.
You will get confirmation emails from both Google Domains and from Cloudflare indicating the transfer.
The rest of this document is about how to handle a changing WAN address at your ISP.
Cloudflare doesn’t have DDNS A-Records like Google Domains. With DDNS, you use a DDNS client on your network that makes adjustments to your DDNS A record for your domain at your domain service provider.
Cloudflare uses an application programming interface (API) to make changes to records in the Cloudflare DNS.
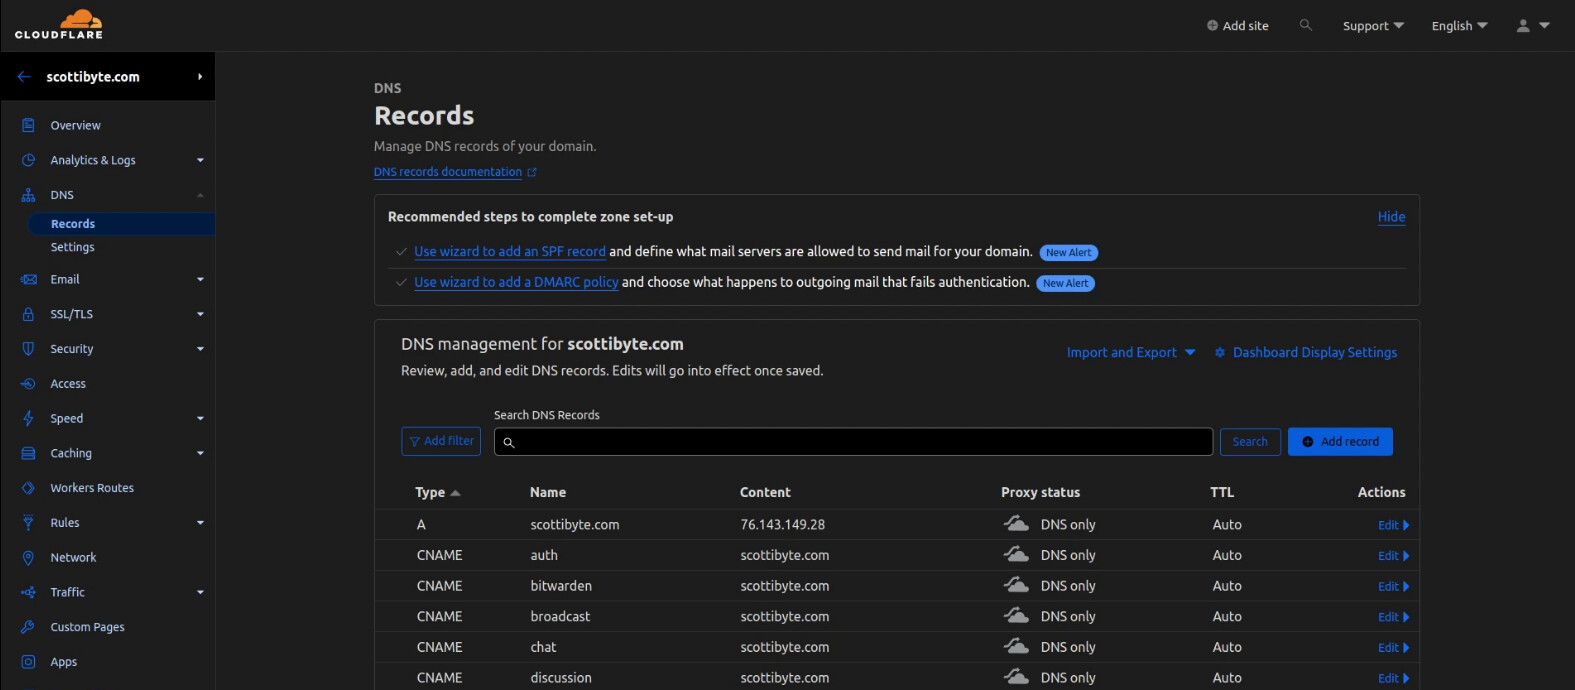
So, after your domain is transferred, you will probably see a standard A record for your domain. You will hopefully see your other DNS records like CNAME records or MX records that should have been ported from Google Domains to Cloudflare.
Check and verify that everything moved. I had 12 of my CNAME rcords move and the other 35 or so just vanished. So, be sure to audit your results.
Cloudflare supports “proxied” records. Not all self-hosted services work properly with Cloudflare proxies. Your mileage may verify. For now, I am not using proxies.
On the Cloudflare website, go to “My Profile” and choose the "API Tokens option.
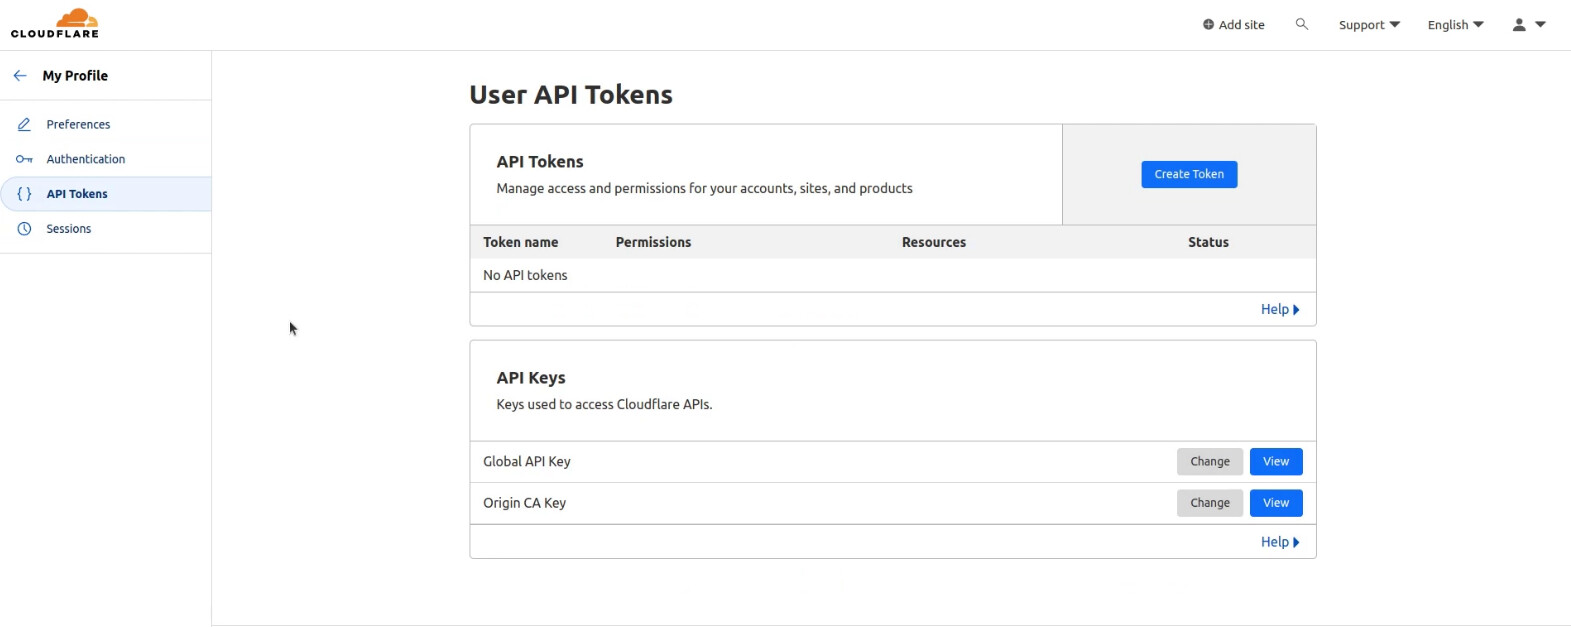
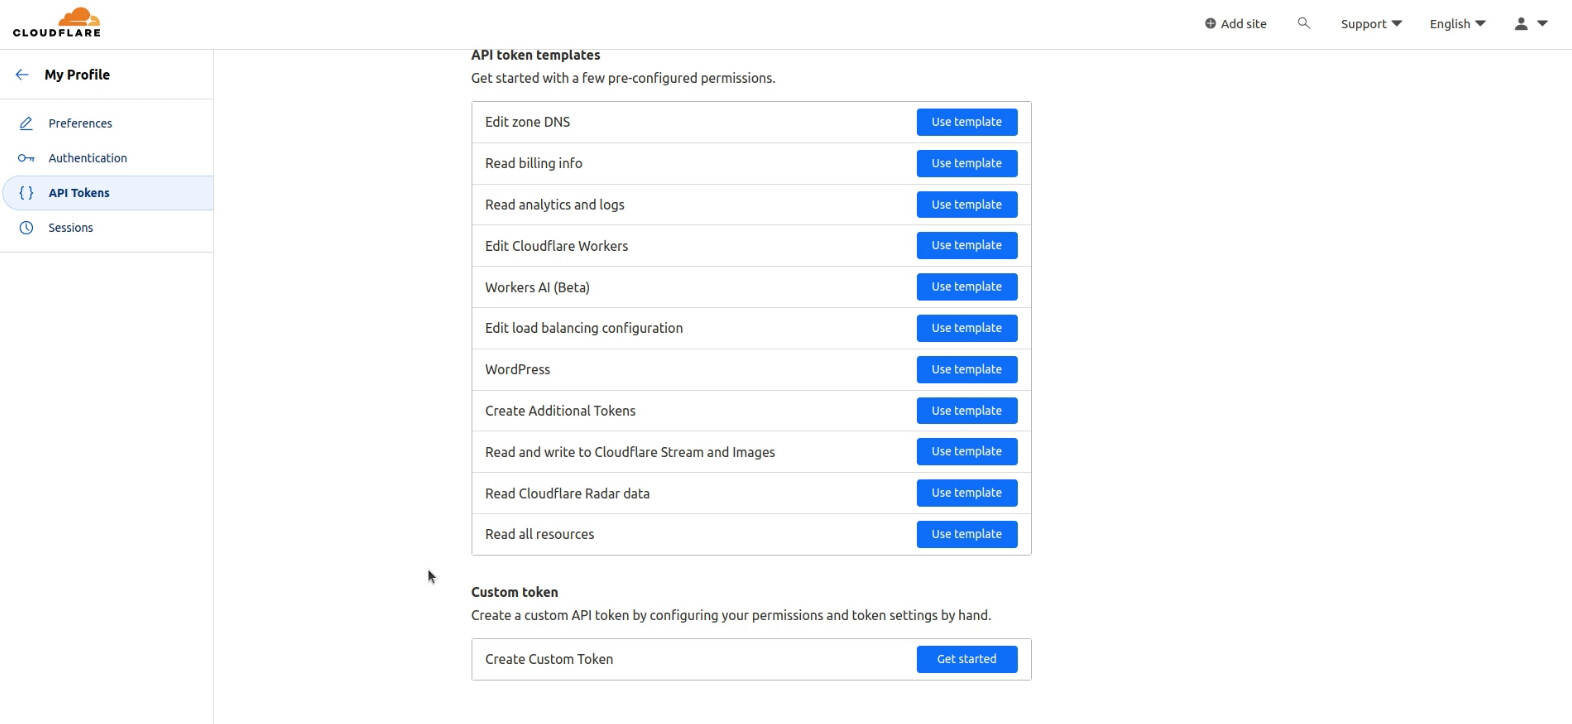
Click “Create Token” and scroll down to the bottom and choose “Custom Token”.
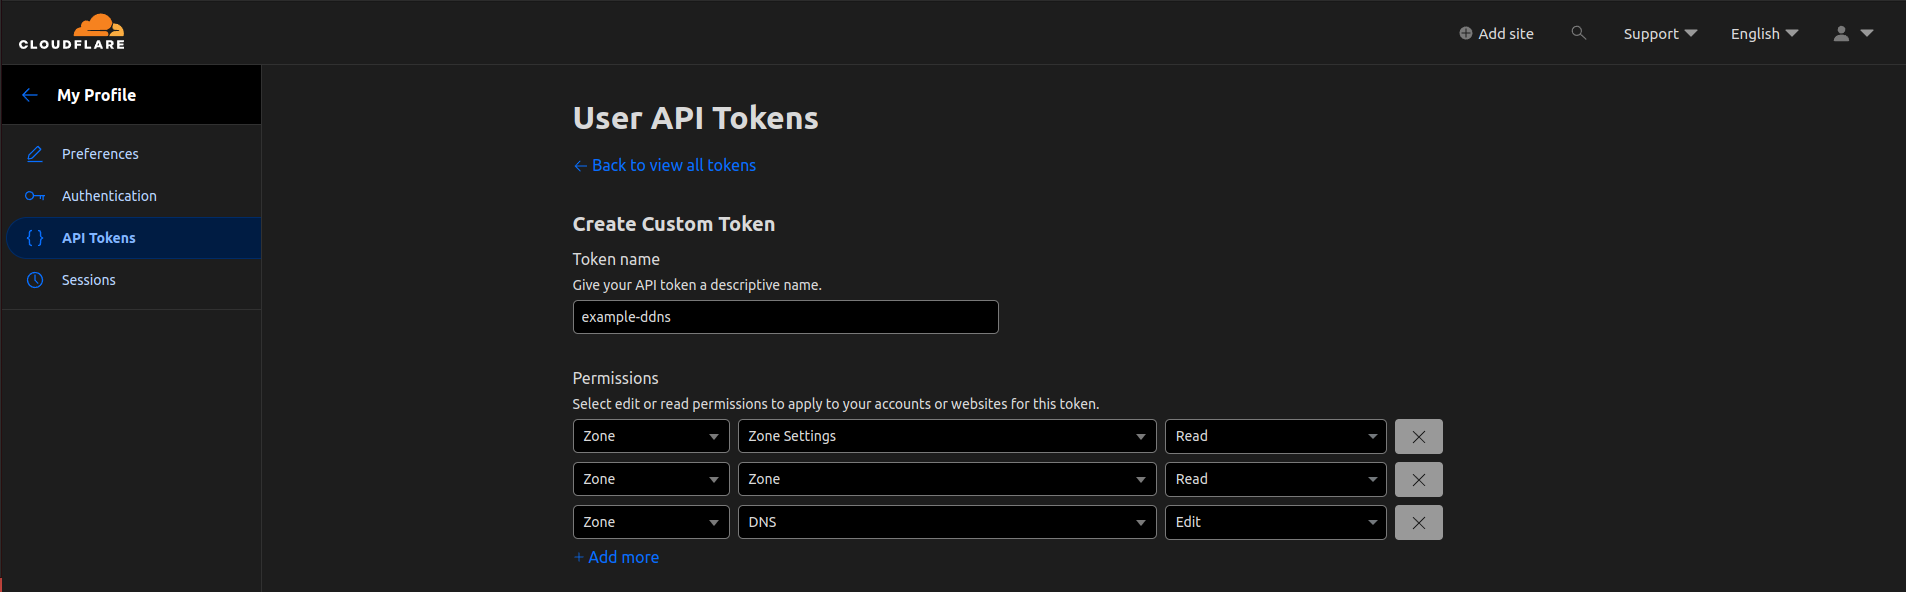
You will see the custom API token screen.
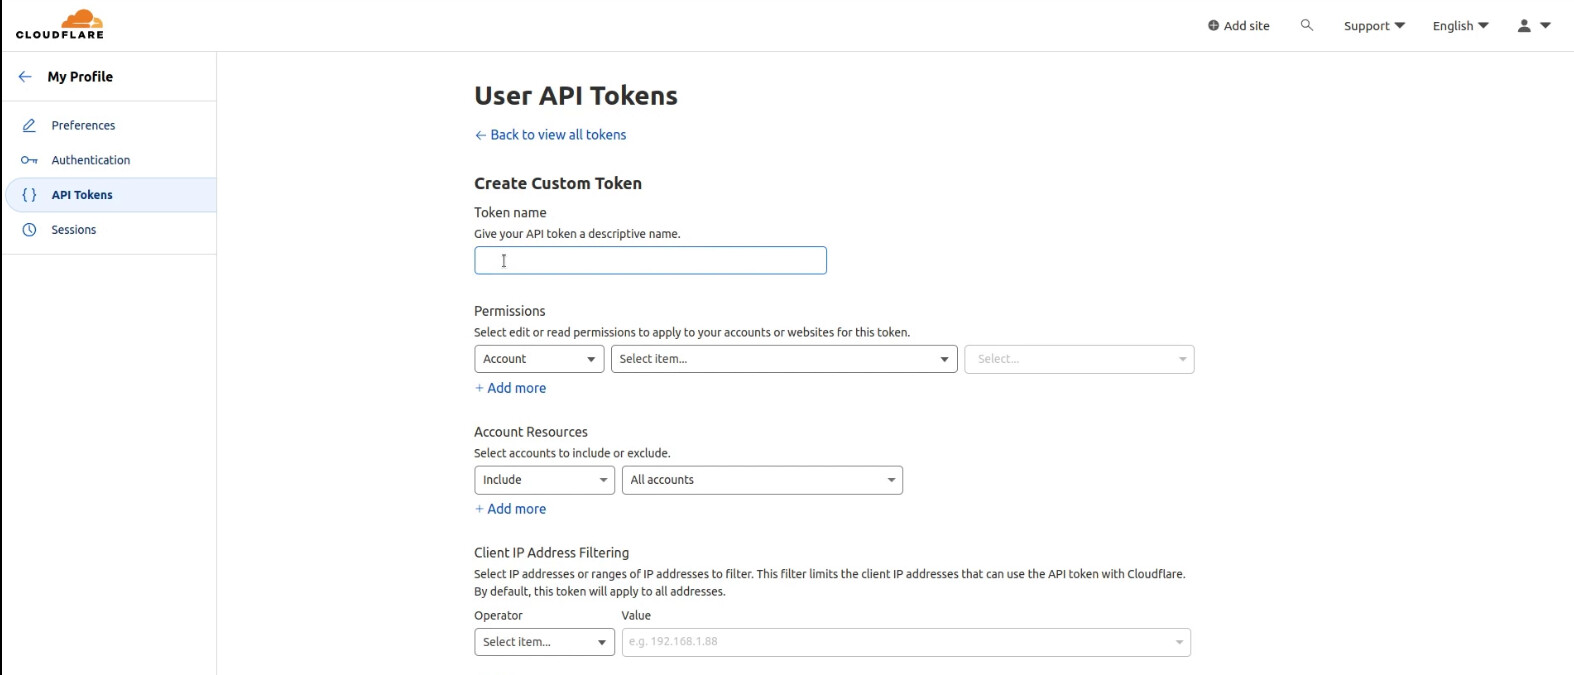
Give your token a name and add the following three permissions as detailed in the video.
Once you save your API token, it gives you the option to test it with a curl command. Be sure to save the API key someplace safe because you can’t access it after this.
Now that we have a Cloudflare API token, we need a way to use it. What follows is a description of a simple docker container that you can configure on your network that will watch for changes to your ISP WAN address and when a change is noticed the API will be called to change your domain A record at Cloudflare.
You can use an existing docker server to host this application. For my regular subscribers, I recommend a LXD container in which we will nest the docker application. To create the container on your LXD host:
lxc launch ubuntu:22.04 Cloudflare --profile default --profile Bridged-MAIN -c boot.autostart=true -c security.nesting=true
Connect to your new container:
lxc shell Cloudflare
The commands that follow show how to install docker and the Cloudflare API app on any system.
Add a user account and grant it sudo privilege.
adduser scott
usermod -aG sudo scott
Install docker and docker-compose
curl -sSL https://get.docker.com | sh
apt install docker-compose -y
Put my user account in the docker group:
usermod -aG docker scott
Move over to the scott account into the scott home folder:
su - scott
Make a folder to put our docker application and move into it.
mkdir dns
cd dns
Edit the docker-compose file:
nano docker-compose.yml
Insert the following into the file and modify the API key to be the key you copied earlier and also modify the ZONE to be your domain name:
version: '2'
services:
  cloudflare-api:
    image: oznu/cloudflare-ddns:latest
    restart: always
    environment:
      - API_KEY=My-API-Key
      - ZONE=mydomain.com
      - SUBDOMAIN=
Save the File with CTRL O and Enter and exit the nano editor with CTRL X.
Start the docker application.
docker compose up -d
Verify that the application is working by examining the log.
docker compose logs -f
The most common reason for this failing is that either your API key is wrong or your domain name A record doesn’t exist on Cloudflare.