This https://discussion.scottibyte.com/ website is a Discourse forum where I maintain my show notes and other articles that I publish.
Discourse can be a challenging app to host, yet it is the most popular forum software. In this video, we learn how to host Discourse in an Incus Container.
Discourse is an awesome open source community discussion forum software used by a huge number of companies and groups. Discourse is well written, but the most complex app that I have self-hosted in terms of getting a successful first-time install. There are caveats to installing Discourse, especially in an Incus container. Be sure to follow all of the steps in the prescribed order.
If you followed my tutorial “Incus Containers Step by Step” you created the default storage pool for Incus using the zfs file system and this is a best practice. However, Discourse requires the Docker Overlay2 file system which is incompatible with ZFS.
For this reason, we are going to install a directory based storage pool directly on your EXT-4 Ubuntu file system on your Incus Server. Development of the method herein required much testing and I performed 60 test builds to settle on a fool-proof installation process which I have documented here.
Create a directory based storage pool named “dirpool”:
incus storage create dirpool dir
Create a container named “Discourse” inside of the new “dirpool”. Notice the “security.nesting=true” which allows a docker container to be nested inside of an Incus container. The “security.privileged=true” is needed to have access to the Incus server FUSE file system which is needed. Also note that I use the “bridgeprofile” explained in my tutorial “Incus Containers Step by Step” in order that the Discourse container will have an address on the main LAN:
incus launch images:ubuntu/22.04 Discourse --profile default --profile bridgeprofile --storage dirpool -c security.nesting=true -c security.privileged=true -c boot.autostart=true
Connect to the shell inside of the new container:
incus shell Discourse
Apply all of the updates to the container OS which is a best practice.
sudo apt update && sudo apt upgrade -y
Create myself a user account and grant it sudo privilege for maintenance in the future.
adduser scott
usermod -aG sudo scott
Install all of the required dependencies:
apt install curl nano git fuse-overlayfs openssh-server -y
Install Docker from the script on the Docker website:
curl -sSL https://get.docker.com | sh
Verify that Docker is using the “overlay2” file system which is absolutely required for the installation of Discourse with the following command:
docker info | grep "Storage Driver:"

Use “git” to clone a copy of the installation media and move into the installation folder (yes, this is the required location):
git clone https://github.com/discourse/discourse_docker.git /var/discourse
cd /var/discourse
Copy the standalone installation template to the standard app.yml file:
cp samples/standalone.yml containers/app.yml
Edit the configuration file:
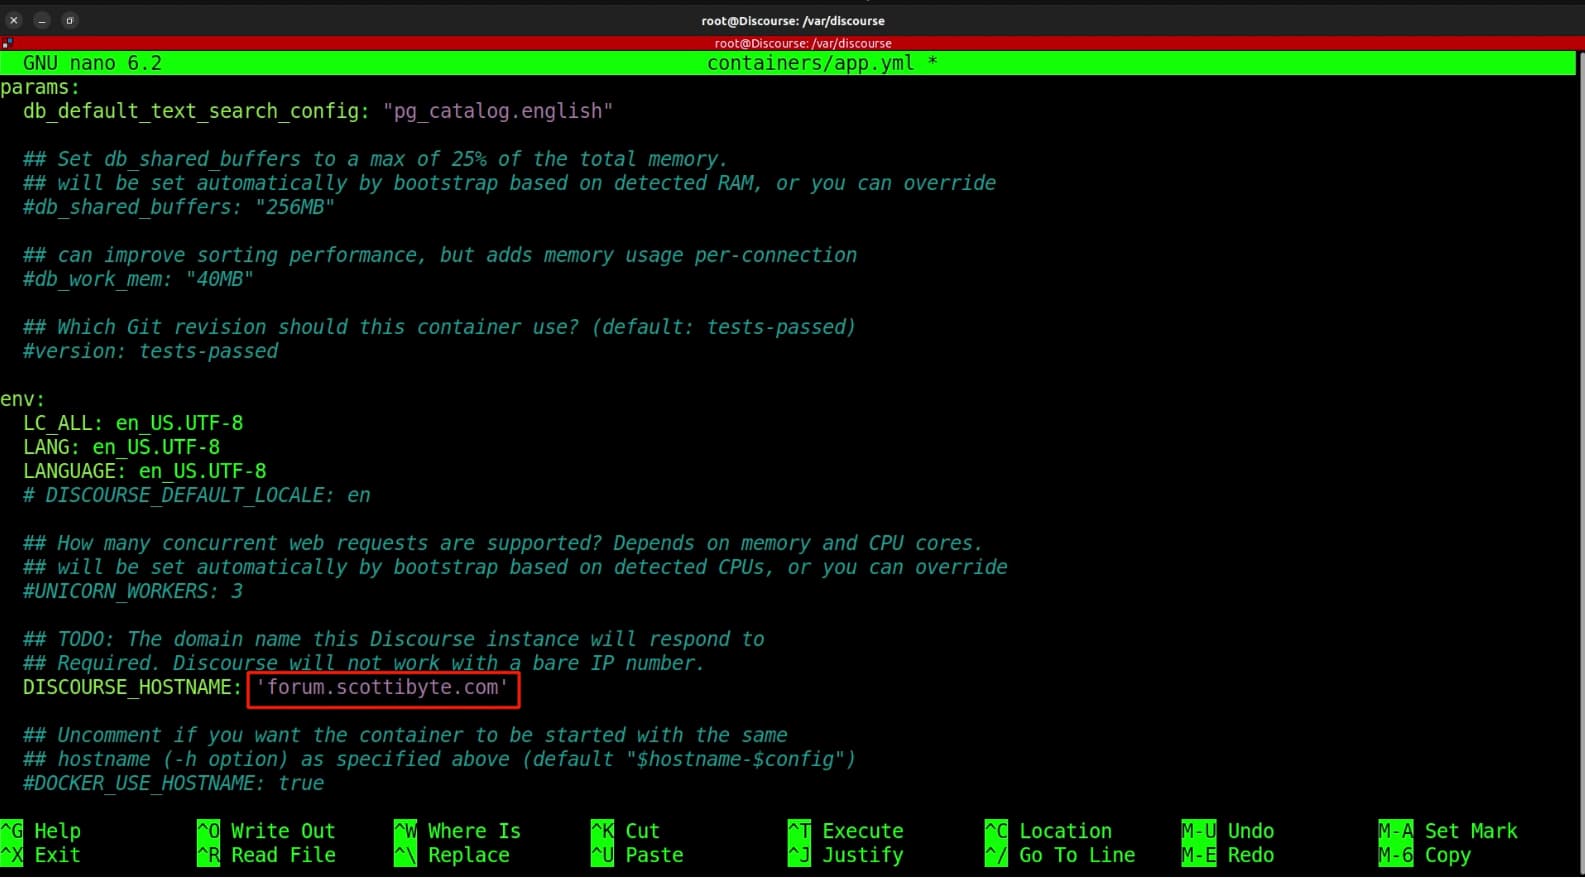
nano containers/app.yml
Scroll down and edit the name of your website by putting your subdomain name in the location indicated. Be sure that you have added a subdomain at your DNS provider matching this name previously.
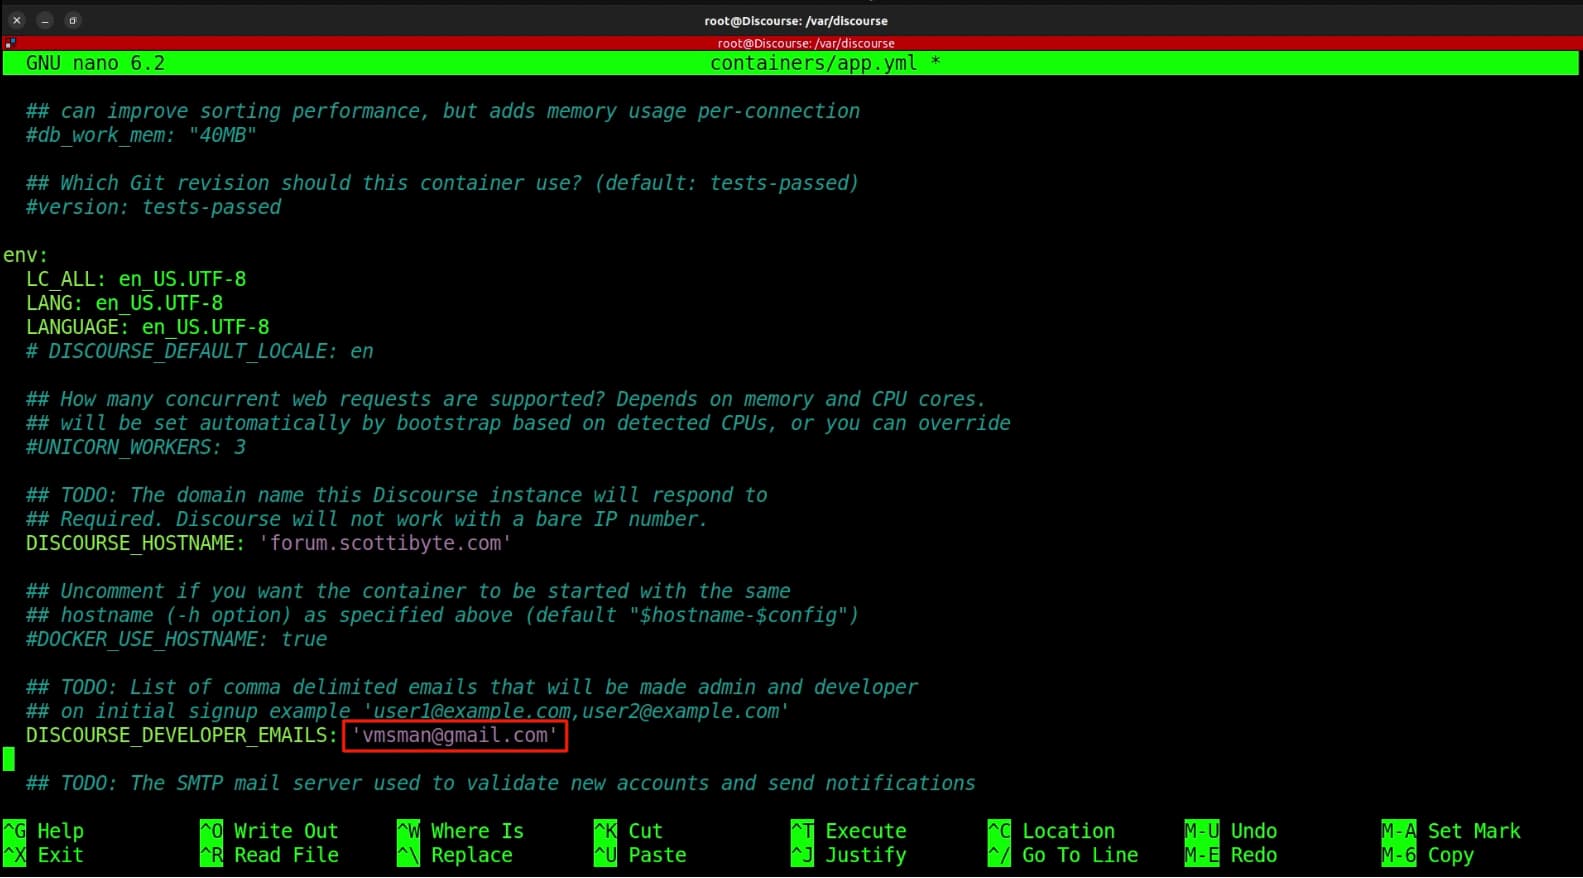
Scroll down and change your developer email to your email.
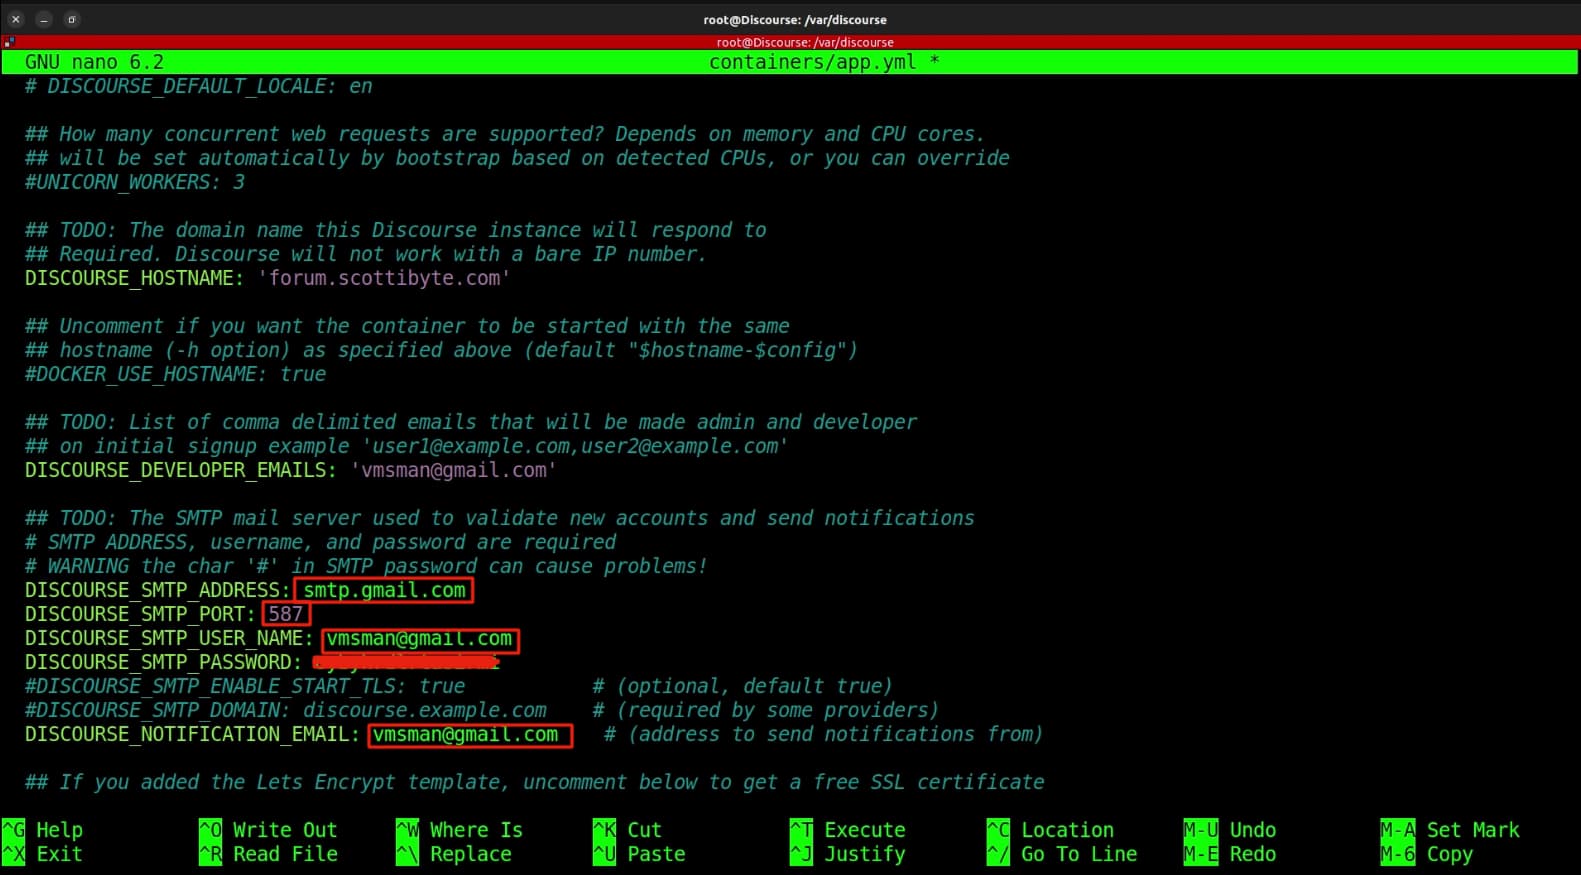
Scroll down a bit more and change your SMTP_ADDRESS (I am using the gmail server), SMTP PORT (587) for gmail, and your SMTP username and password. Be sure to enable two factor authentication (2fa) and get a 2fa password for your gmail account if that is what you are using. Also set the notification email address. Be sure all of the fields that I just mentioned are uncommented (remove the #) before all the lines as described.
Do a CTRL O and Enter to write the file out and a CTRL X to exit the nano editor.
Use the following command to execute the install process with the template file we just modified:
./launcher bootstrap app
The docker image overlay segments will start to load as shown below.
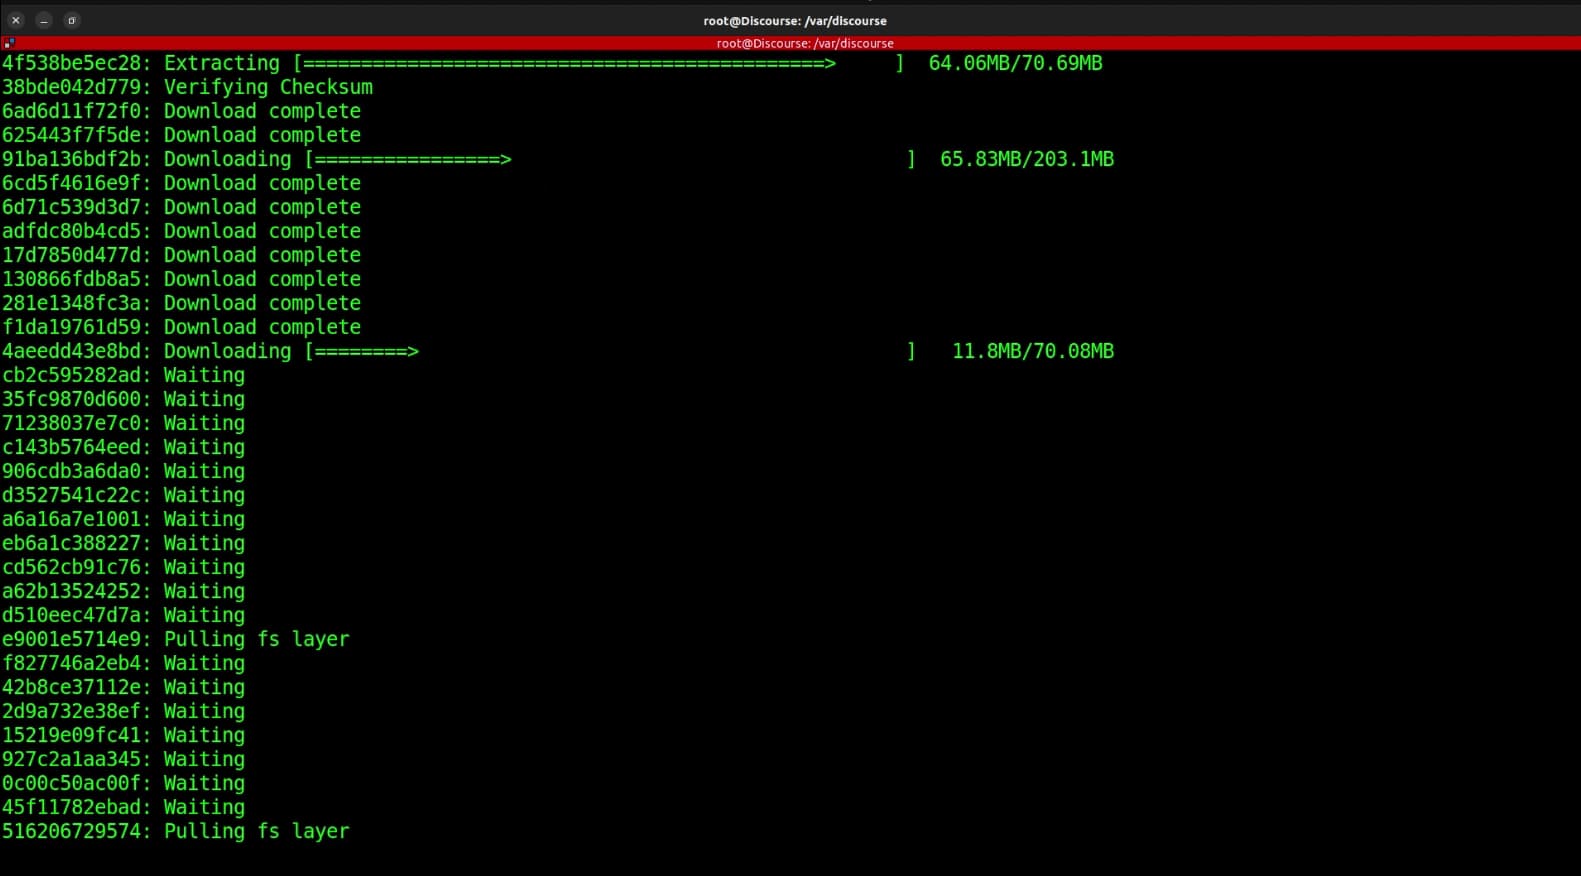
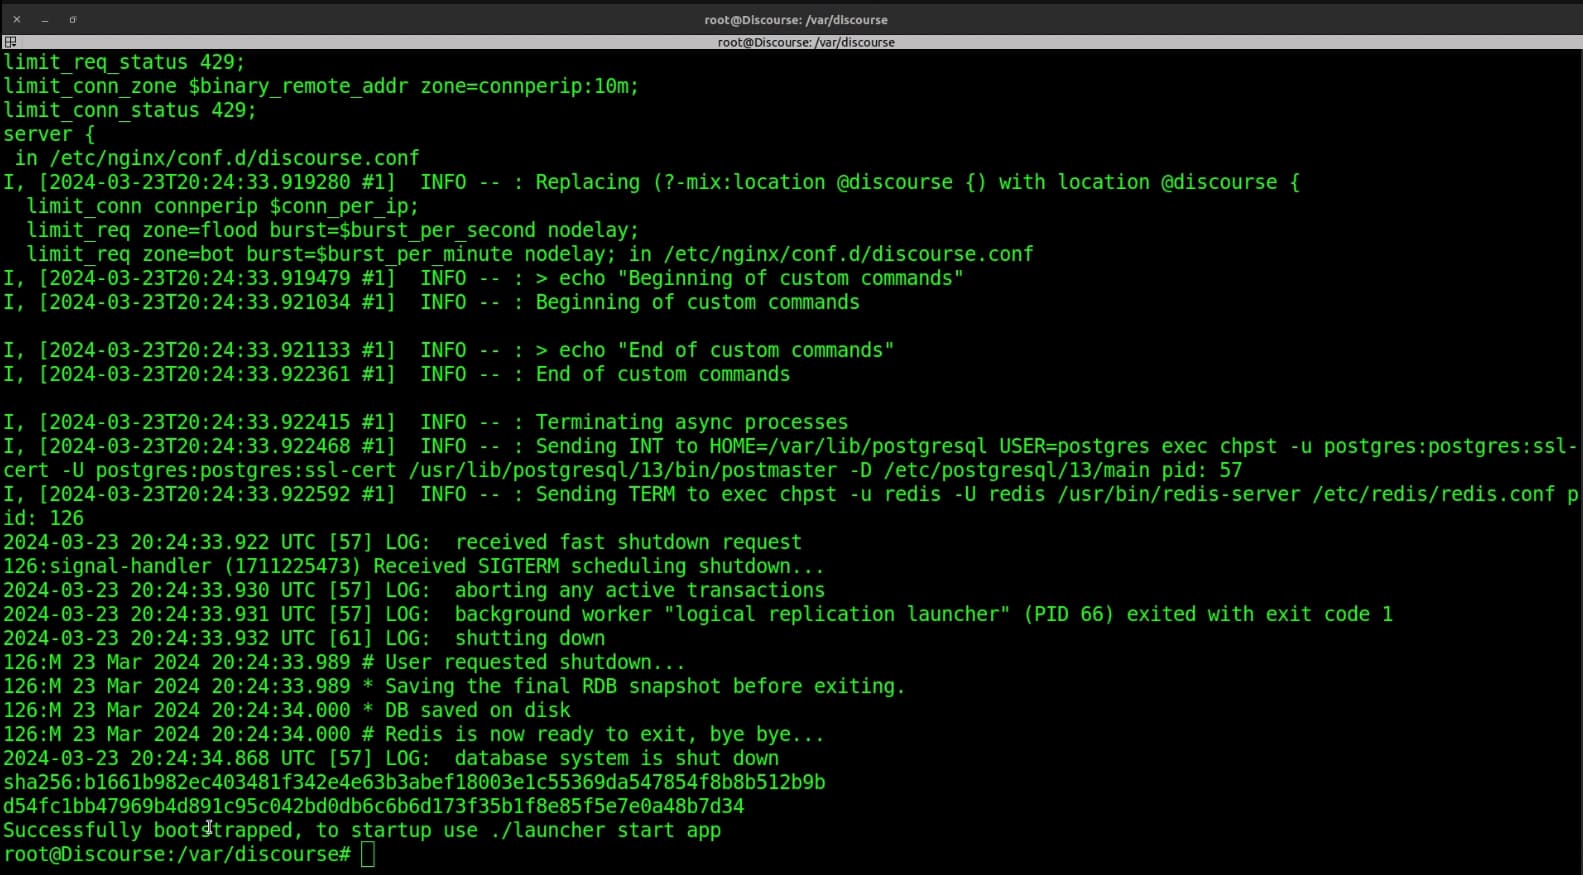
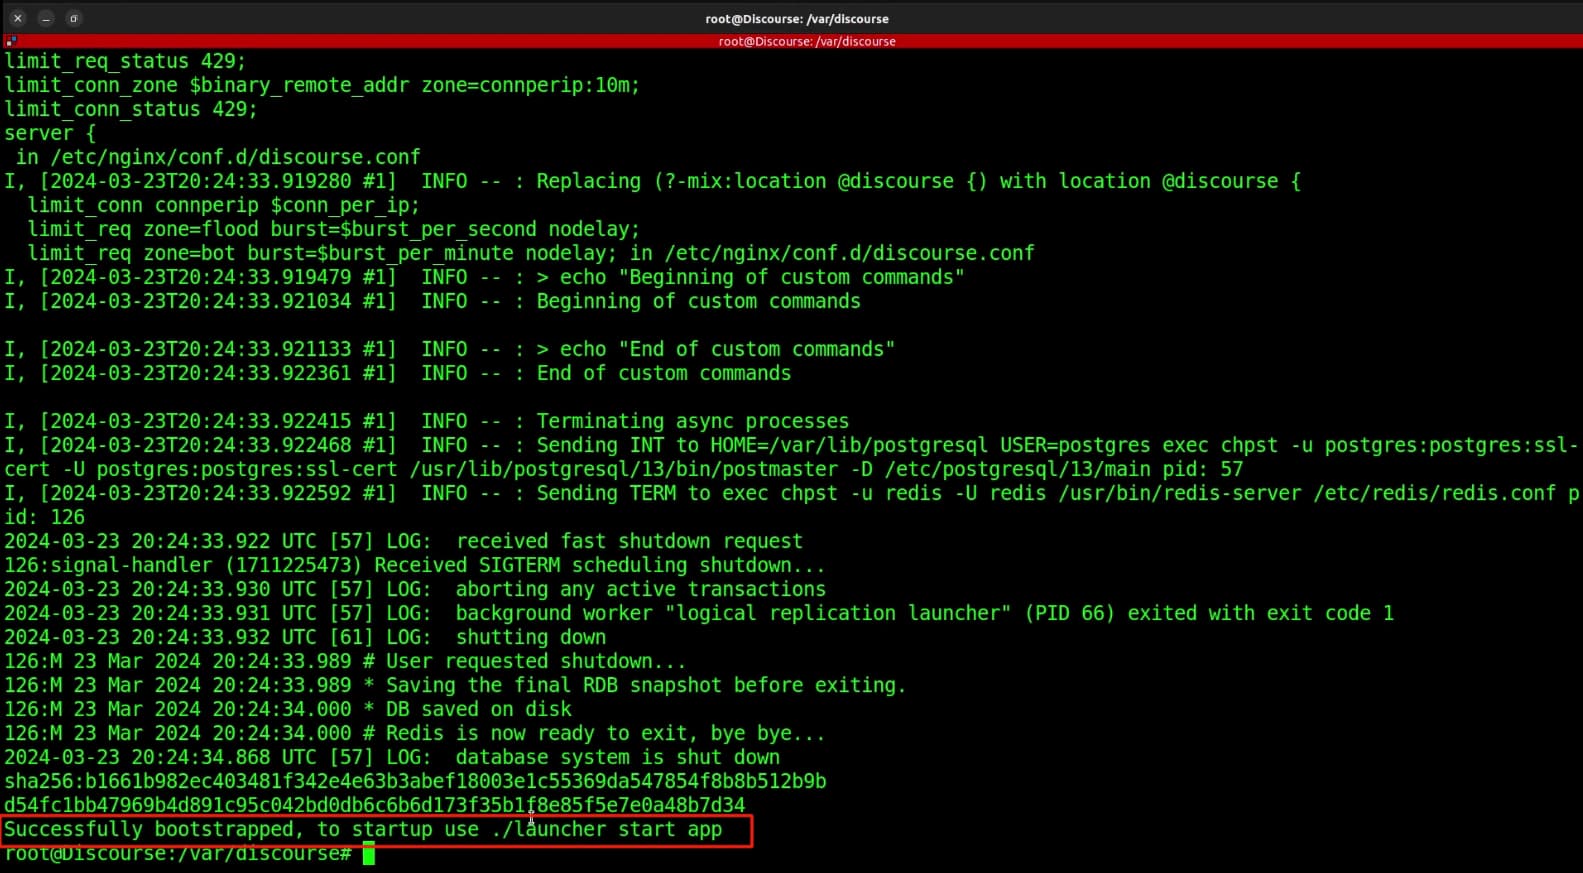
The bootstrap/build operation will continue for close to 30 minutes depending on the speed of your system. When it is completed, you should get a command prompt and you will see a screen as follows.
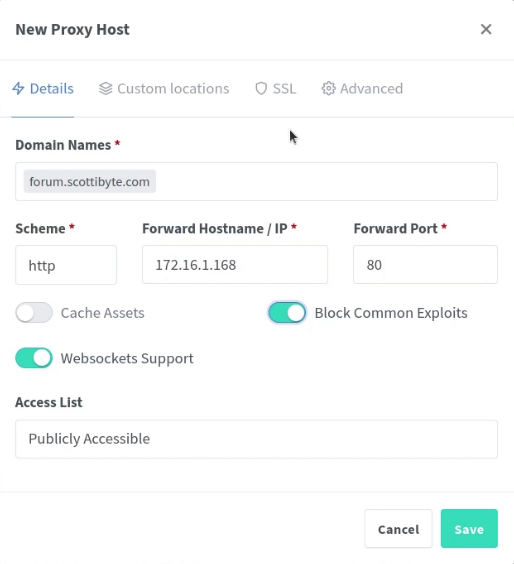
Next, head to your web browser and launch your NginX Proxy Manager and define a new proxy record for your Discourse site using the sub-domain name that you created in the template file that matches the subdomain record your created at your DNS provider. The IP address will be the IP address of your Incus container we just installed Discourse in.
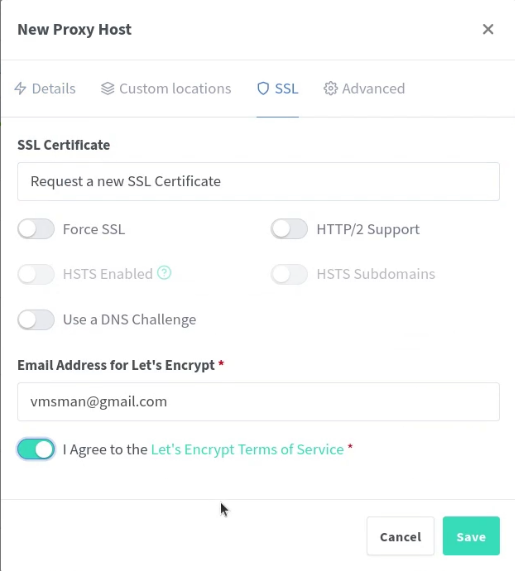
Next go to the SSL tab and request a new certificate to make sure your Discourse site will have SSL. Note that your email will match the email you use for your NginX Proxy Manager certificates.
Back at your terminal, you will see a command you need to execute to start up the app for the first time.
Start the Discourse site by executing the following command.
./launcher start app
After starting the app you will get a warning message saying the your configuration file is world readable. Execute the following command to change this:
chmod o-rwx containers/app.yml
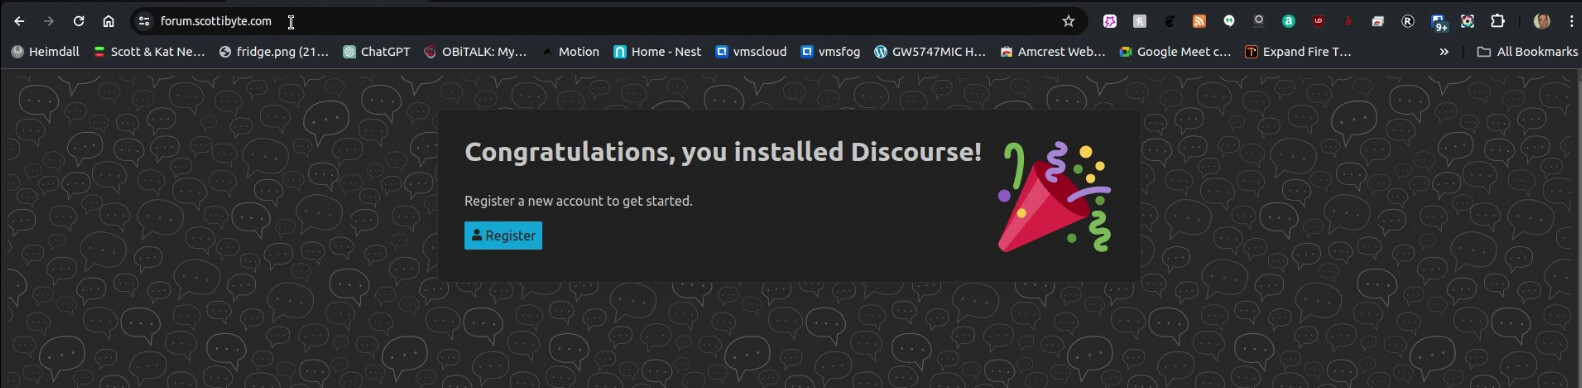
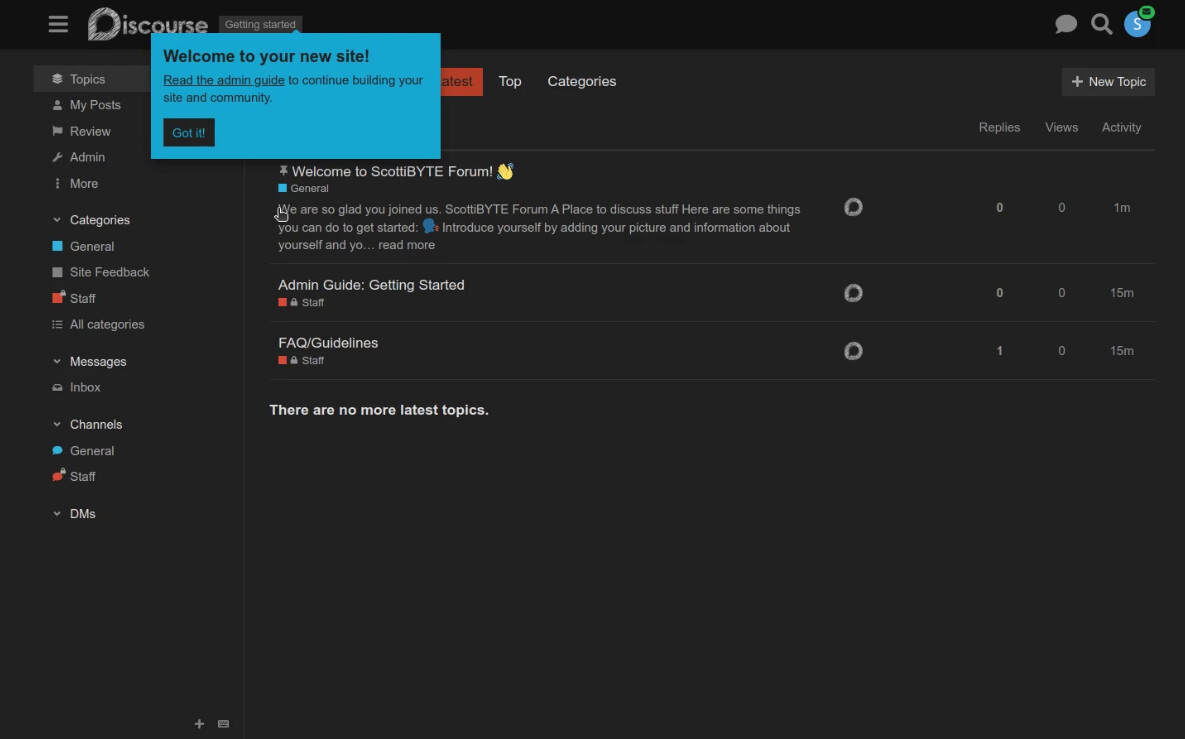
Back at your web browser, type in your subdomain name for your Discourse website and you should see the following screen.
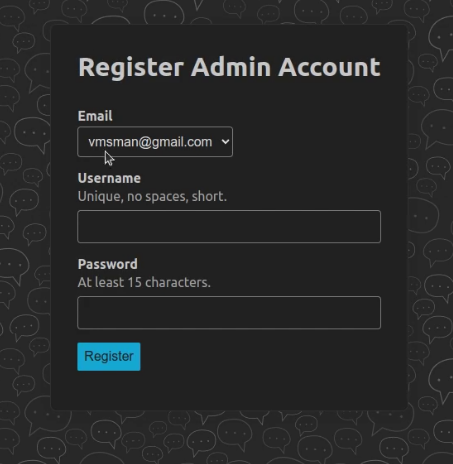
Press the register button and enter a username and a password (at least 15 characters) of your choosing. The email listed is the one you created in the configuration file and it is the admin email.
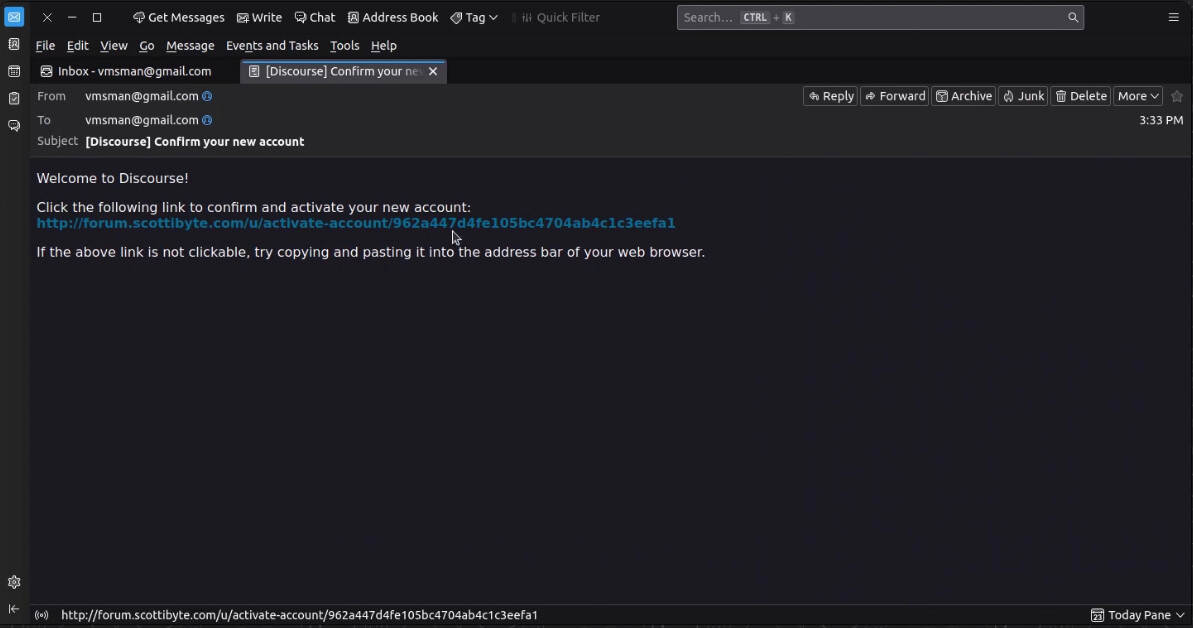
After you click on the “Register” button above, you should get an activation email. If you didn’t, it means that you didn’t set up your email correctly and Discourse will not work without a working email server.

The activation email will look something like the one below and once you click the link, your site will be activated.
Once you click the link in the email, you will get this screen.
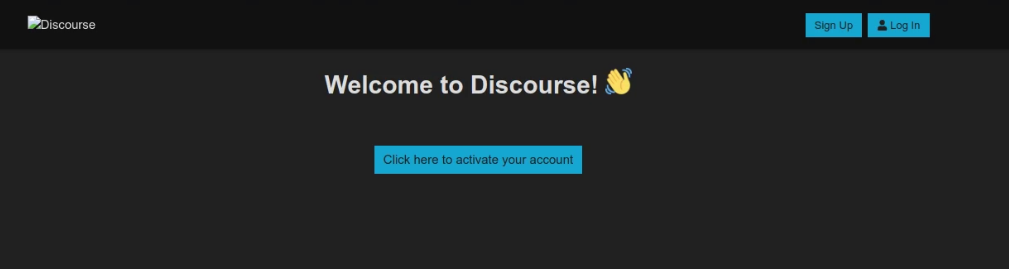
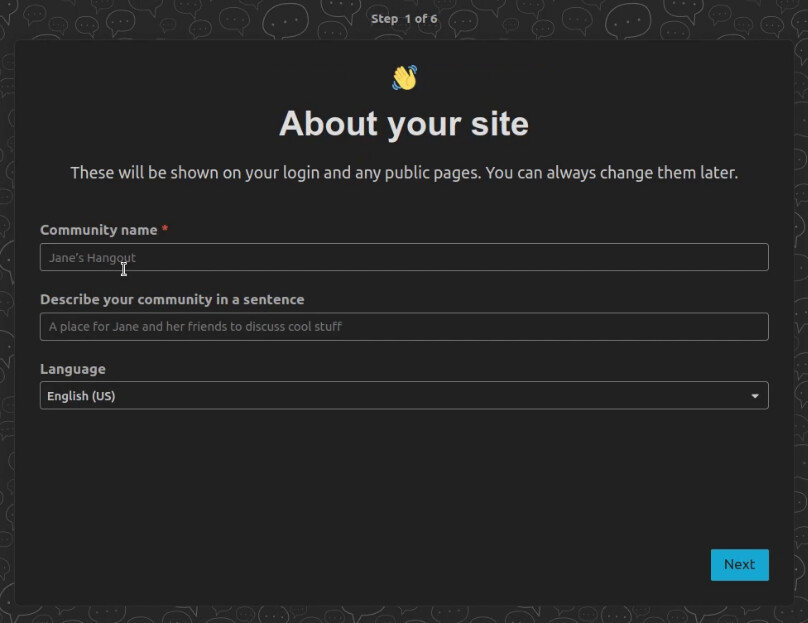
When you click the “Click here to activate your account” shown above, you will go to the site registration screen where you provide a community name and description of your choosing.
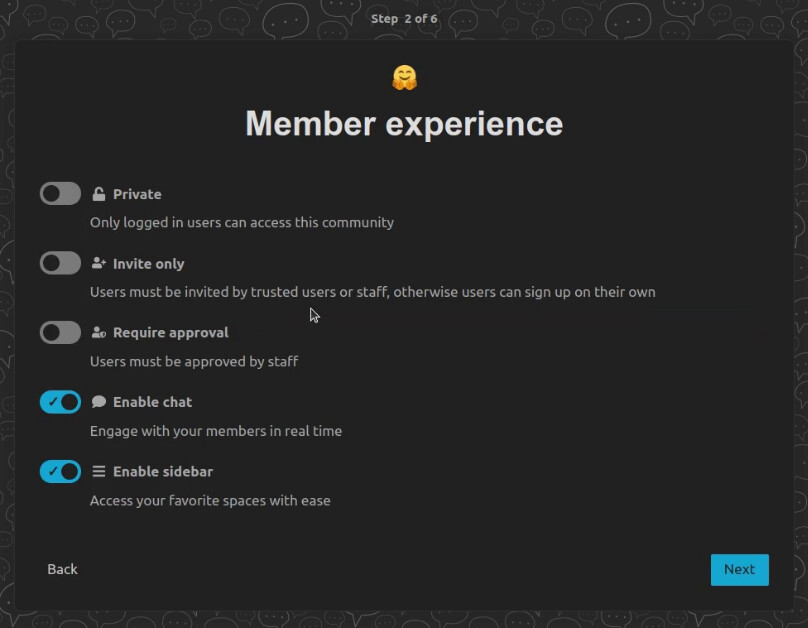
The next screen has some Member experience settings.
The next screen…
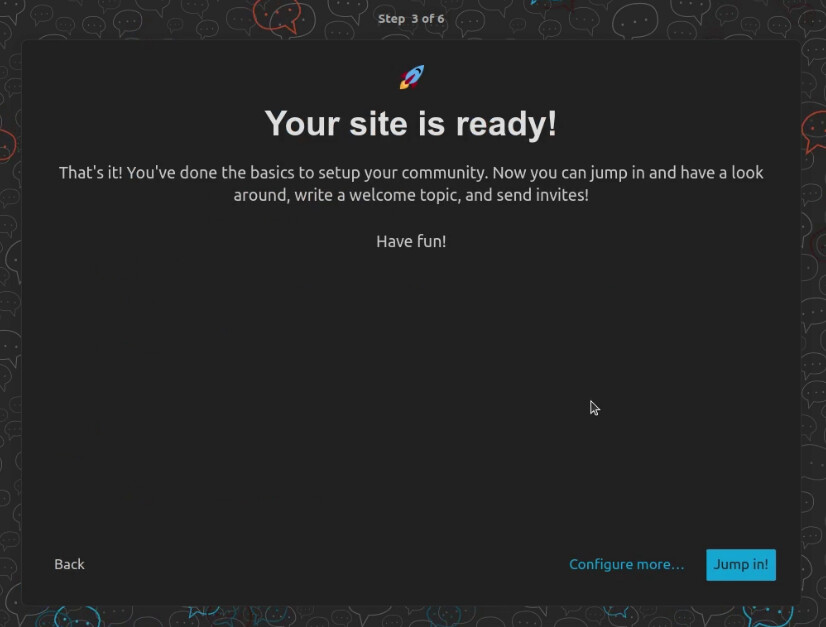
Once you click “Jump In” you can start working with your Discourse forum.
If you go to the “admin” section, you should see that your Discourse site is up to date.
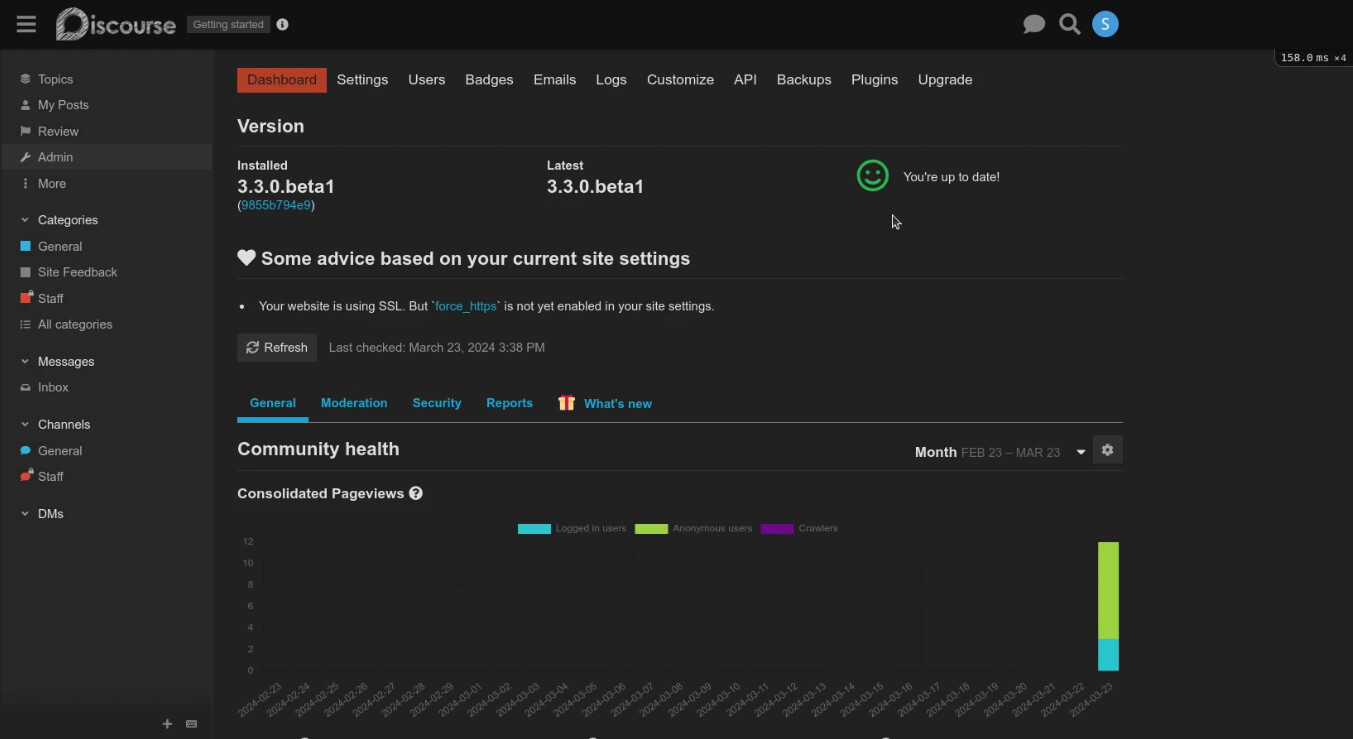
This screen above gives you an option to update your forum when there are any updates to the software. Be sure to visit the “Backup” tab and do regular backups of your site.
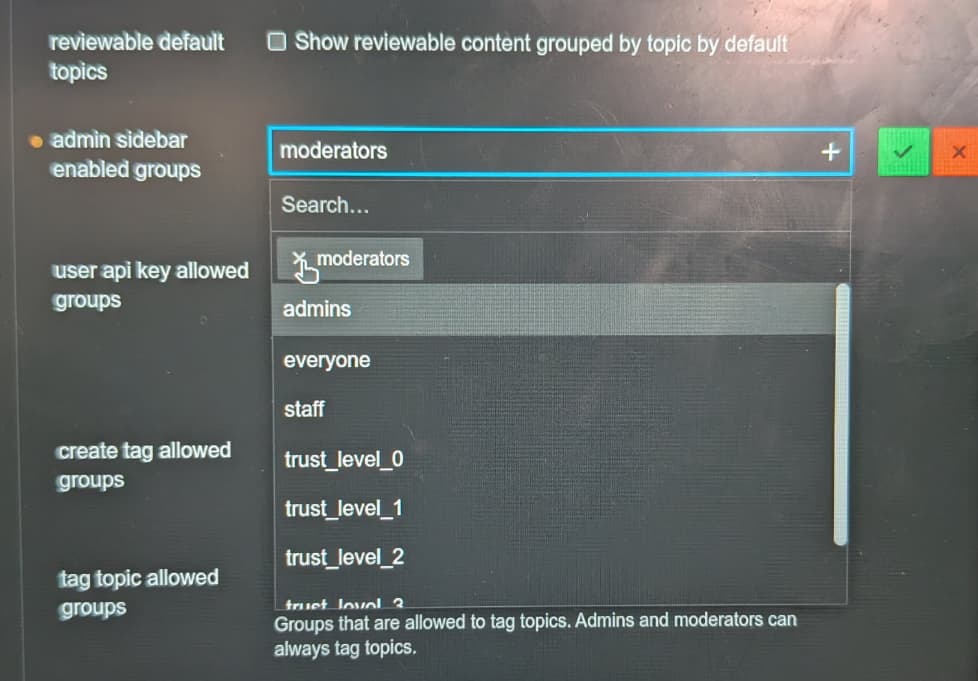
If your admin screen does not appear with the Dashboard, Settings, Users, Badges, Emails, Logs, Customize, API, Backups Plugins and Upgrade menus you see in the screenshot above, you may need to go into the admin sidebar enabled groups and remove the groups as shown below.