ConvertX is a self-hosted image/video Converter that allows you to convert images and video files to other formats. By self-hosting this application, you won’t have to upload your files to online utilities in order to convert them, thus increasing your personal privacy.
ConvertX has been around since about May 2024 and as of July 2025 seems to be in active development.
Start by creating an Incus container for ConvertX on your Incus server.
incus launch images:ubuntu/24.04 ConvertX -p default -p bridgeprofile -c boot.autostart=true -c security.nesting=true
Move inside the container.
incus shell ConvertX
Update the repositories and take any updates.
apt update && apt upgrade -y
Install some dependencies.
apt install nano curl net-tools openssh-server -y
Install Docker:
curl -sSL https://get.docker.com | sh
Add a user account.
adduser scott
Put the user into the sudo and docker groups.
usermod -aG sudo scott
usermod -aG docker scott
Change to the new user account.
su - scott
Make a folder for the application and move inside it.
mkdir convertx
cd convertx
Create a random secret key:
openssl rand -base64 48
Copy the key so it can be added into the docker compose file.
Edit the compose file.
nano compose.yml
Insert the following into the file.
services:
  convertx:
    image: ghcr.io/c4illin/convertx:latest
    container_name: convertx
    restart: unless-stopped
    ports:
      - "80:3000"
    environment:
      - JWT_SECRET="RandomString"
      - HTTP_ALLOWED=true
    volumes:
      - ./data:/app/data
Replace the “RandomString” above with the key you generated and then write the file out with a CTRL O and enter and a CTRL X to exit the nano editor.
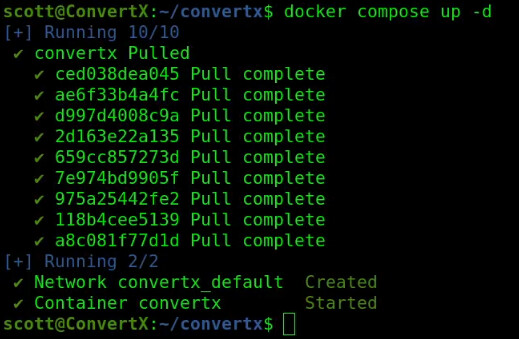
Execute the following command to download the container overlays, create the container and start it.
docker compose up -d
To obtain the address of your ConvertX application:
ifconfig
Look for the address of the eth0 device and enter it into your web browser.
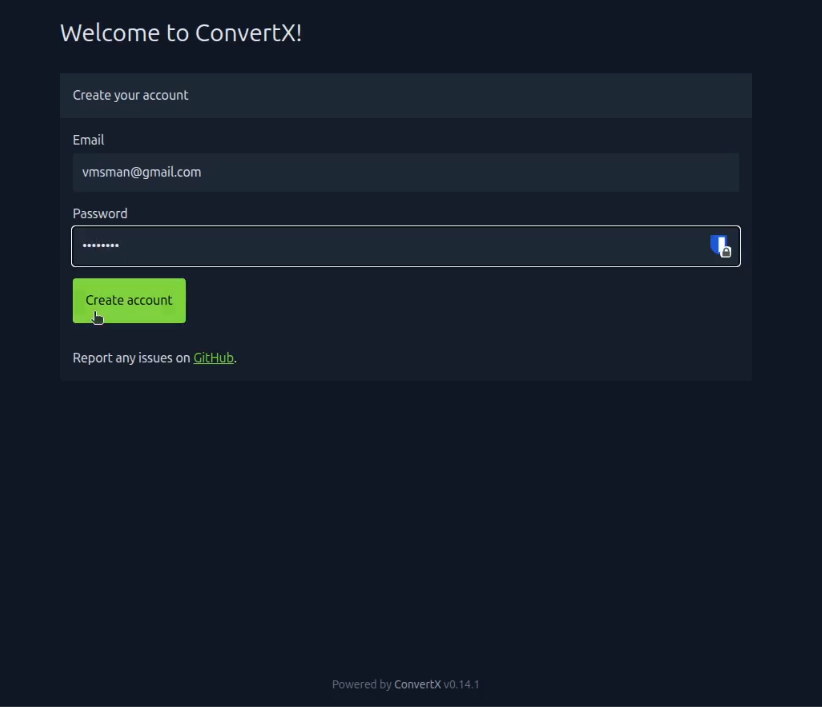
Type in your email and a password you want for the application and click “Create account”.
The main screen provides you the option to either click to navigate your file system or to drag and drop a file that you want to convert.
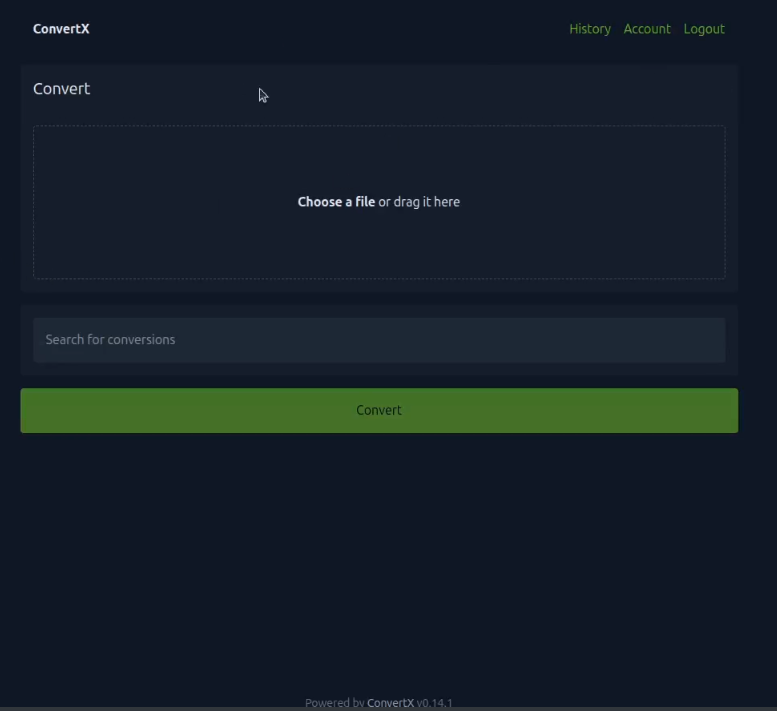
Once you add a file through the user interface, you can click on the “Search for conversions” field and you will have a scrolling selection of various conversion types from which you can choose.
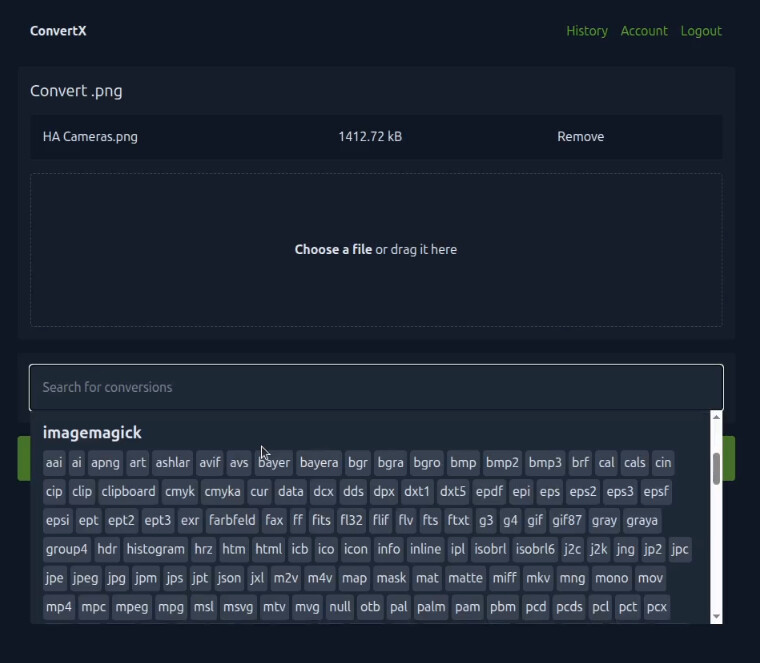
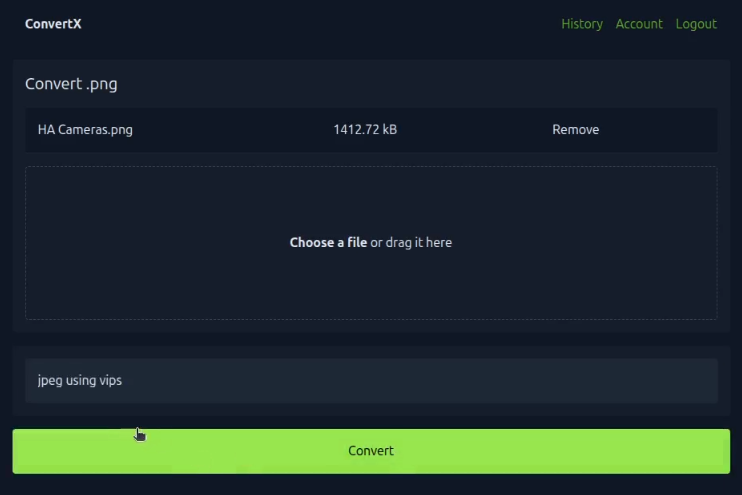
In one of my examples, I selected “JPEG” as my conversion type to convert from the PNG format of the original file.
After the file is converted, you can download it.
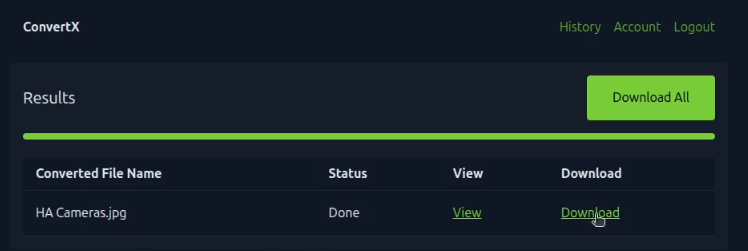
I have tried a number of different video and image format conversions and they all worked. I hope this is a helpful application for your Home Lab.